Do you play Dungeons & Dragons or other roleplaying games (RPG)? Many tabletop RPGs use miniatures to represent narrative scenarios, e.g., exploration and combat. Painting RPG miniatures adds a key element of immersion to RPG tabletop games. A fully painted 3D miniature scene with a player’s character takes the entire campaign into a new World. The hobby of miniature painting is as deep as the stories we tell and journeys we take through life.
In this article, I show you how I paint my tabletop miniatures for roleplaying games. As a nice example for the simple painting techniques I use, I painted a Mage/Wizard Miniature from the Reaper Learn to Paint Kit.
RELATED: TOP 10 RECOMMENDED MINIATURE PAINTING STARTER SETS
Whether you’re a miniature hobbyist, a tabletop gamer, or roleplaying game enthusiast, e.g., Dungeons and Dragons, Pathfinder, Starfinder, Frostgrave, and many more, miniature painting is a gift that keeps on giving.
Continue below more details about how I use simple techniques to paint miniatures for tabletop RPG games with great results.
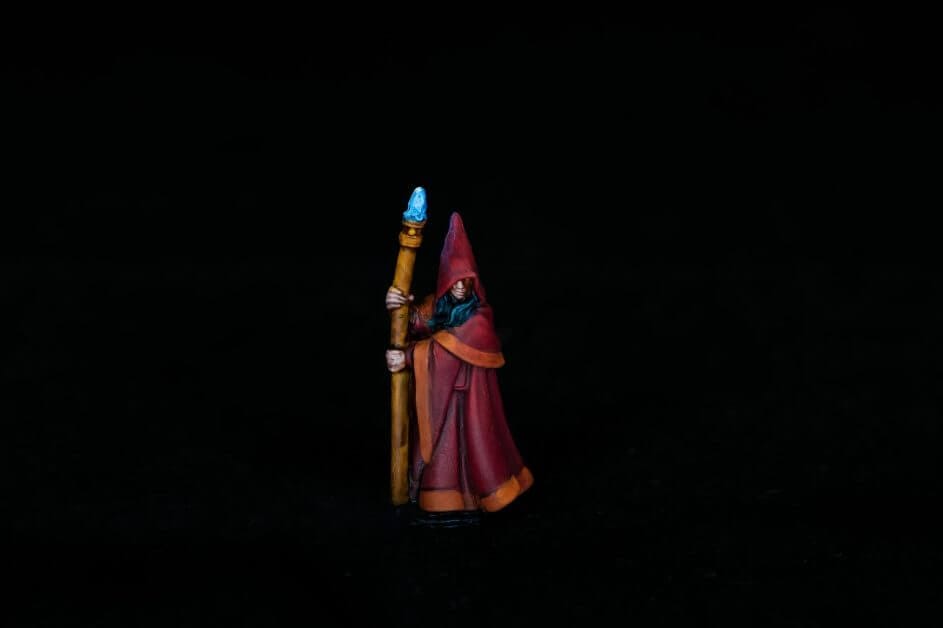
How to paint any miniature for tabletop RPG games (10 easy steps)
Here are the 10 steps for how to paint any miniature for tabletop roleplaying games:
- Prepare the model’s surface
- Prime the model
- Apply base coat
- Use a shade
- Paint mid tone colors
- Add highlights (optional)
- Paint details
- Special effects (optional)
- Base and/or flock stand
- Varnish and protect
For more details about each of these steps, read on below!
Where do you get miniatures for roleplaying games?
There are a lot of places to sell miniatures for roleplaying games. A simple Google search will show you some of the top places. For my collection and for miniature painting commission work, I tend to get models from Reaper miniatures and Darksword miniatures.
If I’m looking to purchase bulk D&D miniatures, I’ll check Amazon and eBay. A quick rundown of my favorites on Etsy will also show you some great options for getting models for your next DnD campaign or whatever your favorite TTRPG.
Remember to choose models you think look cool and represent characters in your narrative games. You may be with these minis for a long time!
For those of you living near a hobby or local game store (LGS), a good way to find miniatures that could be fun to paint may be as simple to as a quick drive or subway ride. The first miniature you see on the shelf may be perfect!
I know some RPG gamers who use tabletop wargame models in their campaigns, like Age of Sigmar, Warmachine and Horde miniatures or even board game minis.
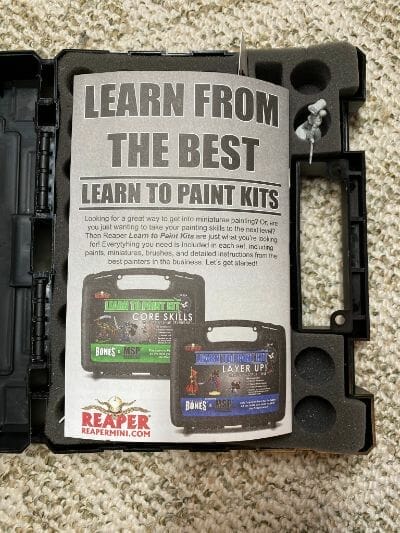
Painting the models, of course, is part of the fun. Choose miniatures that have defined details, open surface areas (which makes painting easier and more fun), and a solid base so the models don’t tip over during painting or tabletop play.
How to start painting miniatures
The best techniques for painting miniatures are simple. Especially if you’re just starting out in the hobby, begin with simple techniques.
Forget the fancy stuff, like art mediums, thinners, and expensive brushes. Sure, nice tools like a wet palette can help you, but limitation breeds creativity. Constraints do wonderful things for the art.
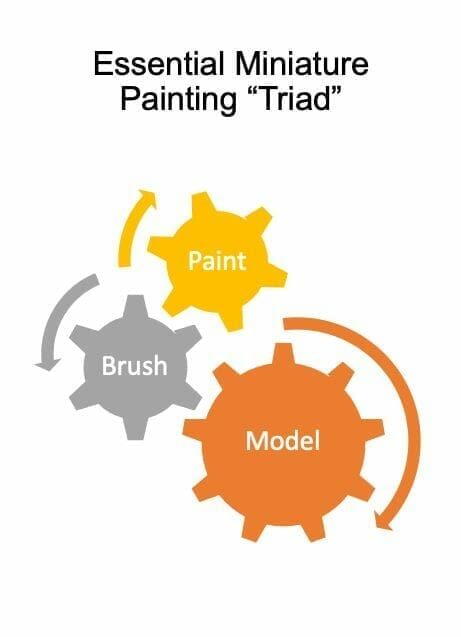
You can get professional results using only paint, water, and reliable paint brushes. There are only a few essential items you need to start painting miniatures.
All you need to do is invest time into the hobby and get more confident.
The purpose of this article is to show you how to use simple techniques to achieve a great tabletop finish on a roleplaying game model.
How to paint a tabletop miniature (10 simple steps)
1. Prepare the model’s surface
Every miniature comes out of the box in a different condition. Some are perfect. Others require some work before you can paint them. As a general rule, I recommend that you make sure your model is clean.
Debris, oils, and other contaminants can mess up your paint job. For example, residual mold release (i.e., a lubricant) on a model can perturb the application of primer. This leads to pooling of your overlying primer and paints, like a rainwater on a newly waxed car.
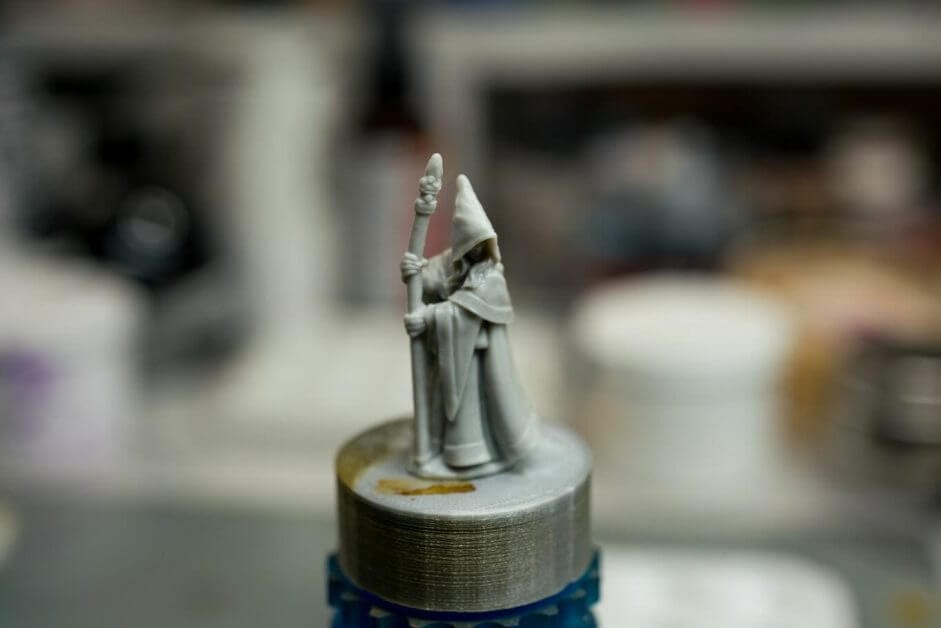
Starting Tip: Glue your model to a painting handle, e.g., cork or bottle cap, to make it easier to hold while painting. I recommend using PVA or super glue (not too much!). Or, you can also buy a painting handle. Here are a few great painting holders for miniature that I recommend.
Although some people skip the step of washing their minis in soap and water, I do a quick rinse under a running tap and use cheap liquid hand soap just to be sure my model is clean.
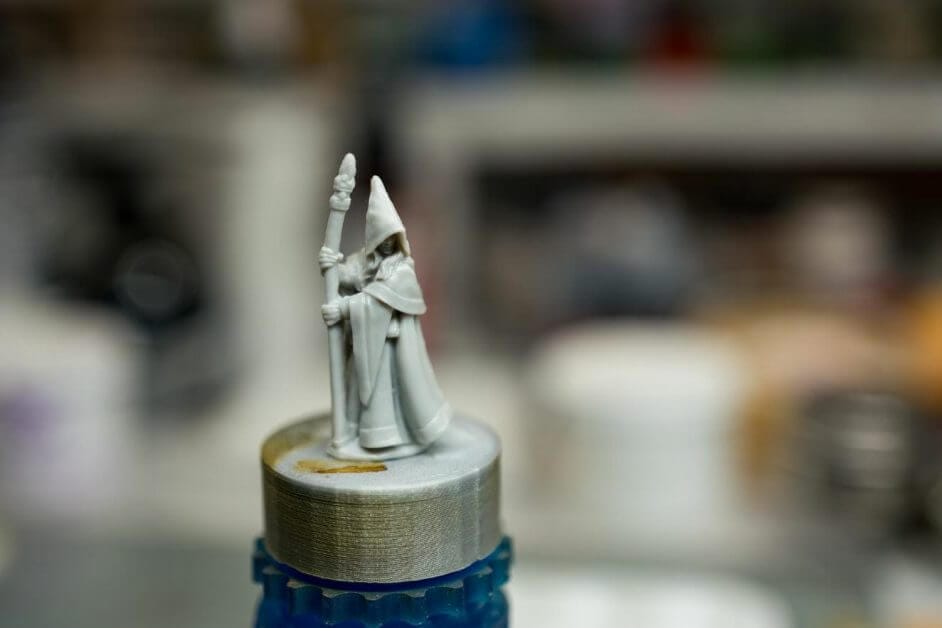
Finally, check your model for mold lines and other imperfections on the surface, e.g., bubbles, holes, gaps. For best results, use a hobby knife or mold line remover to clean up the miniature’s surface. Use an appropriate gap filler product, like Vallejo Plastic Putty (see this review and guide for how to use gap fillers).

2. Prime the model
Use a suitable primer on your model. For a detailed guide on priming miniatures and what product to use, see this article about model primers.
My favorite primer for plastic, metal, or resin miniatures is Vallejo Surface Primer. It’s inexpensive, works easily with an airbrush or regular brush (as a brush on primer), and comes in a variety of useful colors (e.g., I just use a light gray primer color).
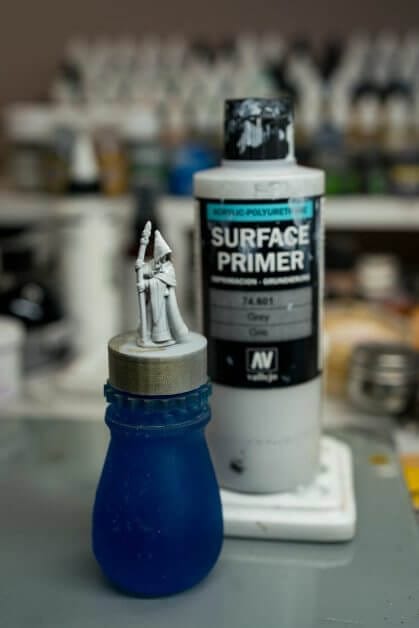
I know some people love AK Interactive Surface Primer, but depending on where you live, AK Interactive products may be hard to find or are really expensive.
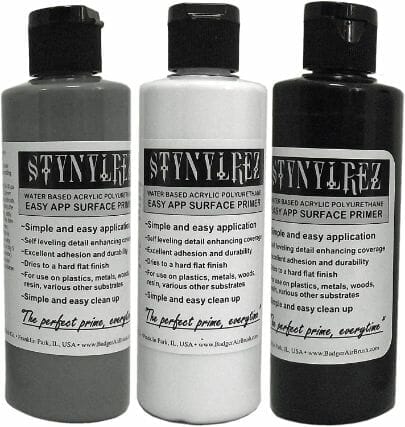
Badger Stynylrez is also a popular alternative to Vallejo Surface Primers. In either case, you can spray these primers onto your models with an airbrush or use a regular paintbrush to brush-on the primer. There are other spray primers that I recommend for preparing your miniatures for paint.
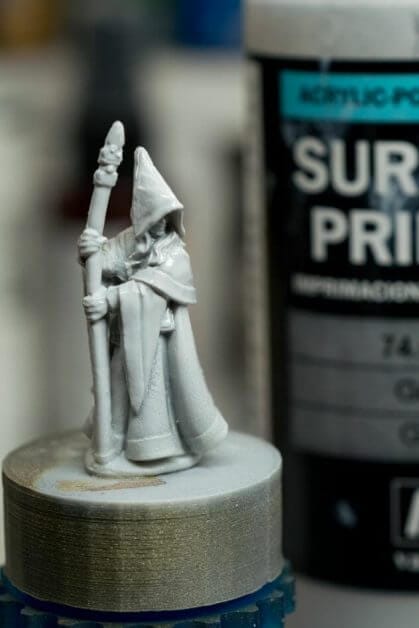
Ideally, you’re looking to coat the entire miniature in 1-2 thin and even layers of primer.
A layer of primer helps your overlying layers of paint stick. A good primer will stretch over the surface as it dries, like a super-thin layer of plastic wrap. This stretching action smoothes out microscopic imperfections in the model.
RELATED: HOW TO USE VALLEJO SURFACE PRIMER FOR PAINTING MINIATURES
Allow your primer to dry completely (~15-30 minutes) before moving on to the next step.
3. Apply base coat
A base coat of paint is the first color that you apply to the model. The easiest way to apply a base coat is to use a fairly opaque paint, e.g., pigment rich acrylic. Some hobby brand paints have special coverage formulations for basecoating models. They will effectively cover a surface in 1-2 coats of paint color.
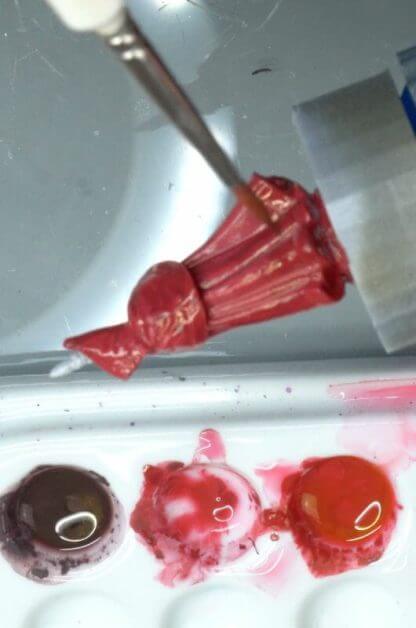
You can also use an airbrush to apply a base coat quickly. Here’s an example where I used an airbrush to apply the base coat of a board game miniature. Using an airbrush is fast, but not necessary for creating a good base coat.
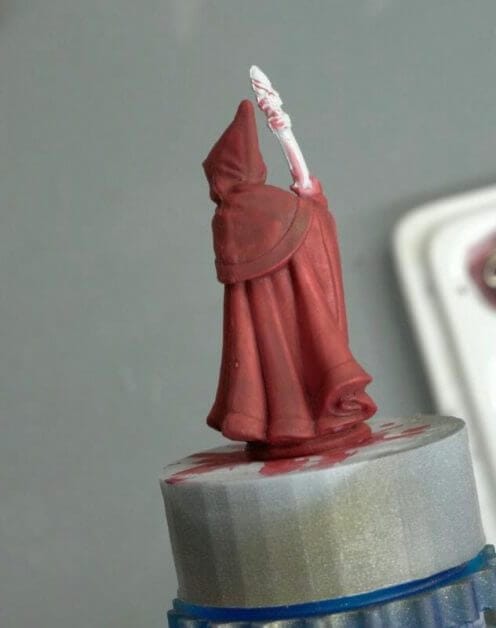
You can achieve a great base coat with smooth, even layers of paint. They key, of course, is to make sure you thin your paint so it doesn’t clump or streak. Here’s how you thin your paints.
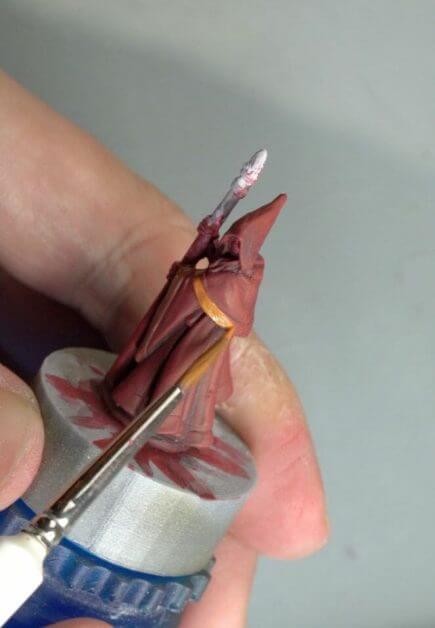
Apply all the blocks of your main colors until no primer shows through the basecoat. In this case, I painted the clothing red with an orange accent around the cloak.
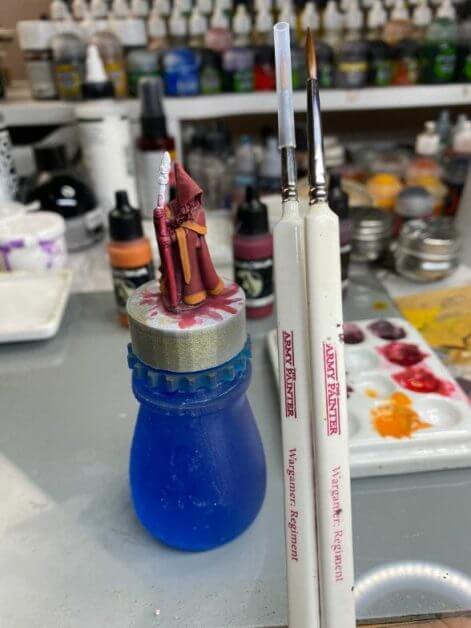
4. Use a shade
For best results, you should paint your miniatures with good contrast. Contrast is defined as the value difference between the darkest and brightest color on your model. For a model to “pop”, you want to paint your miniatures with high contrast.
To do this, I like starting by shading a model, which darkens the recesses. To shade a model, there are 3 basic ways: I) You can use a pre-made wash product, like Citadel shades (here are the favorites), II) dip your model in Army Painter Quickshade, or III) make your own wash.
For this project, I decided to make my own wash to shade the model.
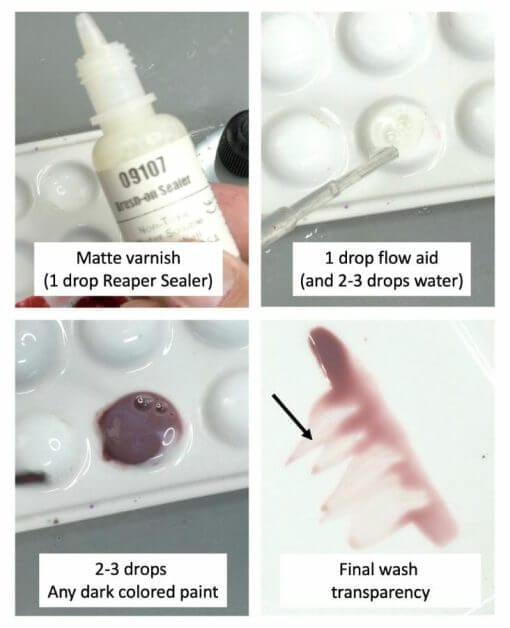
To make the DIY wash, I used a mixture of Reaper Matte varnish sealer, a drop of flow aid with water, and dark paint (a burgundy acrylic color). You can use any matte varnish, including Army Painter’s version or an artist grade matte varnish. For dark paint, any acrylic paint will work in a DIY wash.
How much of each ingredient you use in your DIY wash isn’t as important as the final transparency you’re looking to achieve in the wash. Ideally, your homemade wash should be mostly transparent when pulled thinly across a surface. When the wash pools in the recesses, however, your wash should remain mostly dark.
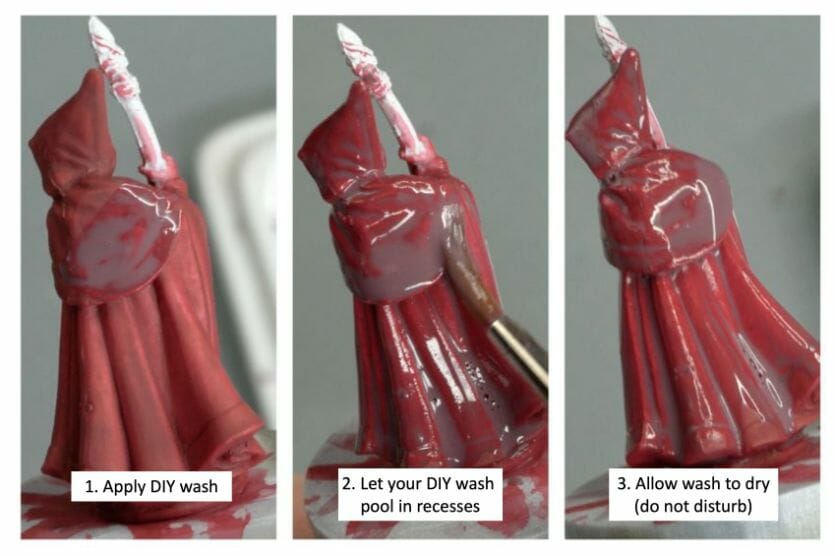
To apply the wash, use a large brush and apply plenty of the wash over the model. You can use a lot of your DIY wash, if you want (but don’t do this with commercial purchased premade washes). Allow some of your wash to pool in the recesses to build up the dark pigment.
Then, sit the model aside and allow the entire wash to dry. This can take 5-20 minutes, depending on the ambient conditions of your work room.
When the wash on the model is dry, you’ll notice how the dark colored pigment settled in the recesses. Whereas the transparency allowed the raised part of the miniature surface color to show through. You can add another wash layer to further darken the crevices.
5. Paint mid tone colors
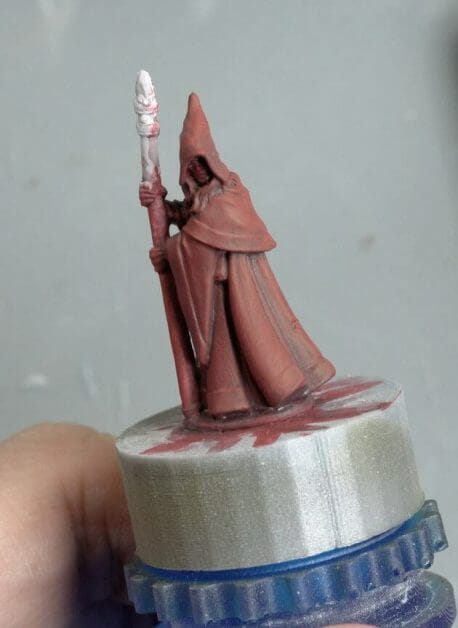
After a wash, a lot of the mid tone color darkens. Bring these colors back by painting as new layers over over your model. In this case, the red cloak darkened after the wash step. So, I decided to use the same red color and paint the raised surfaces again.
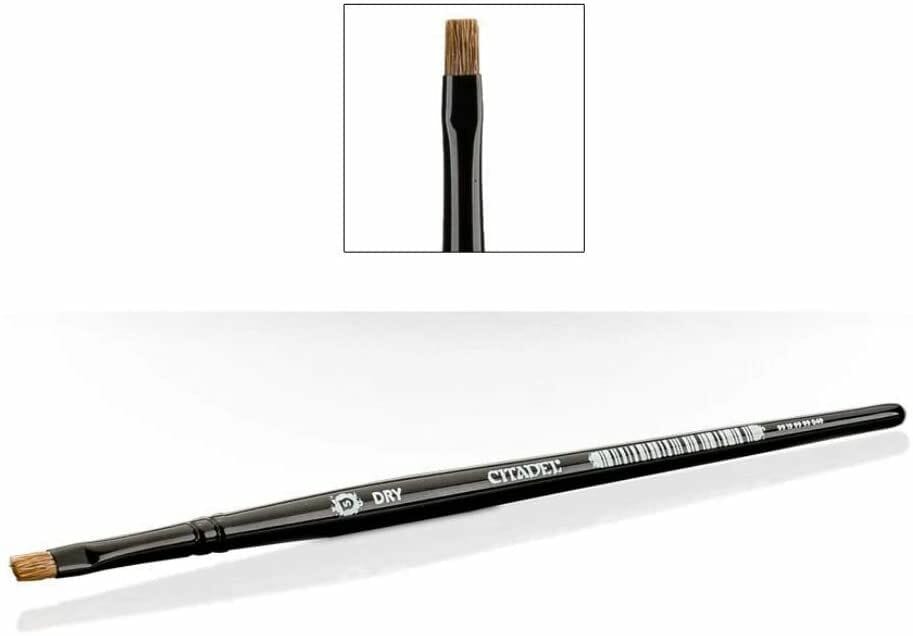
For speed, I used the dry brush technique (read more about how to use the dry brush method). Use the same paint your based your first colors for dry brushing. Make sure enough pigment gets on your dry brush bristles. Remove as much moisture from the paintbrush by wiping the tuft along a paper towel.
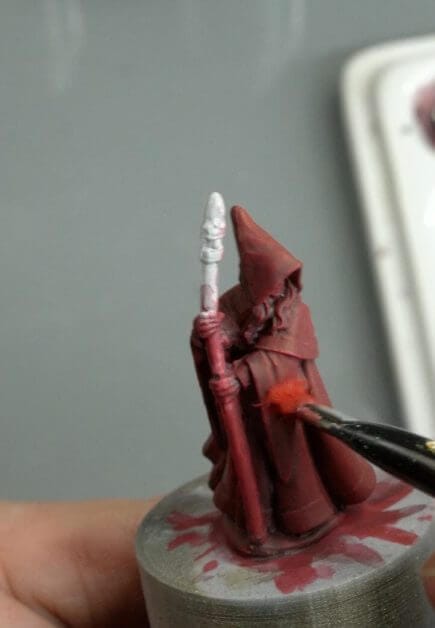
Then, using a sweeping motion and a light touch, apply the “dry paint” to the surface of the model. The raised surfaces will catch the pigment and brighten up with your color.
Work around the entire model until all the surfaces you want have a good coat of the mid tone color. You can do this for each based color on your miniature. Use a appropriate sized dry brush for different surface areas. A large dry brush for large regions. A smaller dry brush for more detailed dry brushing.
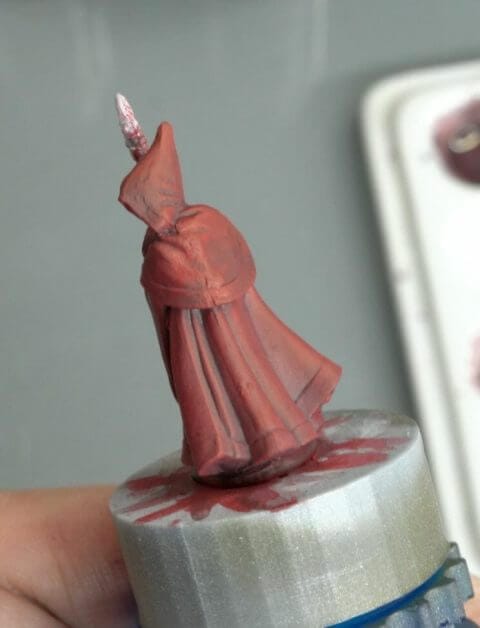
You may need a few layers of dry brush to achieve the mid tone brightness you want. In this case, I applied 3-4 layers of dry brushed paint to bring up the mid tone brightness. I wanted more contrast on the model.
6. Add highlights (optional)
This is an optional step when painting any model. Highlights are places on the model where an imaginary light source catches an edge or raised part of the subject. This area is brighter than the rest of the model. Adding highlights further enhanced contrast and helps make a model stand out from the tabletop.
Adding highlights can take some precision brush work, and does take practice to do well. Here’s what I did to paint highlights.
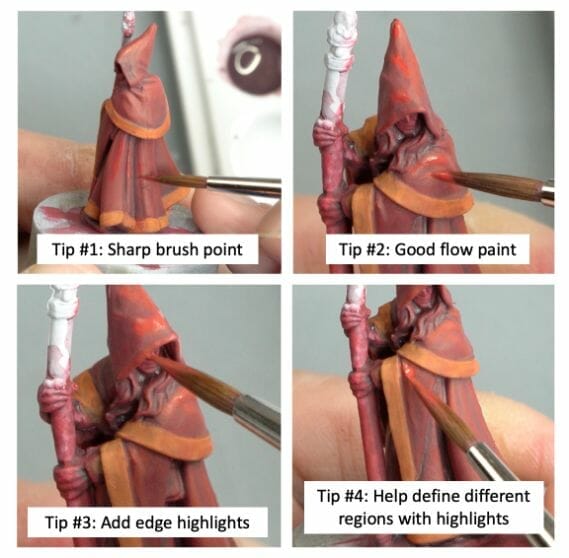
Using a sharp pointed brush (e.g., the Army Painter Regiment worked for me), apply your highlight color along the highest raised edges of your model. Pay special attention to the edges that you imagine light would “catch” most.
My recommendation for paint colors is to take your base paint or mid tone color, and mix a bit of white or other bright value color. Thin the mixture with a bit of water so it flows off your bristles. Not too thin; you don’t want your paint to run or drip.
In this case, I mixed in a bit of a brighter red paint into my mid tone color (the base coat red). Then, I worked my way around the model and highlighted every raised edge. I focused most of my efforts at the top of the model where I envisioned most of the light came from the sky above.
You can use highlighting to help you define edges between surface regions. Such as helping you distinguish between a cloak and a different colored shirt, collar, or exposed skin. Use the difference between your shade and highlight to delineate surfaces. This helps your model stand out from a farther viewing distance.
7. Paint details
Painting details on a miniature is simple. In principle, all you need to do when painting details is to use a fine tipped brush and go slower. Use the same basic ideas and workflows in steps #1 thru #6.
RELATED: HOW TO IMPROVE YOUR ABILITY TO PAINT DETAILS ON MINIATURES AND MODELS
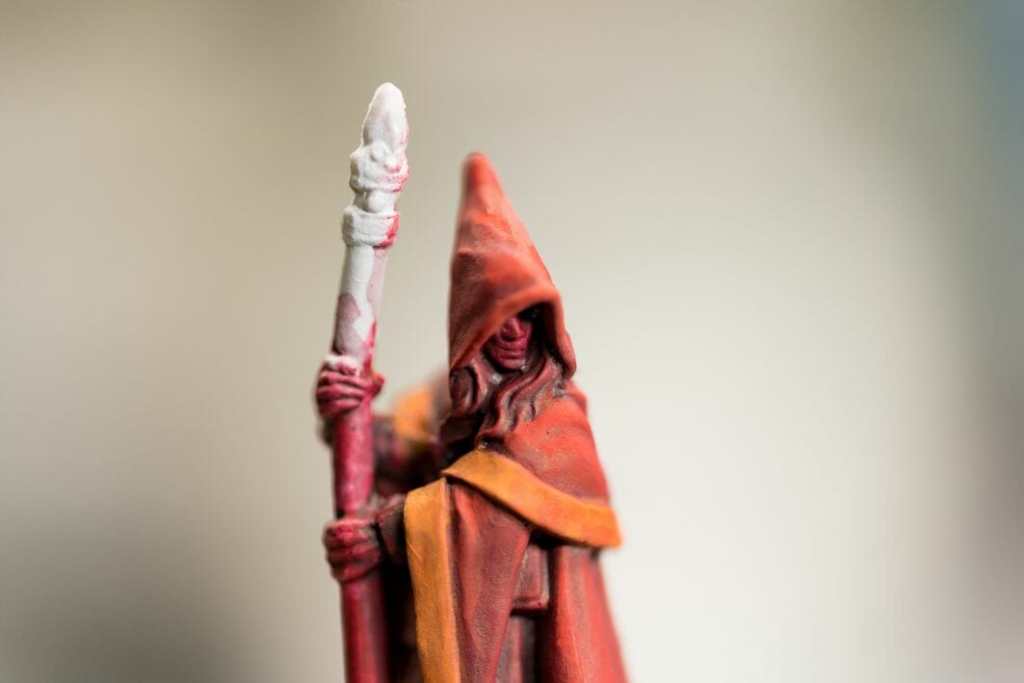
Use a magnifying visor or hobby lamp to make painting details on a model easier.
Apply your first color, followed by a shade using a wash, then bring up the mid tone and highlights. Although you can’t dry brush small surfaces very well, you should add mid tones by normal brush technique shown in step #6 highlights. Bring up your contrast by adding brighter tones to your model after shading.
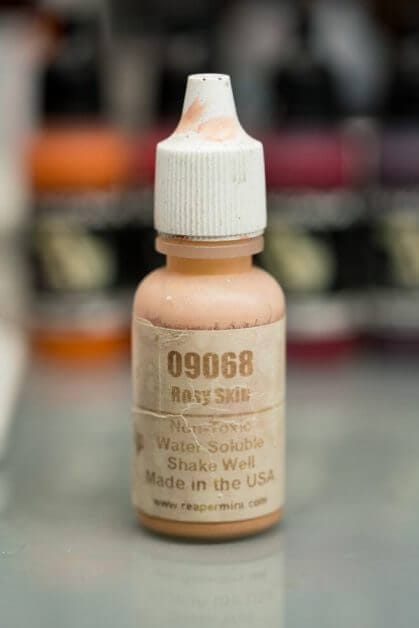
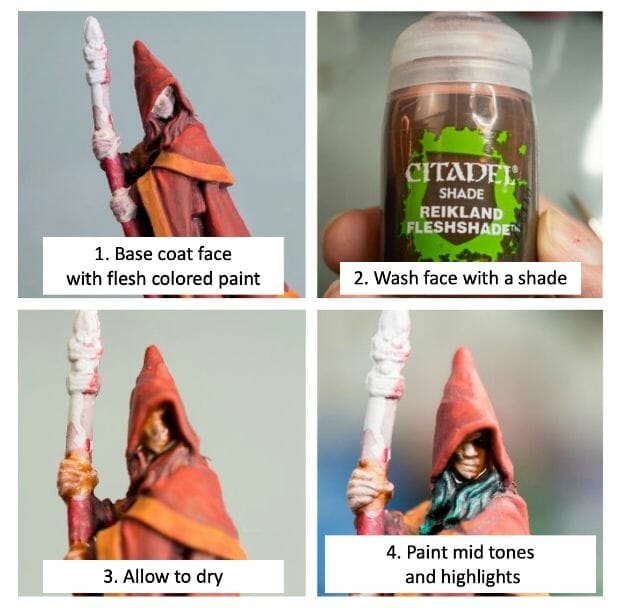
For this Reaper miniature, the areas that required the most detail precision were the face, the hands, and the hair. The good news is that painting all of these elements used the same principles: base coat, shade, and mid tone/highlights.
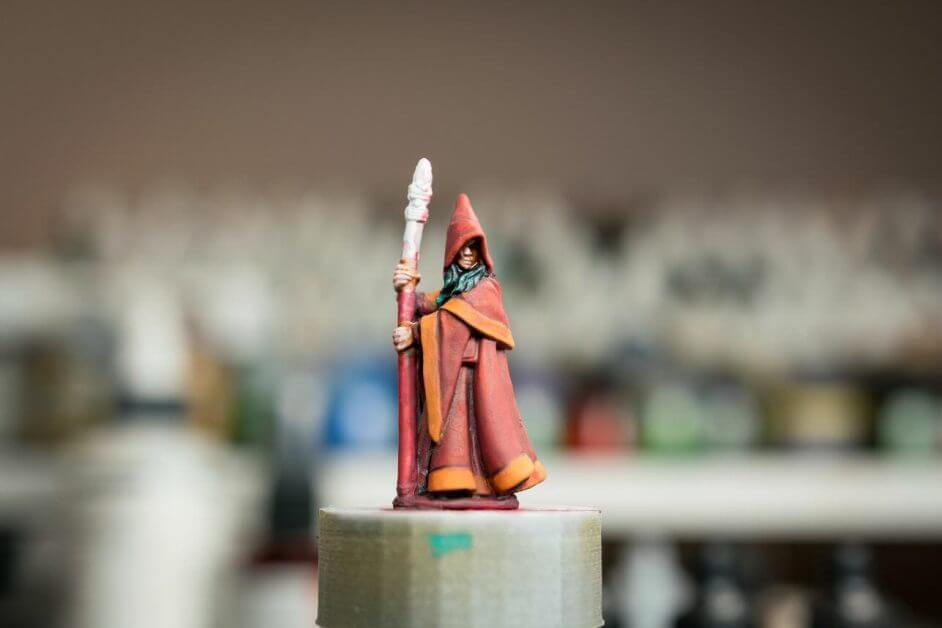
You can see how I painted the hair using this workflow. Based with a dark gray paint, then shaded with a black wash, followed by a blue-gray mid tone and highlight. I used the Army Painter Regiment brush for painting all the details on the model.
8. Special effects
Special effects include painting glowing bits, e.g., object source lighting or OSL, like plasma weapons and mystical objects. This may also mean learning how to paint NMM (non-metallic metal), which is a whole other topic.
You may want to free handing designs on clothing and armor, or adding water slide decals. Overall, there are a lot of ways to enhance and elaborate on your miniature paint job.
For this model, I wanted to add a bit of flair to the staff’s gem or flame cap. I used a combination of blending techniques to paint the gem to make it appear to glow.
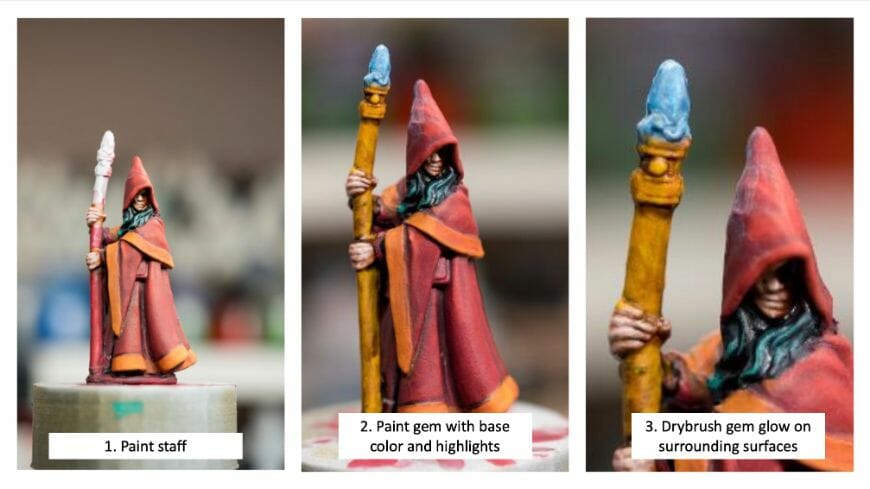
9. Base and/or flock stand
You’re almost done! I like to paint and work on the base of a miniature last. The reason is because I like to think of a the base of a model as the frame around a photograph. You can’t really decide what frame to use before you know what the photo looks like.
READ MORE: SIMPLE TIPS FOR TAKING BETTER PHOTOS OF YOUR MINIATURES
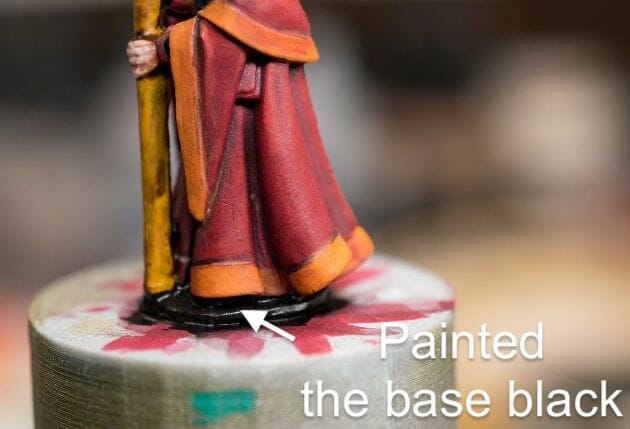
The base of a model tells the viewer where your model exists in space and time. For this piece, to keep things simple, I painted the base of the model with black paint. For other models, which you can see in my painting gallery, I use all sorts of material for basing my miniatures, e.g., sand, cork, grass, and other bits.
In fact you can use any found materials you think will fit within the theme of your miniature. Use a good basing glue so that your base material sticks and doesn’t fall off over time, especially if you use your models for gameplay.
10. Varnish and protect
The final step of any miniature paint job is to varnish your model. A varnish is a clear sealant that you spray or brush-on your model. It acts as a shield to prevent damage to the underlying paint.
I highly recommend Testors Dullcote for varnishing miniatures. This varnish protects models and also help bring up the color contrast on painted miniatures. Here’s a review of the best varnishes for miniatures and how to use them.
A pro tip for using varnishes is to ensure that you’re spraying them in a space with low ambient humidity (less than 55% for best results).
In an environment with high humidity (lots of moisture in the air), you risk producing an opaque frosted varnish over your model. Use a hair dryer to help you varnish your miniatures (here’s why).
Bonus: Photograph your painted miniature
When you’re finished painting your model, remember to take great photos to share your work with others. Taking photos also helps remind you how far you’ve progressed in your miniature painting journey. For more information about photographing miniatures, you can check out all of the other hobby photography articles.
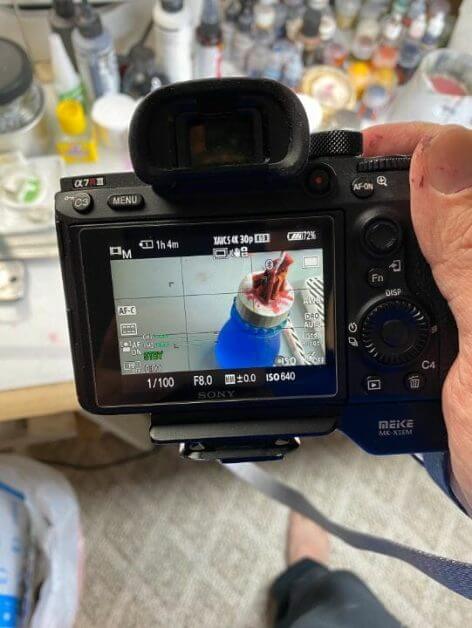
To take better photos of my painted miniatures for social media, I use a lightbox and an LED ring light. Here is a tutorial about how to improve your miniature photography.
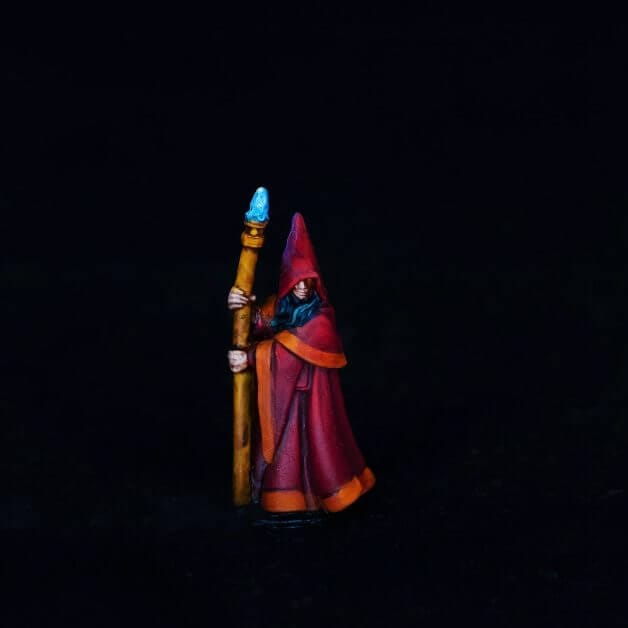
If you are curious about how to take photos of your miniatures with the true, infinite black background, here’s a tutorial for black backdrop photography with your smartphone or digital camera.
Conclusion
There you have it, a painted model for role playing games. Notice that I only used a few colors (5-7 paints) for this entire model. With a bit of practice, you can cruise through the paint job for a model like this in 1-2 hours.
Some of the painting steps are more advanced than others, but none are hard to do with a few simple tools, e.g., 1-2 brushes, acrylic hobby paint, and a bit of patience. If you play Dungeon and Dragons, other RPGs, or even board games, then you can use this 10 step workflow for painting all your tabletop minis.
I hope you enjoyed this article! Leave a comment below 🖖
Happy painting!
Tangible Day on YouTube (Miniatures and More!)



Nicely painted and good tutorial.
Thank you!