Did you know that a hair dryer is the most under-appreciated tool in the miniature painting hobby? The dry, hot air from a hair dryer will accelerate paint dry time, increasing productivity, and will improve the quality of your final layers of paint and varnish. As miniature painters, we all need good brushes, glue, and great lighting. But, the most underestimated tool for any hobbyist is the blow dryer. Learn what you can use a hair dryer for, and what I recommend!
In this article, I show you 3 reasons why a blow dryer is an important tool for painting miniatures and models. I also share tips for using a hair dryer in your miniature painting and model hobby workflow.

Summary (TL;DR): Why You Need a Hair Dryer
The hair dryer is the most underestimated tool in a miniature painter or modeler’s arsenal. The ability to direct “dry” heat at a model gives you power over wet paint, varnishes, and other art media. Heat changes chemical composition, converts liquid into gas, and turns a slow process into a fast one. Bottom line: A blow dryer will make your miniature hobby more efficient, less frustrating, and even improve your results.
The Risk of Underestimating the Humble (Paint) Hair Dryer
A hair dryer is an essential miniature painting tool (imho). It goes without saying that I would not be as productive as a commissioned miniature painter or hobbyist without the regular use of my hair dryer.
Getting a hair dryer for my miniature painting has been a game-changer. I’ve painted miniatures for years without using a hair dryer, and I regret waiting for so long. Despite recommendations from professional painters, I always hesitated. I regarded the hair dryer as a purely cosmetic tool for the superfluous artsy types. How wrong I was!
Even one of the best paint carrying cases I’ve reviewed comes from the cosmetic aisle, not the arts and crafts section (see the Cosmetic Make Up Train Case). Suffice it to say, I think a hair dryer is the most underestimated tool in a mini-painting toolkit.
If you’re looking to speed up acrylic paint drying times, work quicker with spray paints, or want to avoid bubbles and frost in your varnish sealants, then a hair dryer is indispensable.
Here’s why I think you should invest in a hair dryer, and my recommended cosmetic hair dryer for miniature painting!
3 Reasons You Need a Hair Dryer for Miniature Painting
- Dry Paint Faster
- Consistent Varnish Sealant Application
- Layering and Glazing Techniques
1. Dry Paint Faster
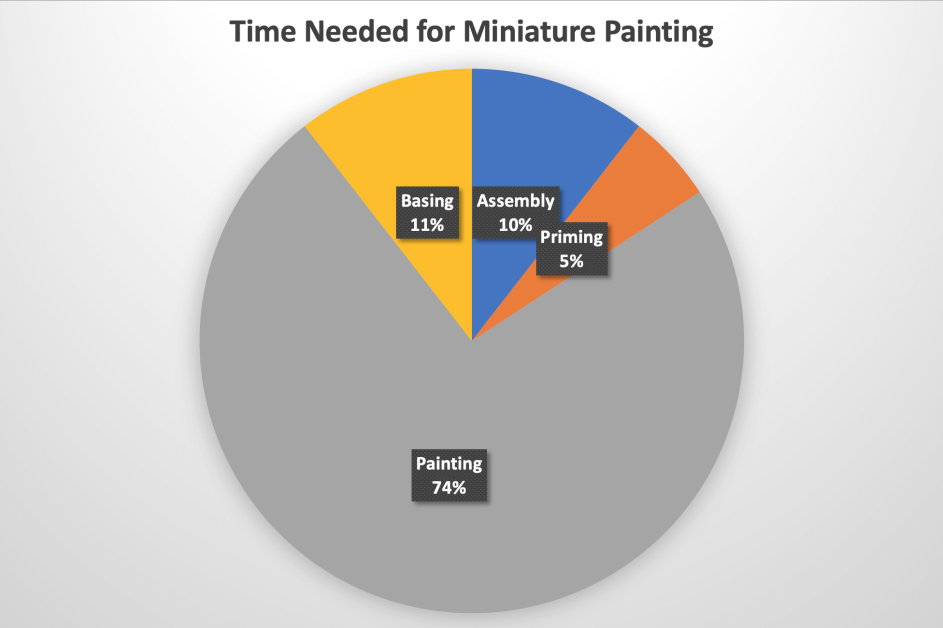
Do you want to paint models faster with better results? After you take into account the time it took to assemble, choose your colors, and prime your model, the other time sink is paint application. The act of getting acrylic paint on your model is the most time-consuming part of the miniature painting hobby. Why not make that part of the hobby faster?
RELATED: HOW TO SPEED PAINT MINIATURES
The hair dryer comes to the rescue when it comes to speeding up your acrylic painting workflow on miniatures. This is especially true for base-coats, where you want to just get those first foundation layers of paint on your model.
Whether you do your acrylic basing with a regular brush or airbrush (which I prefer), the hair dryer is indispensable for making this part of the paint job more efficient and enjoyable.
Finally, if you’re priming your miniatures with an airbrush or a regular brush, using a hair dryer will speed up the amount of time it takes for primer to dry. This helps primer stick better to your plastic, resin, or metal miniatures. The heat will also improve the way the primer smooths out over a model’s surface. Try it!
2. Consistent Varnish Sealant Application
Have you ever used a spray of Dullcote to varnish your models, hoping for a matte finish? (You should). Dullcote or similar matte varnishes that come in spray cans are great. They are portable, convenient, and avoid the challenges of brush-on varnishes that can leave ugly brush strokes or unwanted pools in recesses. A smooth, consistent layer of varnish that doesn’t get in the way of enjoying the paint job underneath is what you want.
RELATED: WHAT IS THE “C.R.A.P. METHOD” FOR BETTER MINIATURE PAINTING?
When these spray varnishes work, models stay bright and vibrant, with nice color and contrast, and an even non-reflective surface (that is great for competitive environments, like display cases, the photography studio, or for collectors who want to protect their investments).
When the spray varnishes don’t work….ugh.
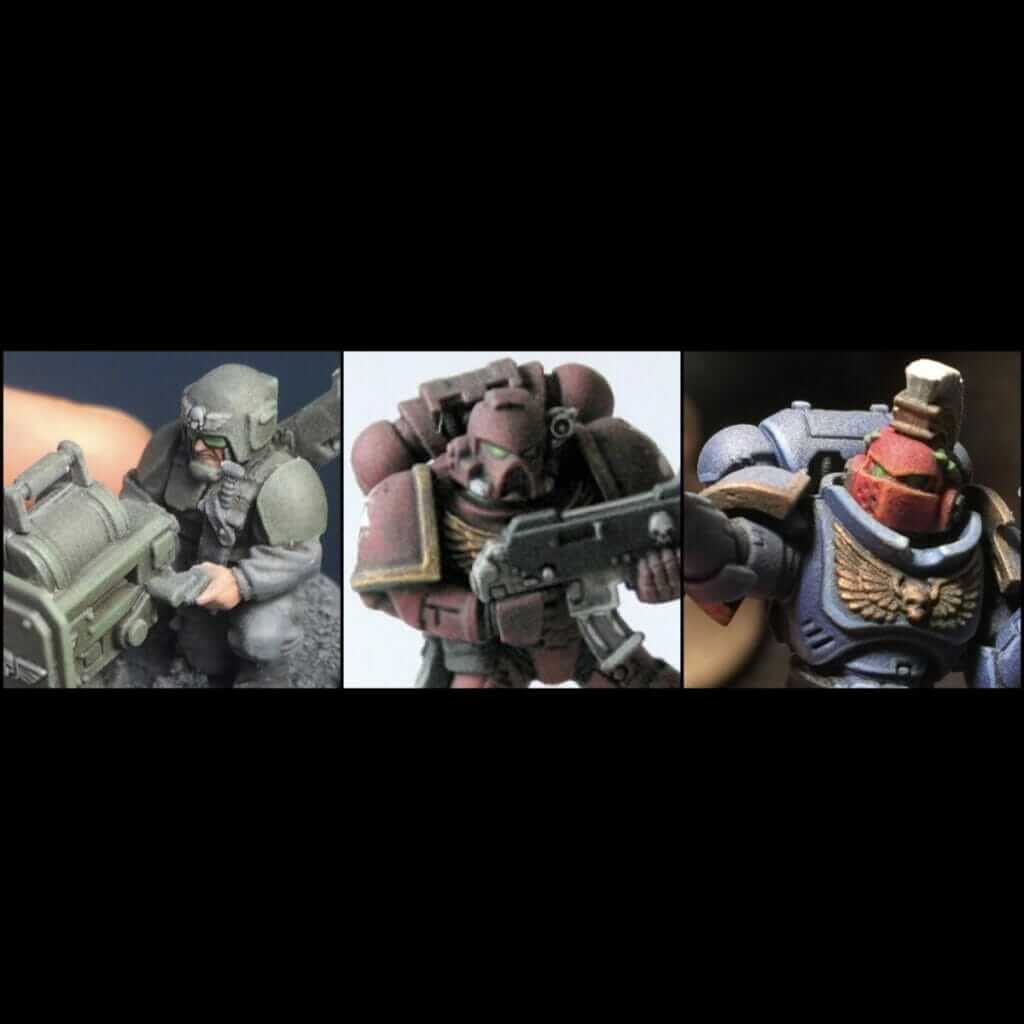
RELATED: HOW TO FIX FOGGY VARNISH ON MINIATURES (EASY, EFFECTIVE METHOD!)
Horror stories are everywhere online, or maybe you have even experienced the dreaded varnish frosting yourself. Has your varnish clouded over into a frosted mess, destroying the look of your miniature that you put hours of work into? There are many ways to fix a bad varnish that frosted-over, but this is a topic for another article.
You don’t need to struggle with this problem if you can prevent bad varnishing from happening in the first place with a hair dryer.
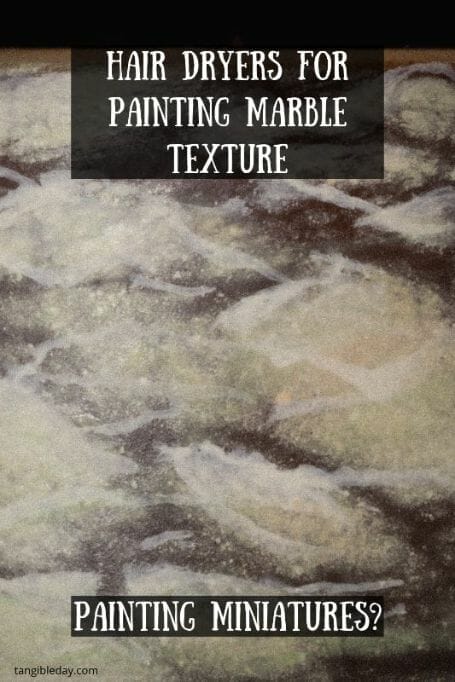
The number one issue causing varnish frost is too much humidity. Moisture in the air messes up the way varnishes adhere and cure on a model. A hair dryer removes moisture. That’s its job. At the end of the day, a blow dryer ensures a consistent varnish application, prevents frosting, and speeds up the varnish dry time.
RELATED: HOW TO PROPERLY PROTECT PAINTED MODELS WITH VARNISHES AND SEALANTS
3. Layering and Glazing Techniques
If you’re a more advanced miniature painter, you may already know that a hair dryer can speed up your glazes. Glazes are thin layers of semi-transparent paint applied to a miniature to modify the color tone/hue/value of the surface underneath.
Because glazes are most effective when applied in very thin layers, it can takes many layers to create the desired effect. Importantly, each layer needs to be fully dry before the next layer is applied.
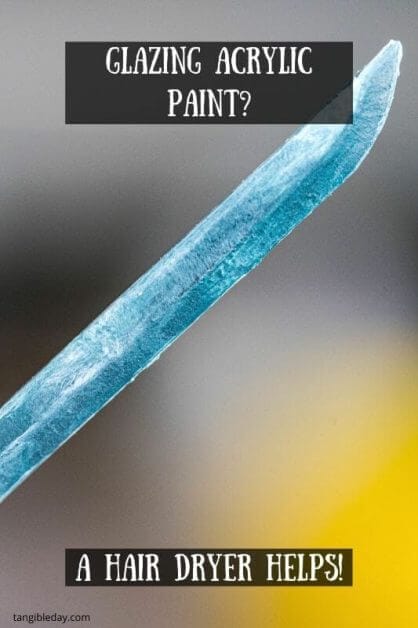
This is a tedious and time-consuming approach to miniature painting, but produces amazingly smooth and subtle blends that no other techniques can achieve with a brush. Almost all of the classic oil painters of the past have used glazes for their paintings (oil paints dry slow and is naturally transparent).
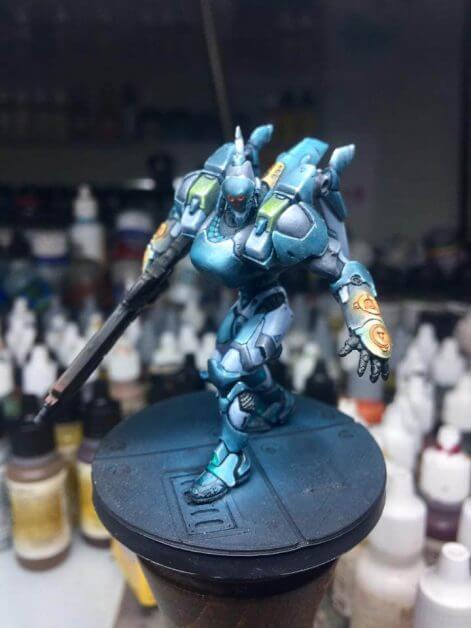
The hair dryer allows a painter to paint quicker by speeding up each glaze layer. Wet paint looks darker than dry paint.
Because much of the joy in painting miniatures is experimentation, the hair dryer allows you to learn more quickly. You can try applying this glaze or that color, dry it quickly with a hair dryer, inspect it, then move on. You can jump from idea to idea much faster.
RELATED: HOW TO GLAZE MINIATURES AND MODELS WITH ACRYLIC PAINT
Bonus: Keep your hobby space free of random dirt and flock
I love this reason for having a hair dryer, and it has nothing to do with actual painting. After you finish basing a model with sand or other flocking material, much of it gets on your painting desk. Those bits of dirt or other things can get into your paint and mess everything up.
Blow all that dirt and stuff right off your desk with your hair dryer.
Tips for Using a Hair Dryer in Painting Miniatures
- Varnish application: I found the best way to make sure my varnishes coat properly is to use the hair dryer on the model before applying the varnish. Heat the model carefully with the hair dryer, then spray the model with your varnish of choice. Then, reapply the hair dryer to the miniature to keep the humidity low and speed up drying.
- Use low setting first: Set your hair dryer on the lowest heat setting first. Test the effect on your miniature. Does it do the job? If yes, keep it there. As you understand how your hair dryer works, you’ll feel more comfortable using more power (if your particular hair dryer has a power setting). The last thing you want is to melt your model or blow wet paint into areas that you don’t want it to go. Be particularly careful of miniatures made of resin (e.g., Forgeworld models or other highly-detailed kits). Resin has a much lower glass transition temperature than plastic or pewter, and will warp with too much heat (usually at any temperature over 90F or 32C).
- Mind the distance from the miniature: For glazing, make sure your hair dryer isn’t pointed too close at the area of the miniature you want to dry. Keep the hair dryer at least 12 inches away from the surface, as like above, only use a low setting. You can get more aggressive with the hair dryer heat if you think it won’t disrupt your still-wet glaze or paint layer.
- Do not blow dry your brushes: You might be tempted to use your blow dryer in other hobby applications. In this case, I’ll specifically say that you shouldn’t use your hair dryer to dry your brushes. Even though a hair dryer is meant to blow dry hair (your hair), those expensive sable hair brushes aren’t really going to like it. Let your brushes dry naturally. The excess heat will likely damage the hair tufts and make them brittle. I can’t speak for synthetics, but like any delicate material, thin filaments might be more sensitive to heat and not react well (e.g., curl, deform). Furthermore, the heat from the hair dryer may melt the glue holding the hairs together.
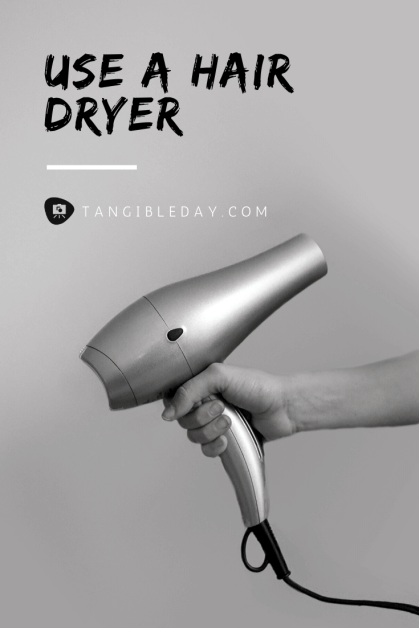
What to look for in Choosing the right hair dryer?
- Size. I don’t have a lot of desk space, and I’m guessing many of you don’t either. Look for a small, travel hair dryer. I would avoid the ones that fold though; they generally aren’t powerful enough.
- Power settings. The hair dryer I have has two settings, high and low. I find that having the option of going into a higher power setting (more heat and airflow) is useful to have, although the situation might not be very often. When the need arises, the extra power is welcome. The more expensive hair dryers have additional options, including settings or buttons that allow you to have airflow without any heat.
- Brand. With any product, brand could be a good sign that what you’re buying is reliable and will do as advertised. In this case, we’re not using the hair dryer for blow drying hair, or to have it sit pretty in a salon or bathroom; we just need heat and air flow that is constant, reliable, and safe. Bottomline: don’t factor too much into finding the right brand.
- Price. I didn’t spend a lot on my hair dryer. It is dedicated for miniature painting and I don’t use it for any other purpose (like you would normally for drying hair). So, keep it inexpensive.
General Safety Warning with Hair Dryers
Hair dryers use a lot of electricity, and with that comes danger, especially near your work space where there is water and liquids nearby. Be careful about spills! There are warnings to not use a hair dryer while you’re in the bath for a reason. Water and electrical hair dryers do not mix (source).
Keep your paint cleaning water pot away from your hair dryer, even when it’s off. There is just too much risk of getting electrocuted to ignore some common safety things you can do to prevent harm or death.
Conclusion
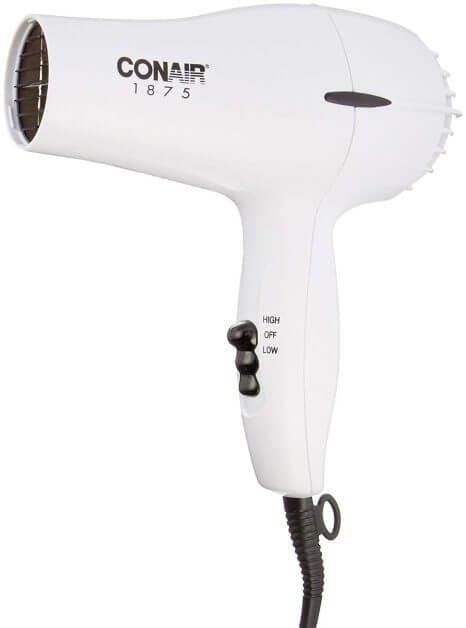
I was able to find my Conair 1875 hair dryer for around $10 (see Amazon). It’s small and doesn’t take up a lot of space at my desk. It has two settings, high and low. I use the lowest setting more than 90% of the time, and it has the perfect amount of heat and airflow strength.
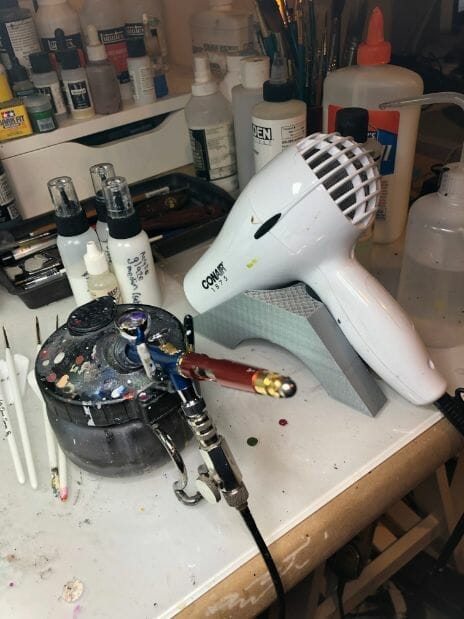
The high setting is great for larger models when there is a lot of paint that needs drying. It adds a lot of heat to the model so I try and keep the hair dryer at least 1-2 feet away. Overall, it has worked great and has done the job.
I hope you found this article interesting. One of my favorite miniature painting hacks, a hair dryer works wonders for all sorts of hobby needs. For miniature painters who are using advanced blending techniques, e.g., glazing or airbrushing, a hair dryer can significantly improve your workflow and help you achieve more consistent results.
Thank you for stopping by and happy painting!

Tangible Day on YouTube (Miniatures and More!)

