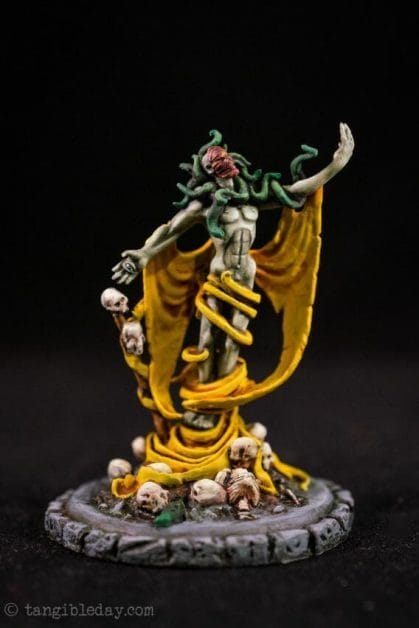
How do you paint board game miniatures yellow? Yellow is one of the hardest colors to use well in miniature painting. This is because of three main reasons: First, yellow acrylic paint often doesn’t provide an artist with good surface coverage. Multiple yellow paint layers are required for a smooth base coat. Second, it is unclear what colors or mediums are best for shading yellow miniatures. Finally, there are multiple ways to highlight the color yellow, and each method produces a vastly different result.
In this article, I show you the basics of how to paint the color yellow using “The King in Yellow” miniature from the Cthulhu Wars board game. Although I don’t go through every method for painting yellow, I do walk you through some simple tips for how to choose colors for this board game model.
Helpful Tools for Painting Miniatures
You don’t need any fancy tools or brushes for painting miniatures. The core essentials for miniature painting only requires 1) a loyal paint brush and 2) a variety of high-quality model acrylic paints. Here are some of my quick thoughts for things I used in this painting project.
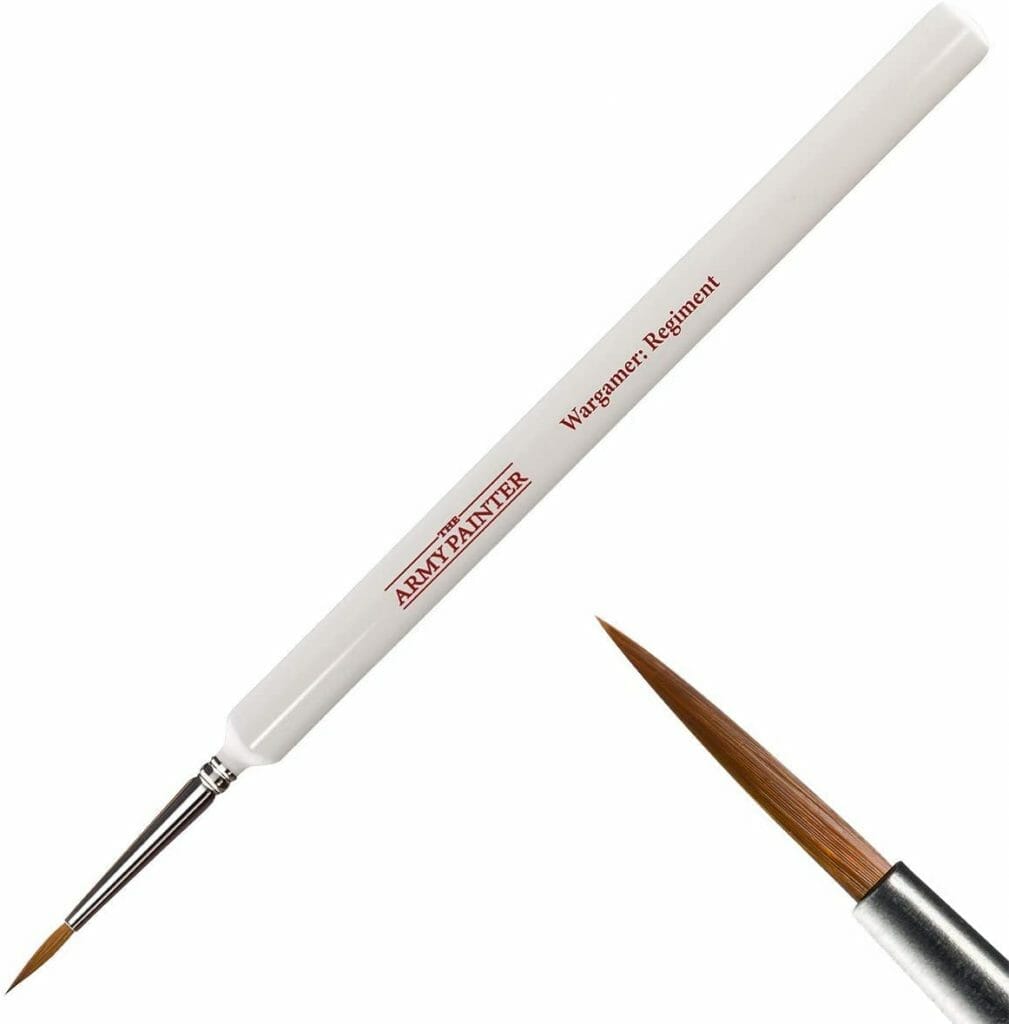
A quick note on brushes for painting miniatures. My preferred brush for any model paint job is often a size #1 or larger pointed round. For this project, I used an Army Painter Wargamer “Regiment” (see the in-depth brush review), because it is durable and convenient for painting large surfaces as well as finer details with a light touch.
READ MORE: BEST BRUSHES FOR PAINTING MINIATURES AND MODELS
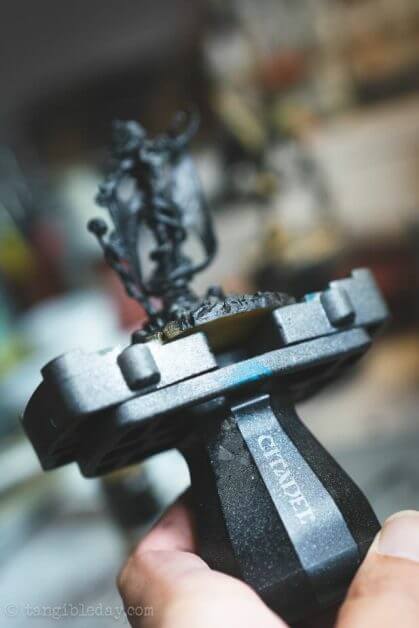
To make your painting session more comfortable, I suggest using a model painting handle, like the Citadel version. These clamp to your model’s base, giving you your hand and fingers more surface area to grip the miniature while you paint. This prevents you from inadvertently touching the model while painting, as well as relieving cramping in your wrist and fingers.
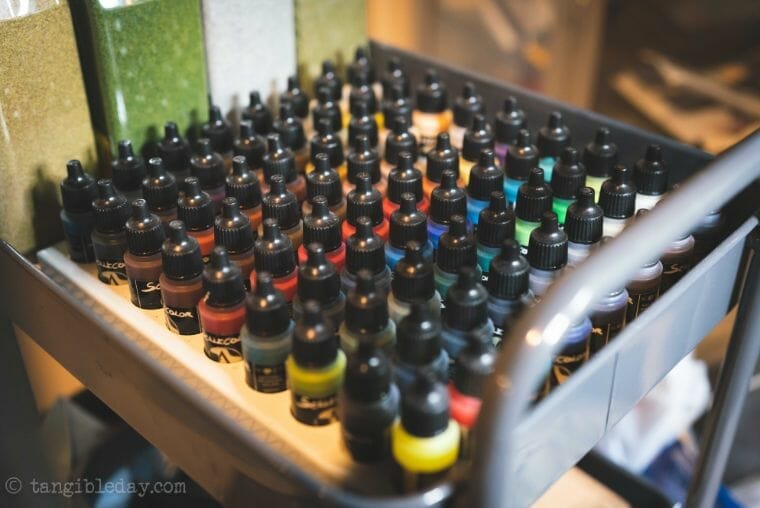
You can use any paint you like for painting miniatures. I warn, however, that you avoid using cheap arts & crafts paints you find in a discount store. These tend to have poor pigment density, low durability finishes, and exhibit bad behavior in detail brush work. For best results, use high quality acrylic hobby paints for painting models and minis. If you’re looking for a good set to get started, I recommend the Reaper Core Skills box set (great value) or the Army Painter Complete Paint set.
Continue reading to see the 10 steps for how to paint yellow on this board game miniature (“The King in Yellow” from Petersen Games’ Cthulhu Wars).
Step #1 – Wash your model
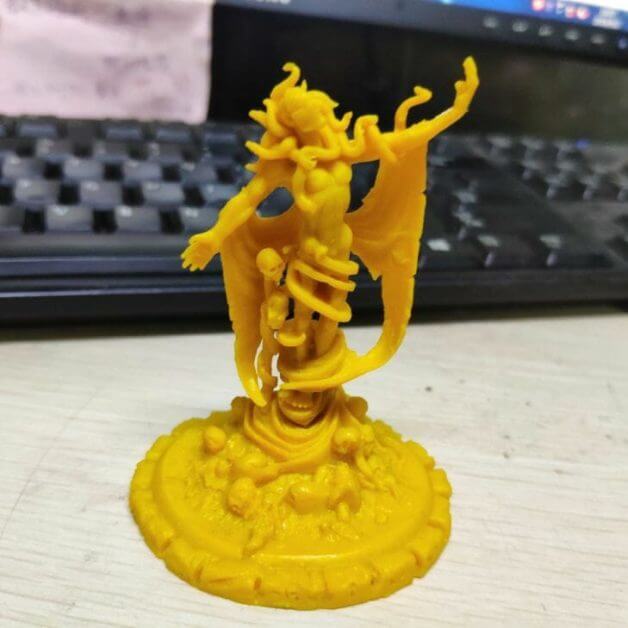
Every model I paint, whether it’s for wargames like Warhammer 40k or Age of Sigmar, or board games such as Zombicide, I start by washing the model in warm soapy water. After rinsing off the miniature in clean tap water, I fully dry the model using the low setting of a cheap hairdryer (here’s why every miniature painter needs a blow dryer).
Washing a model removes any oily residue and debris that may interfere with your paint job. Whether the miniature is plastic, resin, or metal, you want the surface to be as clean as possible.
Step #2 – Prime your model
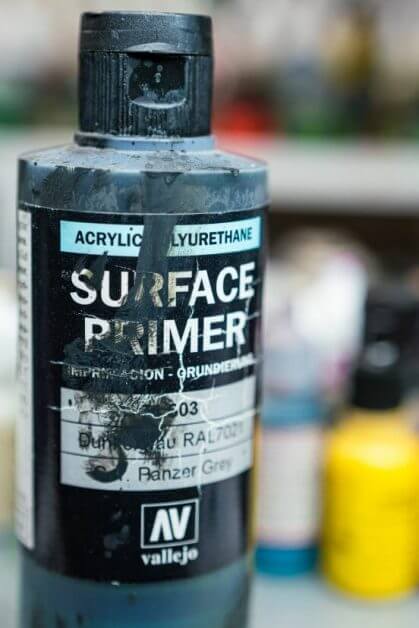
My favorite primer for painting miniatures is Vallejo Surface Primer (full review here). For tabletop standard paint jobs, I prefer using a dark (e.g., black or dark gray) primer color. This helps speed up the workflow because all my shadows will begin dark. On the other hand, for more competitive level painting, I will often start with a white or light gray surface primer color.
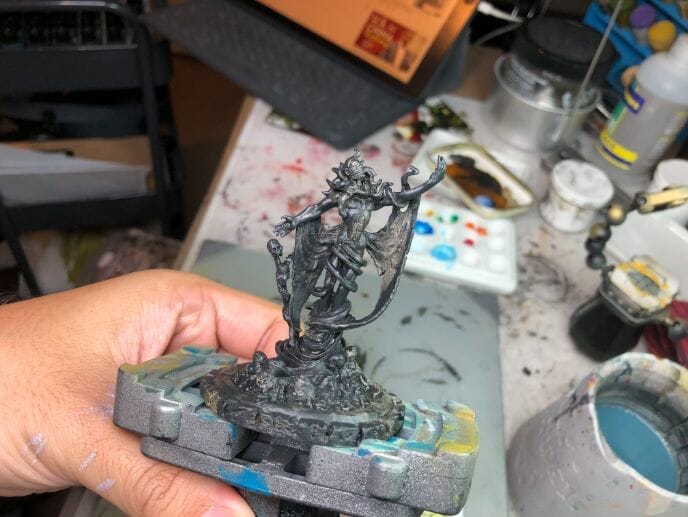
For best results with primers, it is best if you spray them on to achieve a smooth even coat. However, if you’re like me and don’t want the hassle of working with rattle can primers (e.g., aerosols) or fiddling with an airbrush, you can use a large paint brush to apply primer.
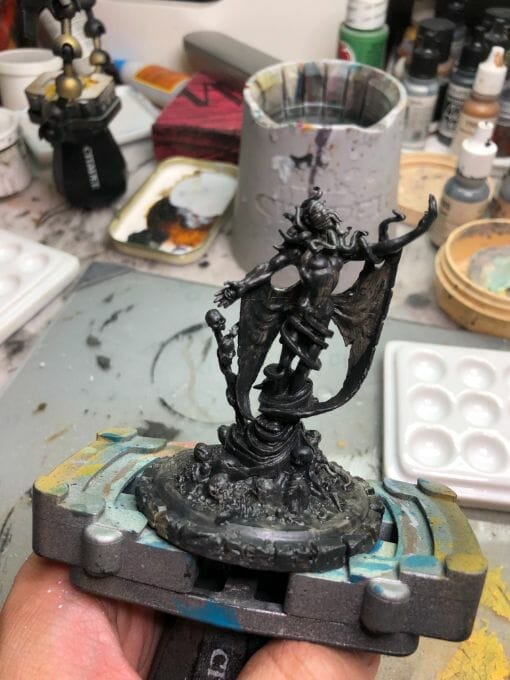
After 2-3 coats of the Vallejo Surface Primer, I am happy with the result. The entire model is evenly coated with the primer with no underlying plastic showing through. The primer self-levels as it dries, which prepares the surface for the overlying paint job.
Step #3 – Paint the Base Coat Colors
To start painting any miniature, I begin with applying all the base coat colors. It doesn’t matter what color you decide to paint with first. The key is to paint all the main colors on the models, before going into details like shading and highlighting. Here, I know I wanted to get the midtone (the middle bright-dark colors) on the miniature so I could feel my way through how the yellow would look together with every other element.
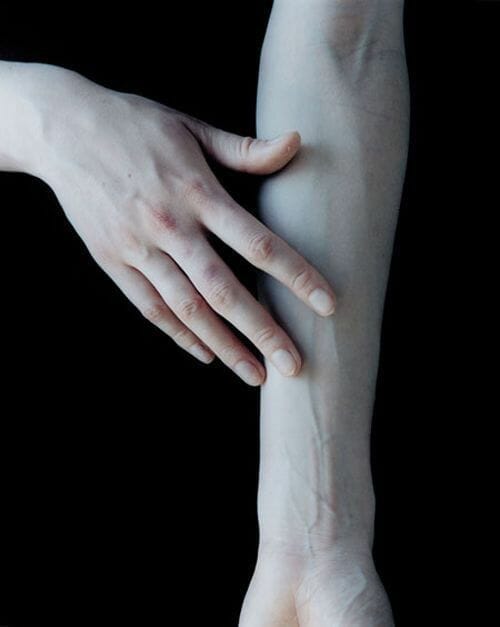
For this project, I wanted to the skin of The King in Yellow to have an deathly, pale skin tone. How do you paint pale flesh? I usually try to paint models with a stand-by reference image. This helps me get an idea of what colors work together and how my idea may look on the painted model.
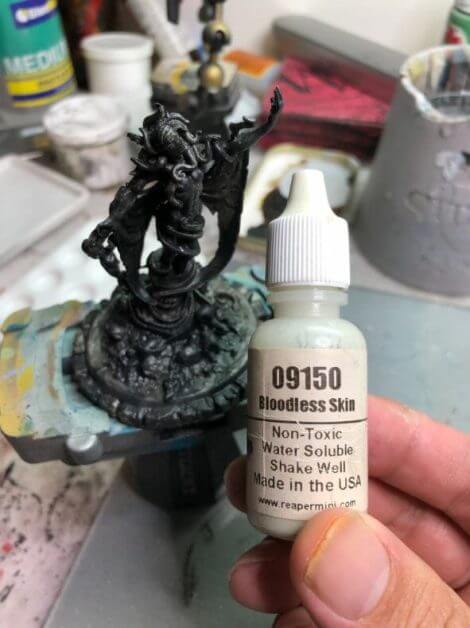
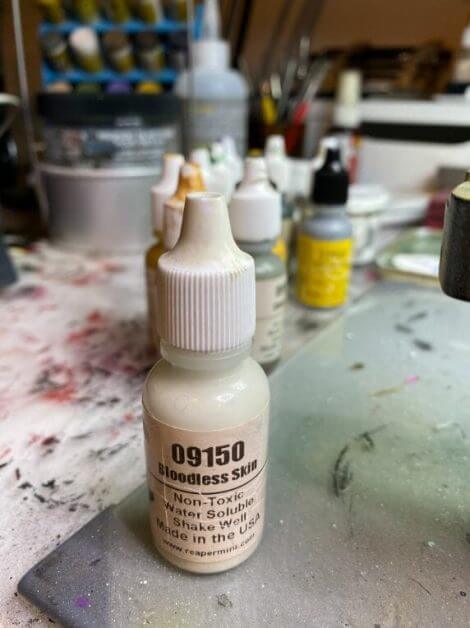
Using the reference image, I choose Reaper Master Series Bloodless Skin. This is the main color I want the pale skin to have. After a good buzz of the bottle on my Vortex Model Paint Mixer (reviewed), I dispense a drop or two of the paint on my dry palette. Using my trusty Army Painter Regiment paint brush, I apply this in 2-3 even coats.
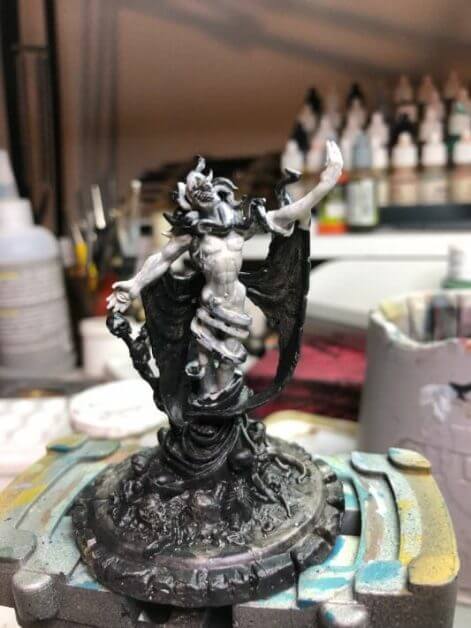
When base coating a model’s surface, your goal is an even, smooth coat. This is especially important for painting good looking, realistic skin. The smoother your first base coats, the easier it’ll be when it comes to layering and blending (note: I don’t do much blending for this model, but I like keeping good painting habits).
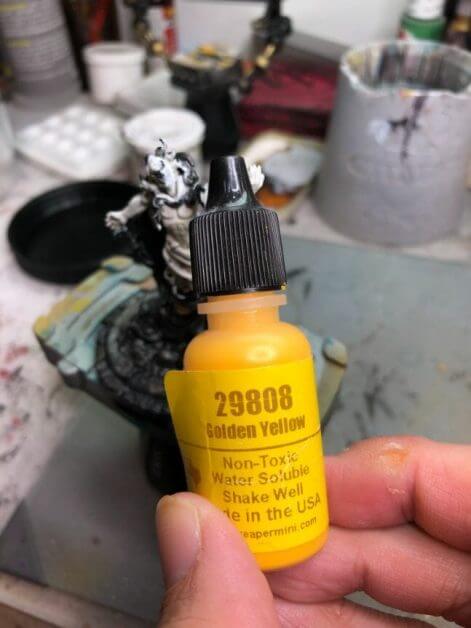
For the yellow base coat, I use a high density pigment (HD) Reaper Golden Yellow paint. This is a superb paint formulation for laying down the foundation base coat for any yellow paint job, particularly for model surfaces you want to look vibrant.
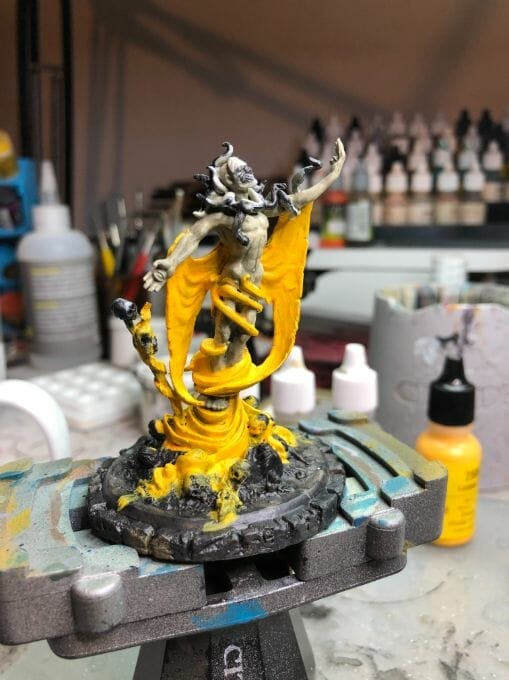
Step #4 – Shade Your Base Coat (Skin)
Shading involves adding depth to your base coat colors. In other words, you’re painting shadows on your model which enhances contrast. In miniature painting, high contrast is what creates the “pop” or “3D-ness” of a paint job. If you want your miniatures to stand out from the tabletop, aim for creating dark shadows and bright highlights.
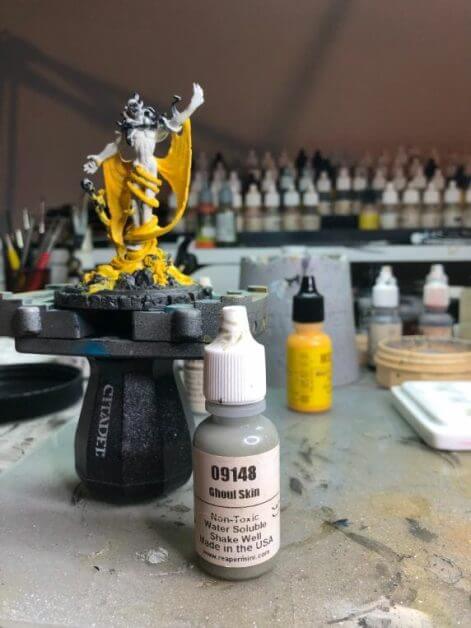
For the skin, I paint a layer of a darker tone paint, e.g., Reaper Paint’s Ghoul Skin. Again, I shake the bottle on my vortex paint mixer, dispense a few drops on my glazed ceramic dry palette, and apply it to the appropriate surfaces on the model.

For a higher contrast skin tone, you can darken the recessed texture on the model. This would include adding a darker color tone to the deeper areas of musculature. Later on, you can blend these shadows together with the midtone and highlights for a smoother final finish.
Step #5 – Shade Your Base Coat (Yellow Cloak)
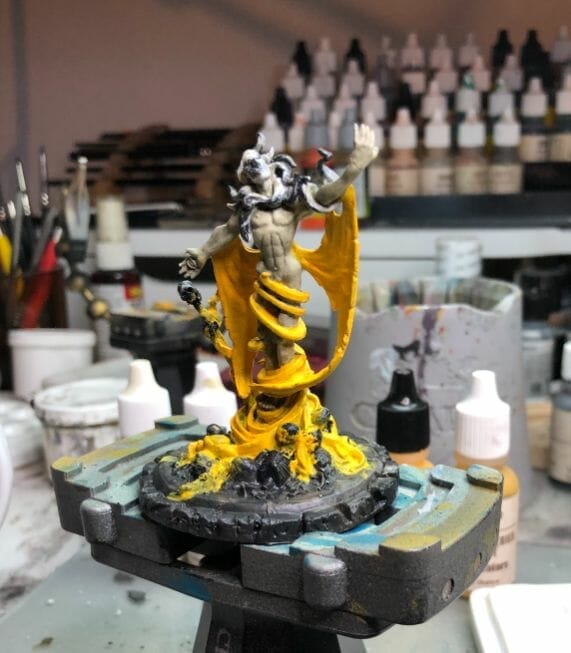
To shade the yellow base coat on the model, I used the the easiest and fastest route using a premade shading wash. In this case, I chose to use Citadel Shade: Seraphim Sepia, a perfect blend of dark nostalgic warmth.
RELATED: TOP 7 WASHES FOR PAINTING MINIATURES AND MODELS
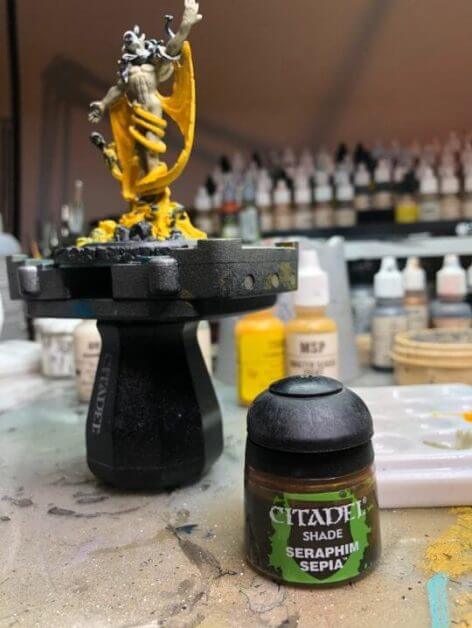
To apply a Citadel Shade (aka wash) to the yellow base color, you should use it straight from the bottle without dilution in water. Make sure you shake the pot well so the pigment homogenizes with its polymer binder (e.g., for a streak-free dried finish).
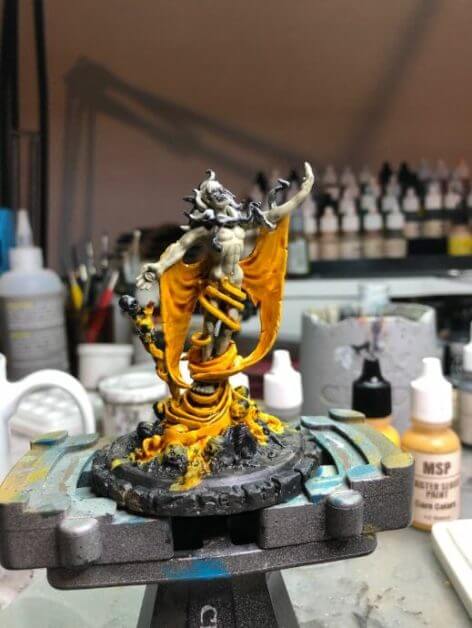
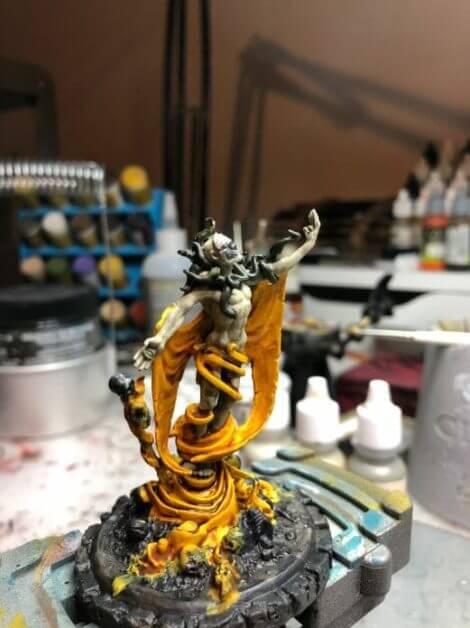
Apply the wash liberally, allowing the pigment to pool in the recesses over the yellow painted surface. This will quickly shade the textures on the surface. Do not disturb the sepia wash as it dries, otherwise you’ll make a mess of things. Don’t use a hair dryer to speed things up, as the moving air could disrupt the yellow shade effect. Be patient.
Step #6 – Paint Details
After you finish shading the base coat surfaces, turn your attention to the smaller elements on the model. The reason I don’t paint details earlier in the miniature painting process, is because they are less important to finalizing the overall “look” of the painted model. In other words, my advice is to paint big, then small.
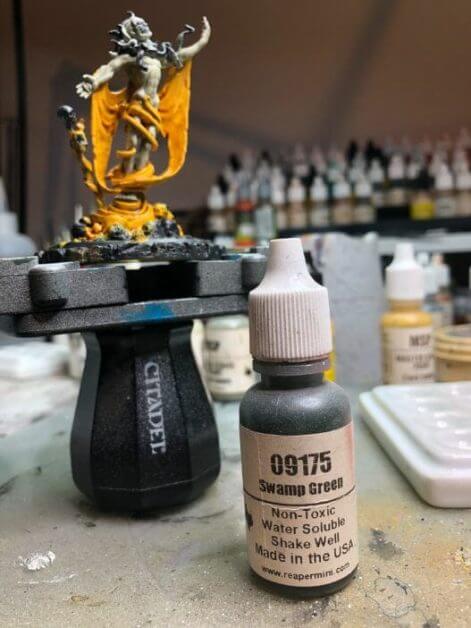
The key to deciding what colors to use for other details on a model is to maintain contrast. In this case, I’ve already painted most of the model with colors that have a bright value, e.g., vibrant yellow and the pale skin tone. So, for the serpents/snakes in the hair, I decided to start with a dark paint color: Reaper Swamp Green.
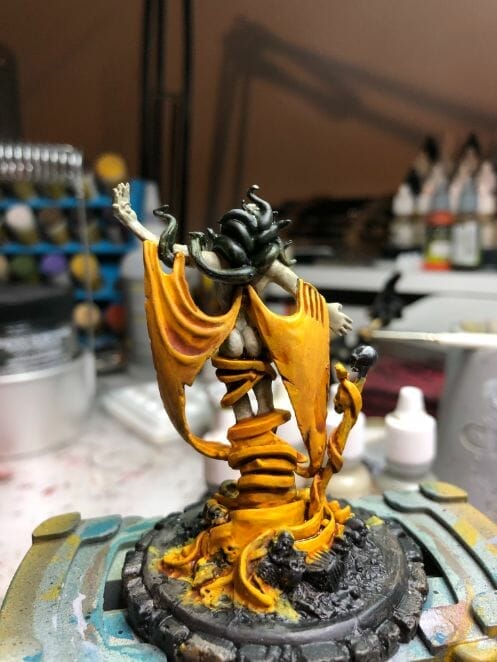
Using the same Army Painter Regiment brush, I paint the base coat of the serpent hair with the dark Swamp Green color. This dark tone contrasts nicely with the bright yellow and pale skin.
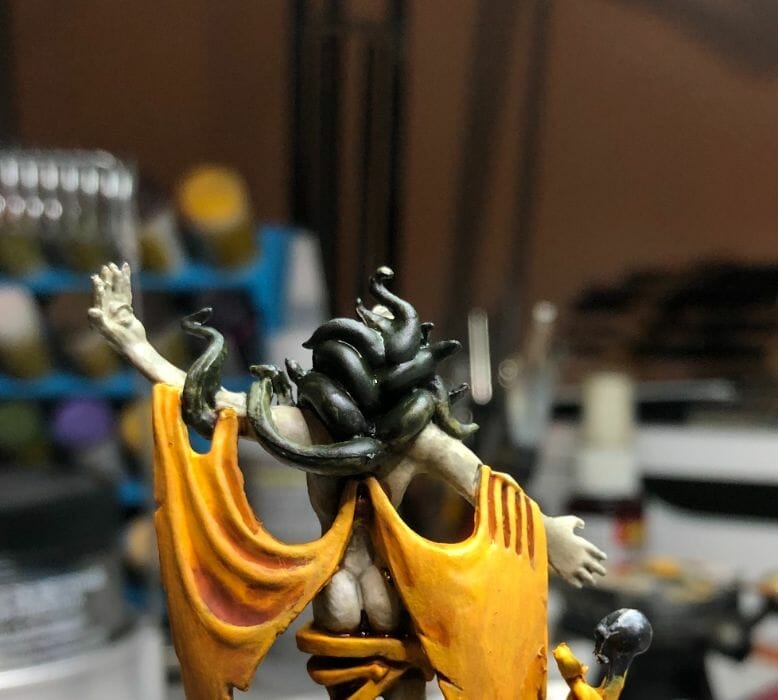
Although not shown in photos, to shade the swamp green, I wash these surfaces with Citadel Agrax Earthshade. This small step isn’t necessary as the Swamp Green is fairly dark and all I would need to do is lighten the raised surfaces (which I do, as shown below).
Step #6 – Check Contrast (Use Different Lighting and Photography)
When you paint models, it’s always a good idea to take a step back and examine your work. This allow you to see if you’re on the right track, or need to make adjustments to your approach.
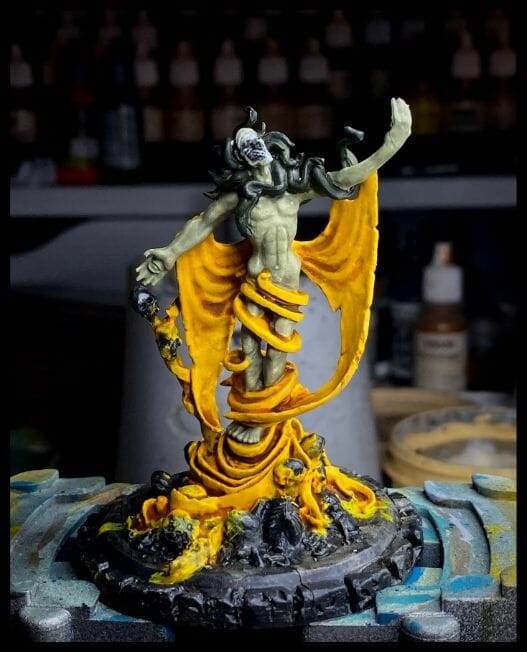
At this point of the paintjob, I’m 90% happy with the colors I’ve chosen and how I’ve shaded them. Using different lighting conditions, e.g., frontal LED ring light or more diffuse ambient overhead lighting, I take a few photos with my smartphone. This allows me to investigate whether I need to add more contrast in certain areas.
READ MORE: HOW TO USE PHOTOGRAPHY TO YOUR MINIATURE PAINTING CONTRAST
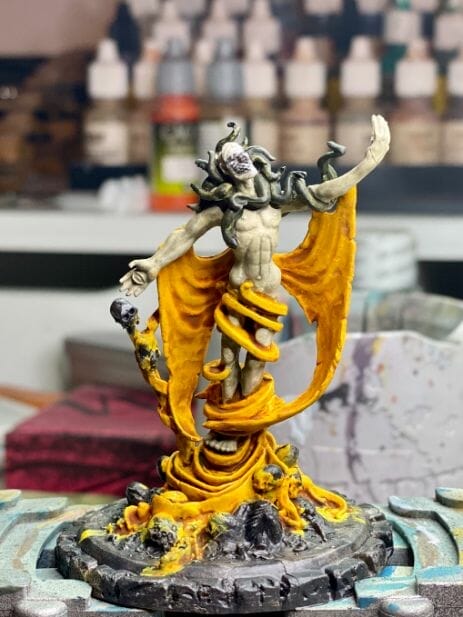
The idea with photographing your miniatures is also to ensure you see them without bias. With a 2D image, you can inspect things a bit closer, and see details that you might not otherwise perceive with your naked eyes.
If you discover any places that need a “touch-up”, then go back and fix those spots. The great thing about keeping your paint palette simple, e.g., not using too many colors and applying too many techniques, is you can easily adjust things.
Step #7 – Highlight and Texture
For a simple tabletop standard, you could probably skip this step. But, since we’re here and I’m in the mood for an above-average paint job, I went ahead with highlighting and texturing the miniature. (Did I forget to mention this is a commissioned project for Petersen Games?)
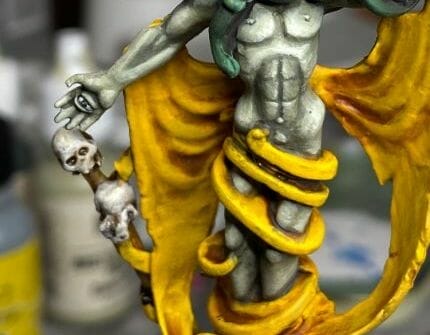
For the skin, I used the layering and glazing technique to blend highlights onto the fleshtone. I used a similar paint blending technique for all the other details, too, including the skulls and serpents. I don’t show the granular steps here, but you can check out this other tutorial for blending paint.
READMORE: 8 MUST-KNOW COLOR BLENDING TECHNIQUES FOR PAINTING MINIATURES
To add texture to the serpent headdress, I used a stippling technique. Stippling is a painting technique whereby you paint dots over and over using the tip of a small brush.
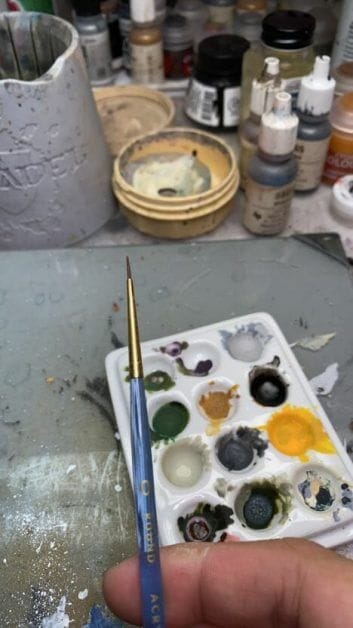
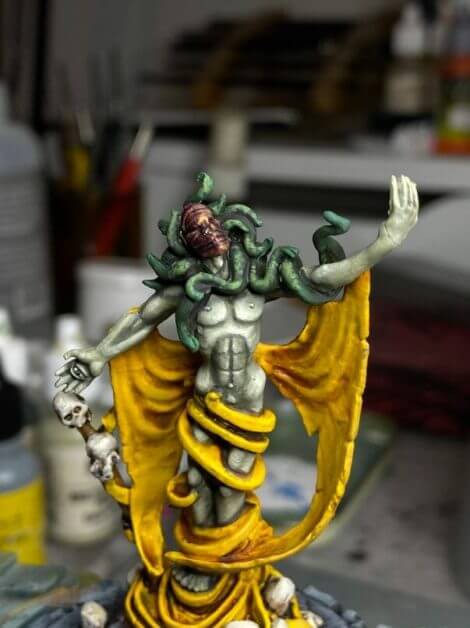
To avoid breaking my expensive brushes, I used a dollar store synthetic paint brush. I used a light green color and gradually added brighter green and yellow-tinted dots to the areas between the midtone and highlight. I need used my brightest green over the highlight area where I wanted a viewer’s attention to focus: the face. The lighter color around the face brings attention to this portion of the model.
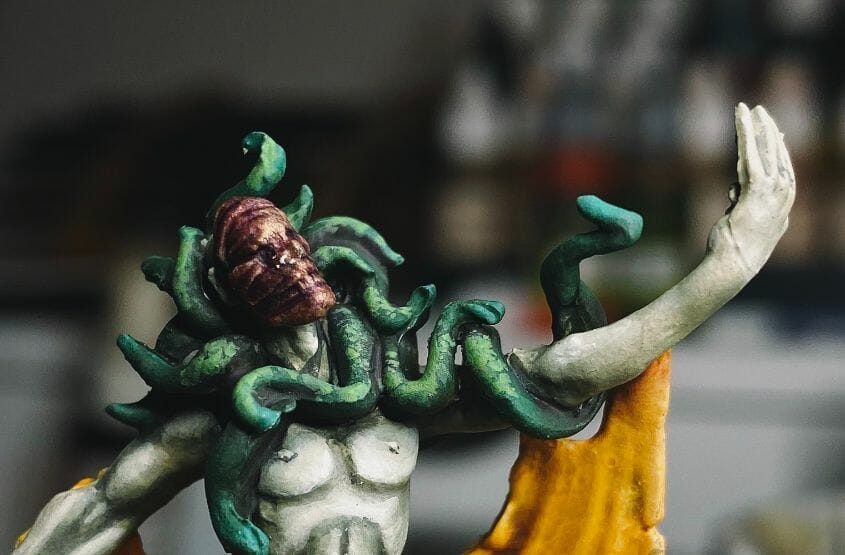
Of course, the face on this model is wrapped in cloth of some sort. To keep a viewer’s attention here, I decided to use a copper metallic paint. This is a warm metallic tone, which I thought harmonized well with the other colors on the model. With a cool, purple Citadel wash (Druchii Violet), the final metallic finish really brought attention to this area of the model.
Step #8 – Finish Painting the Model’s Base
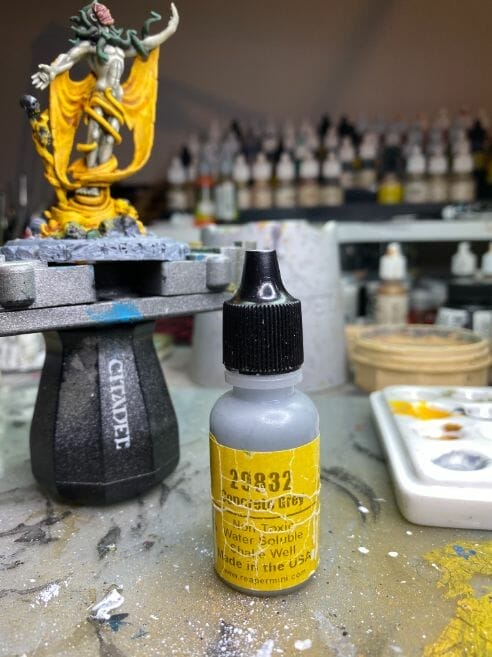
The stone colored based I painted with Reaper Concrete Grey.
I painted the skeleton and skulls using a bone ivory color. Overall, I tried to use brighter color values on the base. The reason for starting with brighter paint is that it gave me creative space to use dark washes and shades to add contrast. For example, by using a lighter gray color, this gave me creative space to use a Citadel Nuln Oil and Agrax Earthshade to shade the base’s recesses.
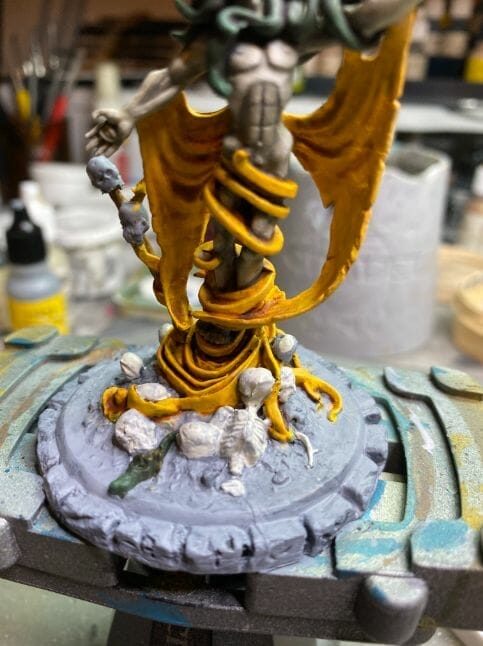
Not shown here, but after applying the dark washes, I allowed the base to completely dry. Then, using a dry brush technique, I gently applied the same bright colors back over the base. Collectively, this workflow gave me the contrast I was looking for.
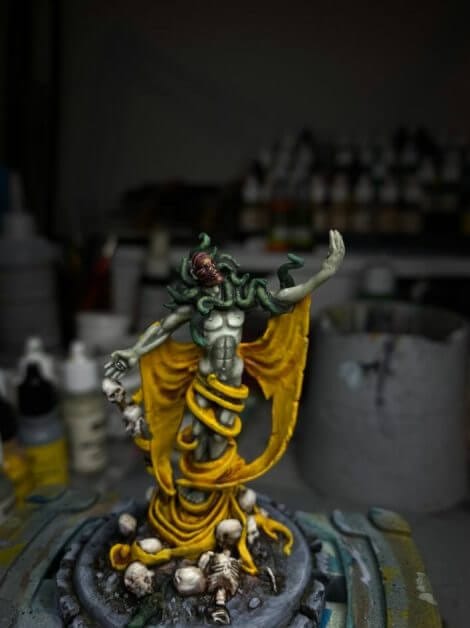
As you can see above, after finishing the base of the model and completing the midtone base coat, shades, and blended highlights, the entire model came together into the final product I envisioned.
Step #9 – Varnish with a Matte Sealant
To protect your work and maintain color vibrancy, it’s a good idea to use a matte varnish. Here’s an article about best practices for using a matte varnish on miniatures.
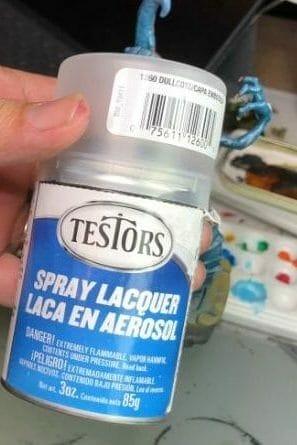
There are many products you can use for varnishing a miniature. These include the old standard Testors Dullcote, or other similar model-grade matte varnishes, like Tamiya Clear Flat Spray.
I tend to avoid using Game Brand varnishes, e.g., Army Painter, Citadel versions, which are regarded as finicky and unreliable. In general, I recommend using varnishes designed for scale modeling, e.g., military historical models or model train railroads kits.
For best results with any matte varnish, make sure to spray in a room or outdoors with a low humidity (<50%) and with the nozzle at least 6-12 inches (15-30 cm) away from the model. This will prevent the dreaded frosting or cloudy effect and create a better finish overall.
Step #10 – Photography
If you’re going to put this much work into any model, then you should at least consider documenting your final product. I use a photo lightbox and good lighting to photograph all my miniatures when I’m done.
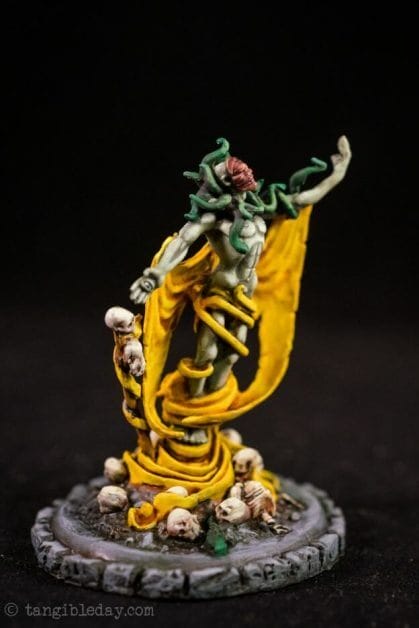
Take multiple photos to capture your work. Have fun creating images, as they will be the best way to share your hobby with others, as well as help you document your progress as a painter.
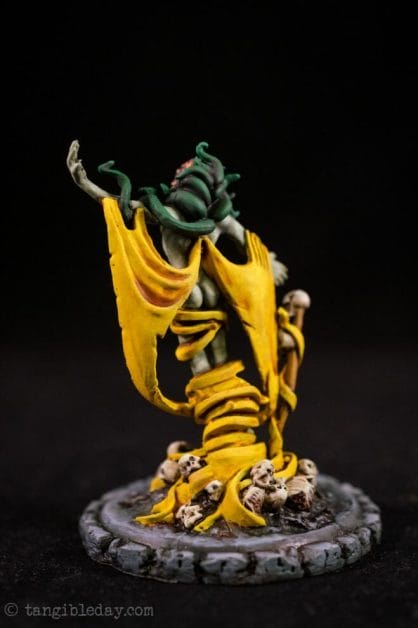
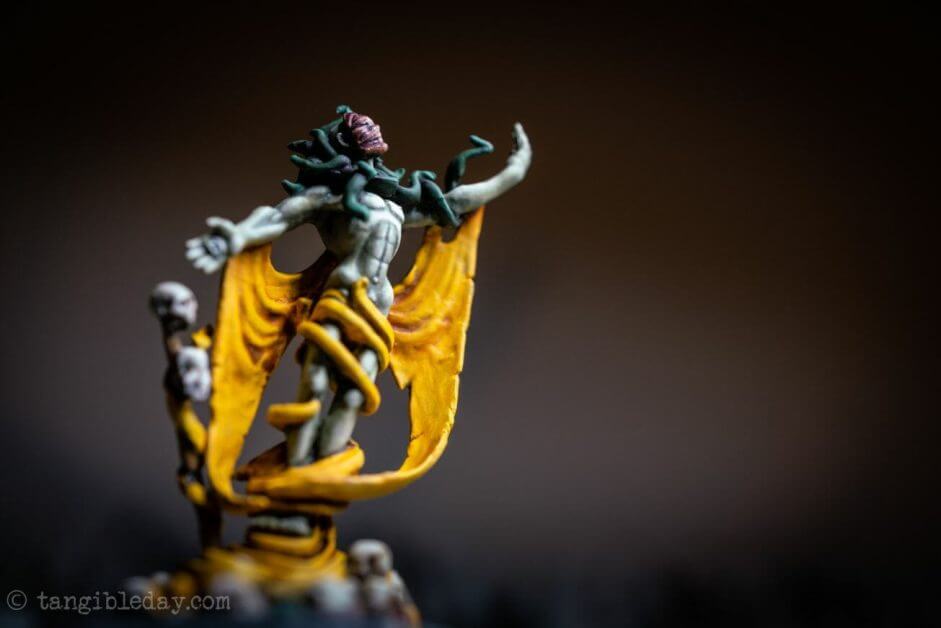
I was particularly happy with how nice the yellow cloak appeared, even with the simple base yellow and sepia wash. If you’re having trouble with painting yellow on miniatures, remember that you don’t need to make it more complicated. Fall back onto simple principles. Paint with multiple, solid coats of paint over a well prepared surface, e.g., smooth, even primer application.
READ MORE: 10 WAYS TO THIN YOUR PAINTS FOR BETTER MINIATURE PAINTING RESULTS
Summary
If you’re looking for other ways to paint yellow on models, check out this painting the yellow space marines tutorial.
There you have it. A board game model that I painted using yellow as a major color. Notice that I didn’t use a lot of fancy techniques until the very last step of the paint job.
To underscore my point, begin painting any model by coloring the large open surfaces first with solid coats, applied to create an even, smooth finish. Then, work from this point forward by painting the more detailed parts. And, remember that when you’re painting anything, complexity is merely simplicity combined together.
Happy painting!

Tangible Day on YouTube (Miniatures and More!)

