How do you glaze miniatures? Glazing is a powerful technique for blending acrylic paint on miniatures and models. If you’re a painting wargaming models or tabletop miniatures, such as for Games Workshop Warhammer 40k or D&D minis, knowing how to glaze is a great skill to have in your back pocket. Glazing is a simple and deeply satisfying process once you get the hang of the technique. You can make a glaze from any model hobby paint, including those made by Citadel, Army Painter, Vallejo, or Reaper. Almost any acrylic paint will make a good glaze, because all you need to know is how to thin the paint properly and maintain good brush control.
In this article, I show you how to glaze miniatures easily using a simple approach. This glazing tutorial will show you how to blend two (or more) colors using simple paint thinning with water.
READ MORE: 8 PAINT COLOR BLENDING TECHNIQUES YOU WANT TO KNOW
What is a Glaze?
A glaze is a paint medium that is translucent, which when applied, will allow underlying color to show through. Additionally, a glaze will act as a “filter” that changes the color and value appearance of the surface. In other words, glazes can change color saturation, hue, and tone.
You can make a glaze with any paint medium, even heavy opaque colors, simply by adding a thinning media. A thinning media could be water or a clear acrylic polymer.
Here are 3 popular acrylic polymers that you can mix with acrylic paints to make your own glaze:
Each of these polymers work great as glaze mediums that you can add to your acrylic model paints. For example, if you’re looking for a way to make a Citadel, Vallejo, or Army Painter glaze, simply add a drop of Golden Glaze Liquid Satin with a touch of water to thin out the pigments. You want your paint+glaze medium mixture to be translucent so color doesn’t cover up a surface in a single layer. Adding a bit of water helps the glaze mixture flow off your brush easier.
| Image | Glaze | More Details |
|---|---|---|
 |
Golden Glaze Liquid Satin | Buy on Amazon Buy on BLICK ART |
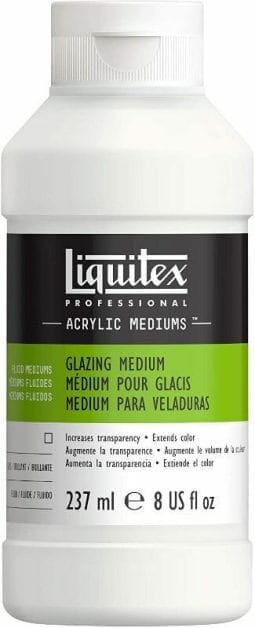 |
Liquitex Professional Glazing Fluid | Buy on Amazon Buy on BLICK ART |
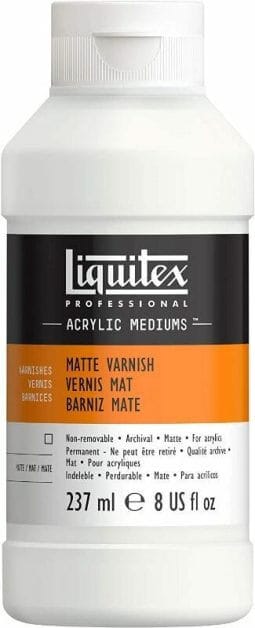 |
Liquitex Matte Varnish | Buy on Amazon Buy on BLICK ART |
Of course, every additive medium you mix with your model paints will have a slightly different effect. Although I’ve tried numerous mediums in my hobby work and have my preferences, you’ll want to experiment for yourself to know what you like. Some mediums, for example, are thicker gels that require a bit more work with your brush to use properly. Other glazing acrylic mediums have a soapy, lubricant feel to them, which may overly thin your paints (e.g., you have less control).
Bottomline: Play with your paints to know what you like for your own miniature painting work. As you see below, I kept this tutorial simple and use water only as my thinning medium to create glazes. In fact, for new painters, I highly recommend you try and use only water until you understand how your paints behave in their primary formulation (i.e., most hobby acrylic paints are water-based formulas).
How to Glaze Using Acrylic Paints on Miniatures
You can watch my video tutorial above, or keep reading below to see how to use glazes on miniatures and models.
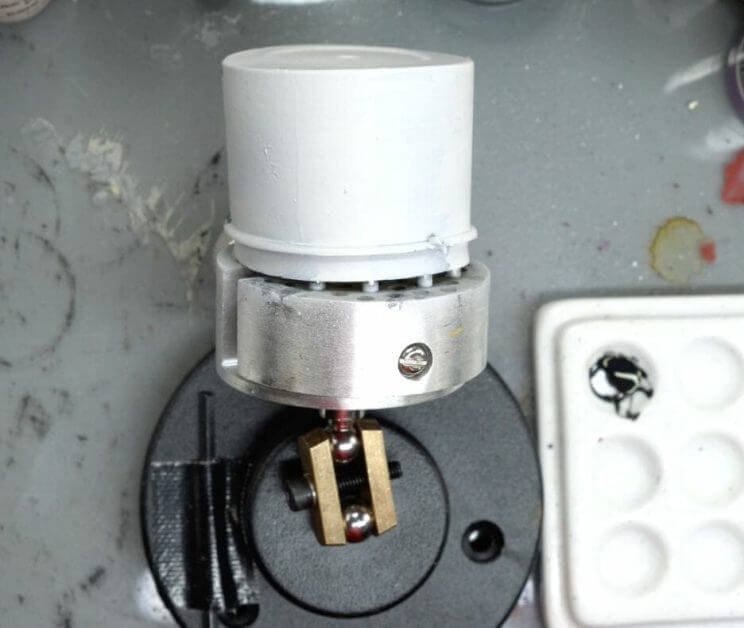
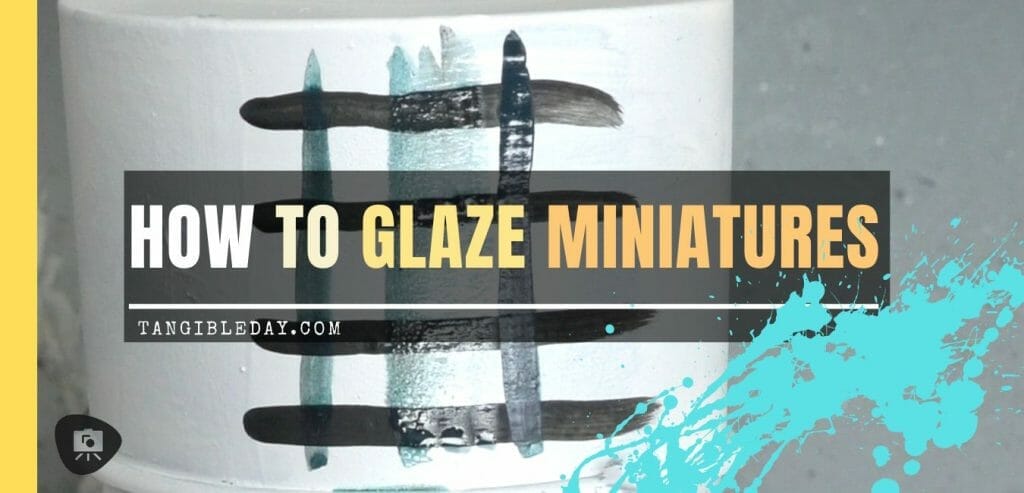
For this how to glaze miniatures tutorial, I use the old cap of a spray can. To demonstrate what a glaze is, I also use this surface as a way to show you what a “glaze” looks like compared to a “base coat or layer” of paint.
Here are the 9 simple tips for glazing with acrylic paint:
- Prime your surface
- Paint your model with your basecoat colors
- Make a glaze with water and paint
- Apply your glaze with constant brush pressure for a smooth coat
- Add additional glaze layers for more color coverage
- Create color gradients by layering glazes
- Use glazes to blend two (or more) colors
- Thin your paint with water (or glaze medium)
- Add a tie-in color (also known as an “accent” glaze)
Read on for more details for how to glaze miniatures and models!
1. Prime your surface
Always start with a suitably prepared surface. This means using a good primer applied in an even coat.
RELATED: BEST PRIMERS FOR PLASTIC, RESIN, OR METAL MINIATURES
The best way to apply a primer is to spray it on. You can use aerosol primers or an airbrush, which can help you with the powerful technique of zenithal highlighting. For this glazing example, I primed with Vallejo Grey Primer Acrylic Polyurethane, one of my favorite surface primers. I applied it with an even airbrush coat using my Badger Patriot 105 airbrush.
2. Paint your model with your basecoat colors
For an example, I paint dark lines to represent underlying color on a model.
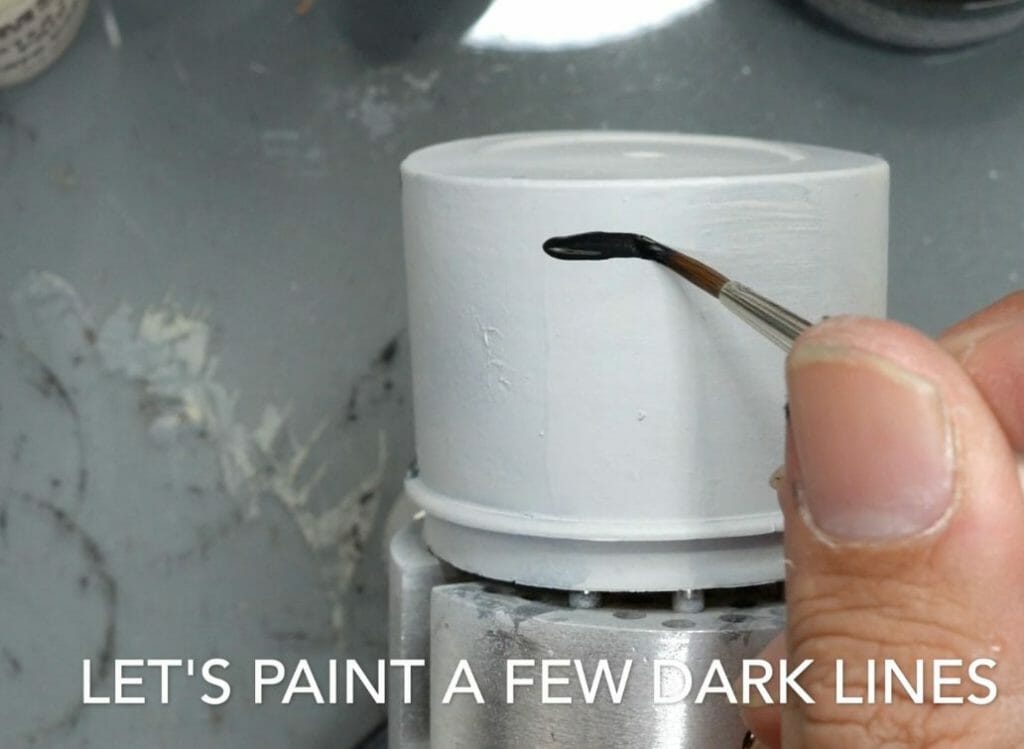
These dark lines may represent details or other patterns, as well, that you want to color filter with a glaze.
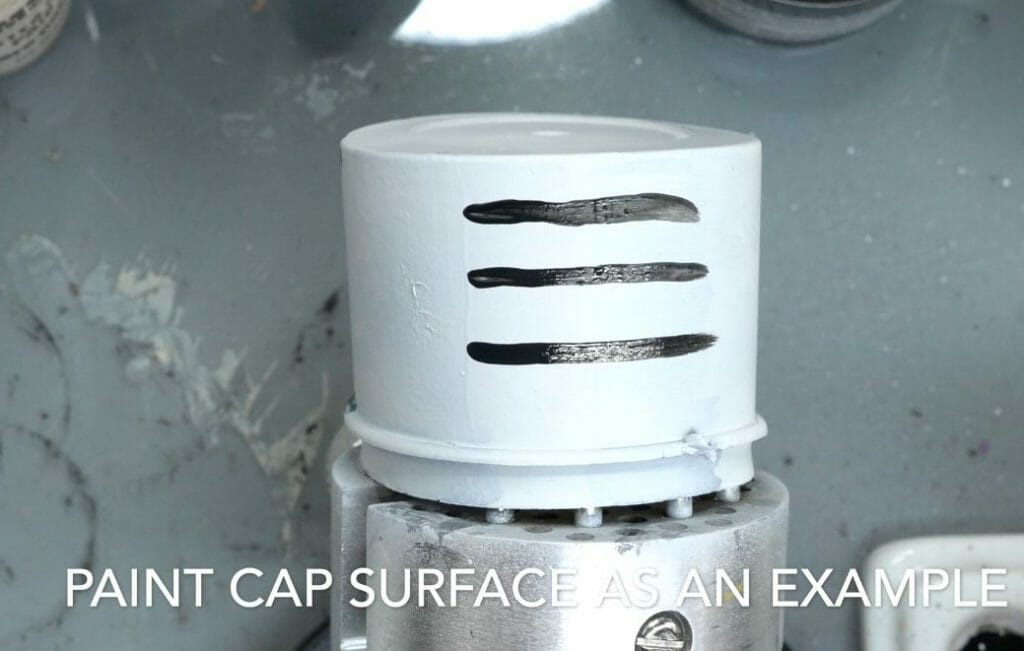
For normal basecoats, you want to apply paint that is fairly opaque paint. This means using paint that is fairly pure directly from the bottle or pot. In this case, I use Vallejo Model Color Dark Sea Blue.
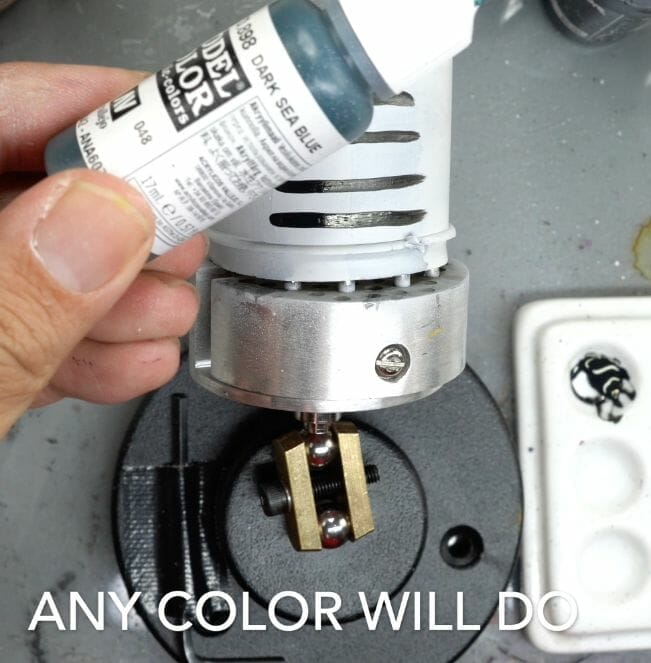
Depositing the paint directly into my ceramic palette, I can see already that it will have great coverage in 1-2 layers.
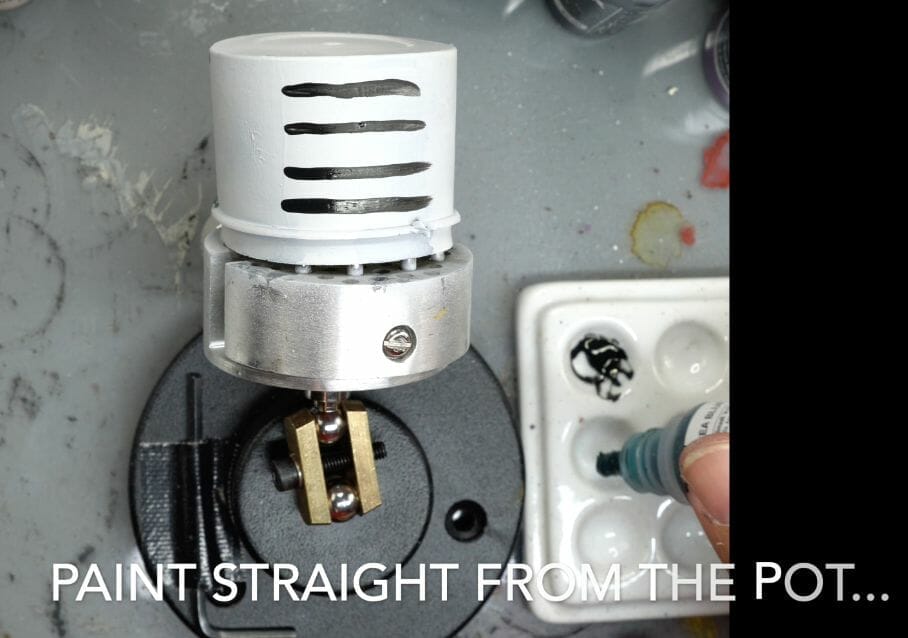
Using paint straight from the pot is great way to save time. I prefer using paint as thick as possible to avoid having to layer on paint over a surface over and over to avoid splotchy results. Of course, there’s a balance. Make sure your paint is thin enough that allows you to brush it on evenly and predictably. You don’t want your paint to look like a heavy “paste” on your model’s surface.
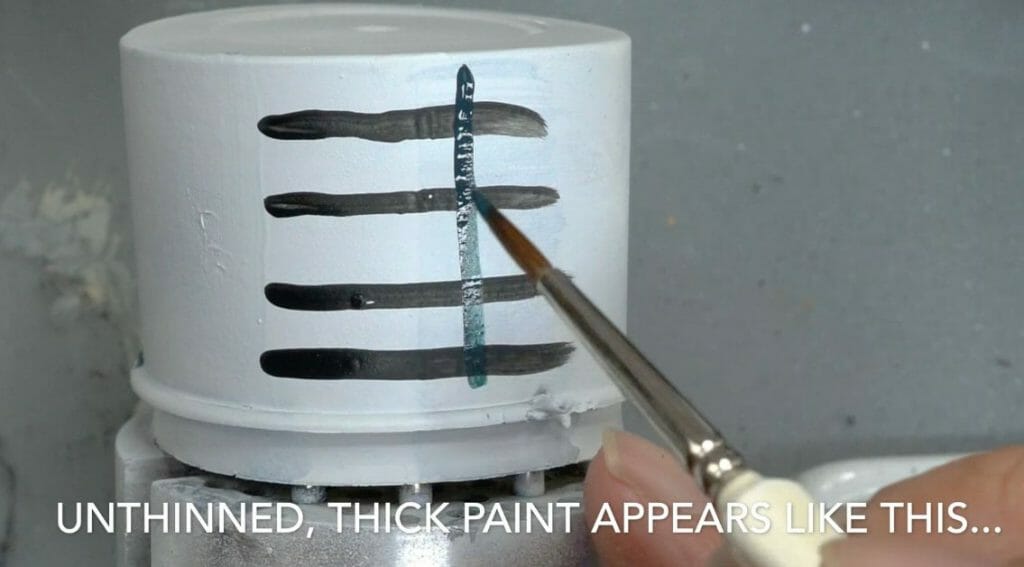
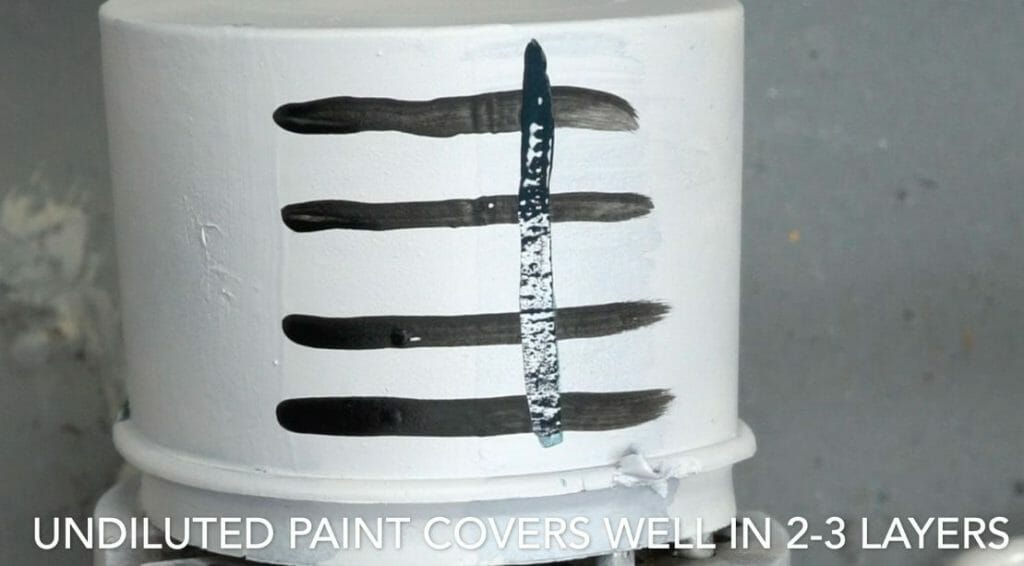
A good base coat paint will cover a surface in 1-3 layers. More importantly, the paint will be predictable and won’t build up unevenly. You want an even coat no matter what thickness of paint you use in your first few base coat layers. You’re building house, metaphorically, so make sure your foundation is good and solid.
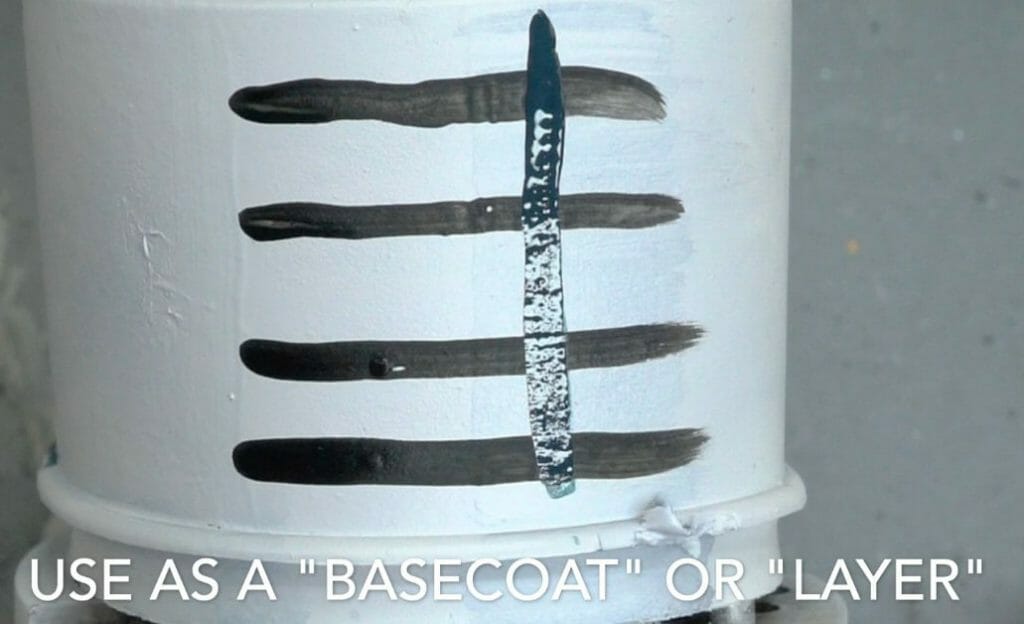
If you look at the images above (and below) of the base coat layer, you can see how the paint covers the horizontal black stripes. This is how a “base coat” or “foundation” paint should behave. A layer-type paint will also have the same effect, but may require a few more layers for solid color coverage.
You’ll see in a moment why I bring this point up when we compare this paint to a glaze.
3. Make a glaze with water and paint
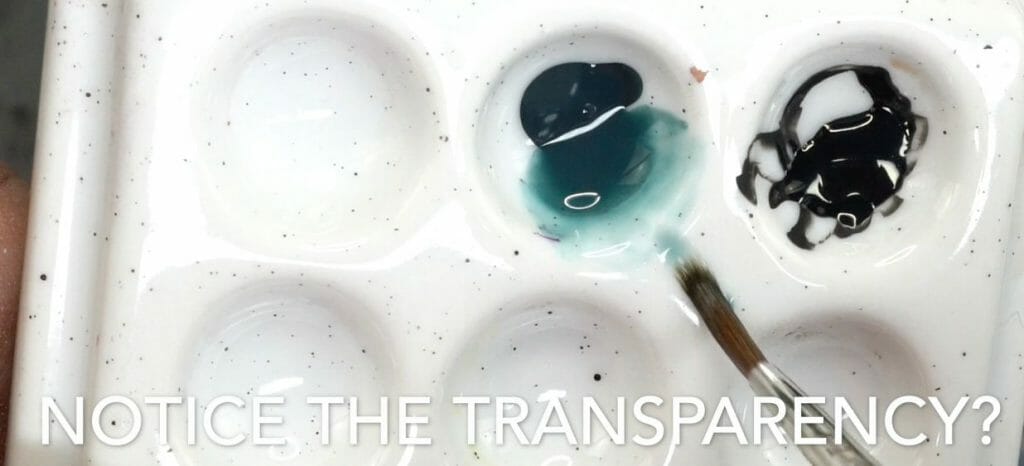
To make a glaze, all you need to do is thin your paint until the pigments spread out enough for you to “see through the color”. The amount of water doesn’t really matter. Add enough water to thin the paint until you can see the underlying surface through the thinned, paint glaze.
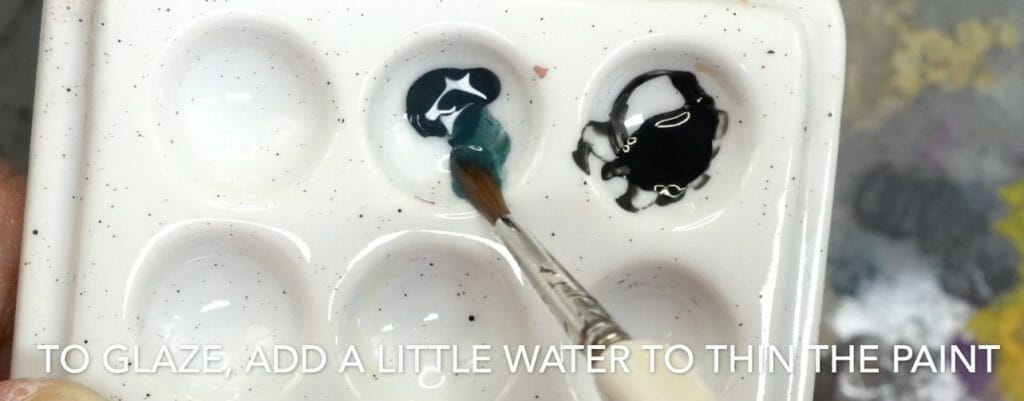
You’ll notice at some point after adding water that the glaze mixture becomes “runny”. This is okay. That’s a natural effect of paint thinning. Making a glaze with water is effective because it is simple. If you want more control over your glaze, you will have to add a “glaze medium”, such a clear acrylic polymer (see here).
To keep control over your thinned glaze, I recommend that you wipe off any excess moisture from the brush before you apply it to the model. If you don’t, you’ll get drips and runny glaze over areas of your model’s surface you don’t want the glaze to go.
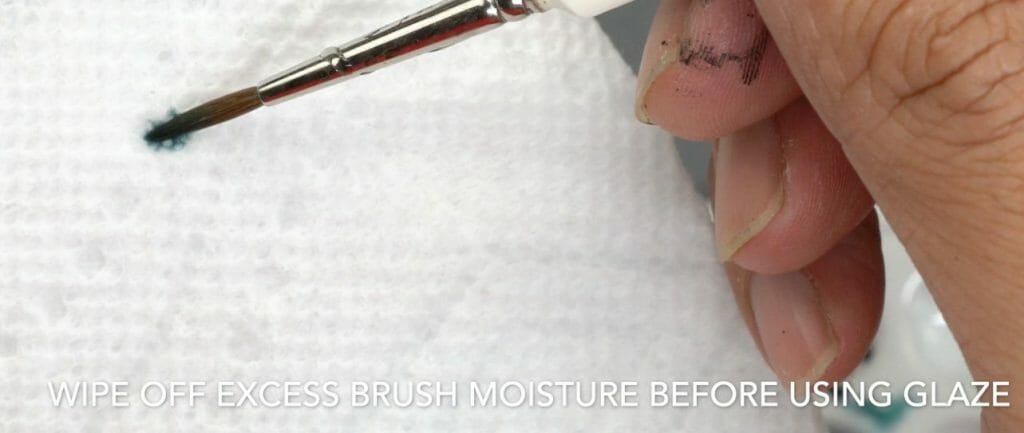
4. Apply your glaze with constant brush pressure for a smooth coat
Your brush pressure controls how much glaze color deposits on your model’s surface. The relationship is inverted: More brush pressure equates to less paint deposit.
If you can remember this axiom, you’ll internalize a key aspect of how controlling your brush also allows you to force paint to behave on any surface. A master painter doesn’t even have to think about how his brush works… but, if you’re a mere mortal like me, then all you need to do is go back to this idea. Brush pressure directly affects the amount of paint applied to a miniature.
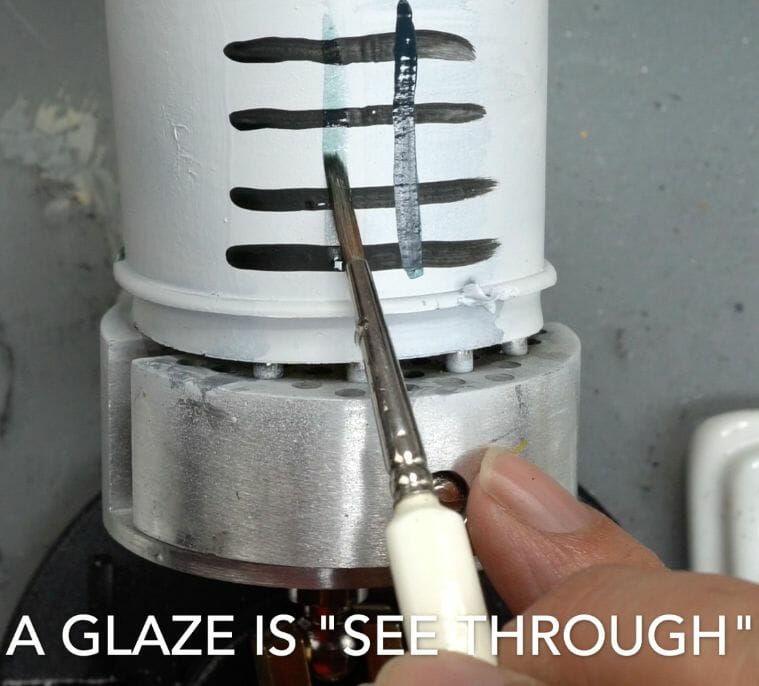
So if you want an even coat for your glaze, keep your brush pressure constant during the brush stroke. If you reduce the pressure on the brush, more paint glaze will come off at that point where your brush lifts up.
5. Add additional glaze layers for more color coverage
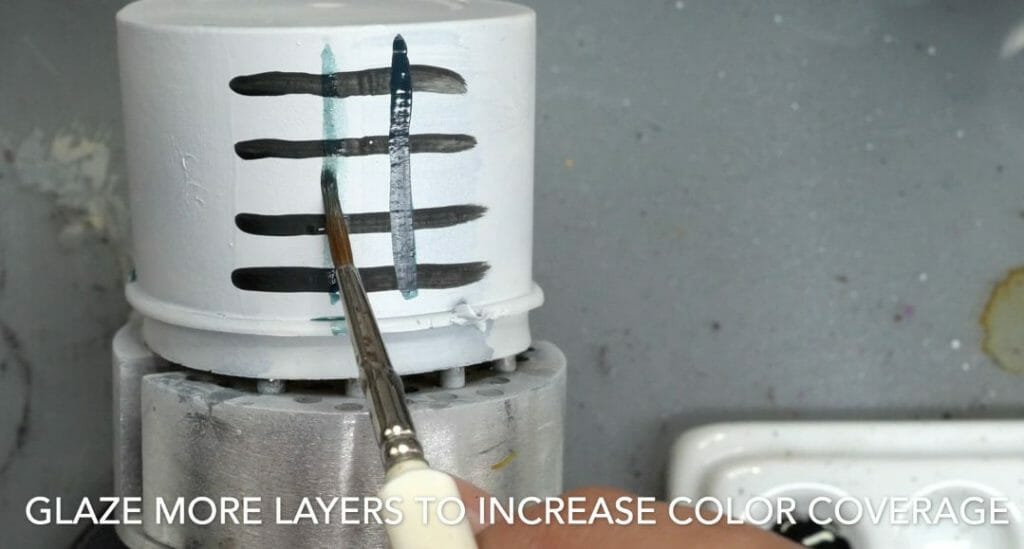
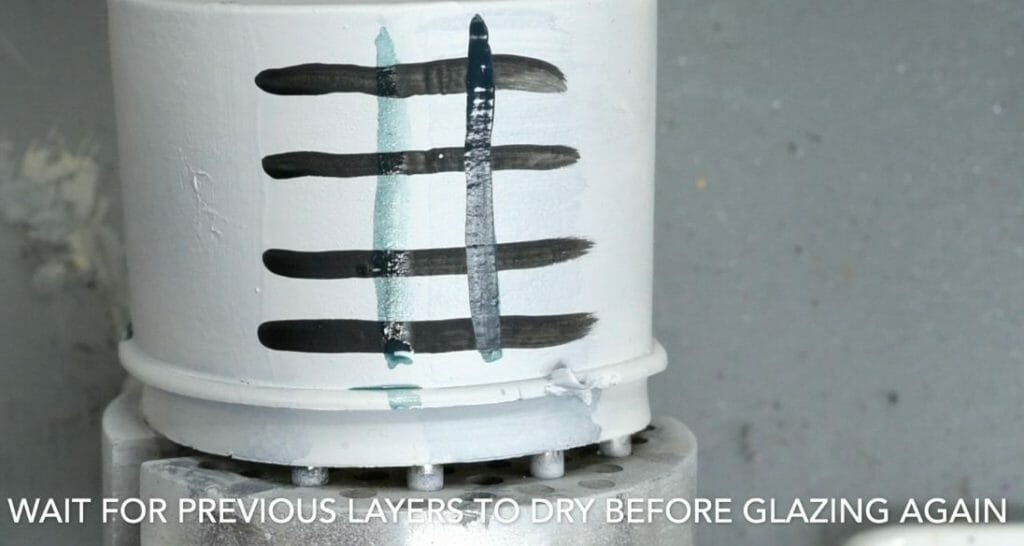
6. Create color gradients by layering glazes
To add more color using a glaze, make sure to allow the previous glaze layer to dry. Then, simply glaze over the same area. As pigment deposits, more color will appear and cover the underlying surface.
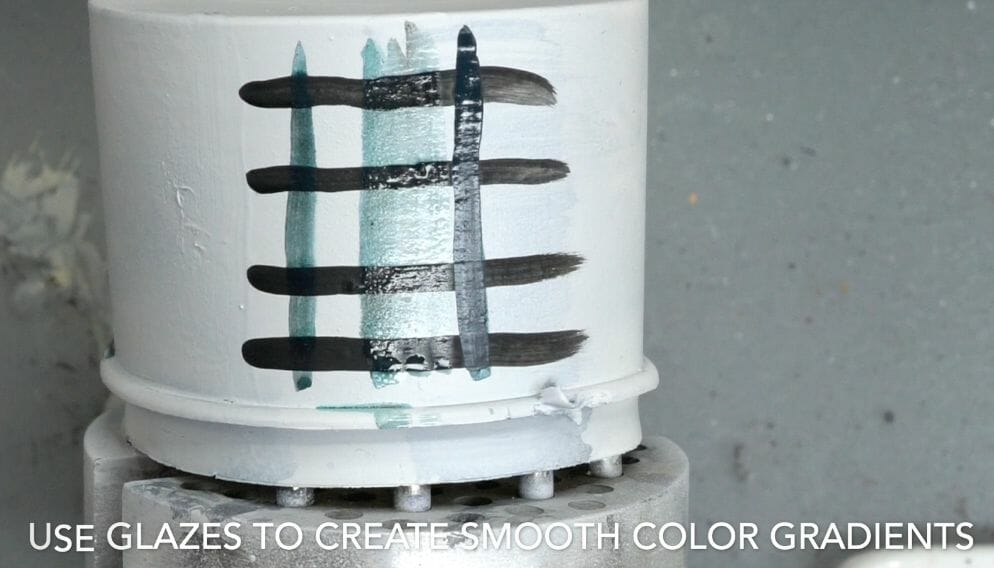
You can use this glaze “layering” technique to create color gradients of increasing/decreasing coverage. If you’re savvy, you’ll already have discovered the significance of this simple, but powerful technique with glazes.
6. Use glazes to blend two (or more) colors
The ability to blend two or more colors together with a smooth transition using glazes is indispensable. You can paint almost any miniature with professional results if you understand how to use glazes with your acrylic paints. The smooth, buttery blends you see in a lot of fine-art level model painting were created by glazing paint.
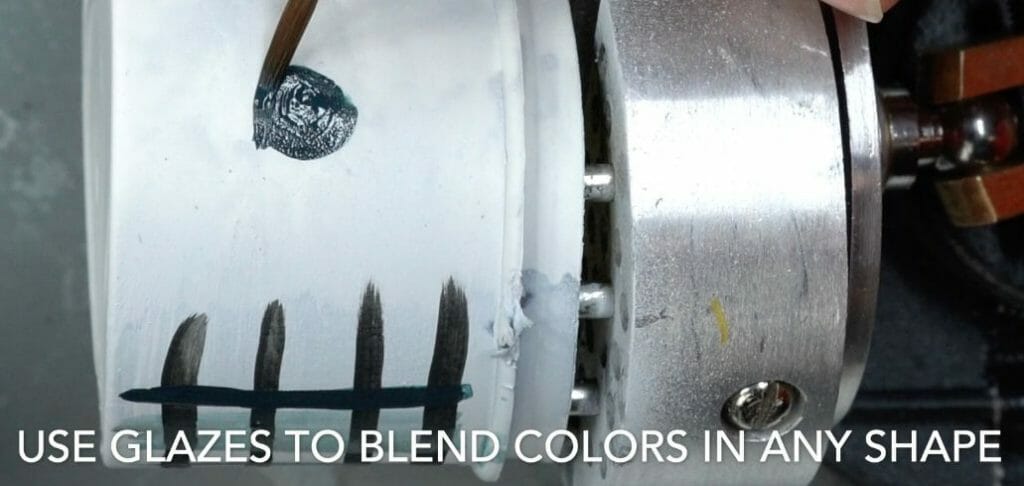
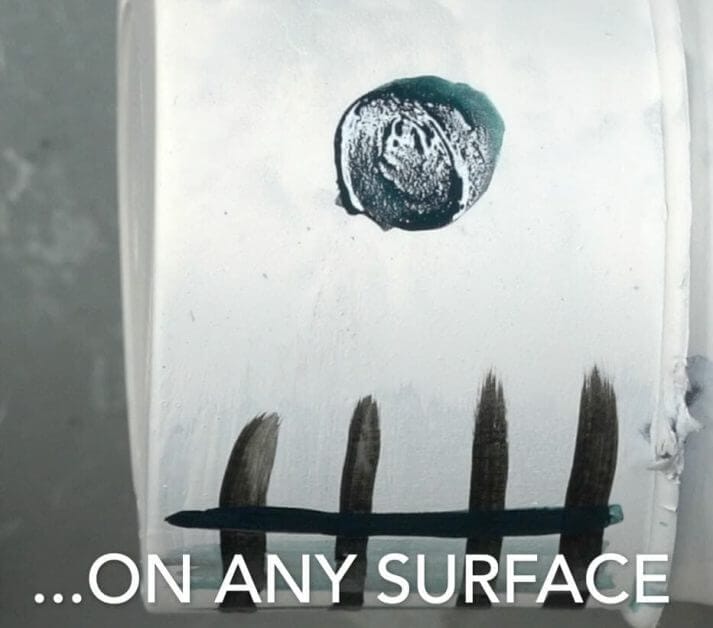
To start blending two color layers together, make sure to create solid basecoat “blocks” of color. Using a solid foundation of color helps sell the effect later when you blend the paints together. Remember, you need to wait for each layer to dry before adding the next. We are not wet-blending (more about the wet-blending technique here).
You can use a hair dryer to speed up the drying process. I recommend that any serious miniature painter get a hair dryer. It doesn’t need to be expensive. I use an affordable Conair brand blow dryer that sits next to me at my desk. The same hair dryer has lasted me years.
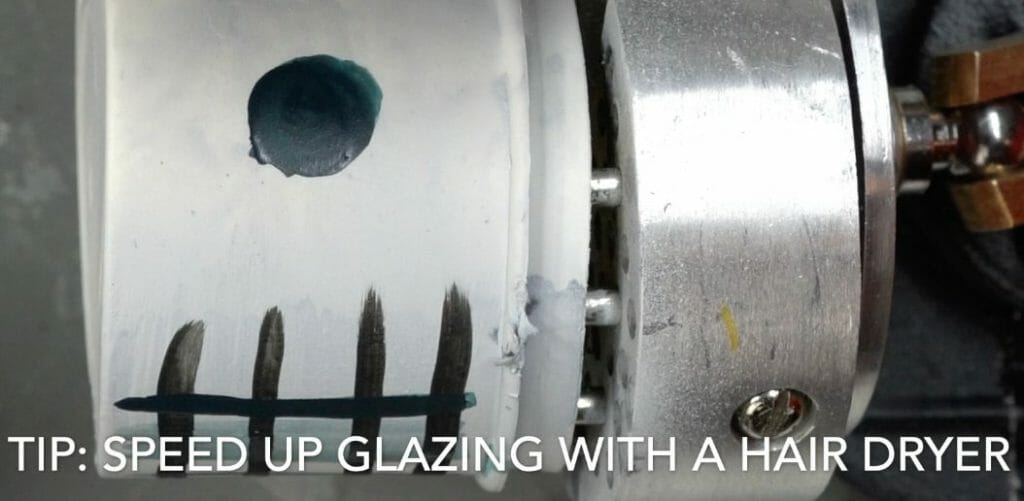
Make sure you use the lowest heat setting on your hair dryer and keep a safe distance when drying paint that is clearly puddly wet. Otherwise, you risk blowing the paint into unwanted areas of your model.
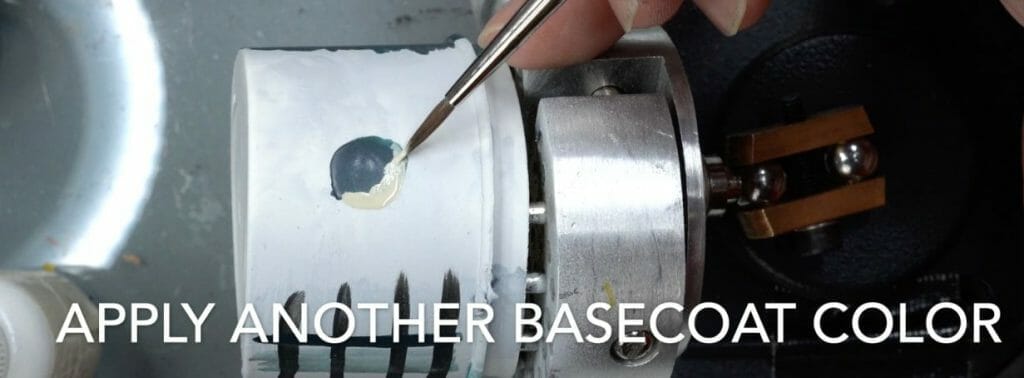
When you add other color basecoats, make sure you do so in blocks of good, even coverage. This will make it easier for you to see the delineation between your two colors, which allows you to glaze the transition more effectively.
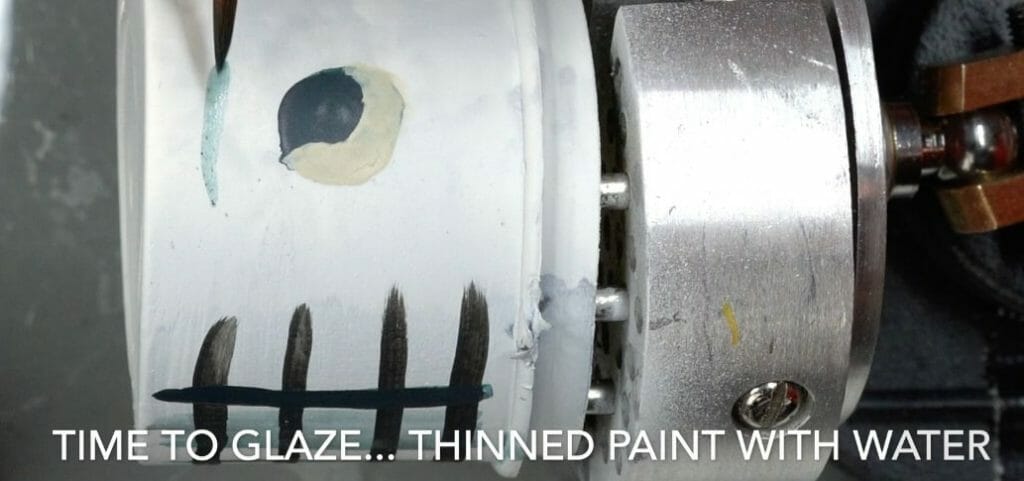
7. Thin your paint with water (or glaze medium)
I don’t use a wet palette for glazing. A wet palette doesn’t give you the control that a dry palette does. Here are other really good reasons for why you need a dry palette for painting miniatures and models.
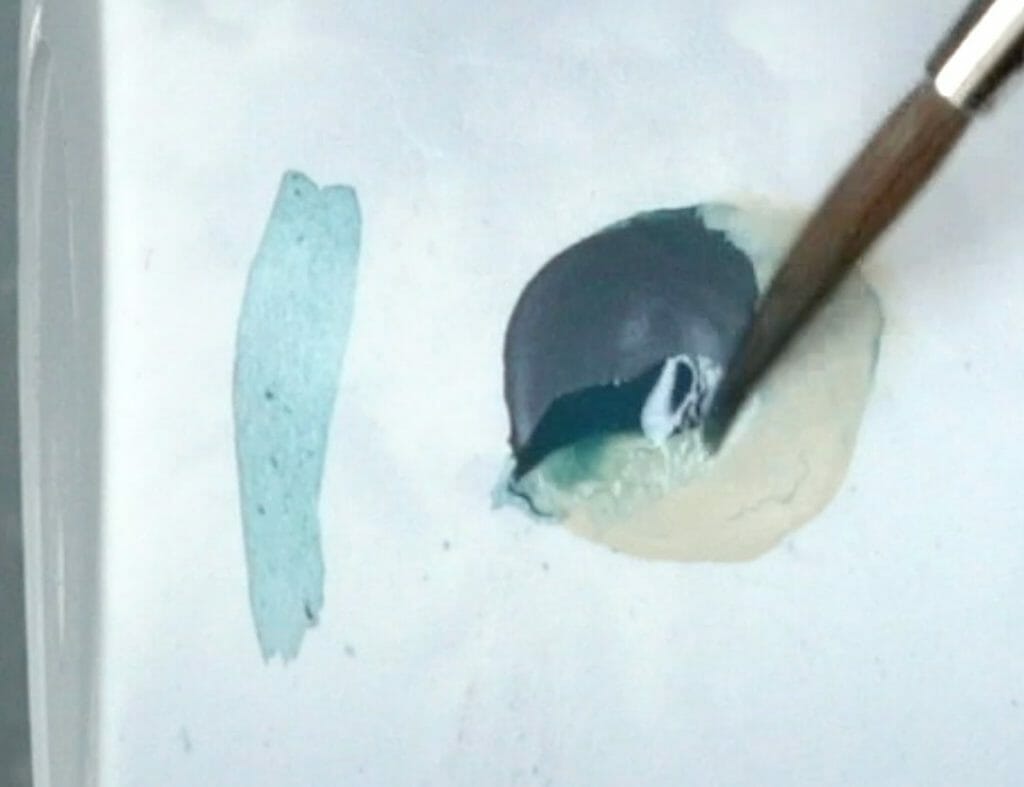
What you are trying to do with the glaze is “blur the line” between two colors. A good glaze will be transparent. It will allow you to see the underlying surface, while tinting the appearance. Use this to your advantage. To “blur the line” between two basecoat colors, apply a glaze over the area you want to blend together.
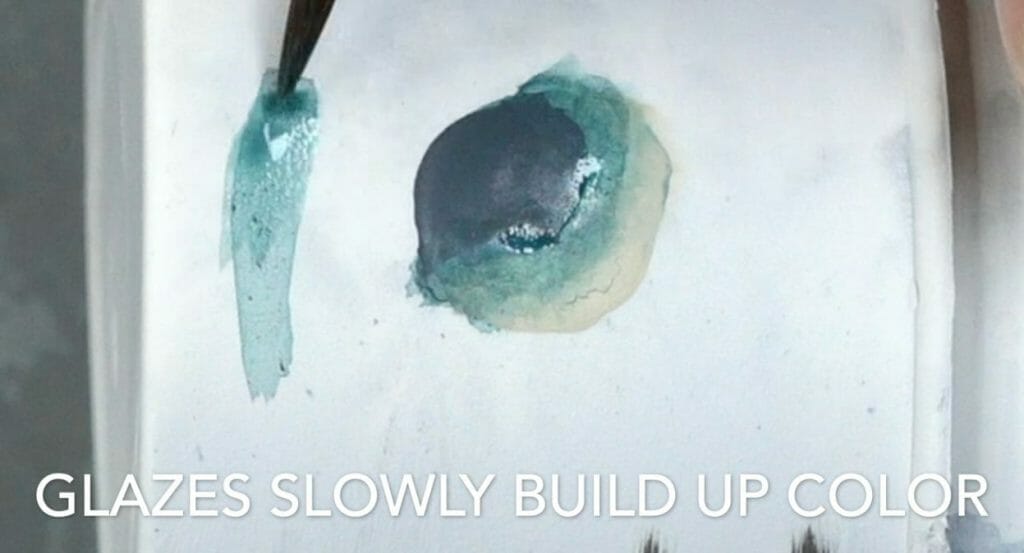
I like starting a glaze with the darker color first. To apply the glaze, keep in mind that brush pressure determines where the paint will deposit most. Light pressure at the end of a brush stroke will create the heaviest deposit of paint.

In this fashion, you can use the direction of your brush stroke to “push” paint pigments of a glaze where you want them to go! In combination with subsequent glaze layers, you can create the slow gradient build-up of pigment between two basecoat layers. This is blending with glazes.
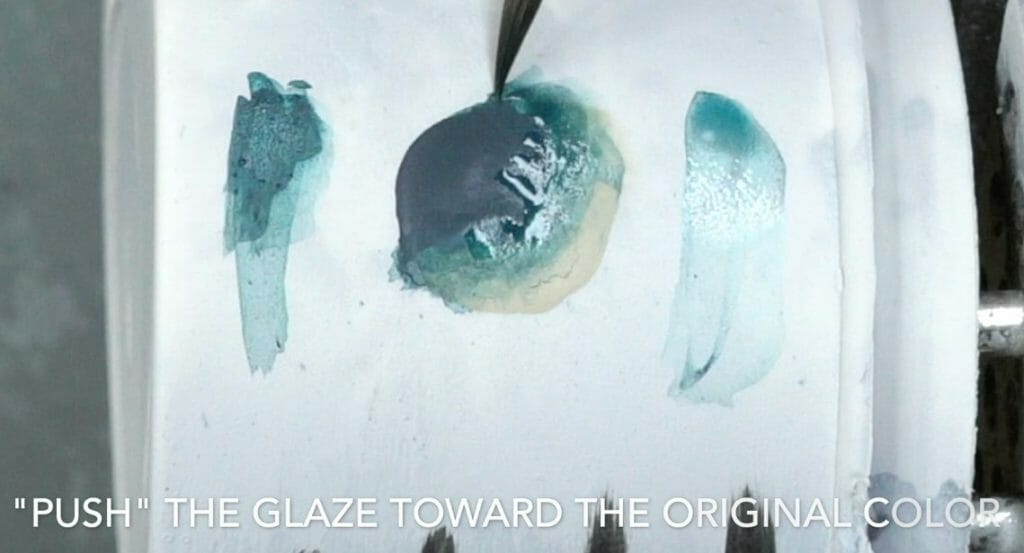
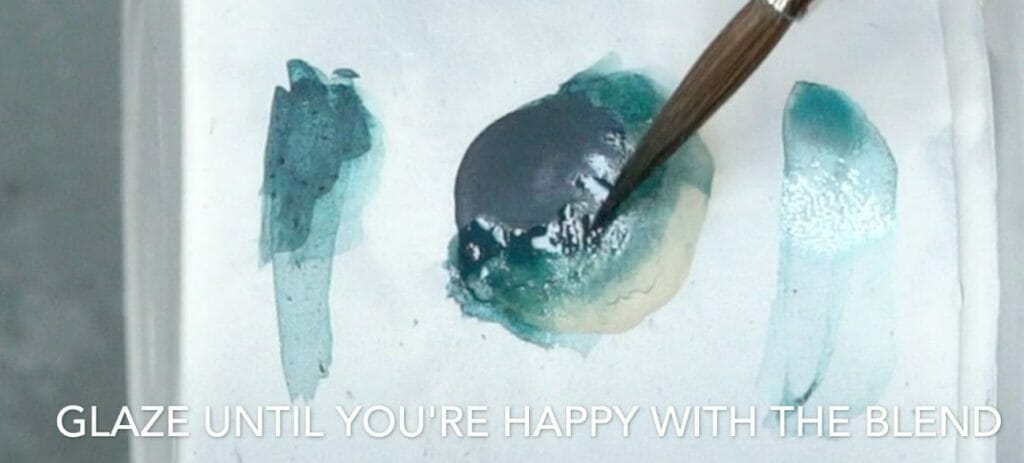
8. Glaze repeatedly, allowing each glaze layer to dry before adding the next
You can continually add glazes over glazes until you’re happy with the result. Push pigments into areas where you want them to go. Make sure excess moisture is wicked off your brush for the best control over your glaze-paint. A pro tip I learned is to use a brushstroke toward the direction of the original color.
For example, if you’re glazing with a dark color paint (the shadow), then your brush stroke should go toward the shadow areas of your model (away from the highlight color).
9. Add a tie-in color (also known as an “accent” glaze)
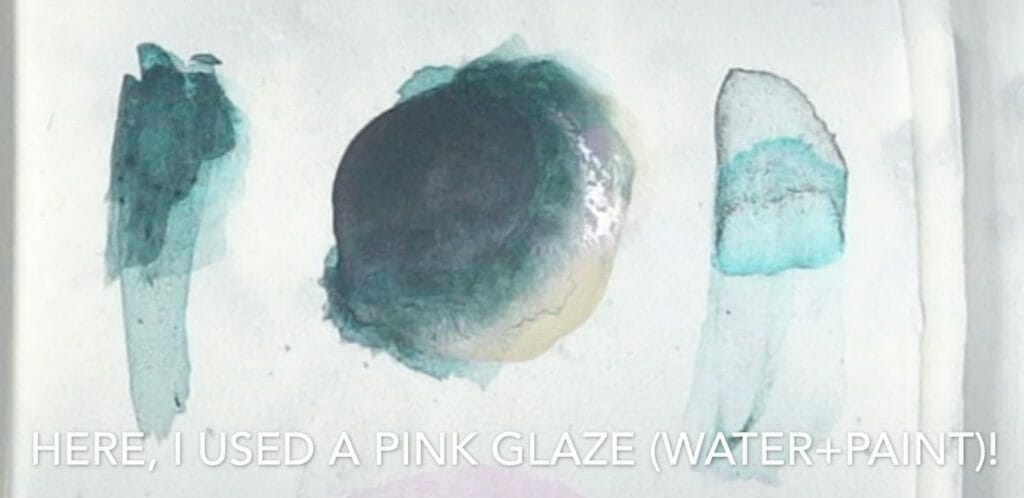
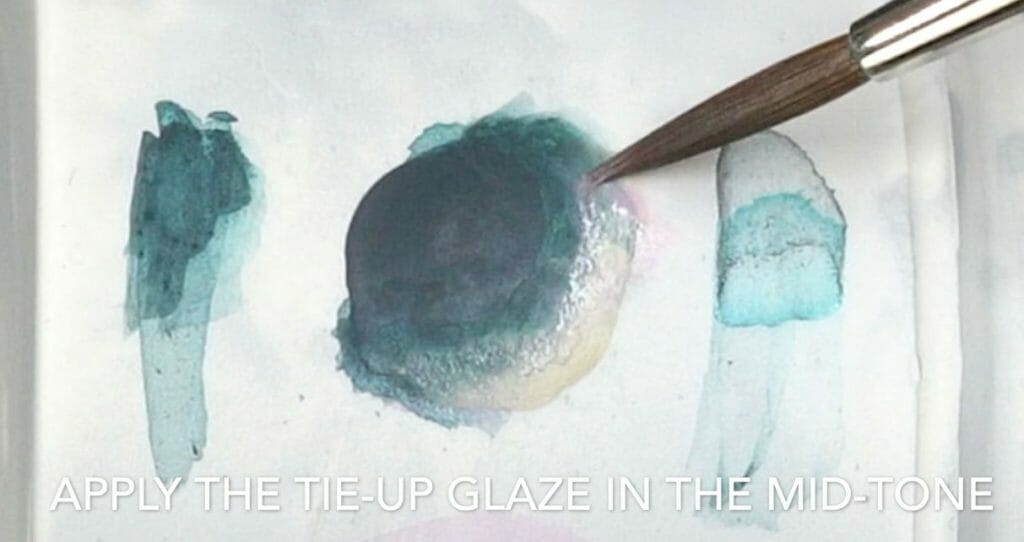
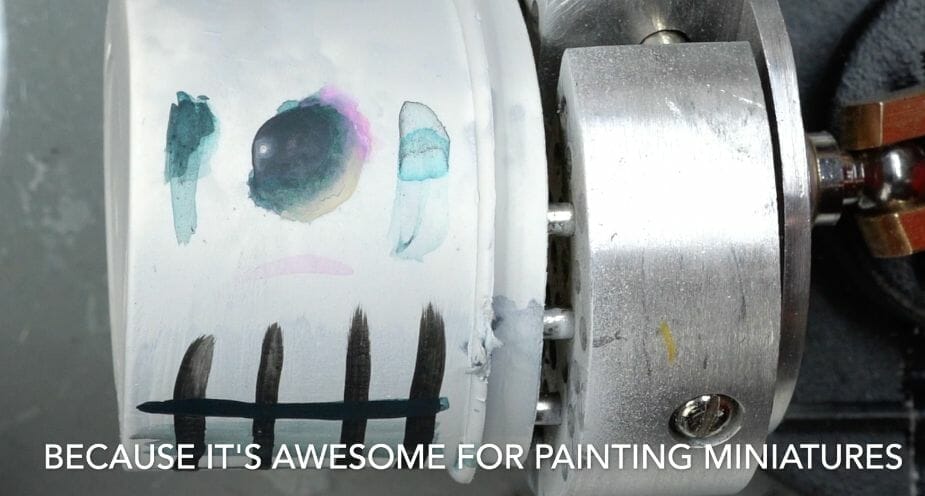
To really sell the effect of a smooth blend between colors, try adding an “accent” color as a glaze. In this case, I had a cool bluish shadow color, so I wanted something a tad warmer. I chose pink and made a glaze by adding water to the pink model color paint.
Apply the accent glaze into the mid-tone area. Slowly build up the color to give your surface a subtle “hint” of a different color in this space.
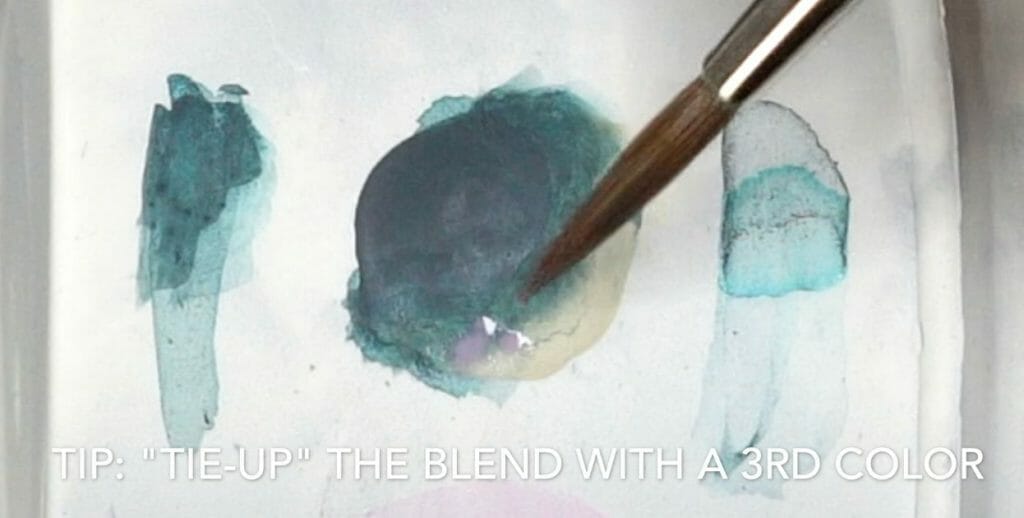
This accent color acts to trick the eye further into believing the smoothness of the gradient between your original basecoat colors. This third accent color enhances the “smooth” blend illusion of your glazing.
You can see how this works a little in this article where I painted a miniature sword.
You can glaze for hours using the technique. Ultimately, it comes down to how smooth you want your color blends to look and how much time you want to invest.

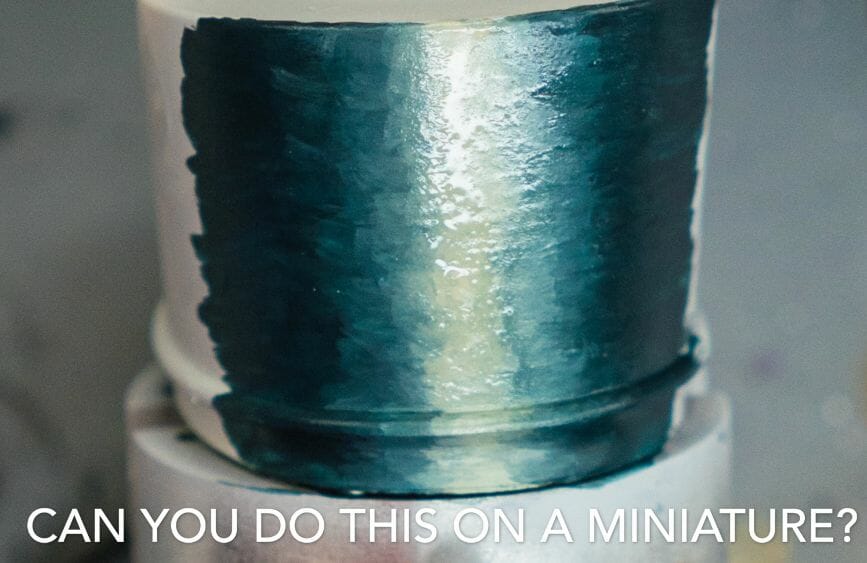
The results you can achieve with glazing are pretty amazing with a bit of patience and perseverance. When you’re good at glazing, you can combine it into other blending techniques, e.g., layering and glazing, zenithal highlight painting, and much more.
Glazing is also helpful for painting special effects in miniatures, such as painting object source lighting (OSL) and for painting gems.
Here is a final example of what you can do when you combine “layering” with “glazing”. To see how this is done, see this article about using layering and glazing to paint the non-metallic metal (NMM) effect.
Conclusion
I hope you found this glazing tutorial helpful! Glazing is one of many paint blending techniques you can use on scale miniatures and models. If you enjoyed this how to do glazing article, then you may also like these other articles about painting miniatures. As always, if you have any comments or feedback, I’d love to hear from you.
Stay tuned to see how I use glazing and other techniques to paint tabletop gaming miniatures and more! If you’d like to see some of my work, check out the painting gallery.
Happy painting (and glazing)!

Tangible Day on YouTube (Miniatures and More!)

Thank you for another great article! I started painting 40k January 2020, and I’ve read tons of articles & watched tons more YouTube videos. Your content is my favorite!
That’s awesome! 40k minis are some of the coolest imho. Thank you for the compliment. Much appreciated !