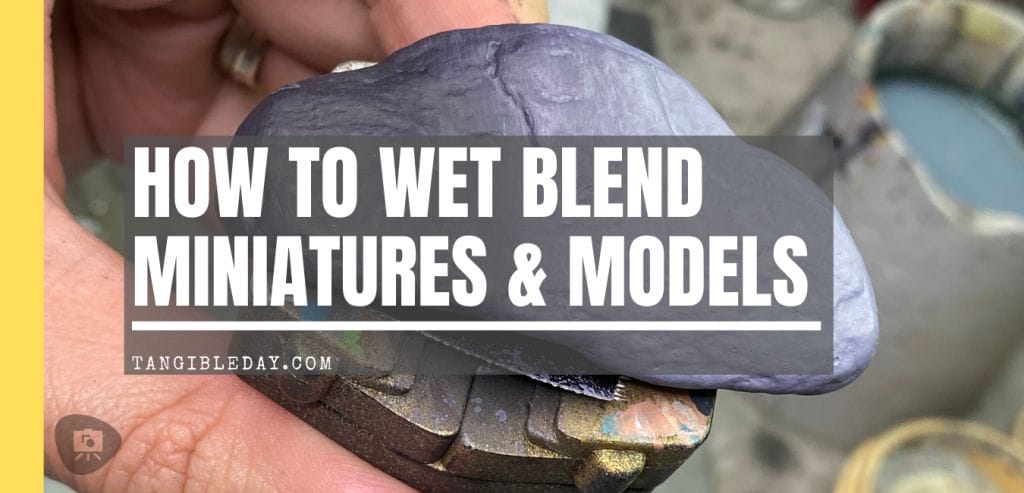
Okay, so you want to wet blend. I hear this is the best way to achieve the smoothest paint blends on miniatures and other acrylic painting surfaces, e.g., canvas or rocks. If you’re looking for an example of how to wet blend, then read on below!
In this article, you will see the following:
- A nice rock
- A wet blended paint transition between a dark and light color
What is the Best Paint for Wet Blending on Miniatures?
You should always try and use model paints formulated for painting miniatures and relatively small surfaces. Water-based acrylic model paints have high pigment density, thin well with water, and have great coverage on primed plastic, pewter, or resin.
If I had to rank model paints in terms of best model paint for wet blending, here’s my list in descending order:
- Vallejo Model Color
- Pro Acryl Paint (Monument Hobbies)
- Reaper Master Series
- Scale 75 Fantasy & Games
- Citadel Layer Paints
- Army Painter
- Citadel Base Paints
- Vallejo Model Air or Other Airbrush Ready Paints
I’m 100% sure I missed some of the favorite model paints, e.g., Kimera, the other Vallejo and Scalecolor paint lines, and quite possibly offended a few of you with my impression of these paints. But, I’m open-minded and as with anything I do with the hobby, I’ll try anything more than once. I love experimenting!
Side note: You can paint miniatures with oil paints. I love using oil paints when I’m looking to relax and enjoy the process of playing with color and blending paint. Oil paints take a very long time to dry or cure. I can “wet-blend” oil paints for hours on end, if I wanted to. In fact, using oils paints may teach you how to blend acrylic paints because the process is similar (with a few caveats).
Here’s an example of a miniature I painted exclusively with oil paints.
Recommended Acrylic Model Paints for Best Results with Wet Blending
| Brand | Wet Blending Ability? | |
|---|---|---|
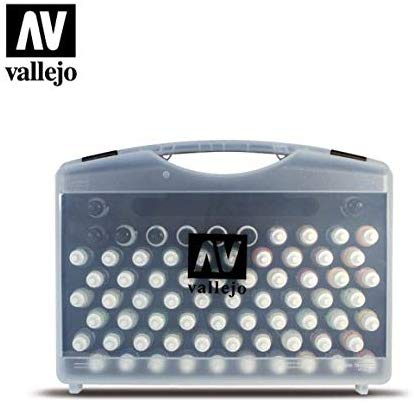 |
Vallejo Model Color | Great (my favorite paint for many advanced blending techniques) |
 |
Pro Acryl Paints | A high quality, premium miniature paint brand with screw cap dropper bottles |
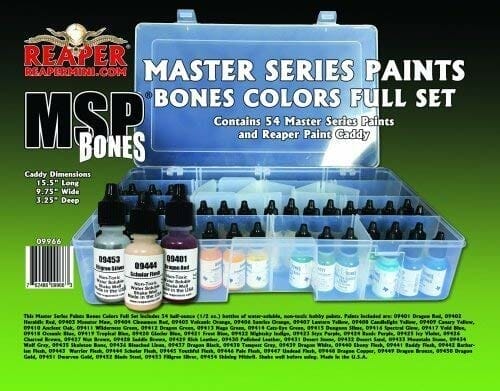 |
Reaper Master Series | Great (dries matte and easy to glaze, too!) |
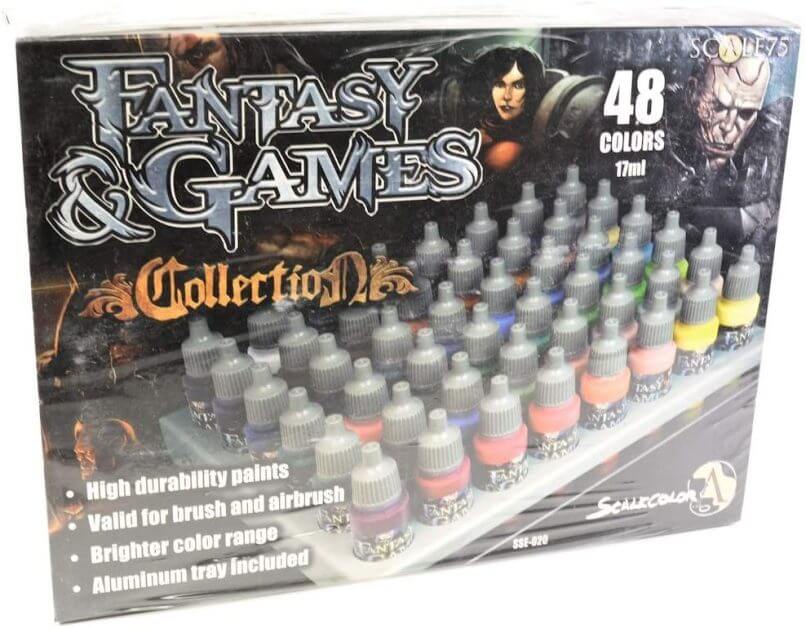 |
Scale 75 (Fantasy & Games) | Mix or shake bottles thoroughly and you should have no trouble; wet blending ease is color dependent |
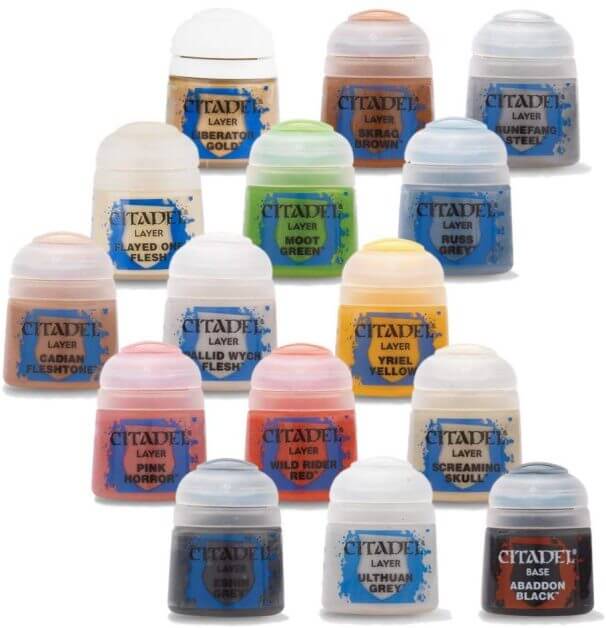 |
Citadel Layer Paints | Average wet blending ability; some colors are easier than others to blend; don’t thin too much for best results |
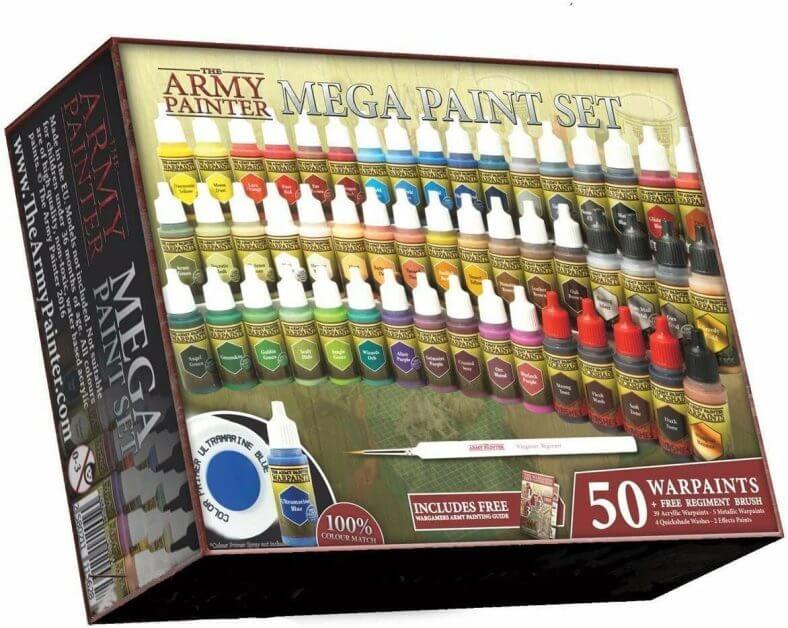 |
Army Painter | Similar to Citadel Layer paints; color dependent ability to wet blend smoothly |
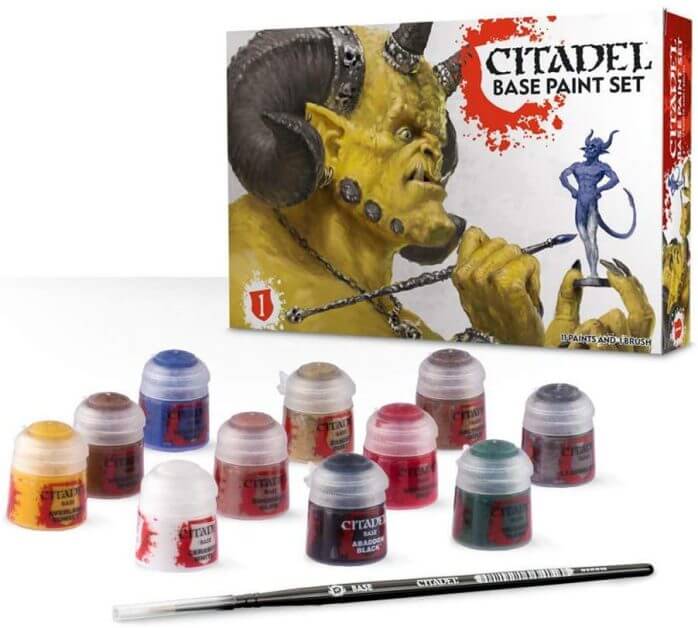 |
Citadel Base Paints | I don’t recommend trying to wet blend with base paints; these are much thicker and tend to produce an uneven surface if you try to manipulate them over a surface too much; try thinning with an acrylic medium |
 |
Vallejo Model Air or Other Airbrush Ready Paints | Airbrush-ready paints are pre-thinned and could be harder to control during the wet-blending surface. In comparison with the other paints above, I would not reach for these if you want to wet blend reliably |
You can wet blend almost any model acrylic paint. The above are merely my observations from working with these paints on a lot of different models.
READ MORE: BEST MINIATURE PAINT SETS FOR STARTERS AND BEGINNERS

Should I Use a Wet or Dry Palette for Acrylic Wet Blending?
I use a dry palette for almost all my miniature painting work. See why dry palettes are always valuable!
- The reason I prefer a dry palette for wet blending, in particular, is because you need to maintain control.
- A wet palette is great for keeping paints wet (right?) for a long time. But, you’ll find even after 10-30 minutes, your paint thins automatically. The paint on a wet palette absorbs too much water, and becomes a thinned version of its former self.
- Paint doesn’t behave predictably. This character of wet palettes doesn’t work well for my preferred style of painting.
Of course, if you’re keen on using a wet palette, try it. Just be aware that acrylic paint that is too thin will be hard to use with the wet-blending method.
And, with this note, read on below for my overview of how to wet blend (using a rock as an example).
How to Wet Blend Paint on Miniatures, Models, and Other Surfaces with Acrylic Paint
(An example of my way of smoothing paint transitions on larger surfaces)
MORE: 17 USEFUL PAINTING HANDLES FOR MINIATURE WORK
1. Prepare your surface
Make sure your working surface is clean of debris.
In my case, I made sure they were free of dust and sand.

A simple rinse in soap and water will be more than enough.

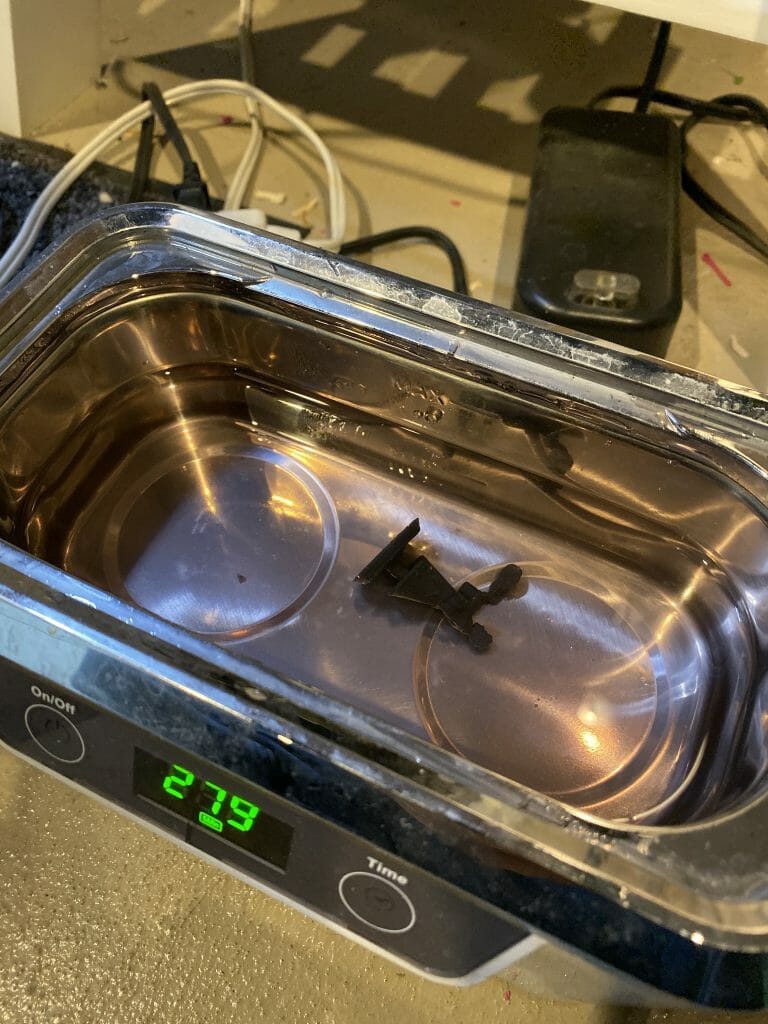
For the more thorough painter, you can try using an ultrasonic cleaner. I’ve started using more more lately because of the simplicity.
2. Apply primer in an even smooth coat
Primer is key! I should say that again: Primer is key!!!
Here’s how you correctly use primer on a miniature.
You need an even and consistent primed surface to wet blend with best results.

My absolute favorite primer for anything (almost) is Vallejo Surface Primer (see the full-review).
I prefer starting with a gray color primer. It allows me to see gaps and imperfections because shadows in the model surface aren’t hidden.

RELATED: BEST 10 PRIMERS FOR MINIATURES AND MODELS (PRO TIPS AND BEST USE)
If I need a darker color, I’ll prime a second coat with a black primer or simply paint the entire model with a darker-tone (as I’ve done below).
Speed painting tip: If you’re looking to paint faster, prime with a black primer (see how).
You can airbrush primer, which is the actually the best way to achieve a smooth even coat.
But, for this rock, I wanted to see how a brush would work (I’m always experimenting).

I used the Citadel Large Base Brush. To apply the primer, I thinned it first with a little water to help it flow off the brush. If your primer is thin enough, you may not need to add any thinner. The idea is to get the primer to cover the surface in a thin coat. See the photos for what it should look like when the primer is first applied to the surface.

Suffice it to say, brushing the primer worked great on this rock!
3. Base coat with any color
They key here isn’t the color of your base coat (the first layer of paint).
Rather, the important thing you need to remember is to keep that layer as solid and smooth as possible.
Everything you build up from here relies on how well you performed the previous step.
Make sure your primer is dry, for example, before moving to the next step.

I chose to Vallejo Model Color “Dark Sea Blue” as my first base coat. This is not the color I will wet blend, but merely a way for me to darken the surface.

For more complex miniatures or pieces that I want to perform advanced painting techniques on, I usually prefer starting from a dark tone color and moving to a brighter one.

Paint the base coat evenly.

Use a large flat brush (or the biggest you are comfortable with your working surface).

4. Paint your two colors normally (define your blending “transition zone”)
This is a simple.
You will be blending two paint colors using wet blending. But, before you do that, decide on location of the transition zone.
You can see in the image above that I painted two colors: a Dark and Light Elf color, e.g., purplish-gray (Master Series Reaper paint).

Paint in layers so you don’t get clumps in the finish.
The paint coats should be even and complete. The colors should be smooth with no bumps in the paint (of course, if the model is bumpy that’s fine!). No splotches.
Notice the sharp border?
This is the transition zone. This is where you’ll do the wet blending and mixing on the working surface.
The transition zone definition is important. Vital!
See below.
5. Wet blending (the easy way)
Now that you have your transition zone painted (the sharp border between your two colors), you’re ready to wet blend the two colors together.

To start wet blending, apply the first color.
Don’t thin the paint.
Paint the color across the transition border as you would a base coat. In this case, you could paint directly from the bottle or pot directly.
If you’re having trouble with low paint flow, dampen your brush with water, then dip into your paint.

Add the second color. Don’t take too long, but don’t lose control by going too fast.
This is why defining the transition zone before wet blending is important. You’re not wasting time trying to find out where to blend while paint is drying.

While the paint colors are both still wet, zig-zag, or sweep the tip of your brush into the transition zone.

Only push and pull paint while both color remain wet.
You can more color on either size of the transition zone if you need to.
But….

Stop messing with the colors if you notice a “paint skin” developing. A paint skin is the drying top layer of pigment.
If you mess that up, you’ll get peeling, bumpy paint surface, and it’ll be frustrating to fix.

Once the paint has started drying, simply wait for the entire surface to dry.
With practice, you can stop here. You are done with your paint blending. It will look great!
Finale Video: The Wet Blending Process
Not happy with your results?
It does take practice to wet blend.
Practice will get you pretty far. I’ve been painting a lot of rocks because I want to get better, too!
Just look at my painting desk.

If you want to push your blend to be even smoother, you can repeat the steps above from #4 (your two colors starting a little further apart). Or, you can use my preferred method for polishing up a paint blend.
Glazing.
Glazing, in this case, is simply taking your two paints (the two colors you already used), mixing them in a 1:1 ratio, and thinning them until they are translucent.
You can still use your dry palette for this, or move to your wet palette. Applying a thinned glaze will even out and smooth any unevenness in your wet blend.
Apply your glaze mixture in thin, very thin layers where you think the transition isn’t as smooth as you like it. Wait for each glaze layer to dry before applying the next.
If you’re like me, you could be glazing for hours….
Or, be a normal person, and take a step back.
Call it done!
Conclusion
Learning how to blend paint on miniatures, models, and other things….never ends.
Check out my painting gallery for examples of my work.
Best paints for wet blending on models and miniatures:
I’m always learning and discovering new ways to paint. You can check out what I’ve learned in my other articles about painting miniatures, modeling, and general hobbies.
And, more on the way!
I hope you enjoyed this article and found these tips helpful.
Thank you for reading!
Happy painting!!!

Tangible Day on YouTube (Miniatures and More!)

A great, easy to follow tutorial, thanks.
I’m just starting to get into wet blending and you’ve really pointed me in the right direction, especially the idea of glazing over the top.
Now I’m gonna fire me up some stones!
Awesome! Learning how to wet blend minis takes a bit of experience actually doing it. Videos and photos only help so much 🙂 thanks again!
Pingback: Painting Miniatures with Oil Paints: Guide and Tips! - Tangible Day