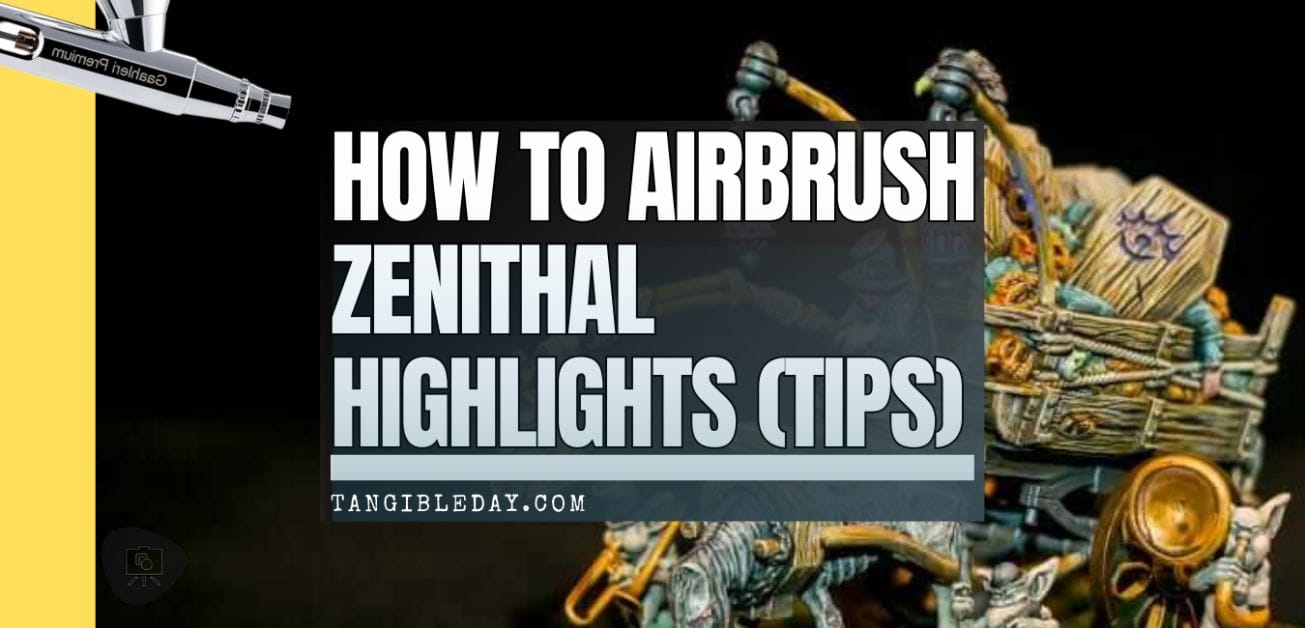
Last updated March 16, 2025. By Andrew M. Tan.
Do you want a fast and easy way to paint highlights on miniatures? Zenithal highlighting is a technique that quickly reproduces the light and shadows produced by an imaginary light source directly over the subject. Using a spray can or airbrush with a bright color, usually white, you spray directly downward onto a dark-colored model. If done properly, the zenithal highlighting technique produces a high-contrast miniature with almost no work. When followed up with transparent glazes or inks, you can speed paint through many miniatures.
In this article, I briefly show you how to apply a zenithal highlight over a miniature.

Learning Objectives:
- Learn how to apply zenithal highlight with an airbrush or primer
- Leverage zenithal highlights and shading to quickly add color
- Discover new ways to use zenithal highlighting and shading (tips and tricks)
Keep reading to learn more about zenithal highlighting for miniatures and models.
What is a zenithal highlight?
A zenithal highlight is the painting technique of adding a highlight color over a dark painted model. The word “zenith” refers to an astronomy term of a point in the sky or a celestial sphere directly above an observer.

In zenithal highlighting, you are reproducing an imaginary light source placed directly over the model.
The advantage of using a zenithal highlight is that is a fast and easy way to add contrast to a miniature. By spraying a bright color over a dark color on a miniature, you quickly reveal the details of a model.
Zenithal highlighting is a key component in many speed painting techniques. When painting miniatures, contrast is the most important aspect to get right.
With a zenithal highlights, you create a great starting point for keeping the contrast strong on your painted model.
This brings me to the next point.
After you zenithal highlight a miniature, what next?
Oh, this is the fun part! Color.
After you have a good contrast applied through your zenithal highlight, you can add color.
RELATED: 8 MUST KNOW PAINTING TECHNIQUES FOR MINIATURES AND MODELS
Glazes and transparent inks are the best way to add color to a zenithal highlighted model. In the Grymkin Death Knell model (Privateer Press) shown in the images here, you can see the zenithal highlight-shade undercoat.

I used an airbrush to apply a white primer over the black primed model.
Then, I added glazes I made myself. Here’s how I made the glazes (it’s similar to how I replicate Citadel Contrast colors).

To make a glaze with regular model paint, e.g., Citadel, Scalecolor, Vallejo, or Army Painter, follow these steps:
- Add 8 parts mixing medium
- Mix in 3-4 parts color pigmented ink or model paint
- Thin with 2 parts flow-improver (recommended linked)
- Add water as needed to thin mixture until it is “runny”
- Apply your glaze (see below)
Here’s my favorite ceramic palette for mixing thinned media. Your DIY glaze should be a thin viscosity.
Pro tip: Use the back of your paint brush handle to mix glaze or thinned media in a glazed ceramic palette. You’ll avoid a mess and keep clean-up easy.
If in doubt, it’s okay to make a glaze thinner than having it too thick. Just apply the glaze in multiple thin layers (allowing each to dry before applying the next).

To apply the colored glaze to your zenithal highlighted model, use a large belly, soft bristle brush. You can use a fairly heavy coat, but try not to let the glaze pool in the recesses or drip onto unwanted areas.
With some experimentation, you’ll discover how easy (and fun) painting with glazes is over a zenithal under-painted model is.
Give it a shot!
Do you add zenithal highlights with spray primer?
This is a good question!
Instead of using a single primer color to prime your miniatures, you can use two colors to add a zenithal highlight and shade.
RELATED: BEST PRIMERS FOR PLASTIC, METAL, AND RESIN MINIATURES (REVIEW AND GUIDE)
By using primer, you are skipping a step and using the easy process of coating your model with primer to begin the process of highlighting. To apply zenithal highlights with primer, the simplest is to use black and white primer color.
The first step is to prime your model black (you can use other dark colors, too).
Then, when you highlight, make sure when you spray the primer with the nozzle about 6-12″ (15-30cm) away from the model’s surface. Move your spray side-to-side and apply light coats from directly above the model.


Keep reading below to see zenithal highlighting in action!
Can you dry brush zenithal highlights?
Alright, maybe you don’t have an airbrush. Can you do zenithal highlights without an airbrush or spray can?
Yes!
READ MORE: HOW TO DRY BRUSH BLEND PAINT ON MINIATURES
You can use the dry brushing technique to add zenithal highlights.
This is what you do:
- Prime or fully base coat your model black (e.g., darker is better)
- Then, using your dry brush with a white (or bright color), apply paint in thin layers by gently sweeping your bristles over the top of your model
- Gradually build up your highlight layers in successive dry brush applications.
- Work around the circumference of your model, focusing your dry brush highlights on the top of the model, creating a gradient downward.
Take a look at this zenithal dry brushing article or the video below for how to dry brush miniatures.
What is the best airbrush for zenithal highlighting miniatures?
The best airbrush for zenithal highlighting miniatures is the one you already own. You can use any airbrush to zenithal highlight, as long as you’re comfortable with it will produce a good spray pattern.
If you’re in the market for a new airbrush, choose one that has a nozzle size of 0.3mm or larger. This is a good all around nozzle size for general airbrush work. It’ll reduce the risk for clogging, allow you to use thicker paints without thinning, and, in general, are found in more durable airbrushes.
When you receive your airbrush, remember that it will take a while for you to get used to how it works. Practice, practice, practice.
The great thing about zenithal highlighting is that it doesn’t require a lot of extra technical skill to execute. Even those starting out with an airbrush can apply zenithal highlights without much trouble. And, because you’re in the early stages of the miniature painting, you could always start over by re-priming over the model.
Here are a few my recommended airbrushes for painting miniatures.
3 easy steps for airbrushing zenithal highlights to add strong contrast to your models:
Zenithal highlighting adds a gradient to your miniatures that reveals details through the addition of high contrast. Here’s how you do it.
1. Prepare your model’s surface
Prepare your model for primer.

- This means filling in gaps, sanding, or other smoothing you want to do.
- In this case, I am using a 3D printed model using an FDM printer with PLA filament
- I smoothed the model using XTC-3D resin
2. Prime your model black (or a dark color)
You can either use a spray-on primer (recommended) or use a regular brush. For this example, I just used a regular flat headed brush to apply a single coat of Vallejo Surface Primer.

This wasn’t exactly a black primer, but it was dark enough for the purpose of showing you how this process works.
Pro Tip: When airbrushing, use a model holder like the Citadel Painting Handle. It’ll let you rotate the model around and keep your hands from touching anything while the primer/paint dries.

3. Airbrush (or spray) a white or bright colored paint from directly above the model
You can use any spray mechanism to get your highlight on your model.
An aerosol spray or airbrush gives you a cone-shaped spray pattern that reproduces how an imaginary point light source above the model would hit raised surfaces on the top of a figure.
I like using Golden High Flow Acrylics for airbrushing zenithal because it’s super economical and I can use it straight from the model. No thinning necessary!
| High Flow Golden Acrylic (White) |
|---|
 |
| Buy on Amazon |
| Buy on BLICK ART |

- When you’re done, allow the paint to dry.
- Paint is usually brighter when it’s wet. So, allowing the highlight to dry will show you if you need to add more layers.
You can keep adding additional layers until you’ve got a solid coat of highlight on the very top of your model. For an even coat around the entire model, you may need to continue highlighting with airbrush at slightly different angles from all sides of the miniature.
Check out this short video of how I used my airbrush to add a zenithal highlight over this model.
Summary
Zenithal highlighting is a great technique for adding contrast quickly to any miniature. Zenithal highlights reproduce the highlights you might expect from a light source directly over a model.
It’s a simple approach that lays a nice foundation for you add color. The use of a spray primer or airbrush to add bright color over a darkly painted surface reveals details and immediately helps you see where you should be paint bright colors or shadows.
If you’re trying to speed paint a lot of models, zenithal highlighting can help you keep high contrast without sacrificing quality.
I hope this article was helpful!
Happy painting!
Enjoying Your Visit? Join Tangible Day
Free newsletter with monthly updates (no spam)


Tangible Day on YouTube (Miniatures and More!)

By Andrew M. Tan, PhD
Andrew is a commissioned miniature painter with more than 15 years of experience painting tabletop miniatures, photographing models, and testing hobby tools in real-world use. Read his full bio.