Are you looking for a simple way to paint skulls on your miniatures? Skulls, bone, and skeletons are a common motif on wargaming miniatures, especially Warhammer or Age of Sigmar models. We all know what bone looks like, the color, the texture, and details. But, painting miniature skulls with a realistic, good-looking bone color and detail can be challenging. In our tabletop wargaming hobby, finding a workflow for painting common details on models requires a bit of practice.
In this article, I will show you the simplest workflow for painting bone on your models. This easy method will make skulls, skeletons, and other bony details pop with high contrast on your miniatures.
Are you looking to paint Citadel Skulls? Maybe you’re wondering what paint to use on skulls and bone? Continue on below to see how to do it quickly, easily, and with great results!
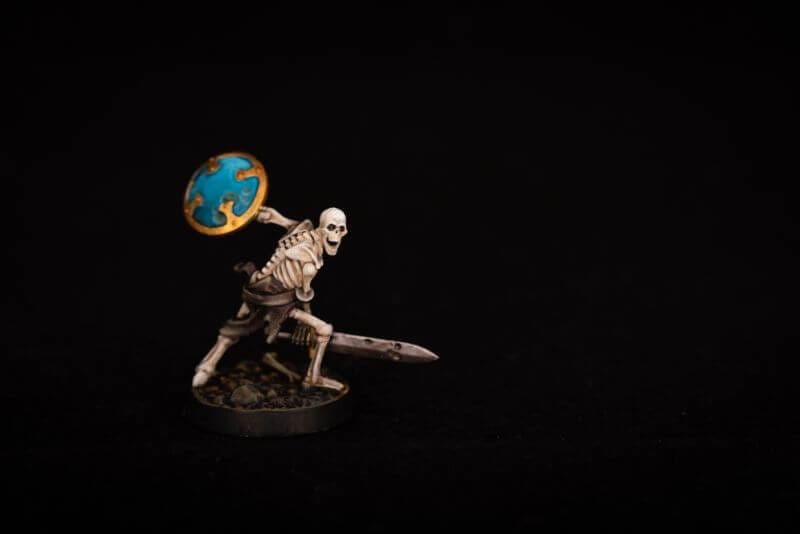
What is the Best Color Paint for Bone and Skulls?
I have a few favorite paint colors for painting model bone. Of course, you may have a collection of miniature paints already. If you don’t see a color here for painting skulls or bone, you can either create your own combination of bone-like color tones or pick up a pot or bottle of two of a color you see in this list.
- Screaming Skull (Citadel) – A layer paint that is great for base coating skeletons and skulls
- Ushabti Bone (Citadel) – A warm toned paint layer for painting skulls
- Zandri Dust (Citadel) – A good color for worn-out, weather bone and skulls paint jobs
- White Scar (Citadel) – A white paint color that you can use as a highlight for skulls and bone, or as the base coat for washes and shades
- Karak Stone (Citadel) – A light brown, earthy paint that works well as a mid tone or base shade for bone
- Rakarth Flesh (Citadel) – An ivory, natural bone paint color (a favorite for skulls or pale skin)
- Pallid Wych Flesh (Citadel) – A cooler toned version of Rakarth Flesh
- Bone Shadow (Reaper) – A gray tone that works as a good basecoat for skulls and bone
- Polished Bone (Reaper) – A natural, stereotypical boney color for realistically painting mid-tone or highlights on bony material
- Linen White (Reaper) – A light value paint color for painting bones on a skeleton or a skull detail
- Ivory (Vallejo) – Another favorite color for painting bones and light colored flesh tones
- Agrax Earthshade (Citadel) – This is a great wash shade for adding depth and volume to skulls, bones, and making those eye sockets stand out
This list isn’t all encompassing. But, it is a solid list of paint colors to use for painting miniature skulls and bone. Although I’m only going to show you an easy method for painting bone (the quickest way I know), here are other paints and washes that I would recommend for expanding the variety of “bone-looks” for painting skulls.
RELATED: MY FAVORITE 7 MUST-HAVE WASHES AND SHADES FOR PAINTING MINIATURES
Other useful paints and shades for miniature painting bone and skull
- Sepia Wash (Vallejo) – To paint bone with realism, try using a warm toned wash like sepia instead of Agrax Earthshade
- Seraphim Sepia (Citadel) – Similar to the Vallejo Sepia wash, but with a more matte finish; it may take several coats for proper darkness and depth with sepia washes
- Reikland Fleshshade (Citadel) – A reddish, flesh colored shade that adds warmth to your bone and skull paint jobs
- Nuln Oil (Citadel) – The neutral black shade that many of us know and love will add even more contrast than the other shades and washes on this list
- Drakenhof Nightshade (Citadel) – A very dark blue shade that will add a cool tone to your bony painting, which contrasts nicely with warm undertones and base coats
What is the Best Brush for Painting Skulls and Bone?
This is a common question for general miniature painting. The best answers is it depends on the size and surface your painting. Most skulls on Warhammer and Age of Sigmar miniatures are small (<0.5cm in width or diameter).
For most skulls and other details of this size, I tend to use my favorite workhorse brush, an Army Painter Wargamer Regiment (see my full review of the Regiment paint brush).
RELATED: BEST HOBBY BRUSHES FOR PAINTING MINIATURES AND MODELS
But, generally, as long as you can control where your bone paint goes on the model, the kind of brush you use doesn’t matter, e.g., synthetic, natural sable. Just make sure you can control where your paint goes, which often means using multiple thin paint layers rather than thick coats.
For larger surfaces, or those surfaces with much more pronounced details, you may also want to consider using the dry brush technique. You can find out more about dry brushing miniatures in this article.
How to Paint Skulls and Bone Details on Miniatures in 3 Easy Steps
Follow this simple 3 step guide to paint bone quickly and effectively on any miniature. The results I achieve using this basic painting formula works well for achieving a fast tabletop (or better) quality result. I also start with this process as a foundation for working in other special effects, e.g., glowing bone, bloody bone, and other SFX.
Here are the 3 easy steps for painting skulls and bone on models:
- Basecoat your model with any bone color
- Wash your model with a shading tone
- Bring up the highlights with your base color (same paint in #1)

Step 1 – Basecoat your model with any bone color
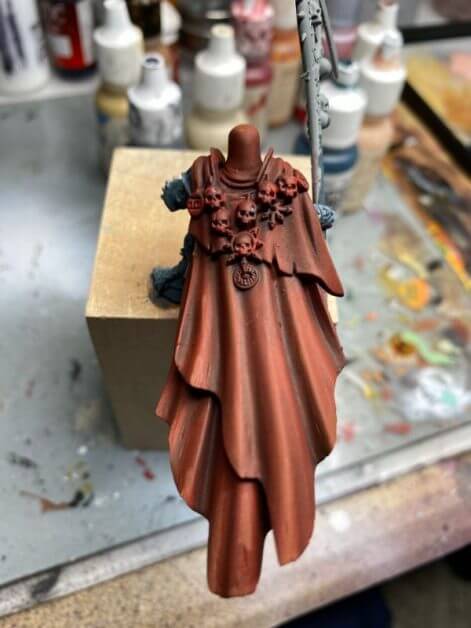
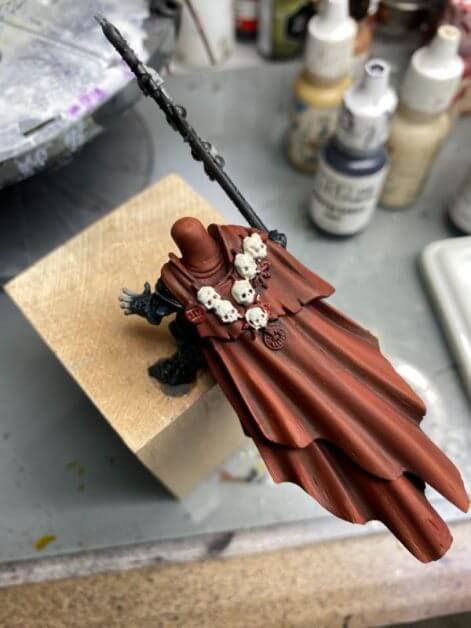
Take any off-white color you want for your skull or bone painting. Apply an even base coat of this color on the miniature. Make sure each layer is completely dry before applying another. The previous layer of paint should be thin enough that you can smoothly apply the next without seeing brush strokes. This likely means using thin coats of paint–I usually just thin my paints with water.
Step 2 – Wash your model with a shading tone
Use a darkening wash to shade your base coat layer. This first wash should seep and pool in the recesses of the skull or bone texture. The idea here is to make sure the dark pigment deepens the areas of the bone so that the details are clearly defined.
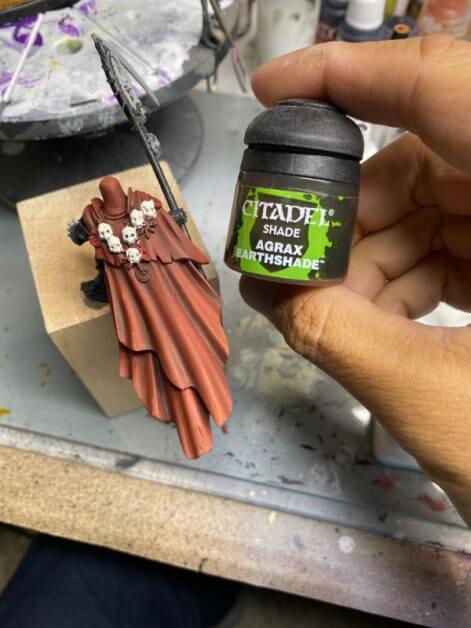
It doesn’t matter if the entire skull or skeleton/bone gets too dark. This step prepares you for the next step, which is to bring the base color back as a mid-tone or highlight.
Pro tip for stronger contrast: If you want a darker skull with extra-deep shadows, apply multiple layers of shading wash. Make sure you allow each wash application to dry, completely, before applying another layer. Your bone surface will darken progressively with each layer, but as mentioned, you’ll lighten this back up in the next step.
Remember, the point of this step is wash your base coat with a shade to create shadows that are deep. The last step will add to the 3D effect that creates the overall great result when you’re finished painting.
Step 3 – Paint the highlights with your base color (same paint in #1)
The final big step is to bring all of that juicy bone color back up. After your shading, much of the previous layers got dark. To make your skull–or whatever surface you’re painting bone-like–come to life, take the same paint color in step #1 and use it as a highlight.
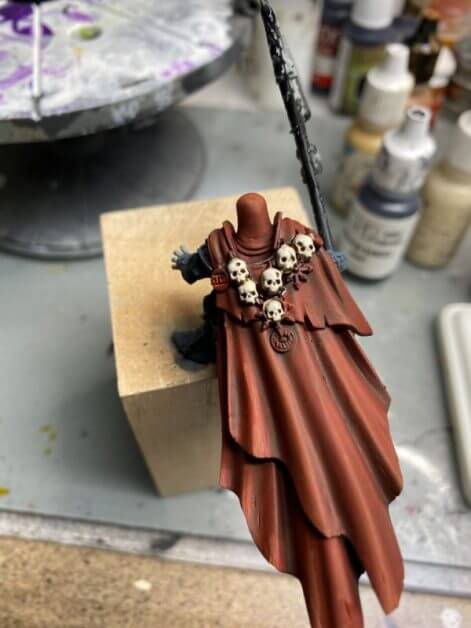
Using a steady hand, focus on applying paint on the raised surfaces of the skull. A good tip here is to focus on painting the highlight on the edges where the bony plates sharply drop off. Maybe this is near the eye sockets, or near the nose.
If you want, you can paint extreme highlights to really push the 3D effect of your skull. To do this, mix your base coat color with a bit of white paint or any lighter color, e.g., White Scar.
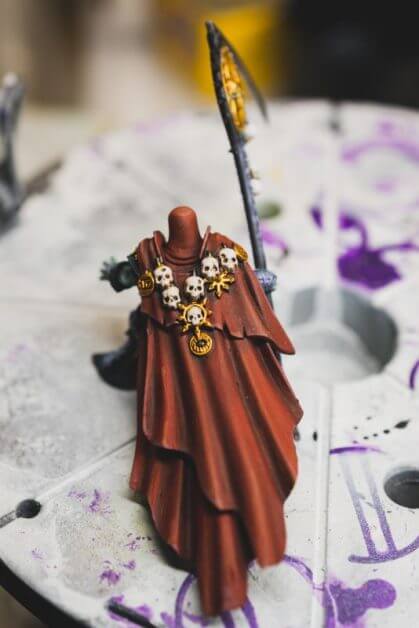
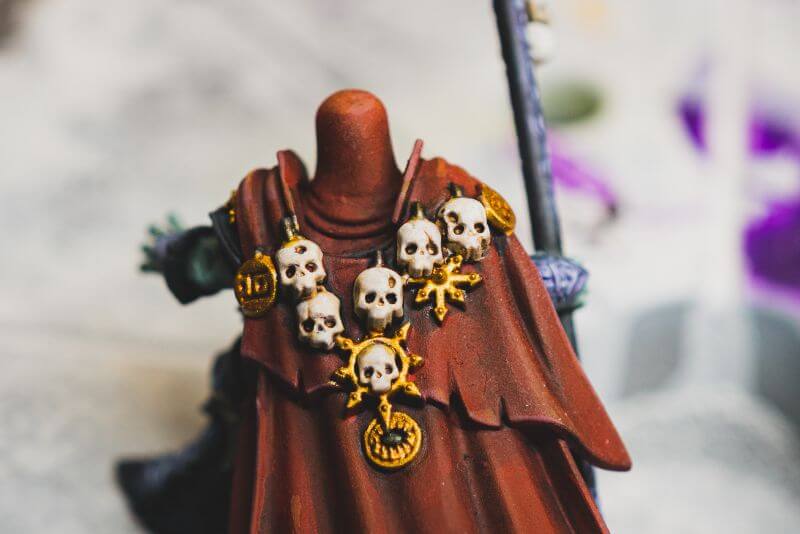
Using a fine tipped paint brush, apply these extreme highlights to the edges of the surface, adding a “point of light” in a few places. Don’t worry too much about transitions between these brighter points, as they should be tiny dots.
As a note, you can paint the skulls or bones before or after the rest of the model. I find it easiest on most miniatures to paint bone material before I do metallic surfaces, since I’m able to use the shade wash with less concern with it spilling over into other areas. I can cover up any mess around the skull and bony parts when I paint other parts of the model.
Bonus Step – Glaze other colors for special effects and apply a matte varnish
For those of you looking to add a bit of variety to your skull or bone painting, you can use other techniques and methods to include more colors or texture.

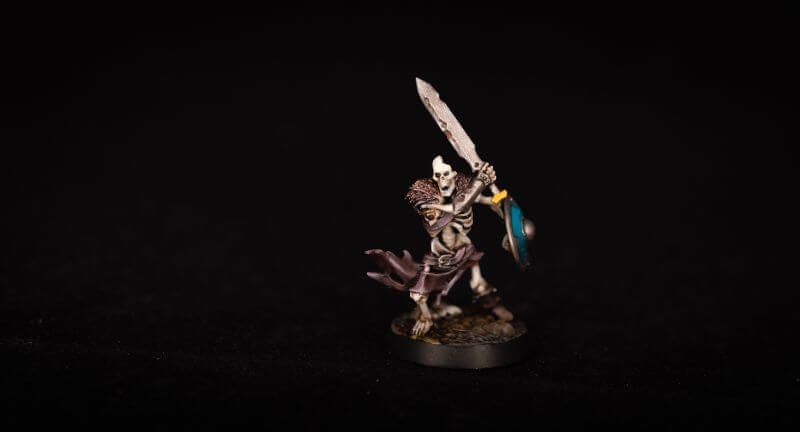
An alternative method, for example, for applying your final highlight (instead of what I described above) is to use a dry brush application of an entirely different paint color, such as a light gray or a verdant green to imply moss, mold, or lichen growth on the bone.
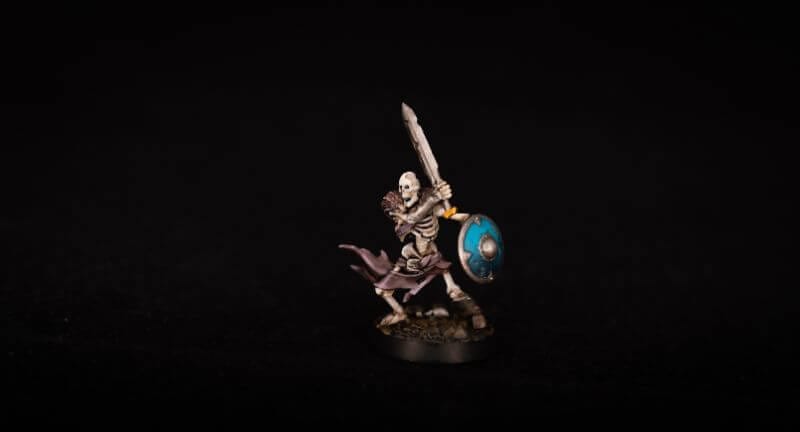
Glazing is a great way to also add a color filter over your finished paint job.
Using transparent inks or shades thinned with water work great as glazes that will shift the underlying colors to new hues or tones. I’ve experimented a lot with this approach–even trying oil paints for washing and shading models–and learned that there are many different ways you can change the basic bone or skull paint job to fit whatever look you’re after.
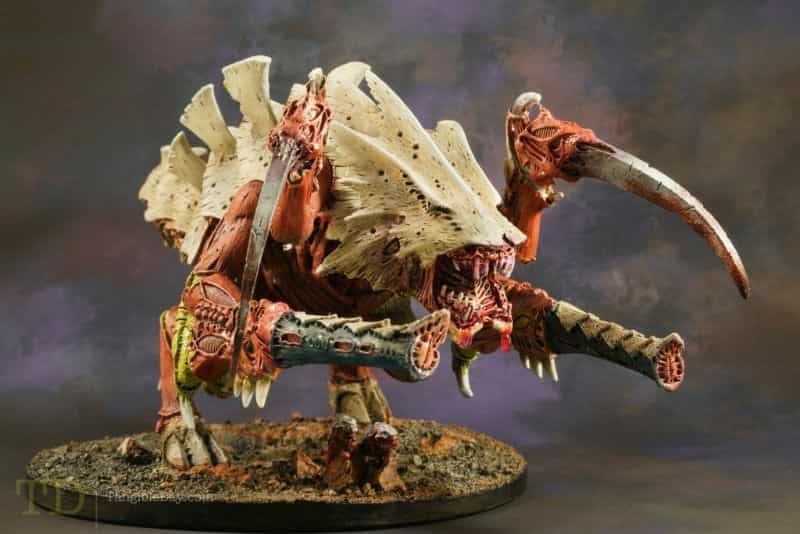
When you’re done painting bone, remember to protect your work with a good matte varnish. I highly-recommend using a matte varnish, which will remove and even out any reflections on your model. A matte finish is particularly important for painting bone, which is naturally matte and non-reflective–unless it’s the frightening maw of a living creature, dripping with slimy saliva.
Tips for Painting More Realistic Bone (or Anything, Really)
If you’re looking to a paint bone or anything realistically, it is best practice to use a reference image. That is, find a photograph or image online of real bone, such as a dead animal’s skull or rib cage. Find several photos, in fact, so you have more than a single perspective of what realistic bone actually looks like.
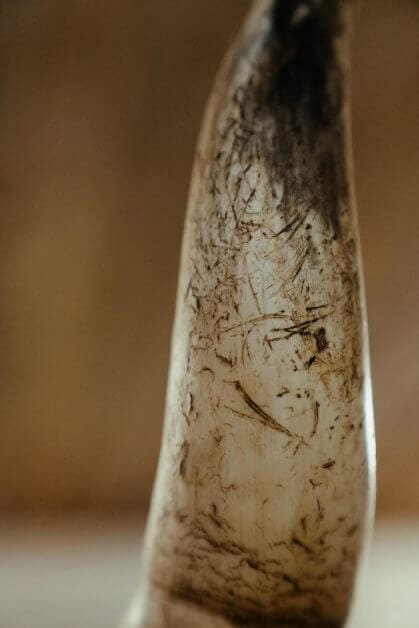
Examine the image of real bone, carefully. Take a closer look at the color. Where are the highlights, shades, and tonal values located? Are the eye sockets hollowed out into a deep brown, or are they black from weathering and dust?
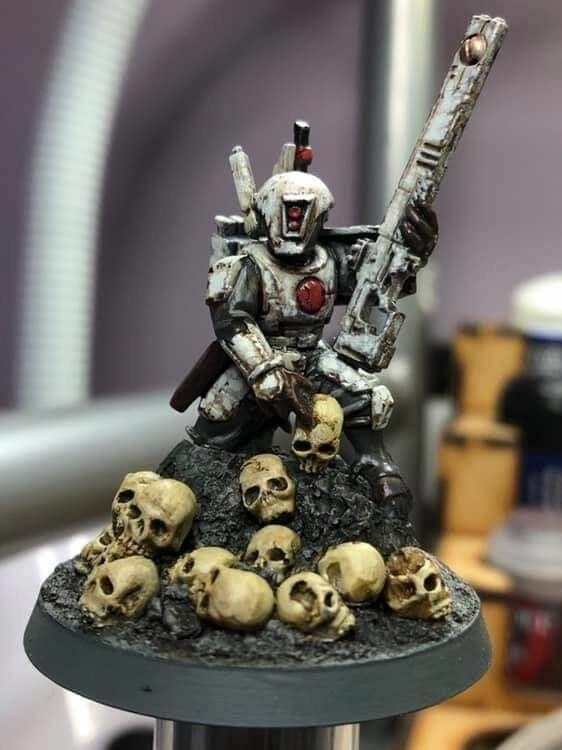
Be observant. Investigate the texture of the surface.
Are the bare teeth or bridge of the nose smooth, or are there cracks filled with dirt and grime? Old bone looks different than new bone, which has a paler color and perhaps a smoother surface.
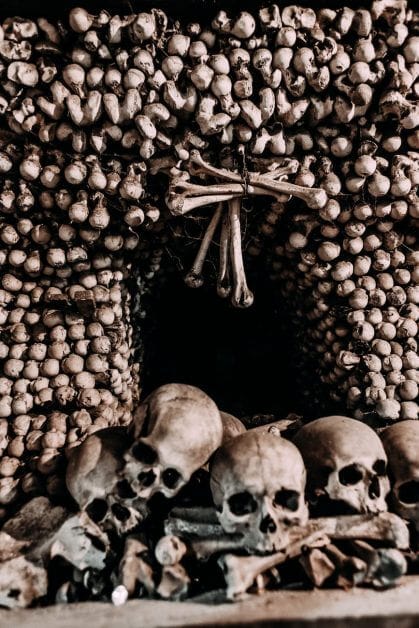
Bone that has sit around for a long time outside in the weather, under the sun, has a rougher texture. Maybe there are streaks on it, or hints of gray where the material has dried out and cracked.
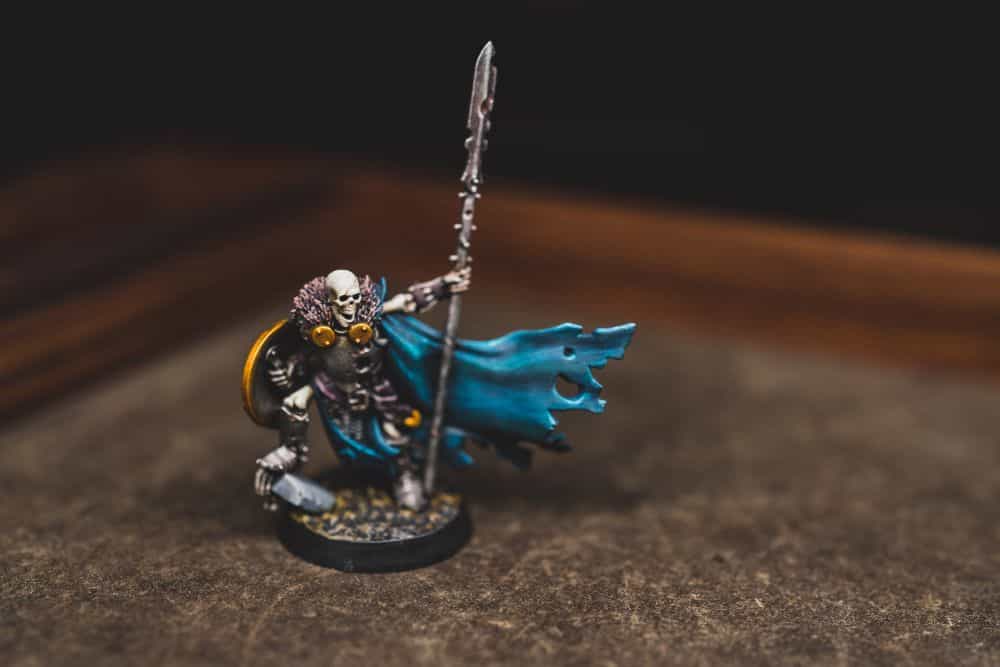
Moss often grows on moist surfaces. Is your bone in a dry place? If not, then consider adding other colors or textures that suggest other things growing on or in the bone itself.
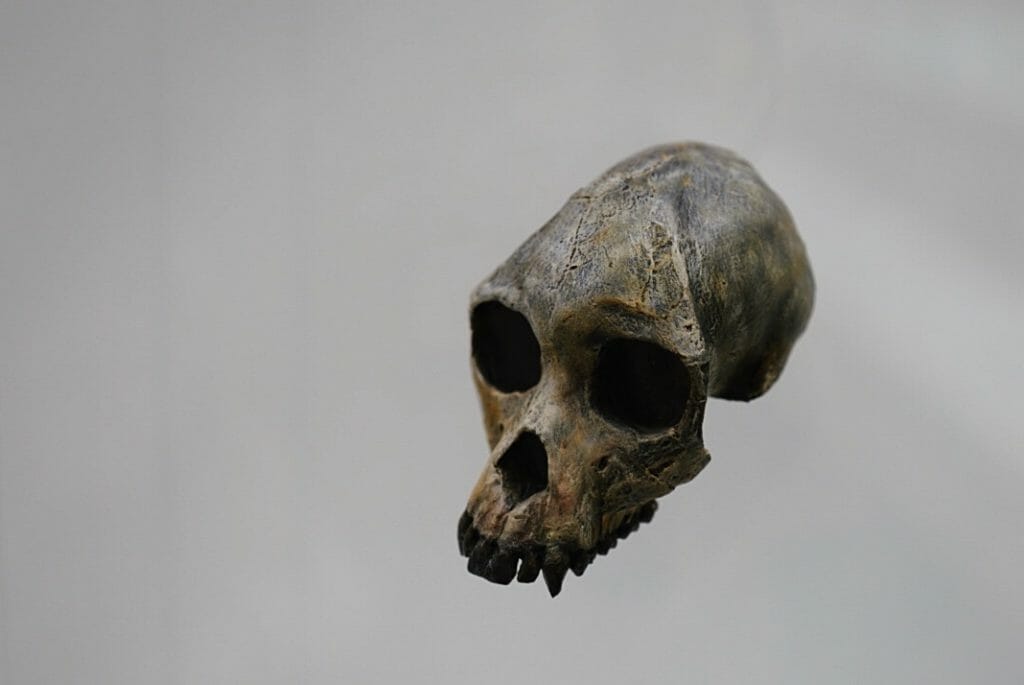
If you search for multiple examples of real bone, focusing on the age, kind, and type of subject, you’ll find that realistic bone has a lot of “life” in it. The best looking skulls and dead calcified material (which is what bone is made of), often have extra details that add drama and tension to their appearance.
Focus on finding the details that add to the drama of whatever subject you want to paint. For a realistic miniature paint job, the color, texture, and contrast should come together to tell a story.
Conclusion
I hope you found this tutorial helpful for a quick and easy way to paint bone and skulls on your miniatures and models. I paint a lot of models, especially for Warhammer 40k, and skulls are everywhere. For efficiency and looks, I prefer starting with a simple workflow to create a solid foundation for other painting effects on these skull/bone details and features.
Do you have a favorite paint to use for skulls and bone? How do you paint miniature skulls? Let me know with a comment!


Tangible Day on YouTube (Miniatures and More!)


Pingback: How to Paint Skulls and Bone on Miniatures (3 Easy Steps) — Tangible Day | Ups Downs Family History