So you want to get started painting your new model kit. People who want to start painting miniatures but don’t know where to start might be wondering how to prepare miniatures for paint. It can seem daunting, but with a few simple steps you can have your miniature ready for priming and painting in no time!
In this article, I share a quick start guide for preparing your miniatures for paint, as well as some tips on how to make the process go more smoothly.
6 steps for preparing miniatures and Models for Paint
Many people tend to enjoy putting together miniatures, scale models, or 3D printed models once they get the hang of it. Here’s are the simple steps for how to prepare your model for painting so that you can get the best results.
- Remove Model Parts from Sprues
- Remove Mold Lines and Clean Up
- Wash Model Parts
- Assemble the Model Kit
- Fill Gaps and Seams
- Apply a Primer
For more details about how to prepare your miniatures for paint, read on below!
Material List for Assembling and Preparing Miniatures for Paint
- Hobby knives (the set I use)
- Clippers
- Self-healing cutting mat
- Super glue (or plastic cement) (full guide)
- Pinvise (Optional)
- Gap filler putty
- Spray or brush-on primer (full guide)
How I Got Started Painting Miniatures: It Wasn’t Easy!
Although I wrote this post for the new hobbyist, much of the information will be relevant for painters of all experience levels. Scroll ahead to the guide below or hear my story!
I know from my humble beginnings in my small apartment in New York City, sitting crossed-legged at a short coffee table in front of the living room TV, that I wanted to do it all.
I used to play a ton of board games that eventually developed into a tabletop wargaming habit. This is when the hobby painting started.
But, of course, I had no idea where to start. I would go to the local game store and buy Warhammer 40k miniature boxes, bring them home, and crack open the manual. I knew right there and then that I hated assembling models.
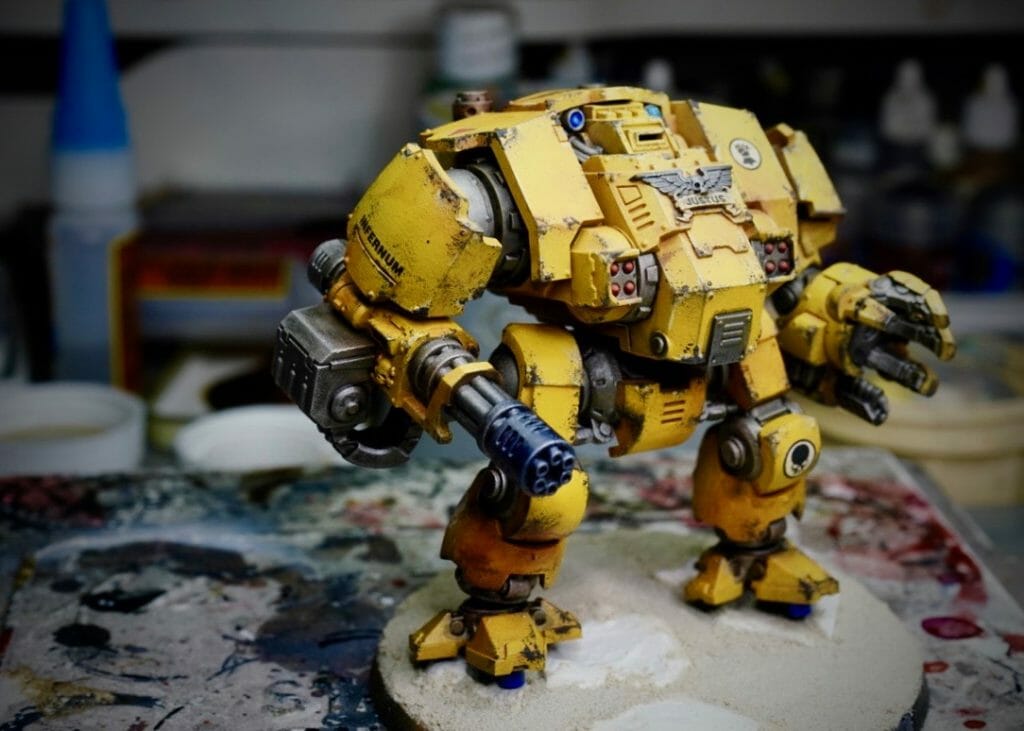
My first army was the Imperial Guard (now known as the Astra Militarum). And in hindsight this could have been a mistake given how many parts, pieces, and the sheer number of models I needed to assemble, but I was young and foolish then.
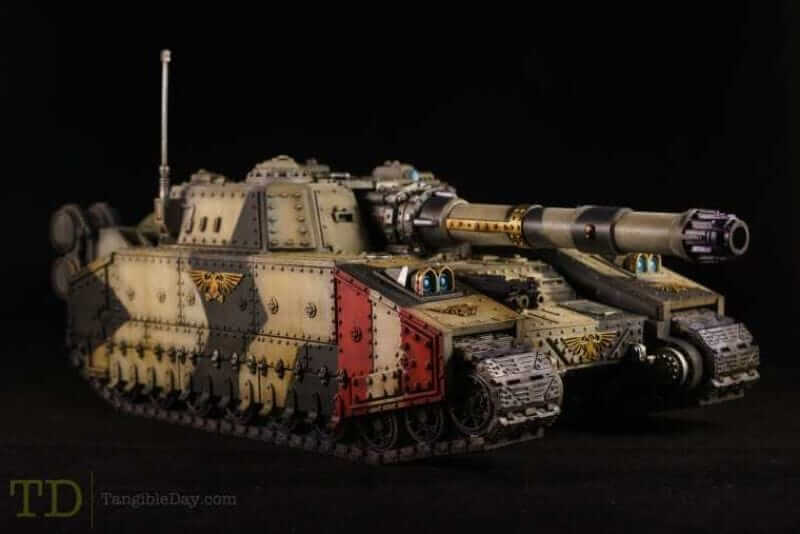
Or just short-sighted… then again, I thought the idea of humanity holding the line against the forces of Chaos with nothing more than their wits and a prayer was pretty cool. Later on, I moved on to the stalwart Space Marines….
I digress.
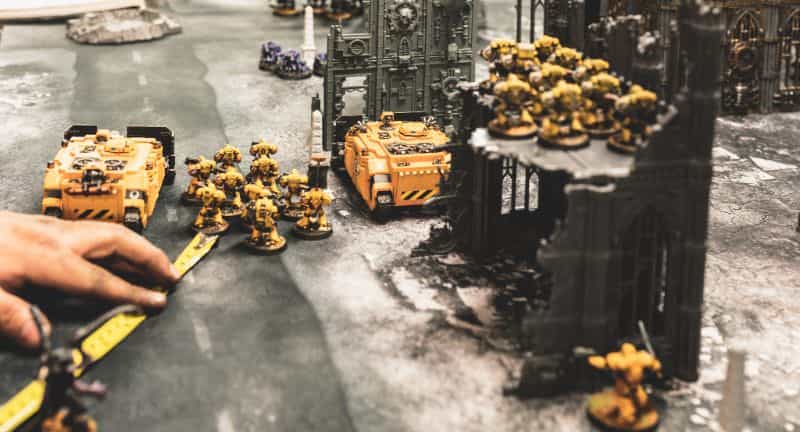
The point is, I knew that if I wanted to get my models painted in a timely manner, I needed to find a way to assemble and prepare them quickly and efficiently. This is how I learned the basics of preparing miniatures for paint.
In fact, over the intervening years, I’ve come to rely on the same technique to prepare miniatures, 3D printed minis, and scale models.
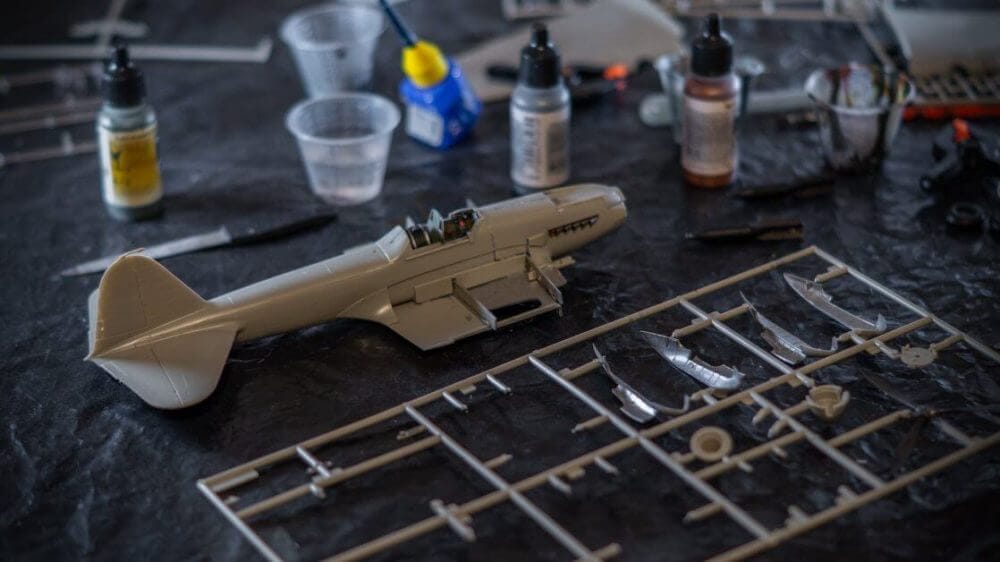
The Basics of Preparing Miniatures for Paint
There are a few easy steps you’ll want to try and follow for assembling your miniatures and preparing them for a great paint job. Most of this workflow will depend on your model kit, what it’s made of, and your own personal preferences.
Here are 6 steps for preparing models and miniatures:
- Remove Model Parts from Sprues
- Remove Mold Lines and Clean Up
- Wash Model Parts
- Assemble the Model Kit
- Fill Gaps and Seams
- Apply a Primer
1. Remove Model Parts from Sprues
The first thing you need to do is remove the model from its sprue. The sprue is the plastic frame that the models come attached to and is used to keep the model in one piece during manufacturing.
You’ll find later that there are many ways to recycle these empty sprues, and there is quite a movement out there to make the hobby more environmentally friendly.
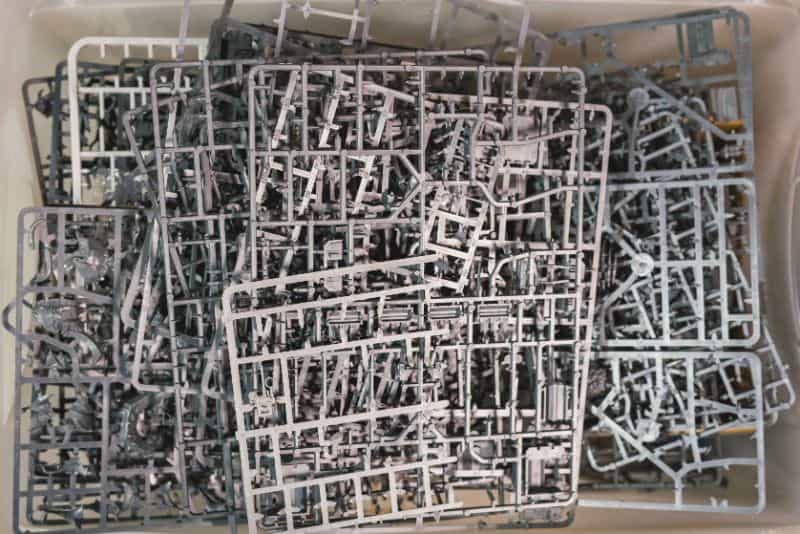
You will need a sharp hobby knife for this step, as well as a pair of cutting pliers. A cutting mat could help protect your table or desk surface.
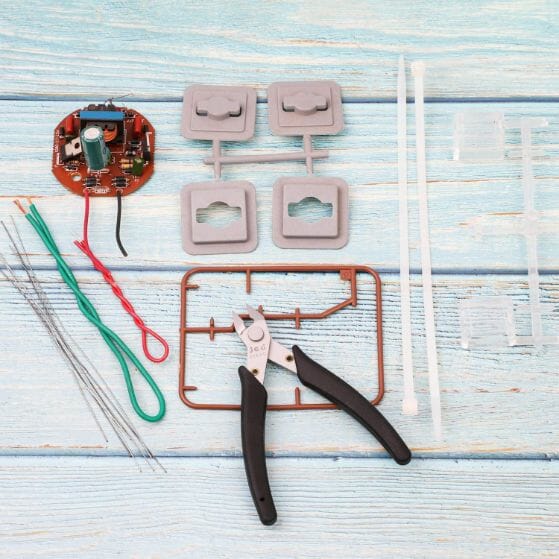
I find that it’s helpful to have a small file on hand as well, just in case you need to file down any rough edges or excess material.
2. Remove Mold Lines and Clean Up
Once you have removed the model from its sprue, you will need to remove any mold lines or flash. Flash is excess plastic that is left over from the manufacturing process, and it can be found on both the models and the sprues.
Mold lines are more common on older model kits, but you may still find them on some of the newer ones as well. They are caused by the two halves of the mold not lining up perfectly when the plastic is injected, and they can be quite noticeable.
The next thing you need to do is trim any excess plastic from the edges of model parts, also known as “flash”. This is especially important if you plan on painting these parts of a model, as any excess plastic flash will make it difficult to paint a smooth surface.
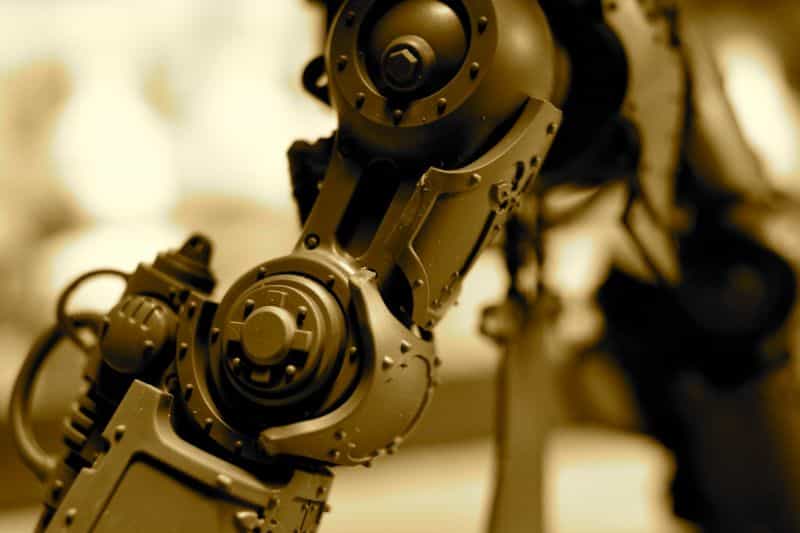
You can clean up flash with your hobby knife, or you can use a file if the flash is particularly stubborn. Just be careful not to remove too much plastic, as you don’t want to damage the model.
Once you have removed the flash, you should have a fairly clean parts that should fit together during assembly later on.
Once you have removed all of the excess plastic, you should have a model that looks something like this:
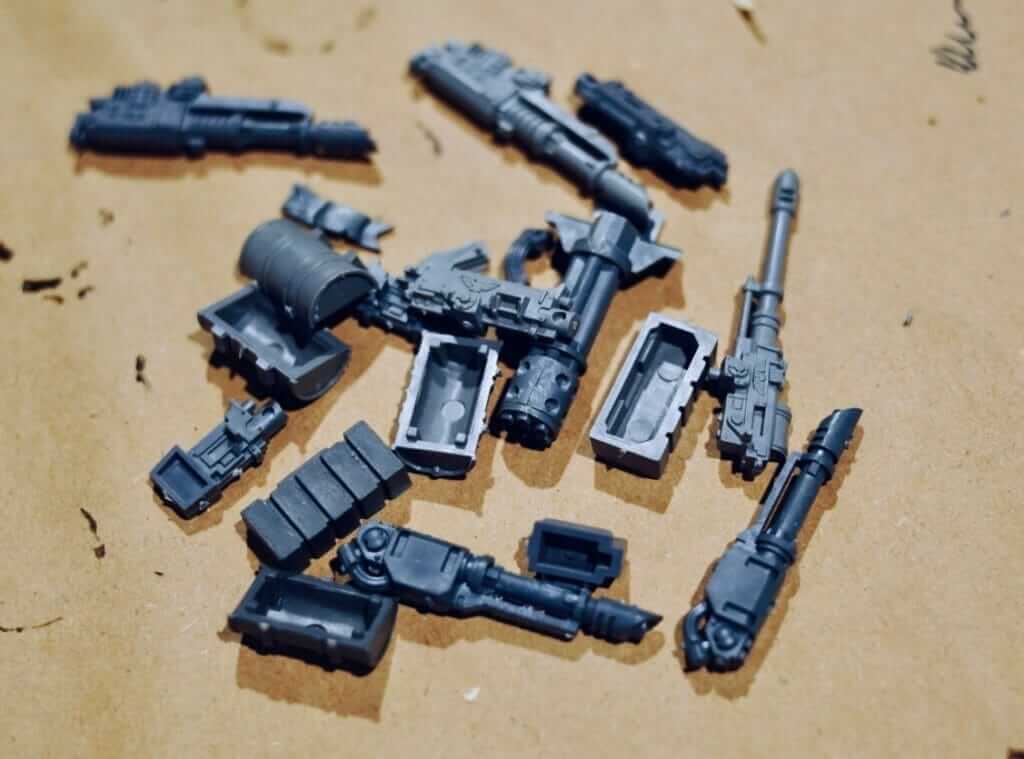
When you’re done, I recommend you move on to the next step and wash these separated pieces, whether they are resin, plastic or metal. Washing is a key step that many people overlook, but it’s important for getting a reliable paint job.
3. Wash Model Parts
A common question I’ve gotten is: “Do I need to wash miniatures before paint?” And my answer is yes, you should wash your models before painting.
This is especially important if you’re working with plastic miniatures, as the mold release agent used during the manufacturing process can interfere with paint adhesion. Resin miniatures have a similar issue, too, and should also be washed before painting.
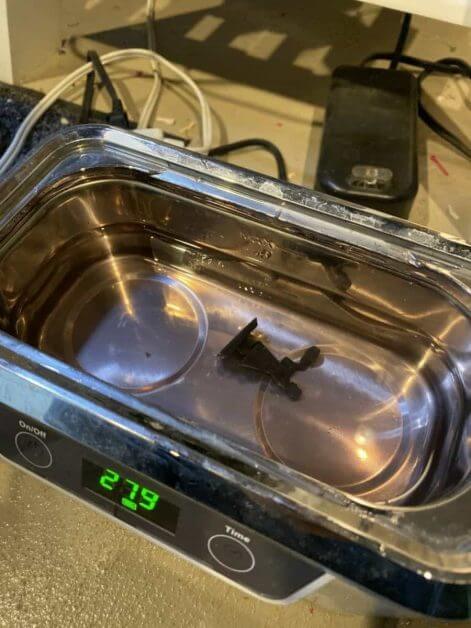
You can wash your models with warm soapy water and a toothbrush. I usually use dish soap, but any kind of soap will do. Just make sure to rinse them well afterwards and let them dry completely before moving on to the next step.
Note that you can also wash your models with rubbing alcohol (some recommend this). But this can be a bit more harsh on plastic models, and isn’t really necessary unless you’re dealing with particularly greasy parts.
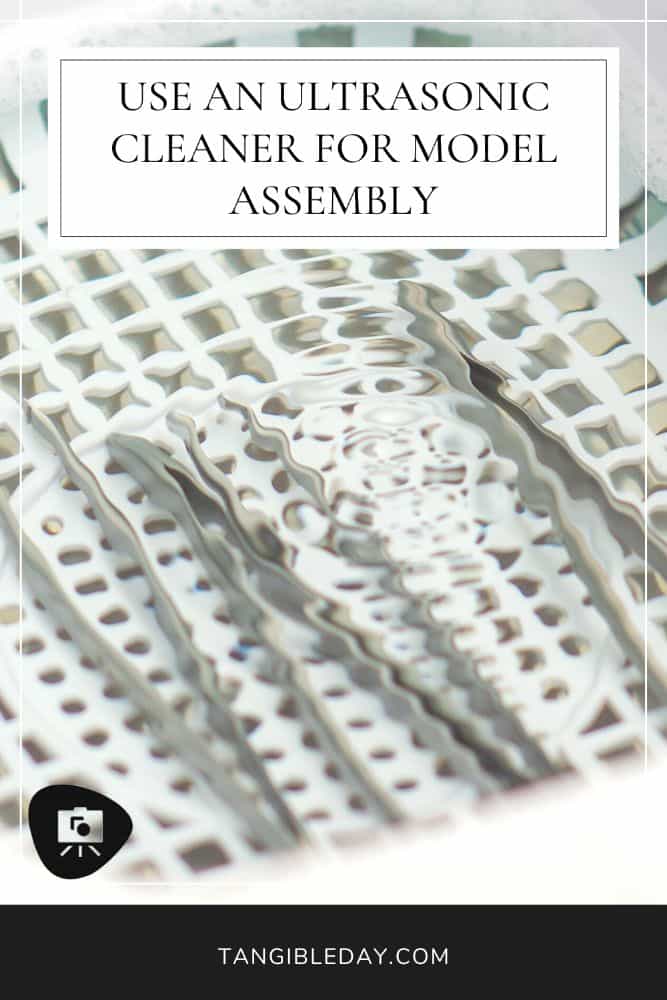
If you’re like me and impatient, you can use an ultrasonic cleaner to wash batches of model parts at the same time. Here’s a guide for using an ultrasonic cleaner with miniatures.
Overall, the idea is to remove any oils, dirt, or residue that might be on the surface of the model so that the paint will adhere better.
4. Assemble the Model Kit
Glue. You’ll need the appropriate glue for the type of material you’re working with. If you’re in doubt, use super glue.
Super glue (or cyanoacrylate) is a liquid polymer resin type adhesive that activates when exposed to water moisture. As you probably know already, super glues dry fast, and turn into a hard, crystalized bond.
You can use super glue on most hobby materials, including resin, metal, wood, and plastic. There are different types of super glues, e.g., thick or thin viscosity, slow curing. Which one you chose doesn’t matter as much as how you use them.
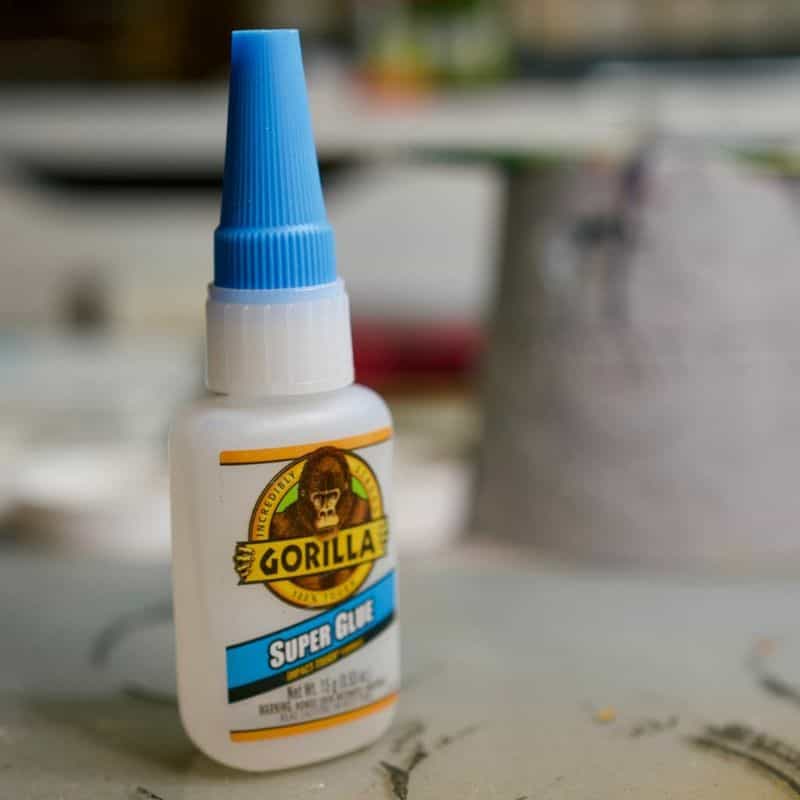
Remember the axiom with any glue, less is often more, and you’ll find they stick better when they aren’t running all over the place.
If you want to learn more about the best glues for miniature and scale modeling hobbies, check out this complete glue guide article. There you’ll find reviews and recommendations for the best glues for miniatures, as well as tips on how to use them.
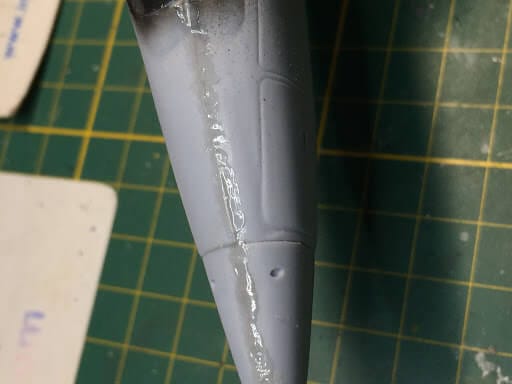
5. Fill Gaps and Seams
The next step is to fill any gaps or seams on the bare plastic (or whatever material you’re working with). Gaps can occur for a number of reasons, but the most common one is that the model was not properly aligned when it was glued together.
Seams are more common on models that have been cast in multiple pieces, such as resin models. They are caused by the mold not lining up perfectly, and they can be quite noticeable.
Both gaps and seams can be filled with a number of different materials, but the most common one is putty. Putty is a pliable substance that hardens when it dries, and it can be found at most hobby stores or on Amazon.
I recommend Vallejo Plastic Putty, as a reliable and versatile paste. It’s easy to use, water-soluble, and smooths out gaps and seams nicely on plastic, metal, and resin models.
READ MORE: BEST GAP FILLERS FOR MINIATURES AND MODEL KITS (GUIDE AND REVIEW)
Once you have filled all of the gaps and seams, you should have a model that looks something like this:
6. Apply a Primer Before Miniature Painting
The next step is to apply a primer before painting. A primer is a basecoat that helps the paint to adhere to the surface of the model and also provides a uniform surface for painting.
Primers come in both spray and brush-on formulations, and they are usually colorless (although there are some colored primers available). I recommend using a black primer, as it provides good coverage and contrast for subsequent painting.
There are a few different brands of primer that are popular among miniature painters, including GW Chaos Black, Army Painter Black Primer, and Vallejo Surface Primer.
READ MORE: 10 GREAT PRIMERS FOR MINIATURES AND MODEL KITS
Spray primer is generally quicker and easier to apply than brush-on primer, but it can be a bit more difficult to control. Hint: Make sure to use them in short bursts.
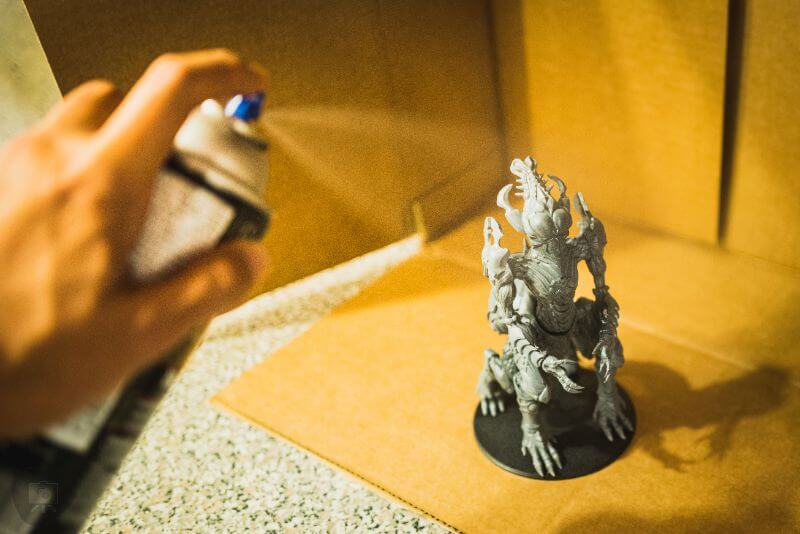
There are quite a few tutorials out there, but here’s a simple breakdown of how to use a spray primer, e.g., aerosol, that will get you started right away.
When spraying primer, it’s important to apply thin layers so that the primer doesn’t pool up or run. Hold the can about 6-8 inches away from the model.
Make sure you move the can in a sweeping motion over and across the model you’re spraying so that you’re evenly coating the surface.
Do several light coats rather than trying to get it all in one go. It’s better to have a few thin layers of primer than one thick layer.
Can I prime models indoors?
Yes, but you should take some precautions. Primer (especially spray primer) can be smelly and worse, harmful with its fumes, and it’s best to do it in a well-ventilated area, such as a garage with the door open, or outdoors if weather permits.
If you can, wear a face mask to avoid inhaling the fumes and paint particles. If you’re priming a lot of models at once, it might be worth investing in a respirator mask, which will give you better protection.
You can also try to do it in a room with an open window and a fan blowing the fumes out the window, but this isn’t always practical.
How to Paint Miniatures?
Painting miniatures are one of the most rewarding hobbies out there. Metal miniatures, plastic scale models, whatever. Painted miniatures are engaging, intricate, and full of character. Some may even say “cute”.
But where do you start? Well, if you’re trying to paint up minis for your favorite board game, Games Workshop 40k army, or simply want to do some actual painting that everyone talks about, then you’re going to want to learn as much as you can.
This won’t be a detailed tutorial, but more of a quick message to get you started with the basics.
The first step is to decide what paint scheme you want to use. You can either come up with your own design or find one online. Once you have a plan, it’s time to start painting!
What you’ll need to start painting your models:
Start by preparing your workspace and materials.
You’ll need a clean, flat surface to work on, as well as good lighting. You’ll also need some basic painting supplies, like brushes, paints, and primer. A paper towel will come in handy at many stages of the painting process.
Once you have everything you need, start by priming your miniature (see above). This will help the paint stick to the figure and give you a better finish.
There are many ways to approach painting miniatures, here are quick starter tips.
- Use suitable acrylic paints. These are available in a wide range of colors and can be thinned with water for easy application.
- Start with the darkest colors first and work your way up to the lighter colors. This will give you the best coverage and prevent you from accidentally painting over lighter colors.
- Use a wet palette (optional). This is a special palette with a hydration sponge and moist paper palette that prevents your paints from drying out while you’re working. It’s especially useful if you’re painting with hobby acrylic paint for long periods of time.
- Paint in thin layers. Use multiple thin coats of paint rather than trying to get it all in one go. This will help you avoid brushstrokes and give you a smoother finish.
- Allow the miniature to dry. Make sure each layer of paint is completely dry before moving on to the next. This usually takes a few seconds to minutes, but depending on the paint you’re using, how much is applied, or how dry your working area is.
- Varnish your models. Once you’ve finished painting, you can seal your miniature with a clear varnish to protect the paint job.
RELATED: 8 MUST-KNOW MINIATURE PAINT BLENDING TECHNIQUES
For more lessons and tips to get your miniatures painted up and looking great, check out our step-by-step painting guides.
Frequently Asked Questions (FAQ)
What is a good workspace for working with miniatures?
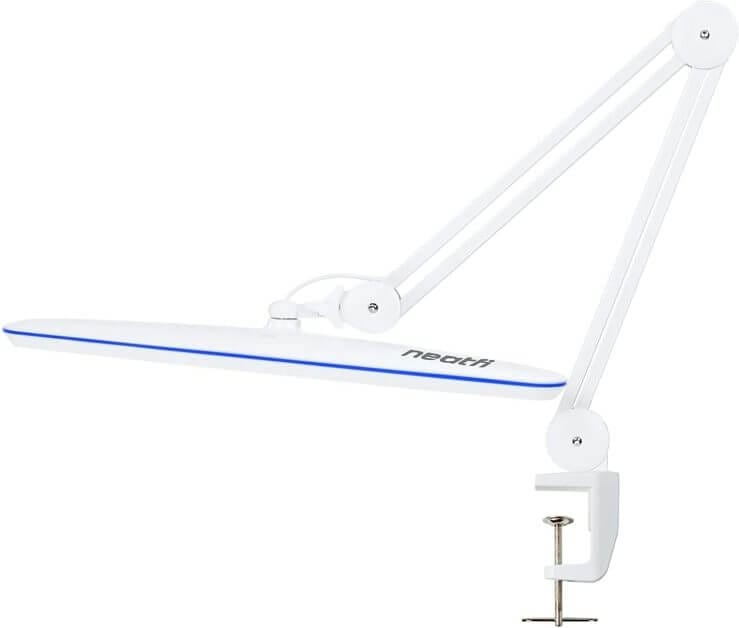
A well-lit, flat surface is ideal. You might want to use a tray or cookie sheet to keep your work area tidy. You might also want to invest in some good magnification, like a magnifying lamp or a head-mounted magnifier.
What kind of lighting do I need?
You’ll need good, natural light or a bright desk lamp. Even better is if you can use a daylight spectrum LED task lamp with a brightness level of 800 lumens or more. These are great for painting miniatures because they provide good color rendering, produce great contrast over your working surfaces, and emit almost no heat.
How to paint 3D printed miniatures?
The first step in painting 3D printed miniatures involves clearing out any supported material. For model printed on a FDM printer (the most common type), you can use a hobby knife to carefully remove any supports.
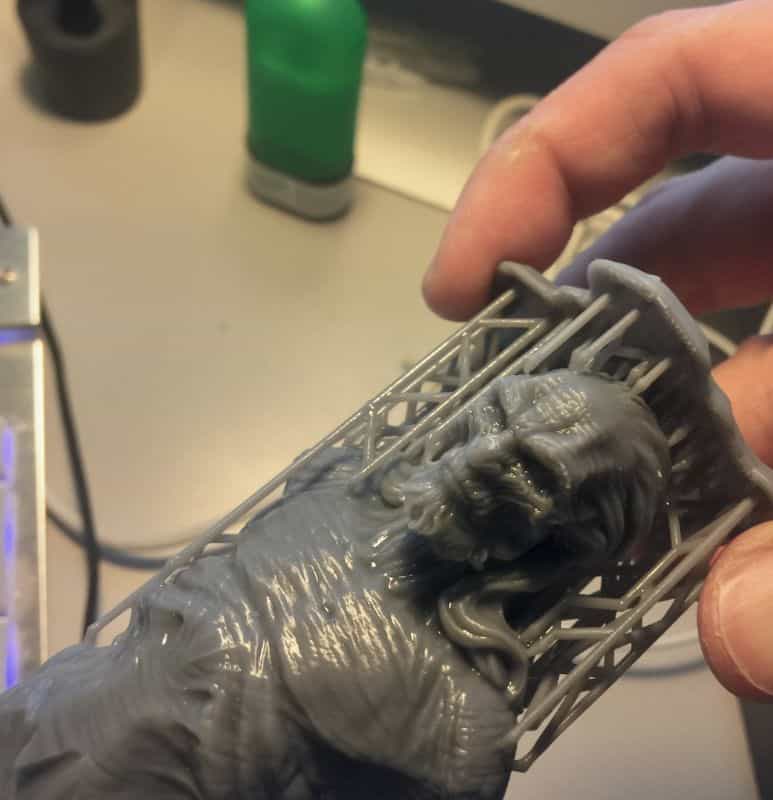
For SLA/DLP prints, the supports can usually be removed by clippers like you would removing parts from a plastic sprue you find in scale model kits.
Once you’ve removed the supports, you can sand or file down any surface imperfections, and use a suitable primer.
Do I need to wash 3D printed minis?
Filament 3D printed miniatures do not need cleaning. Just remove their supports and smooth out their surfaces. Here is a way to smooth PLA 3D prints without sanding.
For resin 3D printed models, you’ll want to go through the process of washing the freshly printed part in isopropyl alcohol (IPA) to remove any residue from the printing process before priming and painting.
Washing your resin 3D printed models is necessary for removing any excess resin outside (or inside) your model. Make sure your cleaning process matches your particular resin. Some 3D prints with resin can be washed with water.
Conclusion
And there you have it! Now you know how to prepare your miniatures for paint. With just a few simple steps, you can get started on painting your own miniatures.
Although I don’t get into the process of painting miniatures here, there are many ways to approach this. While there are some “right” ways to do things, there is no one way that is necessarily better than the others.
For more information about painting your assembled and primed model, check out these painting articles, lessons and tips for more info about the ways you get started with painting your first miniatures.
I hope you found this article helpful. If you have any questions or comments, please feel free to leave them below.
Until next time, happy assembling and preparing models for your next great paint job! Thanks for reading!




Tangible Day on YouTube (Miniatures and More!)
