Looking for a low stress method for painting miniatures? The best miniatures to paint without getting bogged down in details are those with broad, open spaces and organic textures. This is because they’re easier to paint in a way that looks good when you use acrylic paint washes.
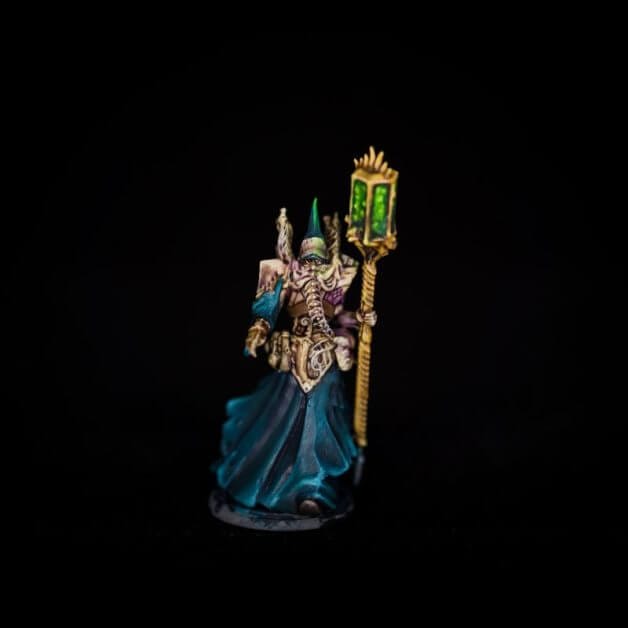
In this article, I share my process for painting an entire miniature with mostly washes. Specifically, I show you how I painted the “Pheromancer”, a character piece you can include in your army for the tabletop wargame, Conquest The Last Argument of Kings (by Para Bellum Games).
What is Conquest (the Game)?
The game, Conquest – the Last Argument of Kings, is a wargame produced by Para Bellum Wargames. The game’s rules were created by one of the industry’s leading game designers, Alessio Cavatore and his studio Riverhorse.
The rules are simple to grasp for a novice player but also provide an opportunity for individuals to explore new and complex strategies.

Unlike many games that focus on player turns and army deployment, Conquest’s gameplay is centered around the “command stack” mechanic. This allows each player to determine at the beginning of the round what order his troops are going to be activated in.
An added layer of strategy is included with the game’s unique escalation reinforcement mechanic where light, medium, and heavy troops each have their own distinct roles. With these mechanics in place, the “fog of war” is a very real thing.
If you’re interested in the game, you can use discount code “TANGIBLE” at check out for 10% off any product in the Para Bellum Games store.
Let’s Dive In
If you’re new to painting miniatures, check out my essential miniature painting guide to get a quick look into the bare minimum of what you’ll want to get into the hobby.
What You’ll Need
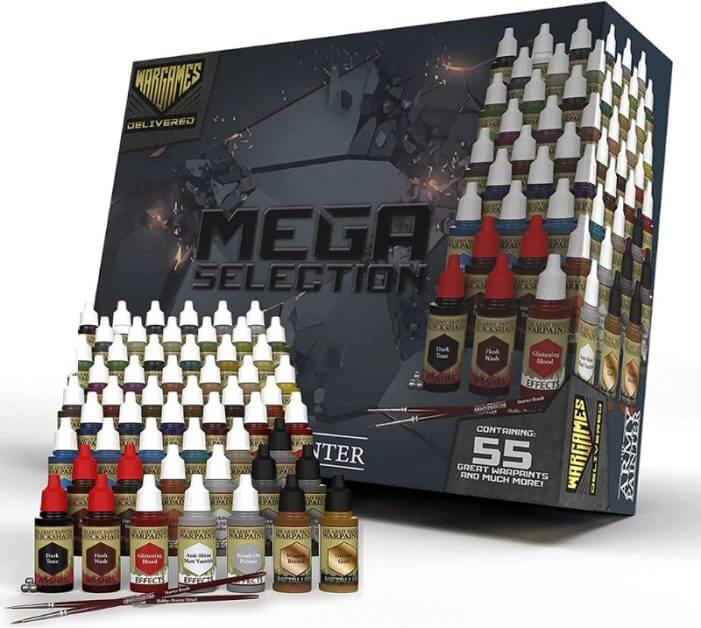
- Paints: I used a limited palette of Army Painter paints from the Wargames Delivered Mega Selection set, which you can pick up on Amazon or on the Wargames Delivered site.
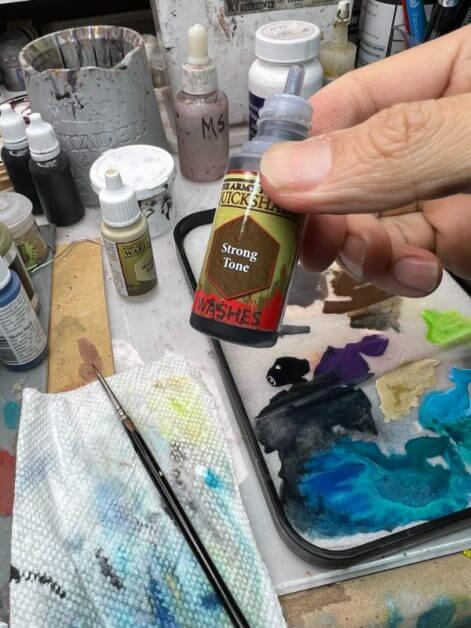
- You’ll want a good selection of washes: I’ve found that Army Painter’s Strong Tone works great for this particular project. I know that at some point that you’ll also want a few choice colored shades for your base coat (but not too many). More about color choices and how I use them below.
- Brushes: I recommend using a brush you’re comfortable with. Don’t use fine detail brushes just because you think they say “detail” on them, or people say that’s what they are for.
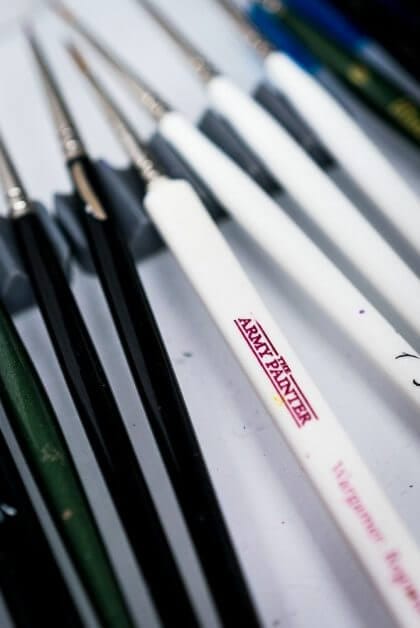
When you’re painting miniatures and want to relax, use the biggest brush you can control. My favorite brush for general work is the Army Painter Wargamer Regiment (see my full brush review).
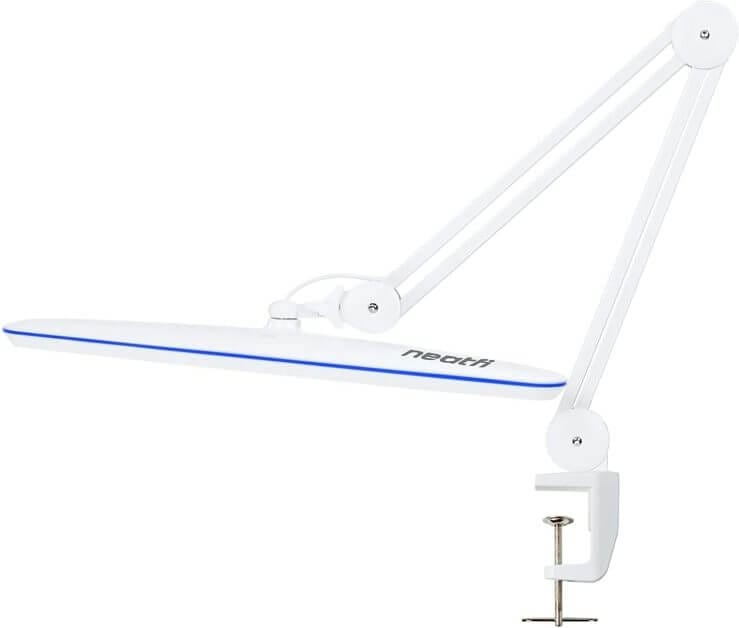
- Good hobby lighting: If you’re painting for any long-ish period of time, then good lighting over your work area is important for comfort. Here is my current favorite lamp I use for lengthy hobby projects and commission work.
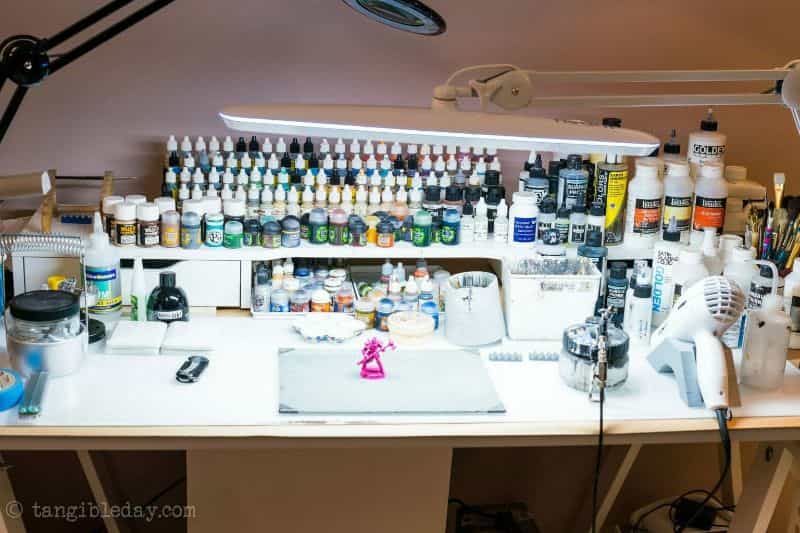
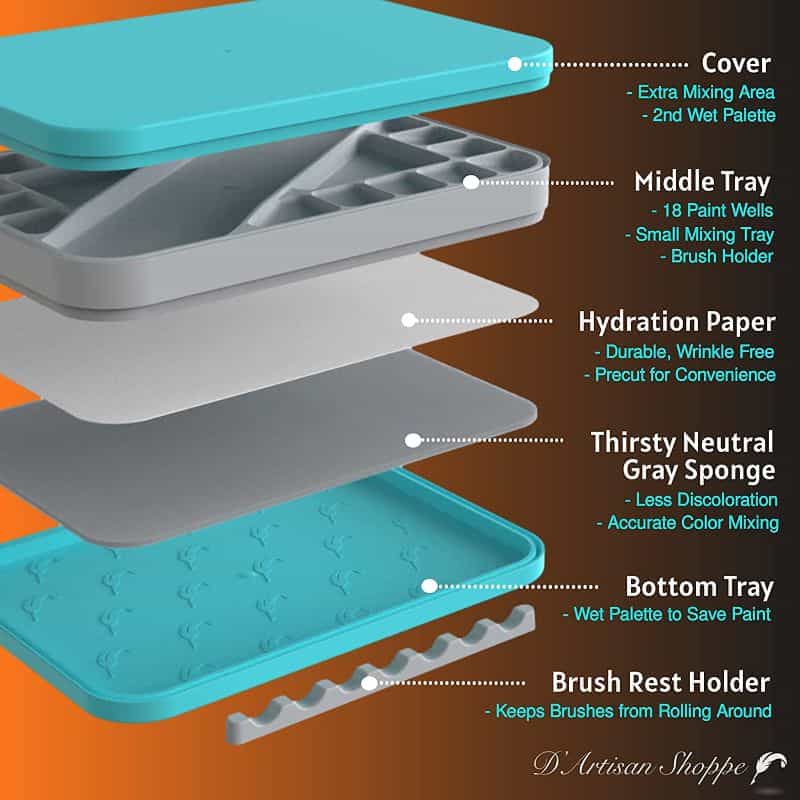
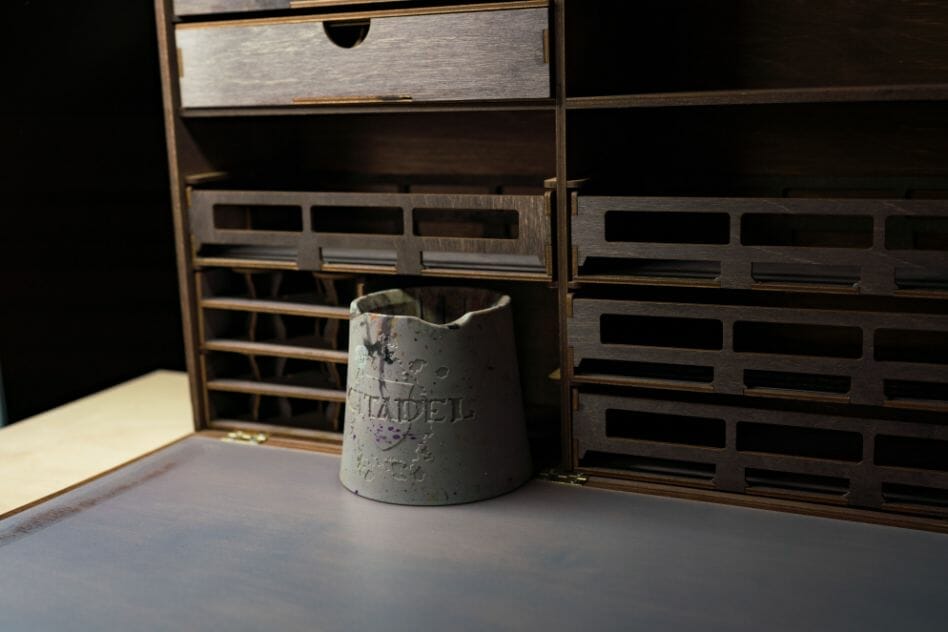
A few other things to help you paint any miniature/model: You’ll need pot of water for rinsing and thinning paints, a palette (wet or dry), a can of spray-on matte varnish (preferably), and a good surface hobby area where you can spread out.
Get in the “Chill Out” Mindset for Painting Miniatures
This is the most important part. If you’re not in a good mindset, it doesn’t matter what method or what colors you use: your painting will suffer.
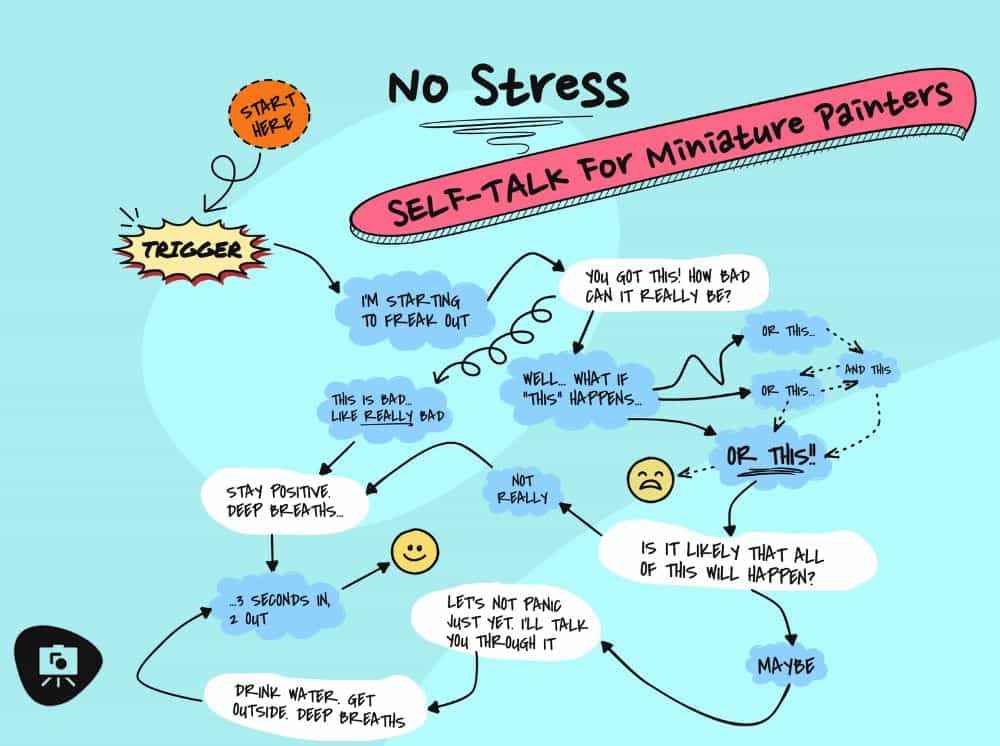
The goal here is to have fun, learn some stuff along the way, and end up with a painted miniature that looks pretty good (again, relative to where you started).
This means you’re not going for “perfection”. You’re not going for “competition level”. You’re painting for yourself and anyone who wants to look at your work and say “That’s pretty cool, I like that.”
Remember that. It’s important.
Picking Your Colors
When it comes to painting miniatures, washes are your friend. They allow you to add color and shading without having to be too precise. This is great news for those of us who want to relax while we paint.
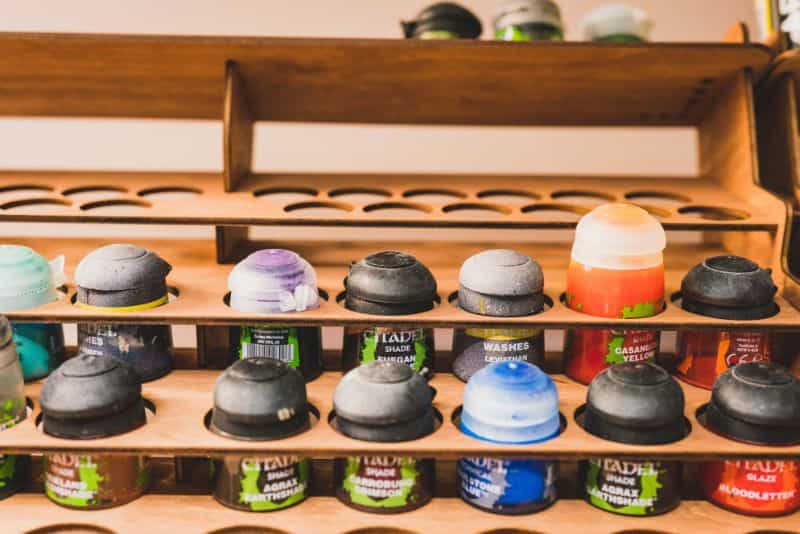
Washes also have the added benefit of being forgiving if you make a mistake. You can always add more paint or another wash on top of it to correct it.
When choosing colors for your washes, think about the overall effect you want to achieve. Do you want your miniature to look eerie and otherworldly? Pick greens and blues. Want something a little warmer? Go for oranges and yellows.
You can also mix and match washes to create interesting effects. Experiment and have fun with it. You’ll see me doing that in the painting below.
I’ve found that using a limited palette of colors helps me to stay focused while I’m painting. I don’t want to spend too much time mixing colors, so I stick to a core group that I know will work well together.
Low Stress Painting Method
The best way to relax while painting miniatures is to not focus on the tiny details.
This means you’ll want to work “big to small”. Here’s how that works:
- Start with the biggest area of the miniature that you can see. This is usually the basecoat color. For example, if you’re painting a space marine, the main color will be a color that defines all the armor.
- Paint that area with a single color. Don’t worry about shading or highlights yet. We’ll get to that later.
- Once you’ve got the main color down, it’s time to start adding washes. A wash is simply a thinned down paint (or a pre-made shade) that you apply over the top of another color. It’s an easy way to add shading and depth without having to be too precise.
- Start with your darkest wash color and apply it to all the recesses on the miniature. These are the areas that would be in shadow if there was a light source shining on the model.
- You can keep going until you’re happy with the result, or you can stop at any point. It’s up to you.
- The important thing is to not focus on the details. The goal here is to relax and have fun. So don’t worry if your shading isn’t perfect or if you miss a spot. We’ll fix that later.
- Once you’re happy with the result, move on to the next color.
- Repeat the process until you’ve gone through all the colors you want to use.
- Now it’s time to start working on the details. This is where a lot of people get stressed out when painting miniatures, but it doesn’t have to be that way.
- Pick one small area of the miniature and focus on that. It could be something as simple as painting the eyes or adding highlights to the armor.
- Take your time and don’t worry about making mistakes. You can always go back and fix it later.
- And that’s it! Just keep working on the details until you’re happy with the result.
The key to this low stress painting method is to not focus on the details. If you get bogged down in trying to make everything perfect, you’re going to get stressed out and frustrated.
So take your time, relax, and enjoy the process. The goal is to have fun and end up with a painted miniature that you’re proud of.
Continue on to see how I apply this mindset toward painting a miniature.
How I Painted the Pheromancer Miniature Using Simple, Low Stress Techniques
1. Prime the Model with a Brush
You can get more details in this article about how to prime models with a regular brush.
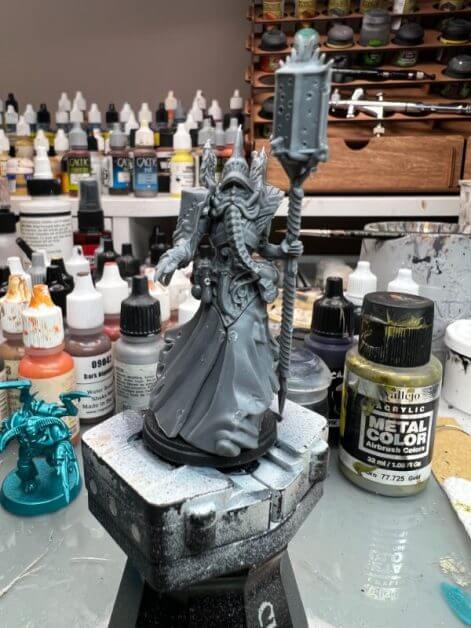
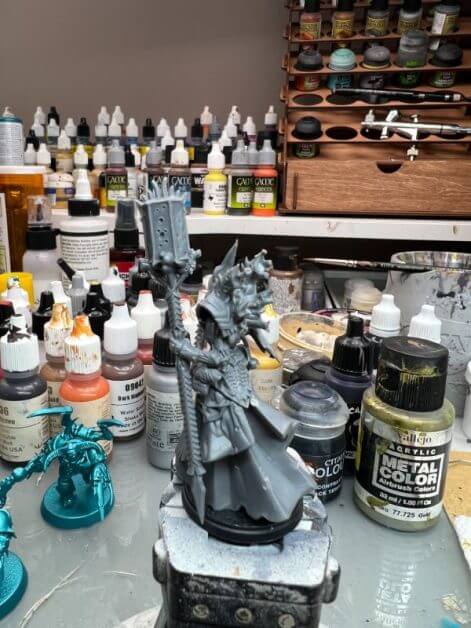
The advantage of a brush-on primer is that you don’t have to worry about proper indoor ventilation or spraying outside. Spray primers (or those applied with an airbrush) also tend to create quite a bit of waste when you’re only trying to paint a single model at a time.
The downside is that brush-on primers take a bit longer. But, I personally find the process of priming with a brush more enjoyable. I feel engaged with the model and that does take some of the stress out of the process.
It just feels good using a brush.
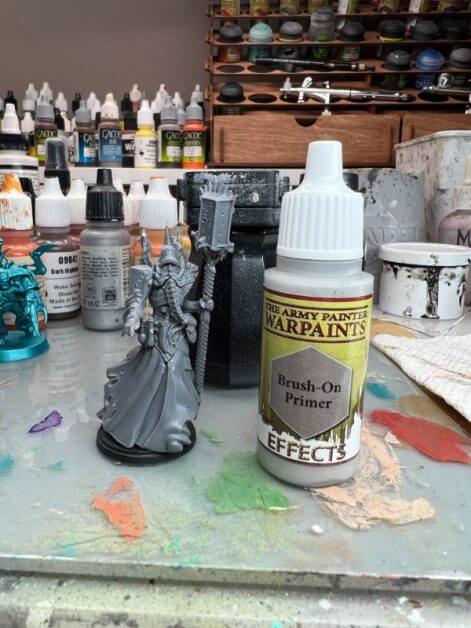
For best results with a brush-on primer, use a soft bristled, larger type paint brush. Make sure your primer is thin enough to flow well off your paint brush.
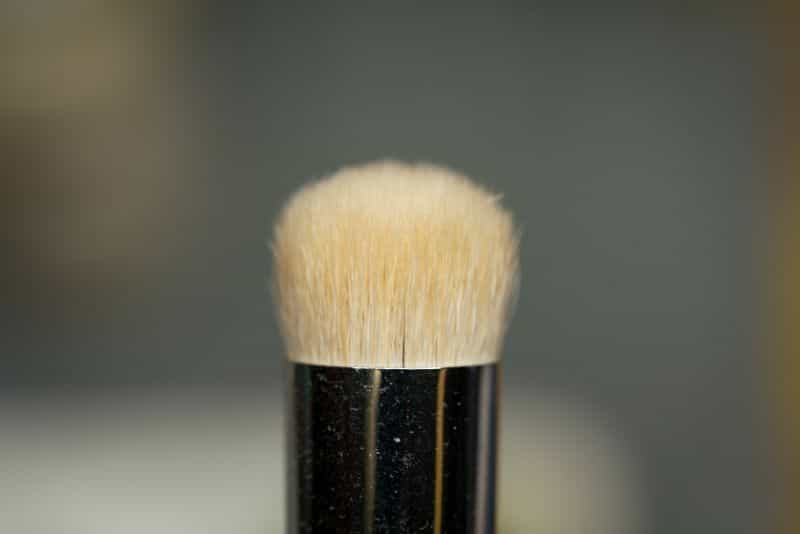
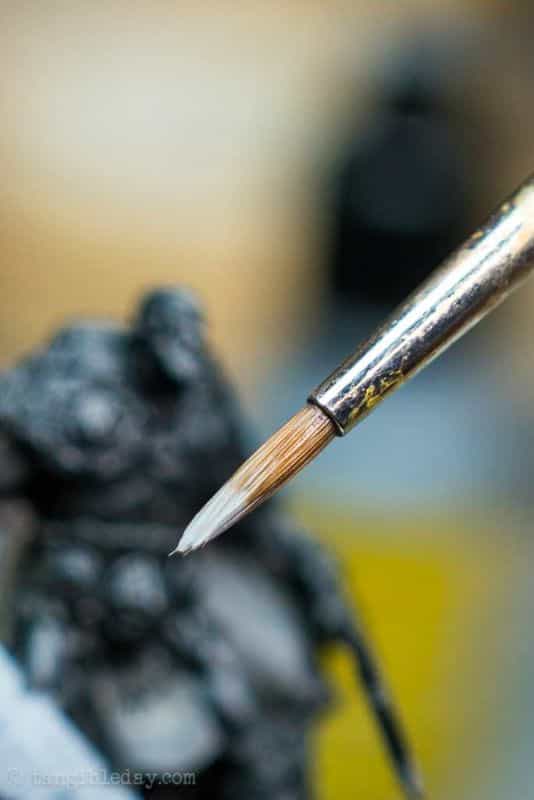
This will help prevent any streaks or brush strokes from appearing on the dried, primed surface.
I recommend that you make sure your miniature is completely assembled. Also, remove any flash or mold lines before applying a primer.
This will make your job easier later–You don’t have to worry about painting around small pieces, or about artifact bits of pigment sticking where you don’t want it; or ruining paint layers while assembling parts later.
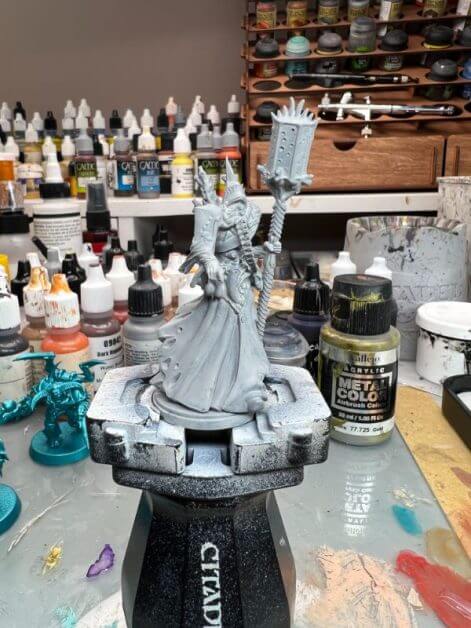
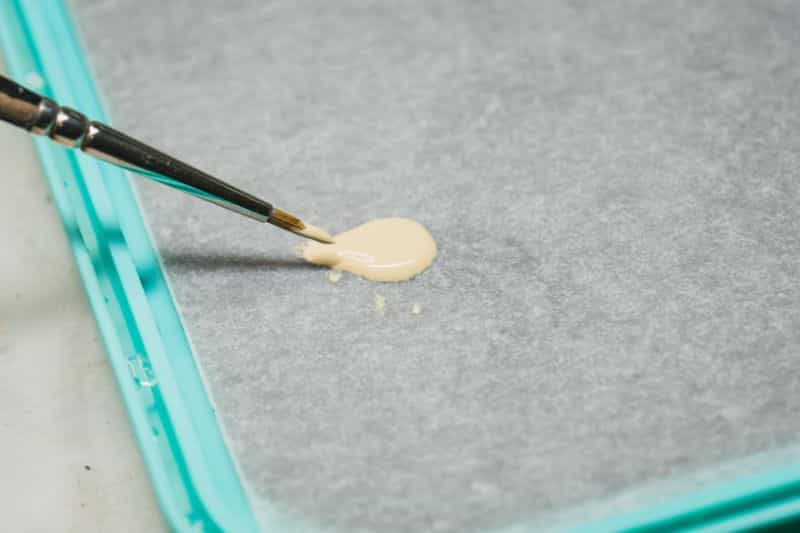
To primer this miniature, I used Army Painter Brush On Primer (grey color) that came with the Wargames Delivered Mega Selection paint set.
RELATED: GREAT MINIATURE PAINT SETS FOR NEW OR VETERAN PAINTERS
2. Find Your Main Colors and Paint the Base Coats
As mentioned above, designate your main colors on the model. What are the places that take up the most surface area on your miniature? Can you paint these a single color, easily?
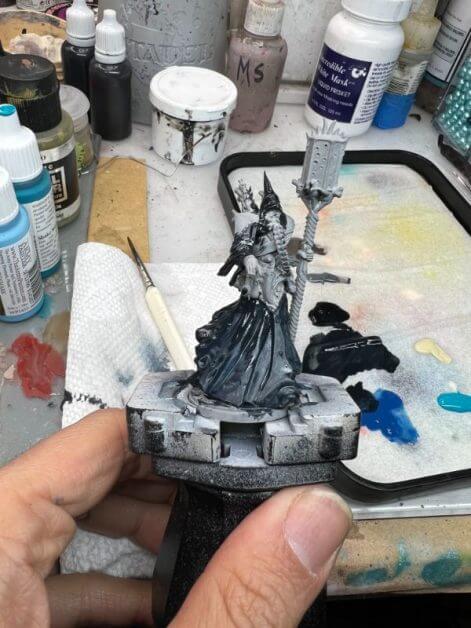
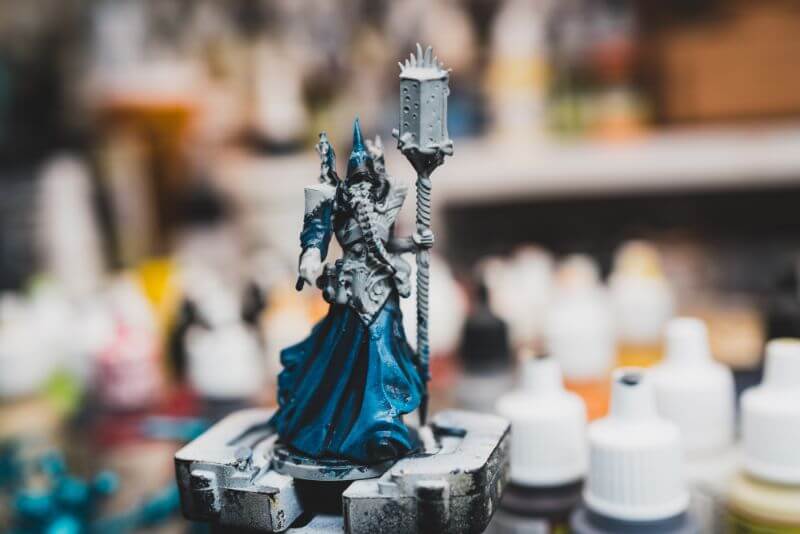
In this case, the flowing cloak and cloth of the model make for a great first basecoat. I chose a blue spectrum of color.
Starting with a dark, almost black hue of blue, I base all these cloth areas. This particular dark-black blue is a mixture of a generic blue and black paint.
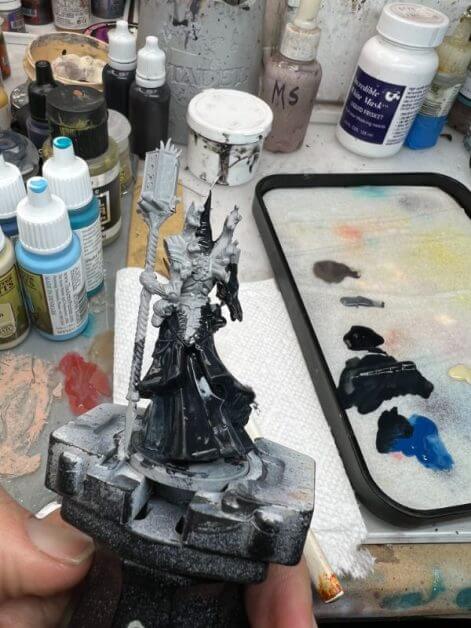
The mixture happens to take on a “Payne’s gray” kind of color, if you’re looking for a reference.
Using a big brush, I apply this evenly in 2-3 coats over the cloak.
A good tip: You don’t want to glob paint on and then blend it out with the brush. Rather, try to keep a consistent amount of paint loaded on the brush, then apply in smooth strokes outward from the center of your area.
We’re just trying to lay down an even dark basecoat color at this point.
3. Brighten Up the Mid Tone Colors and Increase Contrast
A midtone color is one that exists between two other colors. It’s the color of something that’s not quite one thing, and not quite the other.
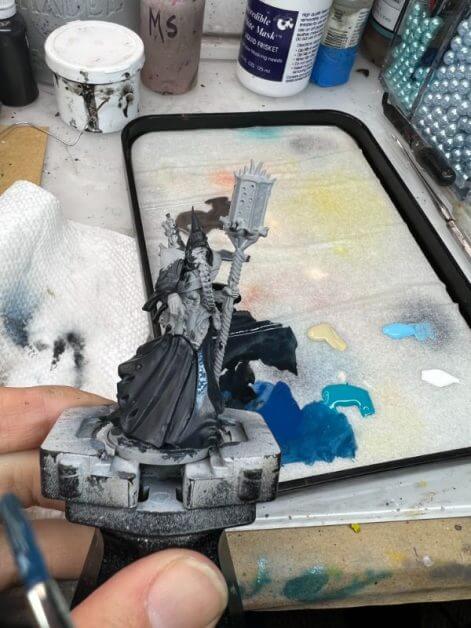
In painting, it can be helpful to think of midtone colors as the “transition” colors. They help to create a sense of depth and realism in your miniature painting.
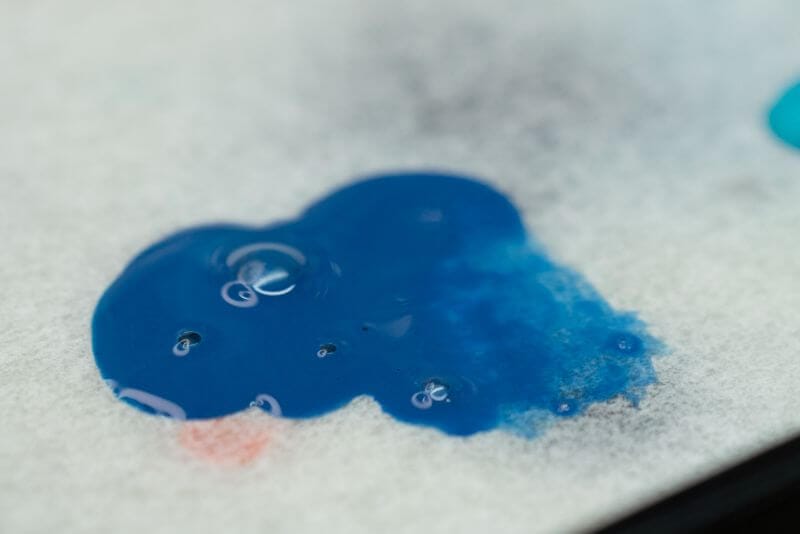
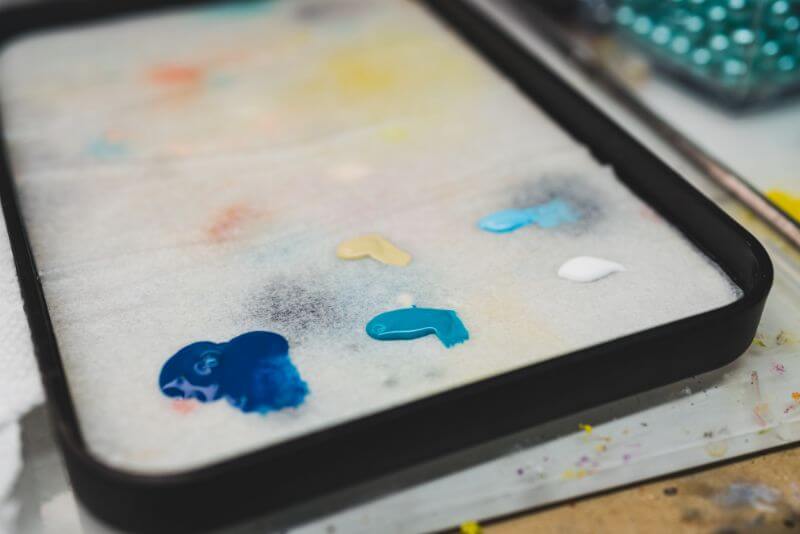
For this model, I chose to use a lighter blue color for the midtones. This is a color that’s lighter than the initial basecoat, but darker than what will eventually be the final highlight color.
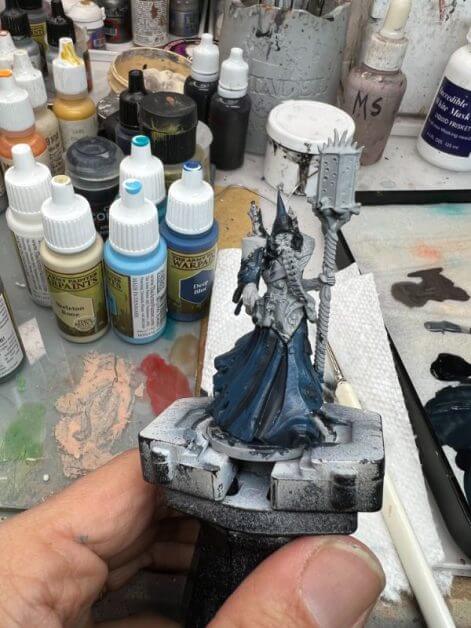
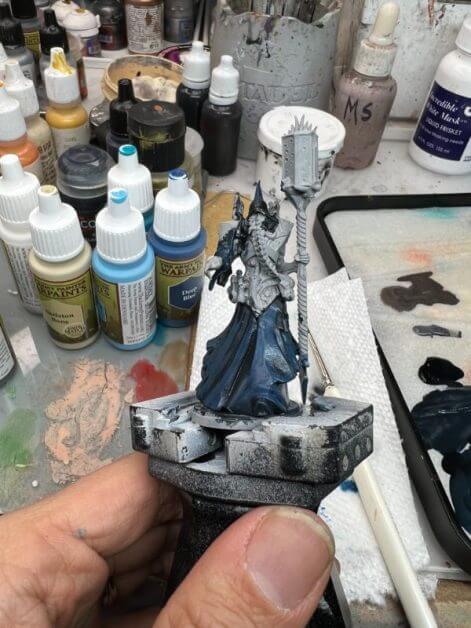
To increase the contrast of the model, I apply this color in 2-3 thin coats using a glazing method.
Briefly, I “push” or “sweep” the color to the edges of the cloak. When I lift the brush at the end of a brushstroke, more paint color is deposited in that location.
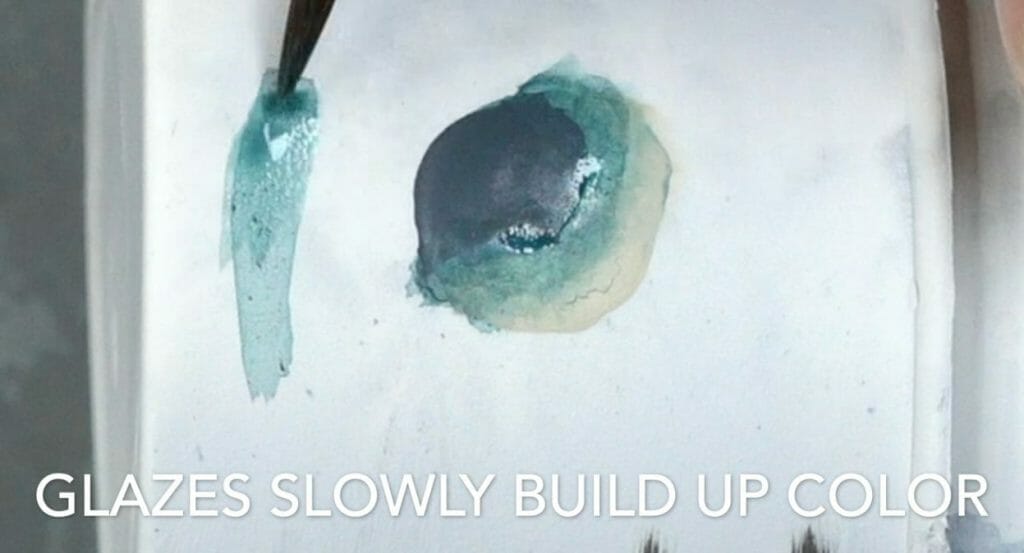
I repeat this process until I’m satisfied that I’ve built up enough contrast on the cloak. Don’t worry about making a mess on other areas of the miniature; you’ll paint over those messy spots later.
For those who aren’t sure what I mean by contrast; here’s a definition:
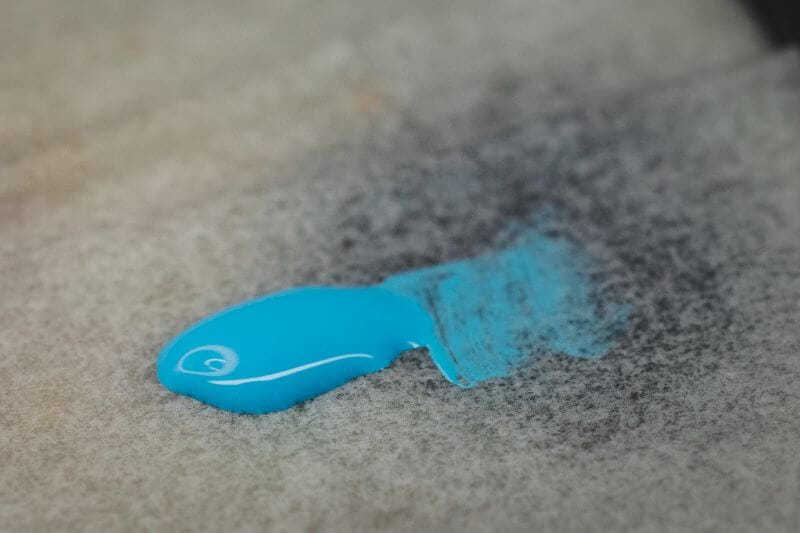
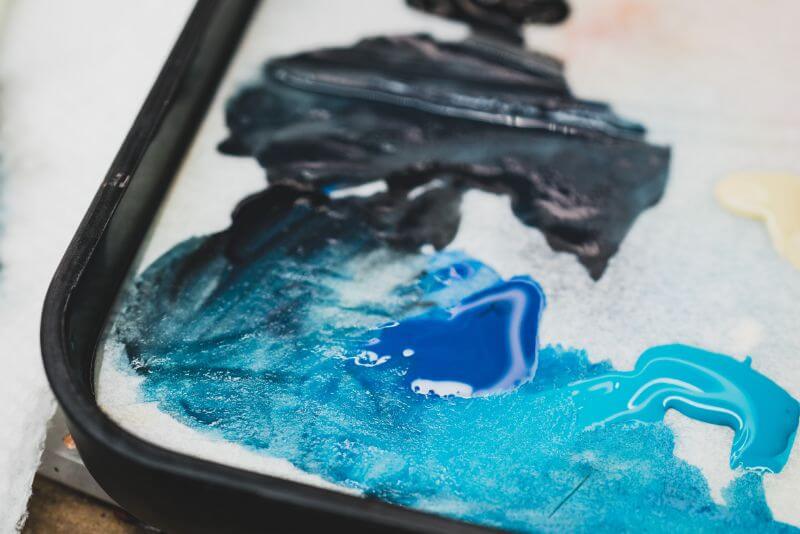
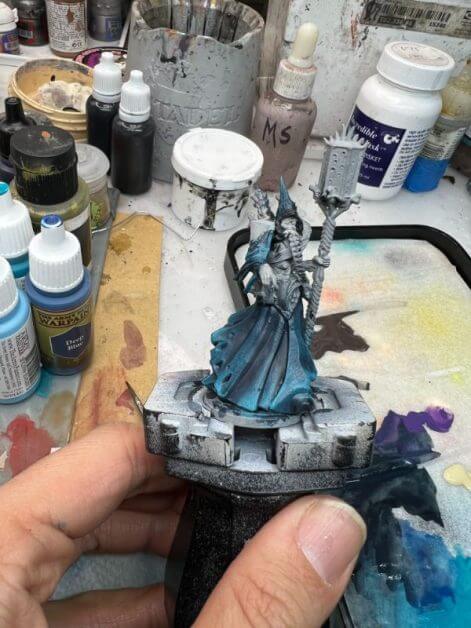
In painting, contrast can be defined as the difference in color or value between two adjacent areas on a surface. The greater the difference, the more visual impact that area will have on the viewer.
In order to create contrast in your miniature painting, you’ll need to use different colors or values of color (brightness or darkness).
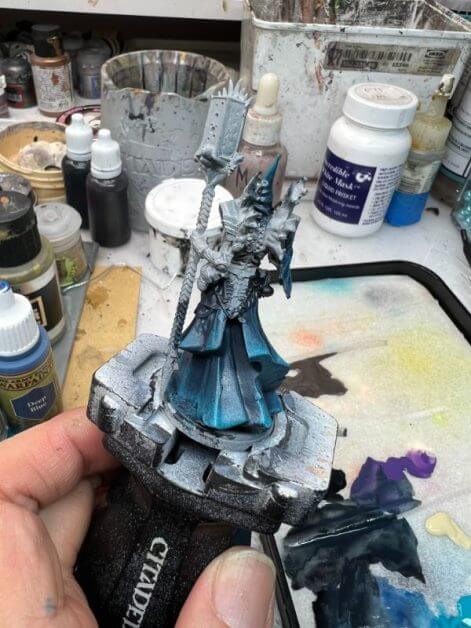
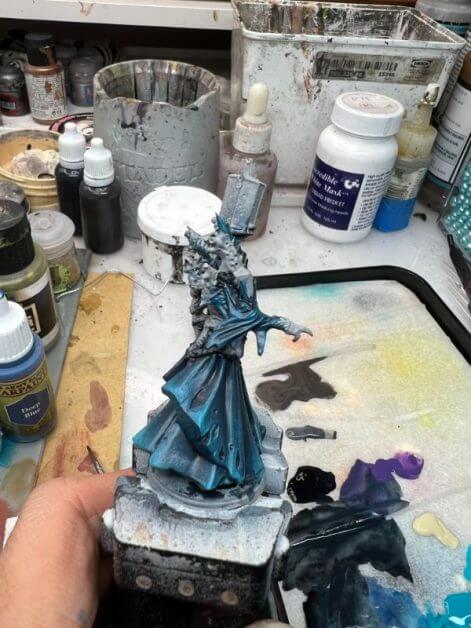
You can also use techniques like glazing or drybrushing to create contrast. Learn about more color blending techniques here.
4. Paint Other Surfaces with the Respective Base Coat (Mid Tone Color)
Essentially, find those other big areas on the model and paint them with a single color swatch.
In this case, I painted the “bone armor” on the miniature’s torso with a bone colored, ivory paint.
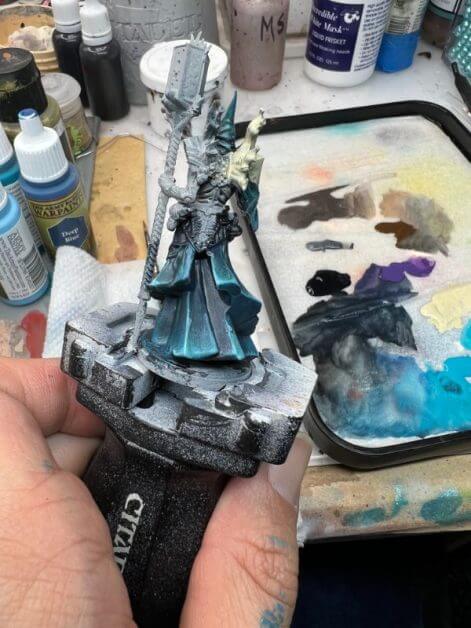
For simplicity, I also painted part of the staff with this color, too. I eventually changed this color later. Changing your mind about color is easy and totally fine. Just repaint over the area with a new color.
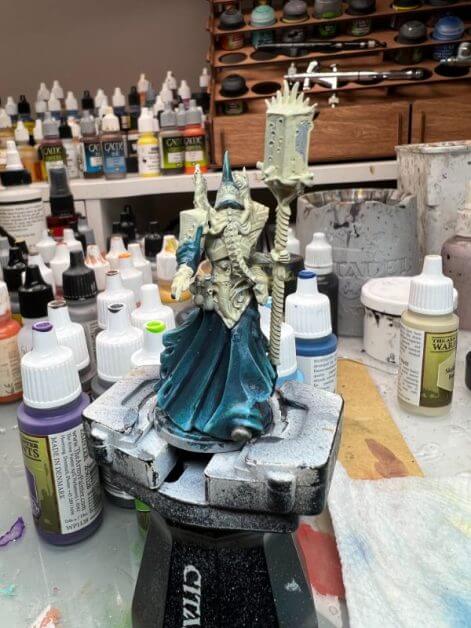
If you’re wondering why I chose this bright ivory color for these areas, well it’s because I’m able to use a darkening wash here to increase contrast without much effort.
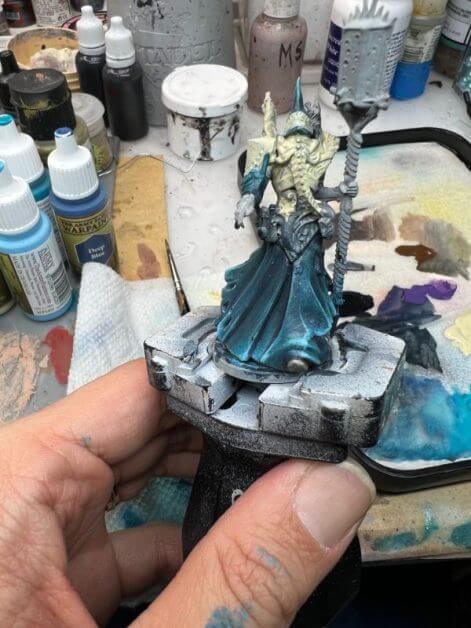
Check out this article about how I paint skull and bone elements on miniatures. And, of course, there’s more about this below.
5. Use a Darkening Wash or Shade to Enhance Contrast, Quickly
A wash is a thinned down paint or liquid pigment that’s applied to a surface to enhance contrast. It’s usually darker than the base color, but not always.

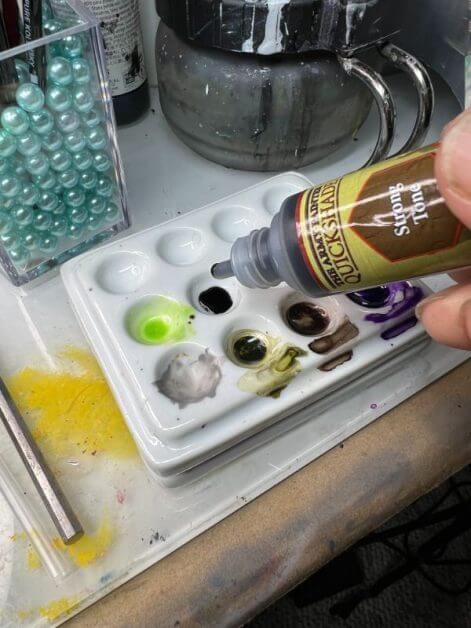
In this case, I’m using the Army Painter Quickshade (strong tone) ink or “shade” as it’s sometimes called. You can buy these inks/shades pre-made from many companies.
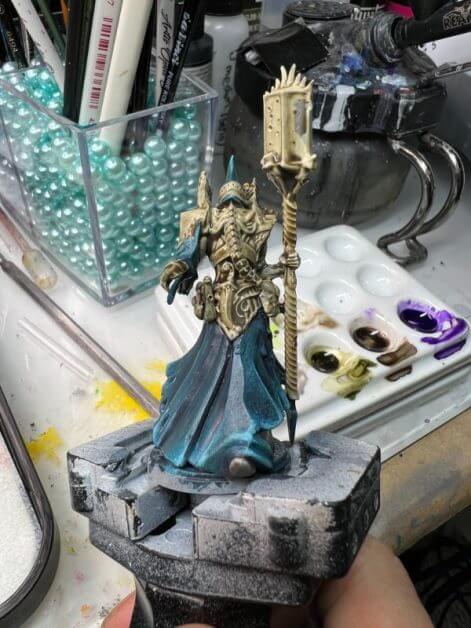
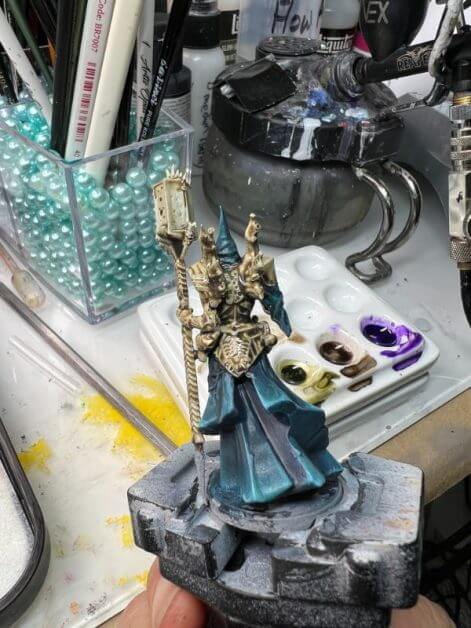
I highly recommend Army Painter Quickshade for those who want to quickly add contrast and definition to their models.
To use the shade, I simply apply it generously over the areas I want to darken. In this case, that’s the bone armor and staff.

I let the wash dry completely before moving on. This usually takes about 10-30 minutes. You can speed up this drying process with a hair dryer set to low heat.
6. Paint the Remainder of the Mid Tone Colors (2-3 Thin Coats)
If you haven’t done so, keep going with other elements on your model. Again, work on those other big areas of solid color.
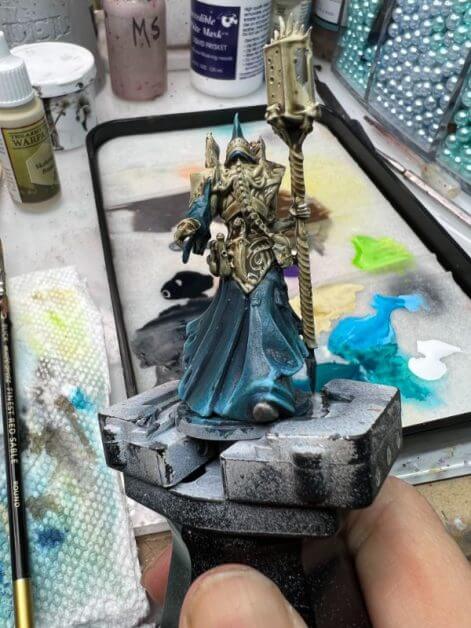
For this model, I’m pretty much done with the main base coats; using washes and glazes to increase contrast.
The contrast I’ve achieved so far already look good and add to the 3D ‘pop’ of the model, as you can see in the photos.
6. Time to Work on the Details
Now that you’ve completed the main basecoats and added some contrast, it’s time to start working on the details.
Details can be anything from painting eyes, teeth, and other facial features; to adding weathering effects like dirt, rust, and scratches.
For this model, I wanted to maintain the low stress mindset, so I ignored painting anything that required my fine, detailed paint brushes.
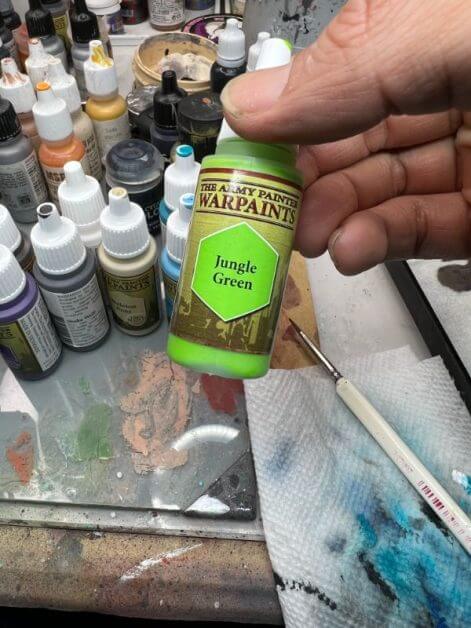
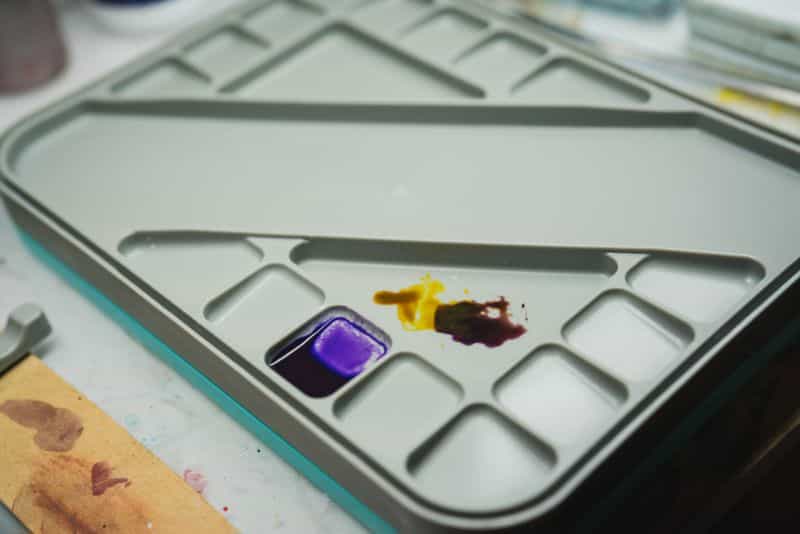
So, I only painted the staff. I add swatches of green and purple (which are complementary colors, if you’re familiar with the color wheel).
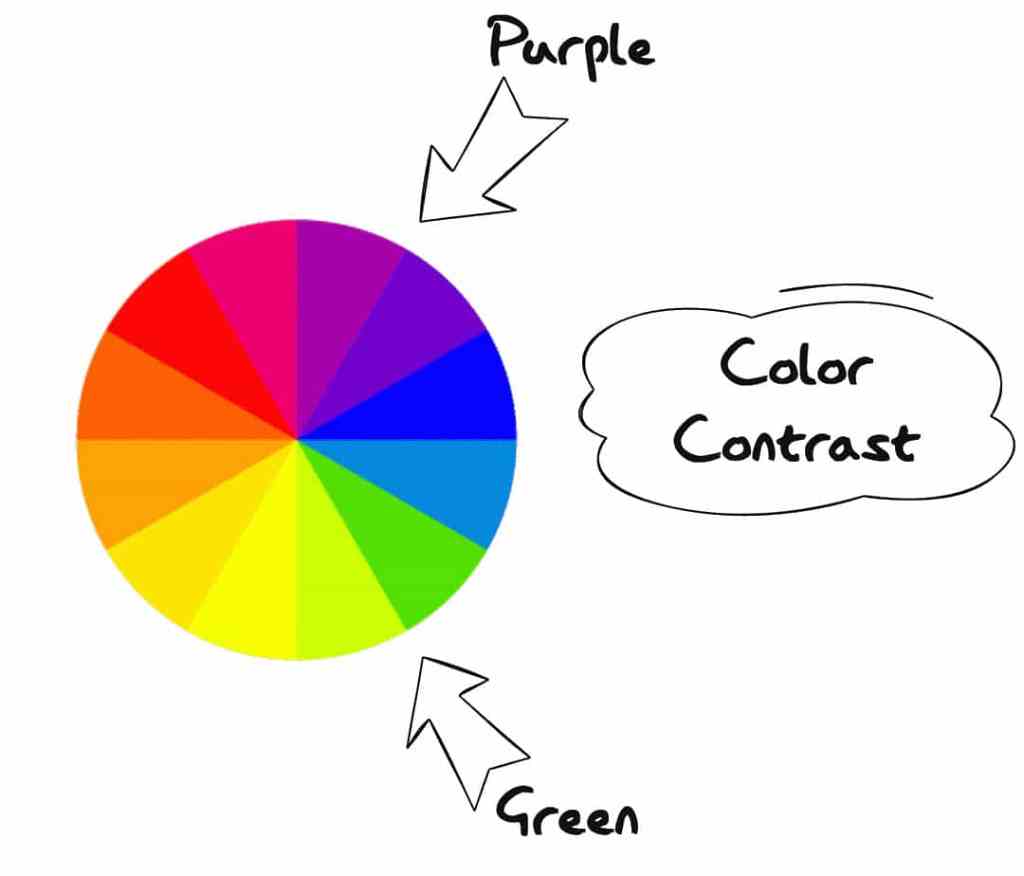
This helps me create contrast on the staff, which I imagine glows with some magical power.
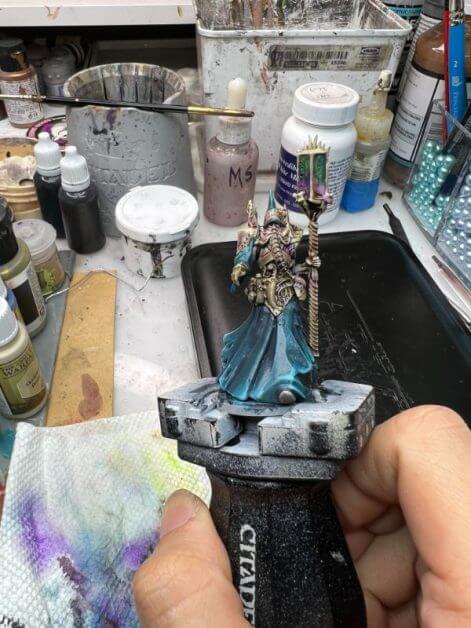
For the staff itself, I used the same Army Painter Quickshade to get the recesses dark. Then I use light layers of yellow to pick out the details. For this, I simply used a small dry brush that I sweep lightly along the staff handle.
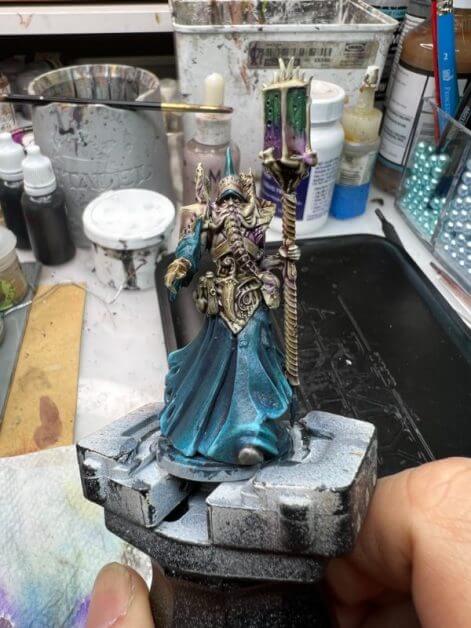
Admittedly, I used a small miniature brush to get the specular highlights painted. Here, I used a close-to-pure white paint to make those highlight “points” on randomly selected edges and corners of the staff.
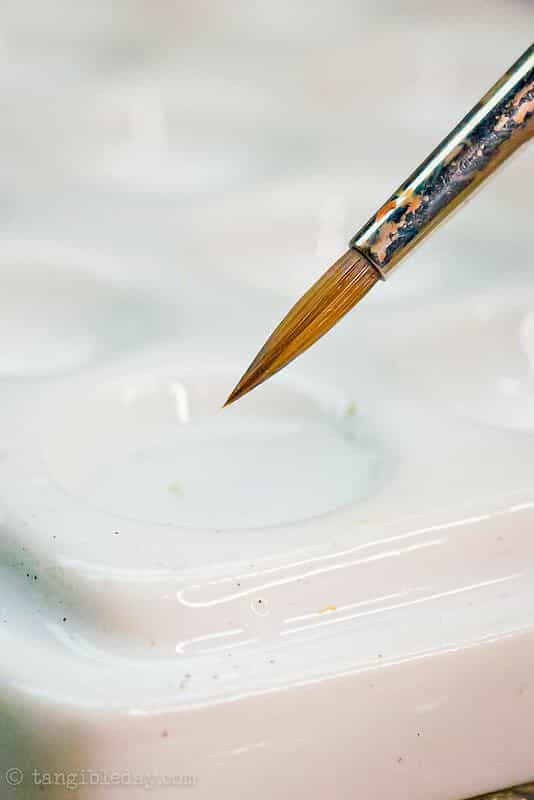
Using some glazes, I smoothed out some transitions between the purple and green color. Then, used a very bright green paint and made dots within the staff to add “fake textured glow-y” bits.
And, that’s it!
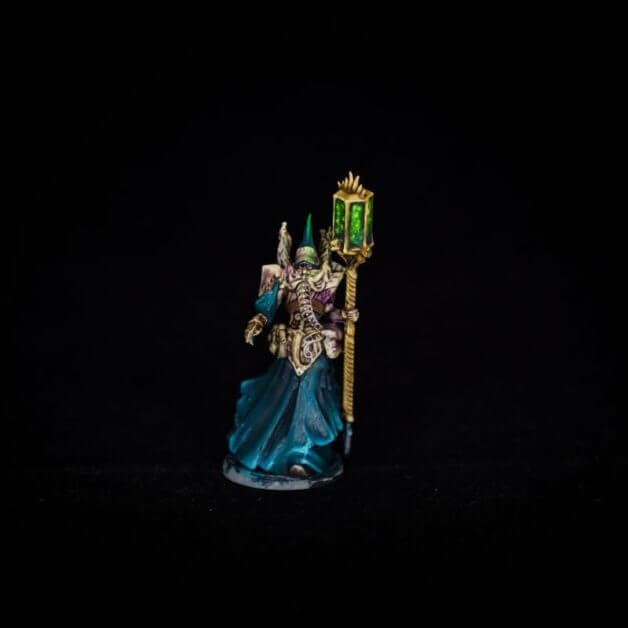
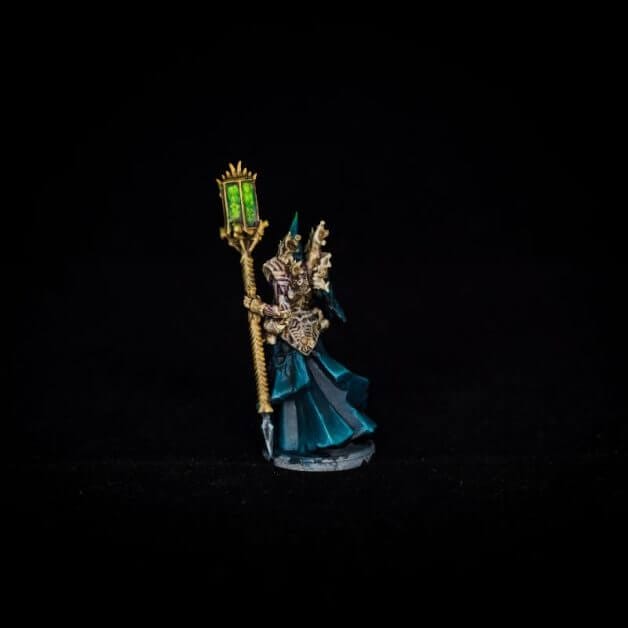
7. Protect Your Work
Always protect your paint job with a good varnish. I highly recommend Testors Dullcote, which adds a nice, even matte finish.
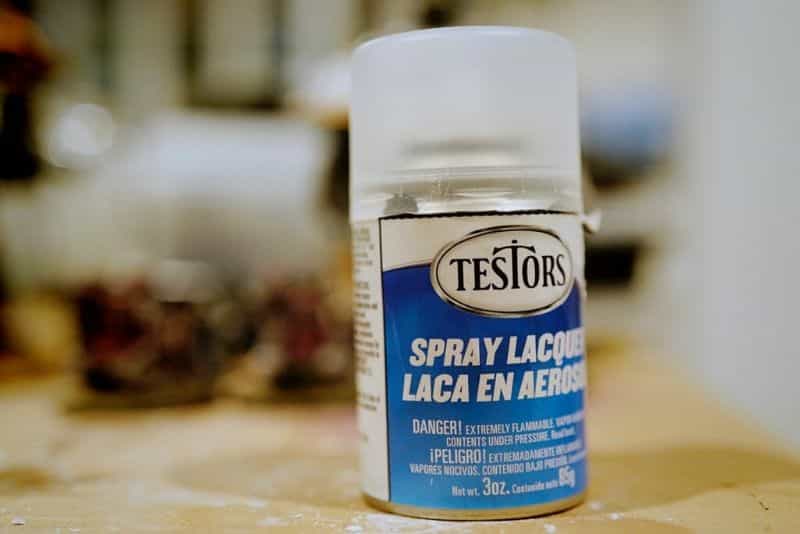
You can apply varnish with an airbrush, too, for best results. But, you can also use a regular brush; just be sure to apply very thin coats and let each coat dry completely before adding another.

Conclusion
That’s it! You’ve now completed painting a model. The “Pheromancer” took me a total of 2 hours to paint, including all the time I needed to capture photos for this article.
Assuming you’ve followed the steps above, your model should be tabletop ready with a good bit of color on it.
There’s no need to overthink things or get bogged down in the details. Simply paint the big areas of solid color, then move on to adding contrast and detail.
The most important thing is to have fun and enjoy the process!
I hope you enjoyed this low-stress method of painting a model. If you have any questions or suggestions, please feel free to leave a comment below.
Happy miniature painting!


Tangible Day on YouTube (Miniatures and More!)

