Choosing a good basing material for a painted miniature is the easiest way to add life and story to your work. A huge variety of products allow you to finish a model with a bit of narrative flair without being expensive or requiring a ton of extra supplies.
In this article, I give you an overview of a bunch of different ideas, tips, and inexpensive ways you base your finished models. Although this is far (very far) from an exhaustive range of things you can try, I hope this post gives you some great ideas that inspire you to try something new. Or, maybe this enhances something you’re already doing with your miniature bases.
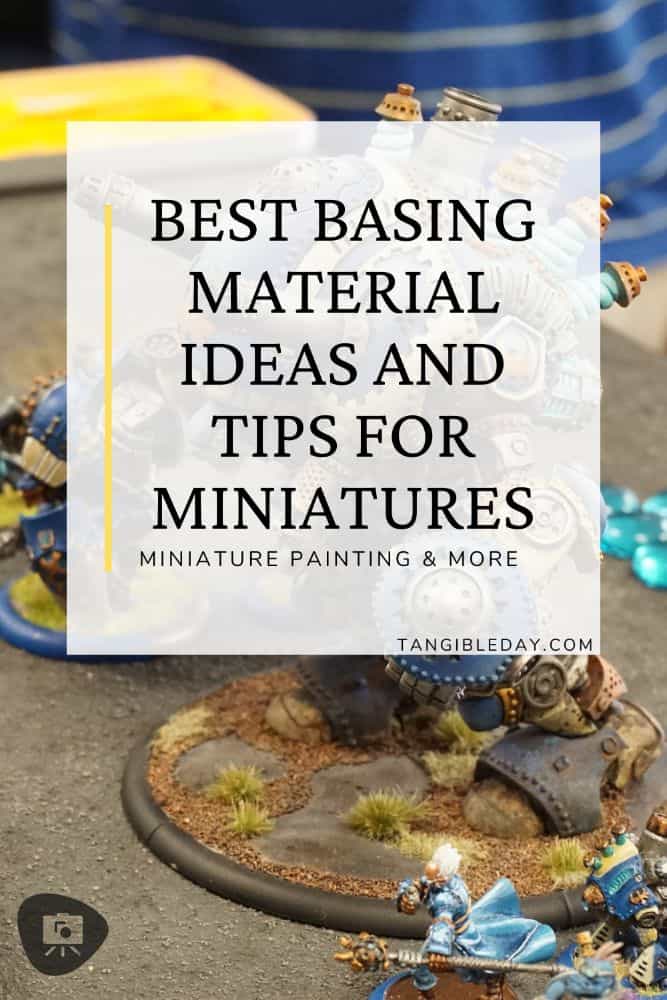
Why Add Basing Details to Painted Models? It’s an Opportunity!
- Adding basing details to a painted miniature adds realism and depth to the figure, giving it an environment that is believable and cohesive–And, it can be very simple!
- Basing materials such as sand, rocks, grass tufts, and foliage create visual contrast which helps bring the miniature to life.
- Using basing materials can be used to show off your painting skills and create a unique look for an entire army or collection.
When I first started painting miniatures, adding a decorative base to the model was an afterthought–something I didn’t plan to do, or just disregarded until the last minute. Of course, I was a gamer, and my job was merely to get paint on a model so it would look good on a tabletop. In this case, I simply painted the bases with a flat black paint. This simple approach kept my paint jobs “clean” and simple.
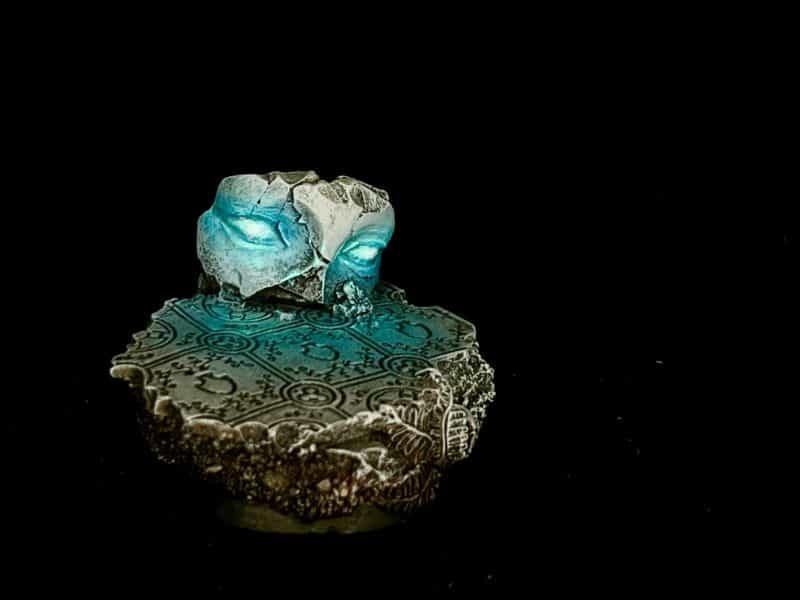
But, after I took the hobby more seriously and realized the world of miniature painting was a lot bigger than just painting and gaming, I began to explore all the different basing techniques available. I learned quickly that the base of a miniature is an opportunity to bring more life, more dynamism, or “story” into your work.
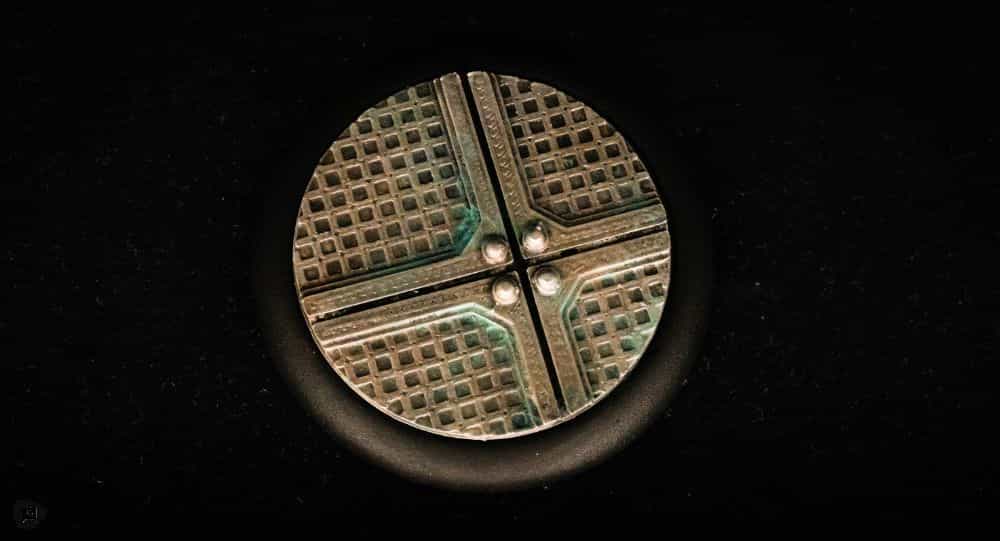
Even a bit of sand and static grass flocking material can change the entire look of a model. A Warhammer space marine, for example, may be fighting a battle on a battle torn landscape or an urban cityscape. But without context, a viewer cannot envision the scene.
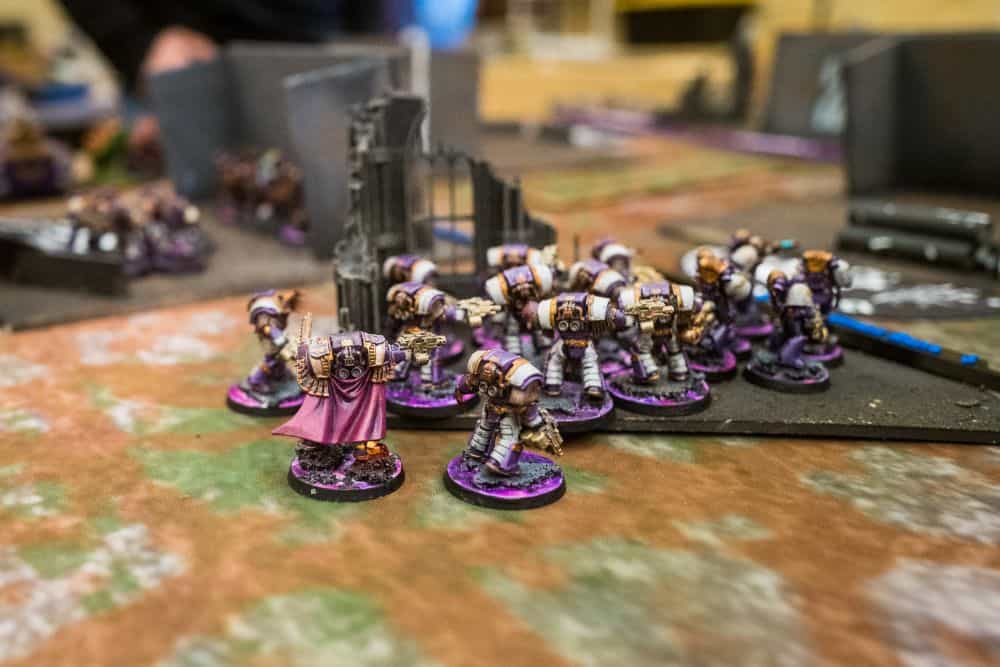
Adding base materials such as gravel and sand can create a believable environment that helps to tell a story, or highlight the miniature’s pose. Truly watch your models come to life with a few extra seconds of effort.
Overall, adding basing details to a painted miniature is an important step in creating a finished and believable gaming or display piece. The right materials can bring your figure to life, create a cohesive look for the entire army or collection, and provide you with a great way to show off your painting skills. Basing materials are often overlooked when it comes to miniatures, but they can be just as important as the colors you use to paint them.
Do You Want Complex or Simple Basing?
Basing materials are objects added to a painted miniature, typically before any paint has been applied, to create a realistic setting for the figure and its environment. This can include things like sand, rocks, grass tufts, foliage, and other “real-world” items. The idea is to provide a visual contrast that helps bring the miniature to life and provides a believable setting for your figure.
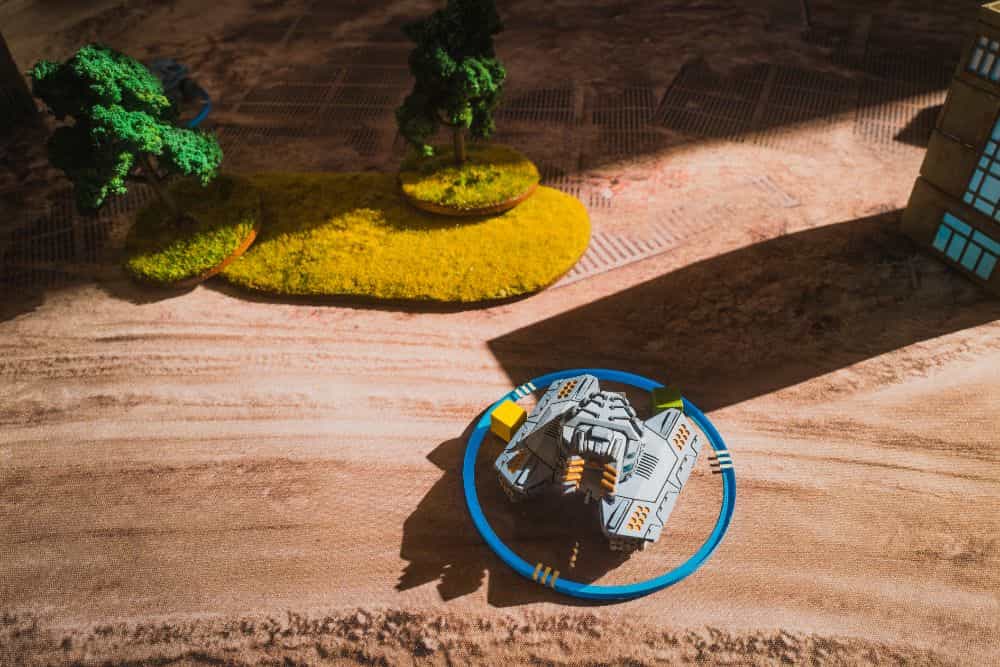
The good news is that there are many different types of basing materials available. You can choose from a variety of simple or complex solutions depending on your desired level of detail for the miniature.
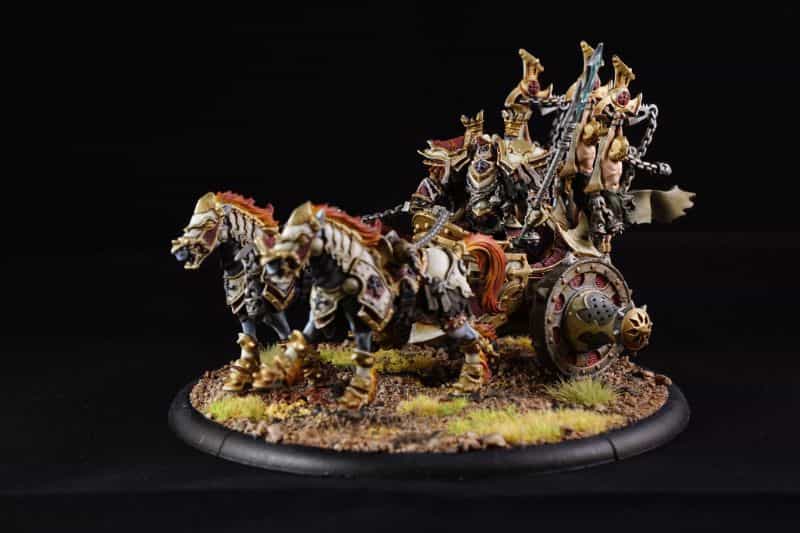
For example, basic sand and gravel provide an easy way to establish the terrain around the model. These products create a realistic base for your miniature, but don’t require much in terms of painting or detailing.
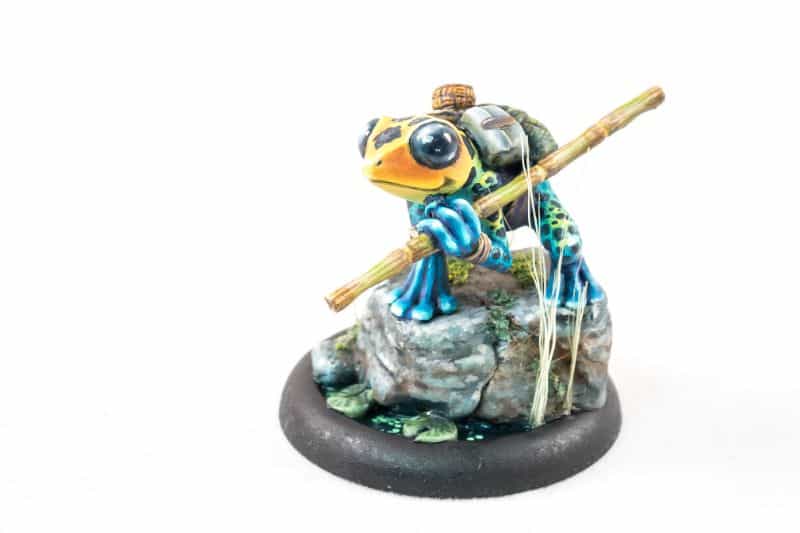
For a more complex approach, you can use static grass tufts and flocked foliage to create a detailed base with lots of texture and color variation. You can use epoxy putty, scrap cardboard, and plaster to create ground scale texture for your models. This places them a prototypical, realistic environment that would go along way to fully immersing anyone who looks at it.
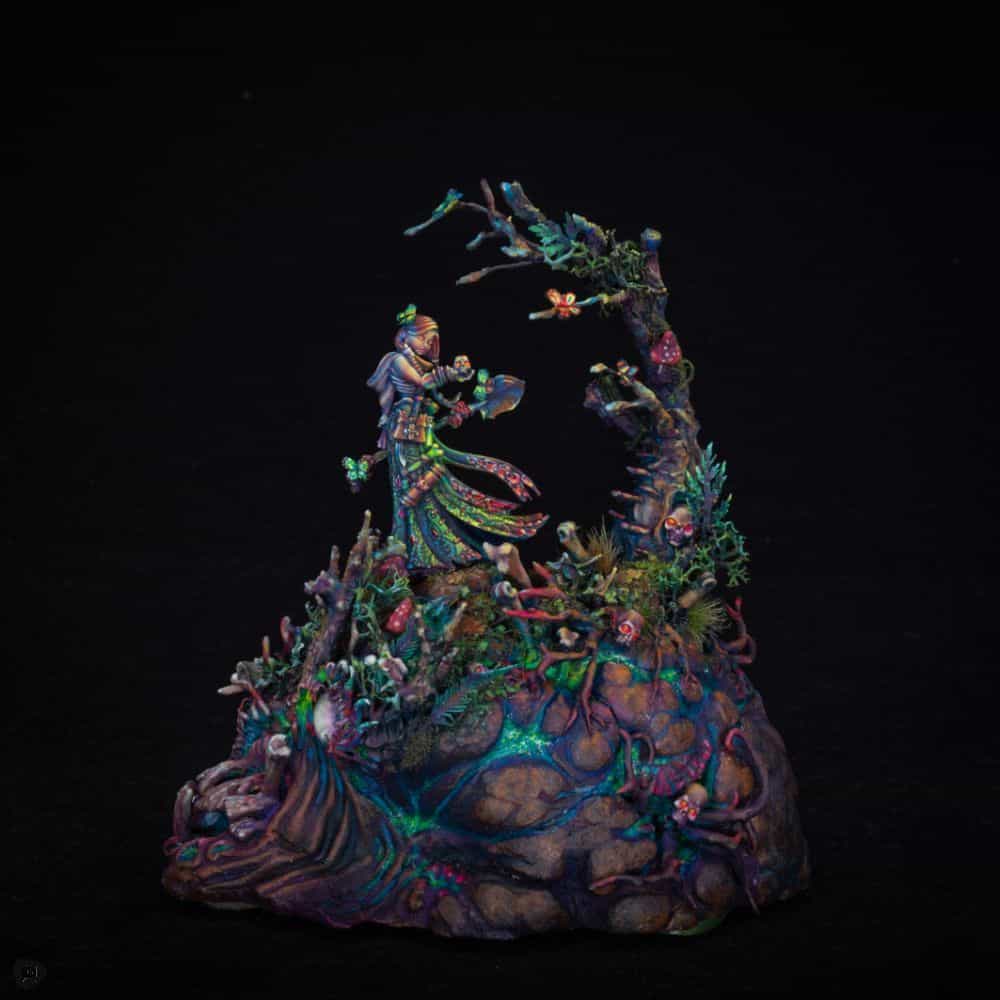
So, how do you choose what to go with?
If you’re like me, you’re probably not thinking a lot about the base of your model right away. You’re just trying to get the job done efficiently, right? In this case, it’s easy. Take the route of least resistance. Use fewer materials that are simple to adhere, glue, or apply to your model.
For the fastest, simplest route to base a miniature, you can buy re-sculpted, resin case bases. All you need to do with these is glue your model to them, paint up the base (as you would any part of the miniature), and you’re done. You can spend a lot of time painted resin cast bases, or simply apply a wash and drybrush them to pull up the details and contrast.
Or, if you’re looking for something a bit more involved, you can get creative and make your own base with the materials I’ve mentioned above. This will take some extra time and effort but it gives the model a completely unique look that’s sure to make it stand out.
As a note, you’ll have a much easier time customizing a base for larger models than smaller miniatures–obviously, you’ll have more space to “play”. For those looking at painting and basing a large collection of miniatures, like a few units of Tyranid Termagaunts or a full compliment of Skaven warrior, then the route of least resistance (simple basing approaches) is likely the best choice.
Simple Basing Approaches
Pros
- Quick and easy to adhere, glue, or apply
- Takes less time and effort to create the base
- Allows for a uniform look across an entire army or collection of miniatures
Cons
- May not provide a high level of detail or customization
Complex Basing Approaches
Pros
- Allows for more detailed, unique and realistic base for the miniature
- Can use a variety of materials to create ground scale texture
Cons
- Takes more time and effort to create the base
- May be difficult to achieve a uniform look across an entire army or collection of miniatures
- May become “too busy” and detract from main point of interest, e.g., the painted miniature
Overview of Types of Basing Materials Available
Miniature painters have a wide variety of basing materials available to them, from static grass and texture paste to cork and green stuff. Basing materials are essential for creating realistic miniature scenes and can be used to create dirt or earth, as well as “plant” grass or foliage material into the sand.
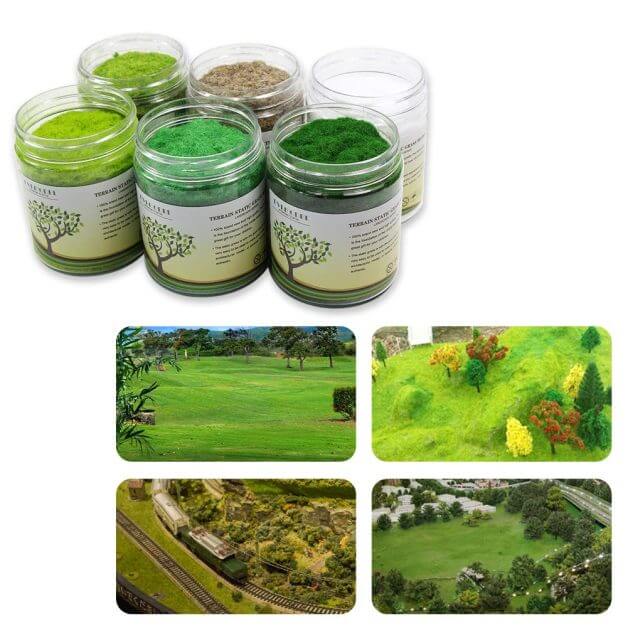
Popular basing products include cork in various sizes and texture, urban scale terrain bits, fine grass and foliage flocking material, foam putty, and sand and gravel.
If you’re not keen on gluing and assembling custom (the bespoke approach) to basing models, then you’re in luck! Use a kit! There are many companies that make ready-to-use basing kits for tabletop wargaming minis, scale models, and dioramas. The Army Painter makes a huge variety of basing and terrain kits, as well as the popular Woodland Scenics product line.
If you’re into 3D printing, then you can also try your hand at making your own bases or finding those terrain and basing bits and kits sold on Etsy.
READ MORE: AWESOME TABLETOP GAMING TERRAIN FOR WARGAMERS, DND, AND TTRPGS
Really, the whole point of basing miniatures or models is to bring the scene to life. So, don’t be afraid to experiment with materials, adhesives, colors, and textures.
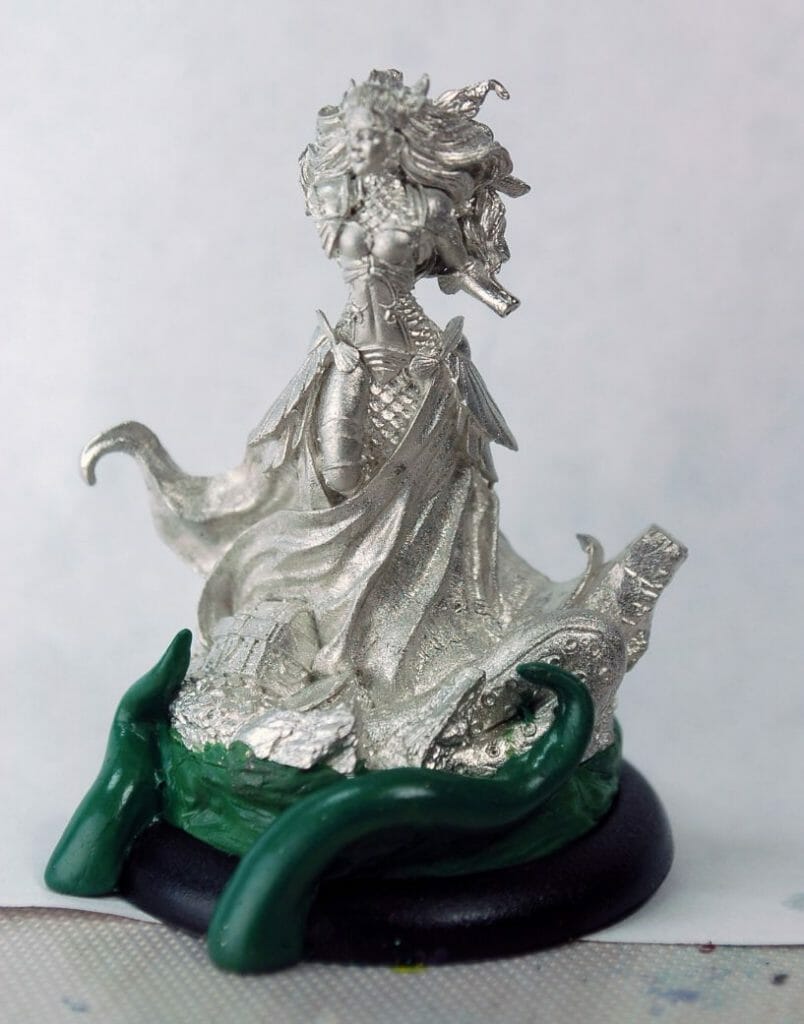
Creating a custom base is almost like sculpting your own model from scratch. Its challenging, almost frustrating if you’re not ready for it. But there’s nothing quite so satisfying as seeing a miniature you’ve created come to life!
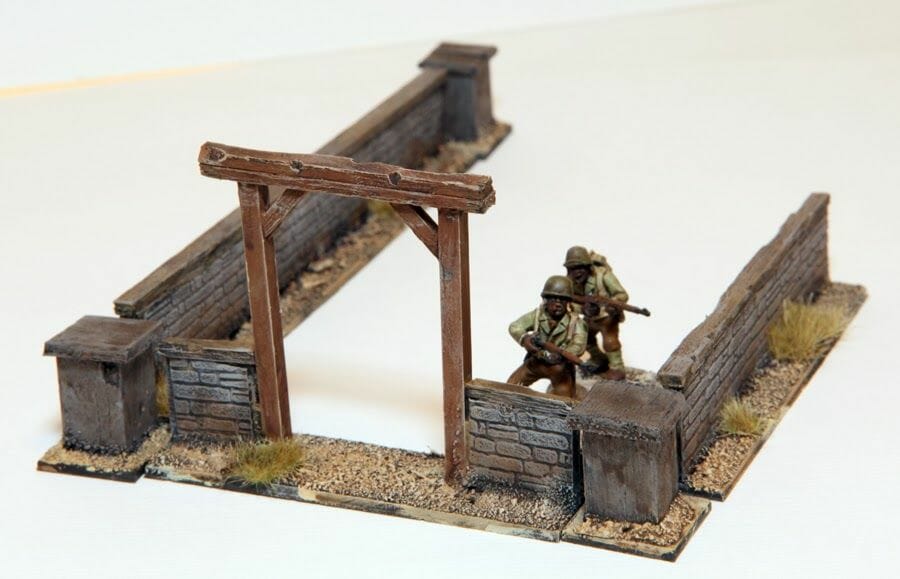
At the end of the day, I think what we all want is for your model’s base to look like it belongs in a real, Tangible day-to-day environment–one that would immerse you, other players, and admirers in a different world, another time and place.
Benefits (and Drawbacks) of Using Premade Bases for Your Models
Well, you just want to finish. Using premade basing materials are quicker and easier than making your own. It’s also less frustrating, since you don’t have to worry about messes or mistakes. And it can look just as striking if you take the time to paint them with care.
For those who are willing to invest the time and money, there are some great ready-made basing materials out there. You can find a variety of different pre-textured, pre-colored bases from companies like Games Workshop, Secret Weapon Miniatures, or Micro Art Studios that look amazing when painted with attention to detail. These products offer you the convenience of having a ready-made base right out of the box.
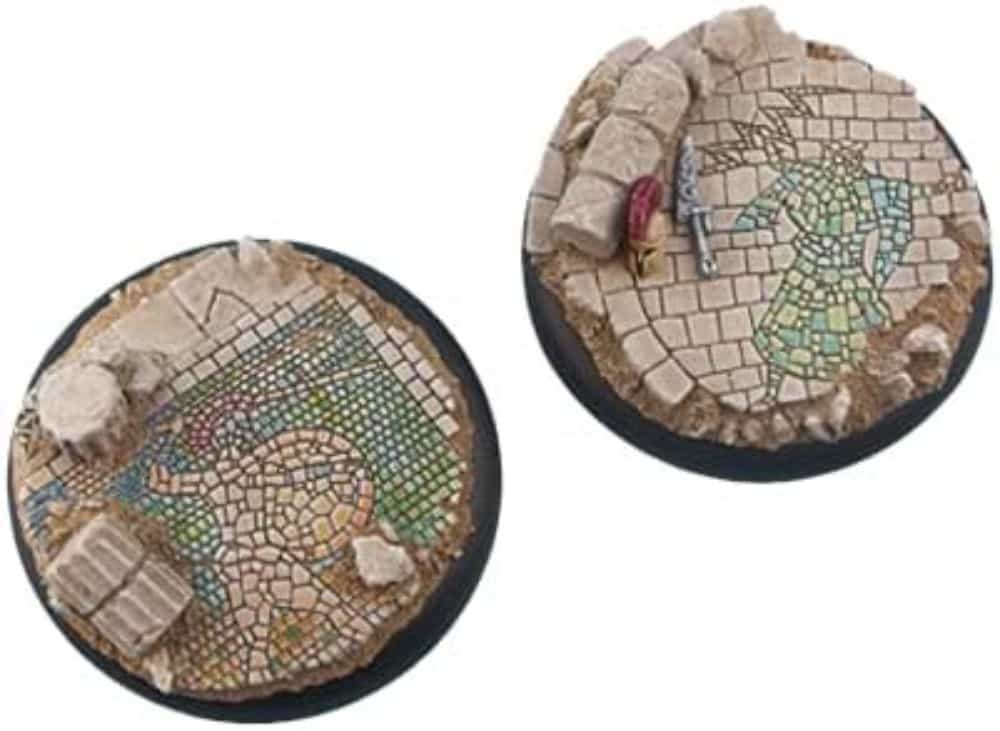
The biggest benefit of using premade basing materials is the time savings. You can quickly get your miniatures painted and ready for the gaming table and be able to focus on other aspects of the hobby.
On the other hand, the biggest drawback is the cost and the lack of customization. The expense of your own bases adds up with time. As your collection grows, you’ll need to continually purchase more of the same bases to create a uniform look. Finally, you may not be able to achieve the exact look you’re going for with a premade base as they lack customization; but they can certainly get you close enough.
28 Popular Miniature Basing Materials
As I explored the supplies used by scale modelers, wargame hobbyists and other inventive crafters for their projects, these were the most commonly encountered items. While I am certain there are more materials out there to help you with your work, this list should give you some cool ideas to work with.
- Cork
- Clump Foliage
- Static Grass
- Model Leaves
- Grass Mat Cutouts
- Shrubs Tufts
- Islandmoss
- Scatter Foliage
- Texture Mud
- Vallejo Pumice
- Citadel Technical Paints
- Baking Soda
- Kitty Litter
- Coffee Grinds
- Recycled Plastic Sprue
- 3D Printed Bases
- Kitbashed Miniature Bases
- Resin Casted Foundations
- Tile Grout
- Crackle Paint and Media
- Sand
- Real Stone, Rock, and Leaves
- Granules and Ballast
- Plastic Tile Work
- Ceramic
- Foam Insulation and Putty
- Sandpaper and Sawdust Mixes
- Cardboard and Papercraft
1. Cork
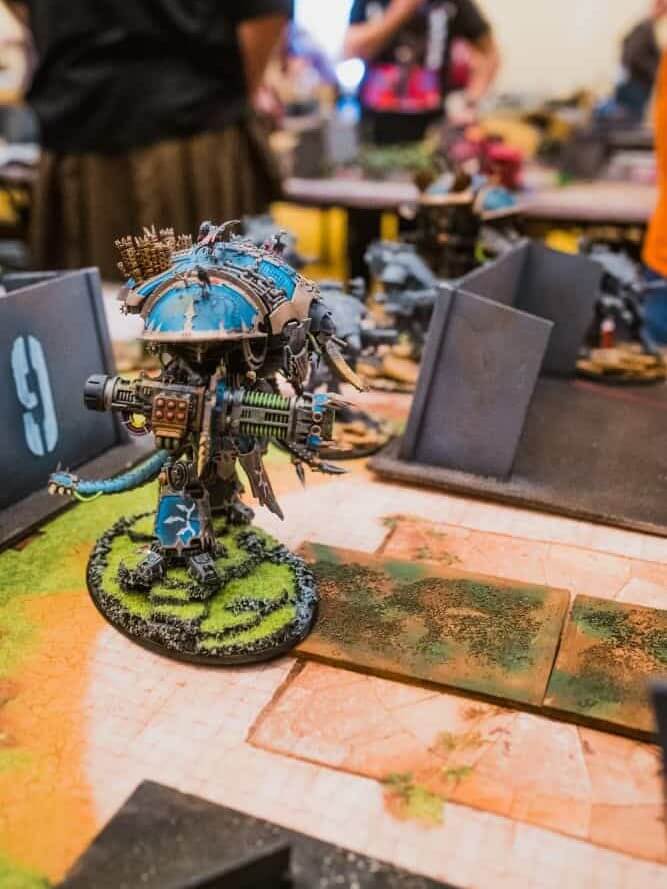
Cork is a lightweight, flexible material that is perfect for basing. There are several types of cork you can buy for basing your miniatures, including boards or wine corks. Both work well! It can be painted and molded into various shapes and textures. It is also easy to cut and glue, making it an ideal material for those who are just starting out.
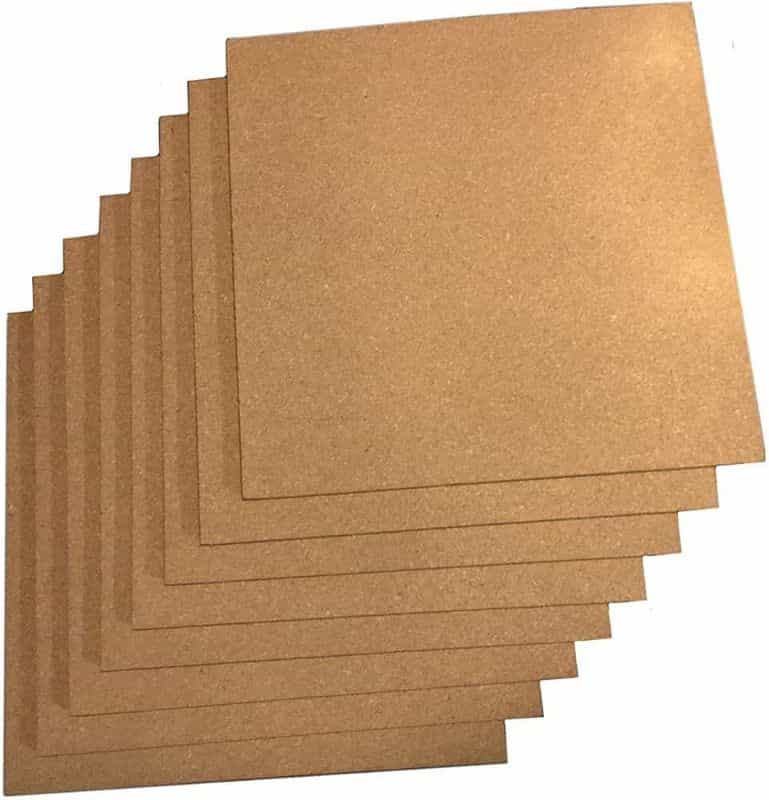
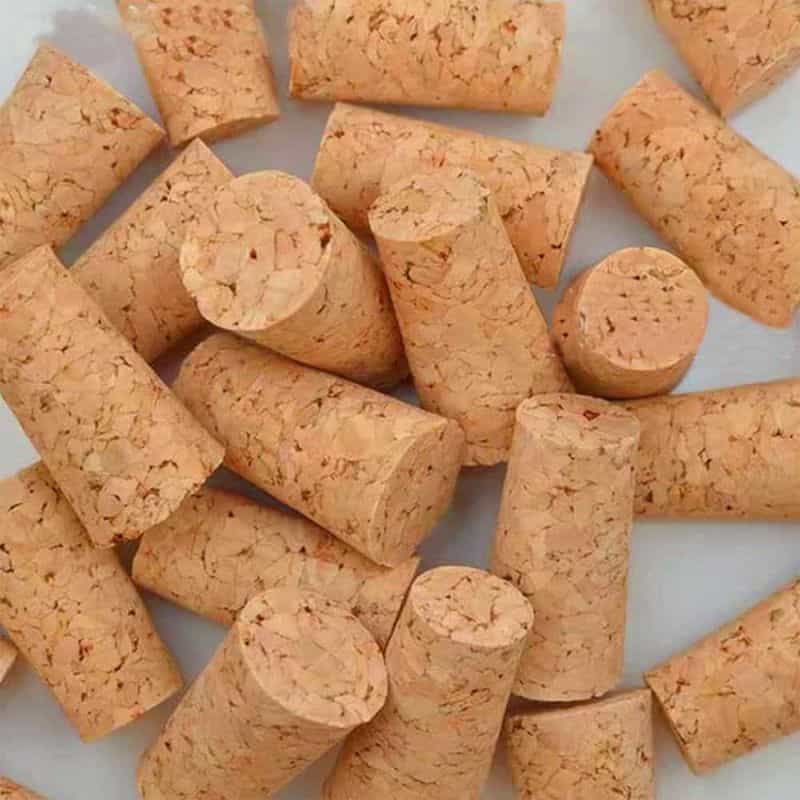
A common way to use cork is to break or tear it using pliers. The random breaks textures the edges of the cork, creating an organic and natural appearance, replicating the aesthetic of rock, broken concrete, or other hard surface.
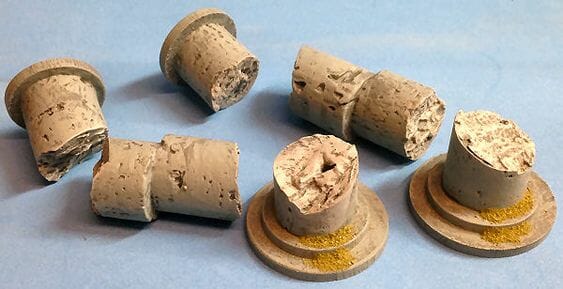
In fact, depending on how its painted, weathered, cork is incredibly versatile and is often used to represent concrete, asphalt, or other rocky material.
2. Clump Foliage
Clump foliage is a great way to create realistic looking trees and bushes on your base. It comes in various sizes and colors, and can be glued or flocked onto the base. They are a sponge like material with ground scale that can follow prototypical phenotypes of actual plants, or a more abstract representation of the flora.
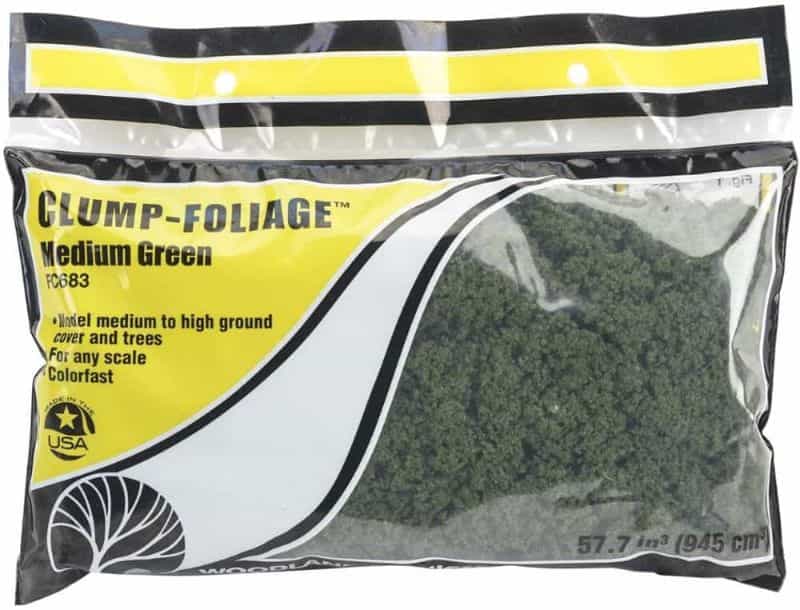
Because clump foliage comes in large packs and in different color variations, covers surfaces easily, it’s a great product for basing open surfaces of your model’s bases quickly and effectively. If you’re looking for a bit of “extra”, you can try dry brushing the tips of the clumped material, which can give it the appearance of small flowers or other variations from a more distant viewpoint.
3. Static Grass
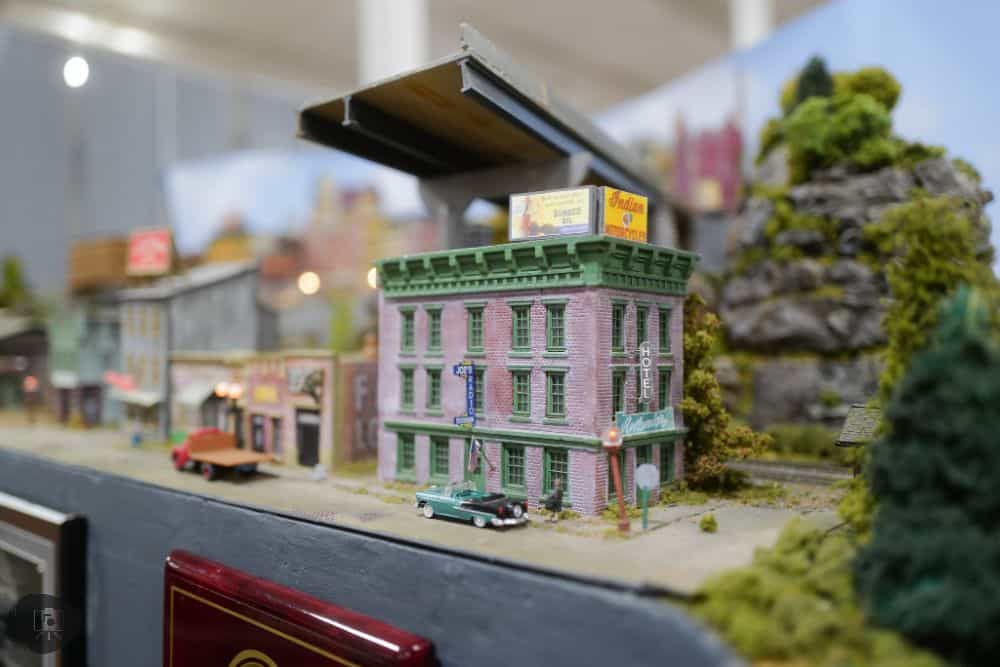
Static grass is the most realistic option for creating grassy textures on bases. They come in all sorts of scales (e.g., short grass blades 1mm and up to 5mm or more) and colors.
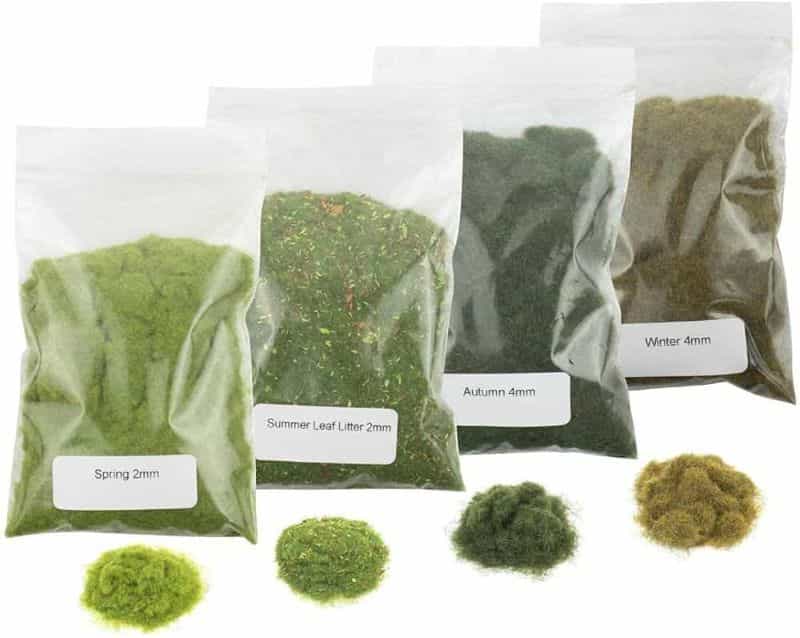
Depending on the brand, quality of the material, the price of static grass makes for an affordable material to stockpile that will last you years and thousands of models. I have huge bottles and bags of the stuff.
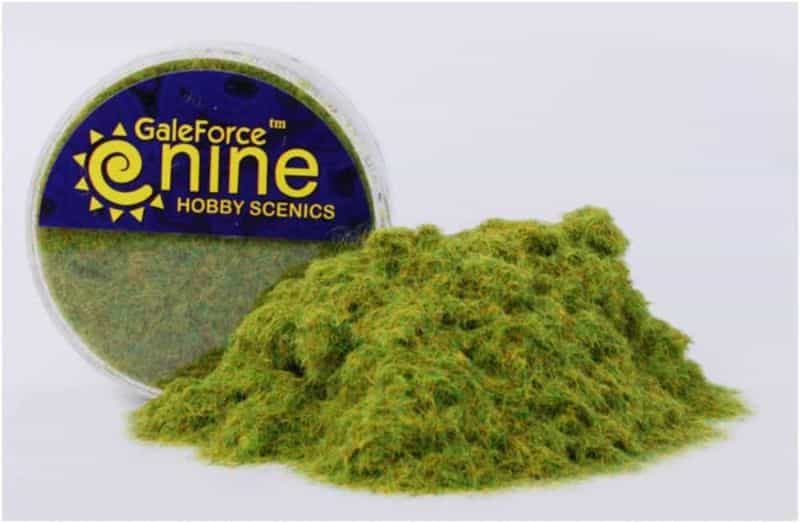
Note that static grass is best applied using an electro-static applicator that helps the “grass fibers” stand vertical from your working surface.
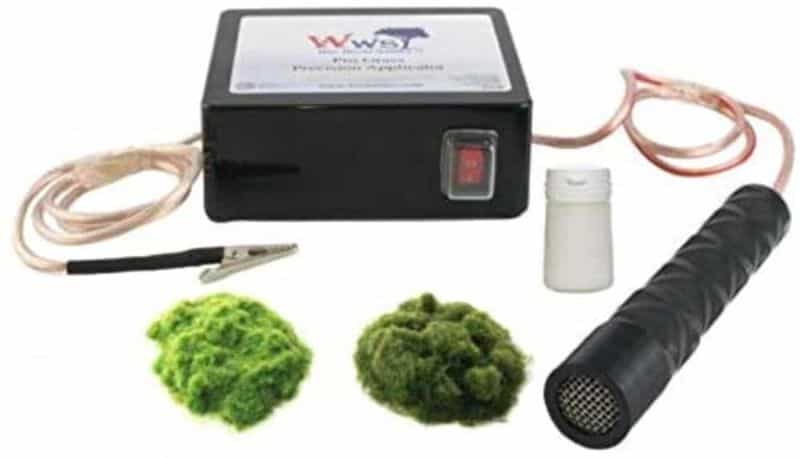
They are insanely fun to use, by the way, and I love mine. It’s why this called “static” grass, as static electricity is often used to apply them. Scale model enthusiasts, e.g., model train railroaders, are the advocates of using static grass.
4. Model Leaves
Model dry leaves add a nice finishing touch to model scenes by adding details around painted models, adding a naturalistic ambience that is hard to match. You can find some homemade leaves on Etsy or other sites that sell scale model terrain and landscape features.
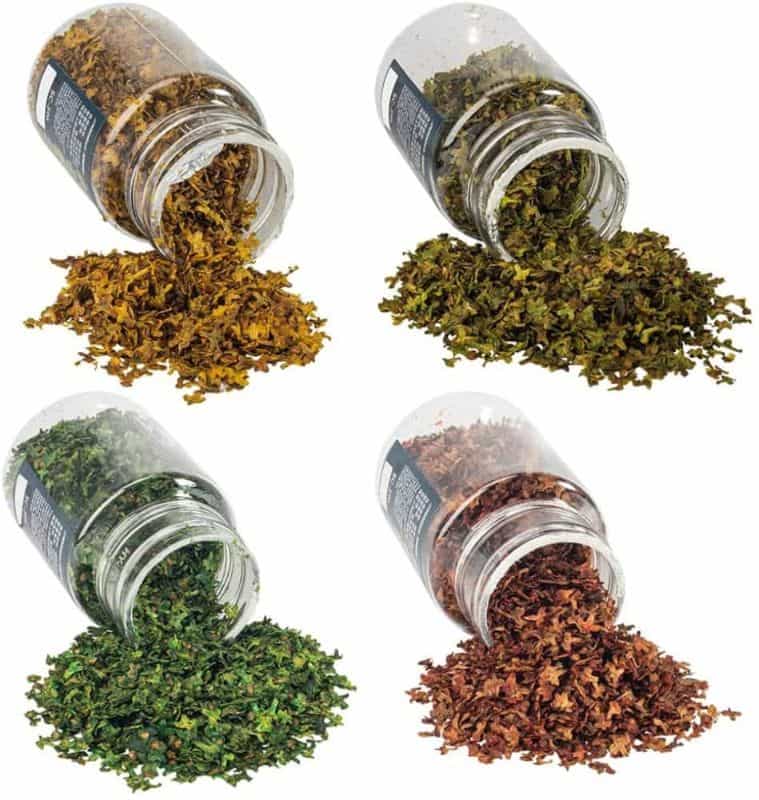
Model leaves come in different shapes, sizes, and colors that can be used to create various foliage types such as trees, bushes, grasses, vines and more. They are relatively easy to apply with glue. You can apply the glue on a model’s surface and “dip” the base into a pile of leaves; or sprinkle the model leaves.
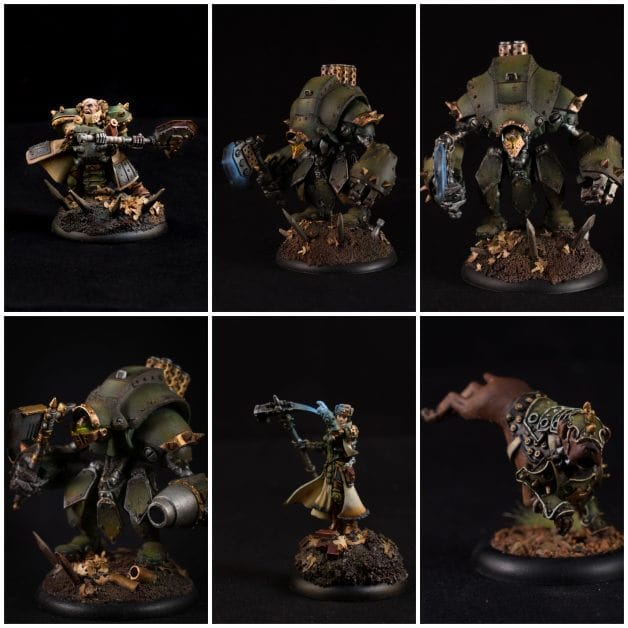
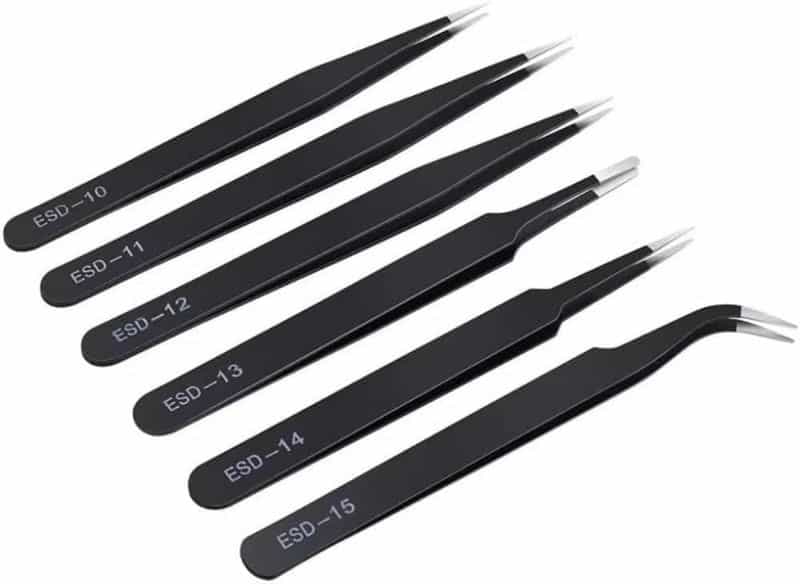
For more strategic “leaf” placement, you can use a tiny needle or toothpick to apply glue on the leaf before placing it down. I recommend every modeler have a good pair of tweezers.
5. Grass Mat Cutouts
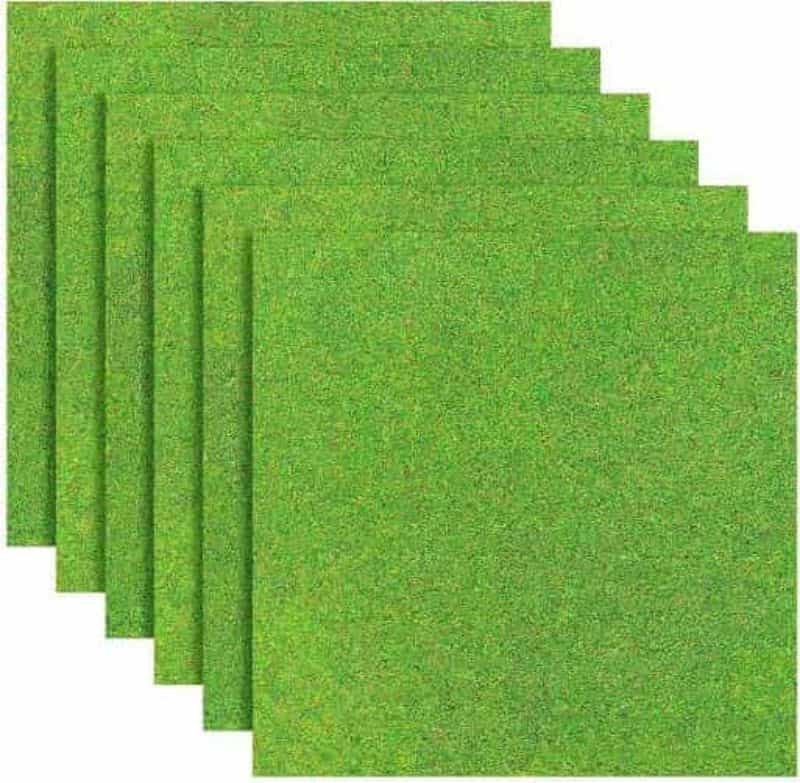
Grass mat cutouts are great for creating open fields of landscape, fields, and battlefield terrain. Cut the mats to size with a sharp scissor or hobby knife. Then, apply glue underneath and stick them to your working surface. On model bases, you may want to do this before attaching your model on top.
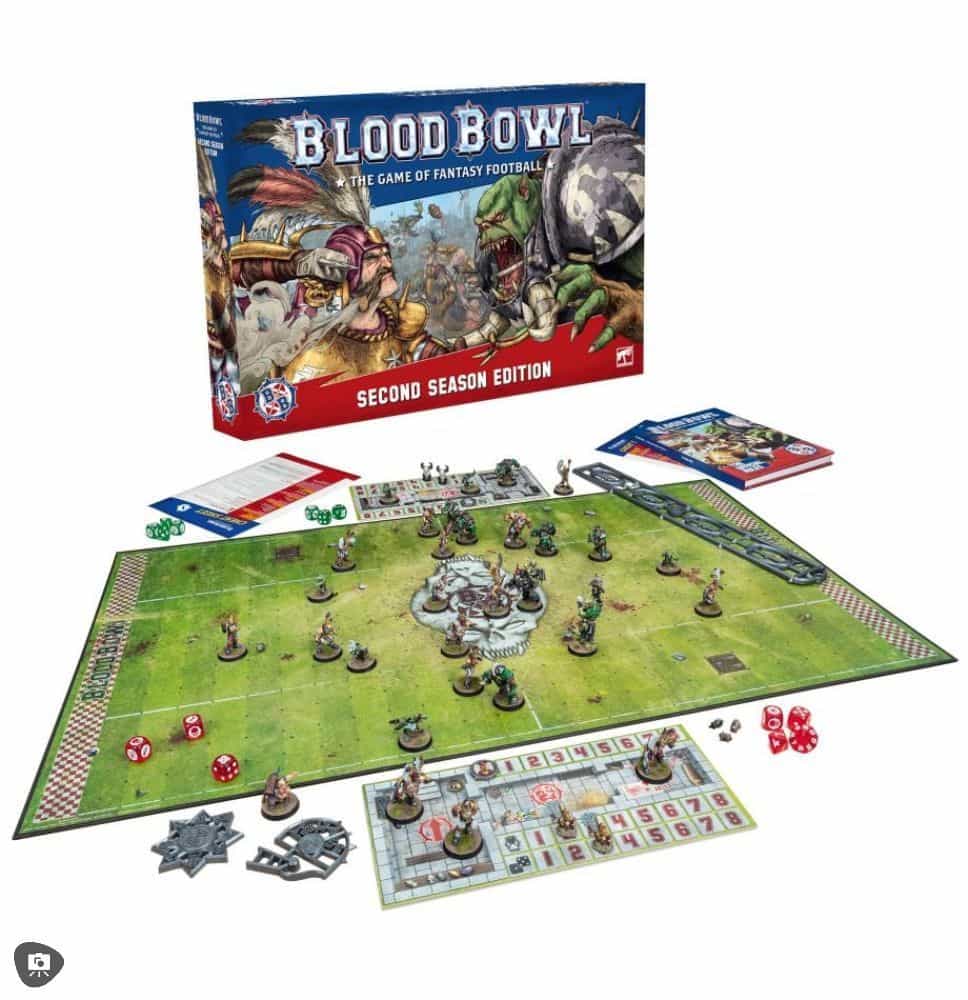
For those playing Games Workshop’s Blood Bowl, grass mat material works well to replicate the grassy field of a sport stadium.
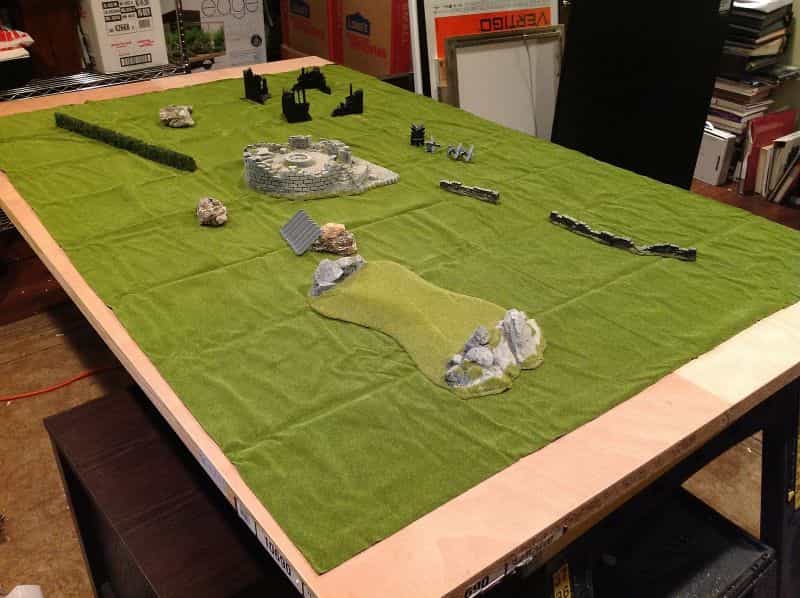
Overall, I find grass mat material a super fast; albeit a tad unrealistic and cartoony, but with the advantage that it can be used to cover large areas quickly. It’s also affordable and comes in huge packs.
6. Shrubs and Tufts
Shrub tufts are easy to use and adhere quickly to a variety of surfaces. I’ve used Army Painter shrubbery and tufts for years for almost all of my Warhammer and Age of Sigmar (AoS) miniatures that I’ve painted.

The best glue for attaching these shrubs and tufts is super glue; as it is the most durable and versatile adhesive when applied on small surface areas. It’s also quick to set so you can stick your grassy tufts on the base and move onto something else productive.
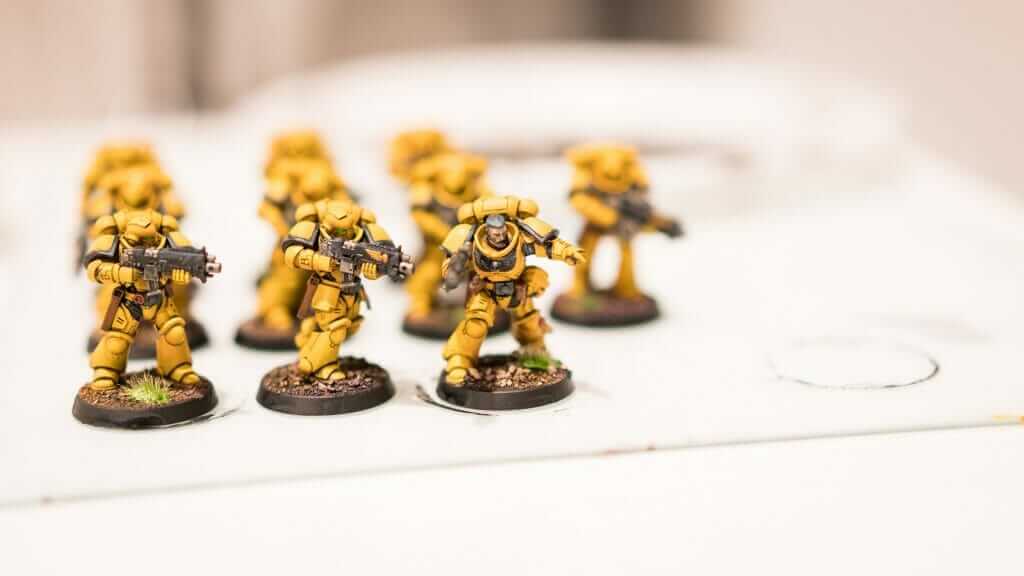
You can use PVA glue to stick your tufts on a model’s base, but I’ve found that with gaming tabletop miniatures, this tends to loosen up over time.
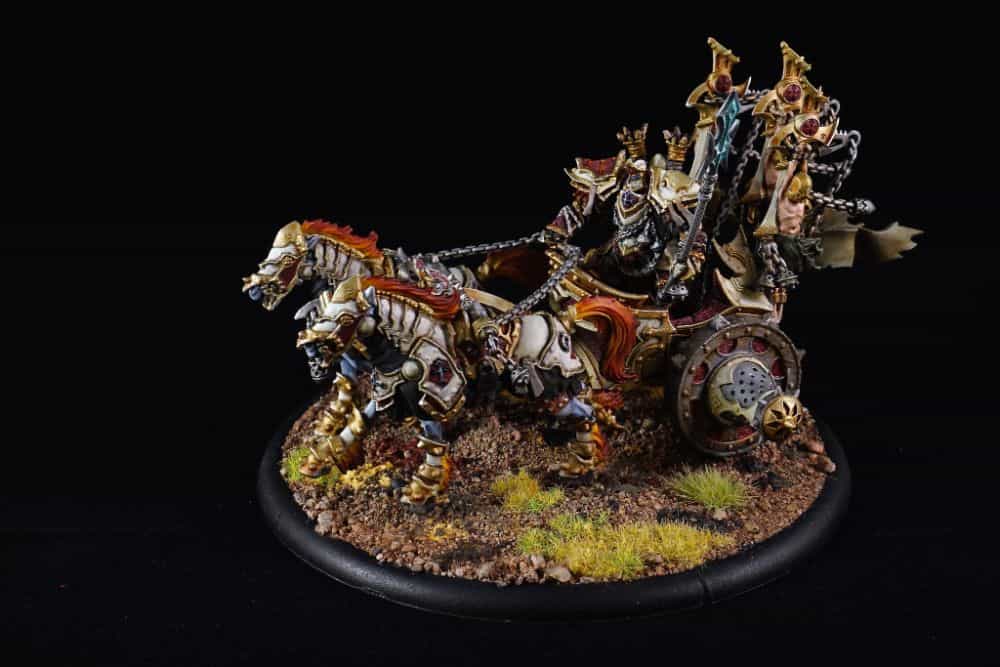
7. Islandmoss
Islandmoss is perfect for making small patches of greenery on the mini-base without having to spend time working with individual elements. PVA glue or cyanoacrylic work great for attaching island moss to any surface. Related to this are synthetic lichen fibers you can also use to reflect a wet-environment, e.g., near a stream, a jungle, a body of water.
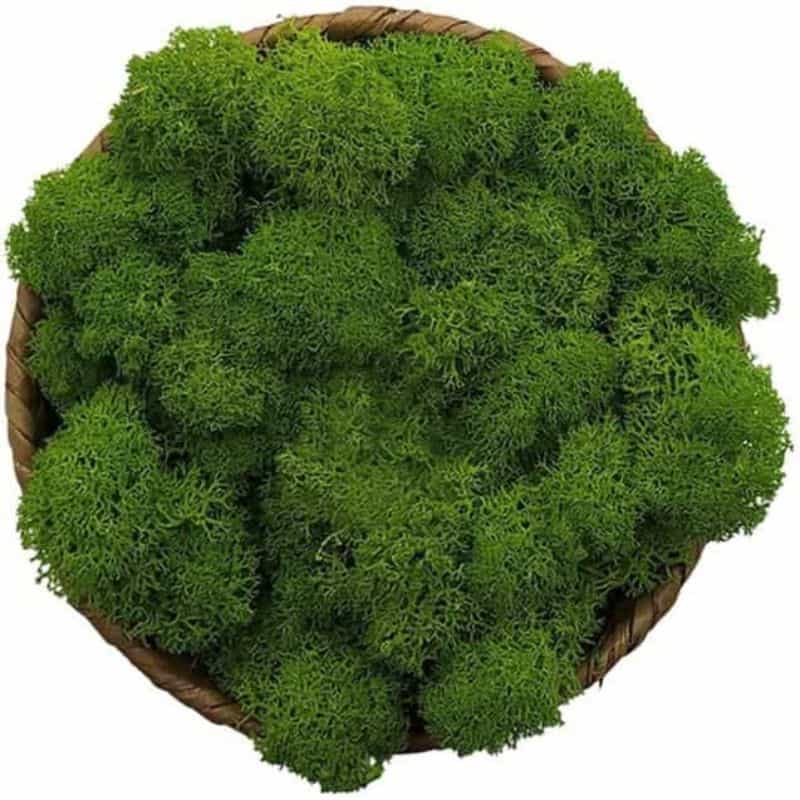
Scale modelers love working with this stuff (as it comes in many kinds of seasonal colors and textures) for dioramas and can create some fairly realistic scenes, e.g., bushes, trees, ground cover.
8. Scatter Foliage
Scatter foliage provides a foundation that adds an organic touch to your ground cover of your model’s bases. There many types, varieties, that can adjust how color and “feeling” of your model appears to a viewer. White glue is the easiest way to attach scatter ground foliage to your model’s bases.
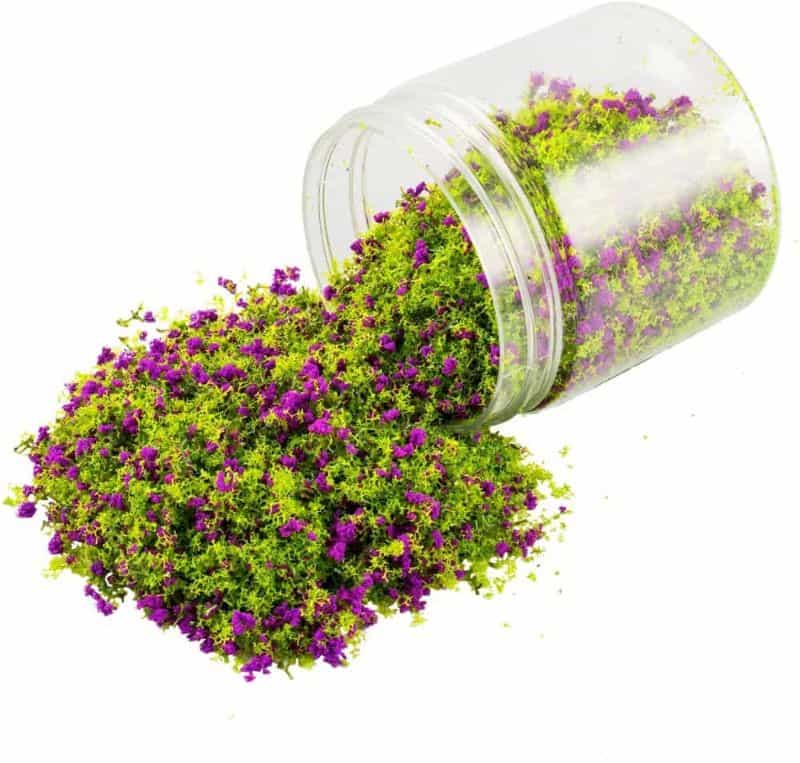
Note that in my experience, because of the amount of detail and varied material in scatter foliage kits, this is something you may want to reserve for larger models, or areas where you can really customize how everything looks. Spreading out the foliage over a surface allows the different bits of detail within the kit to emerge and fohelps to sell the overall effect.
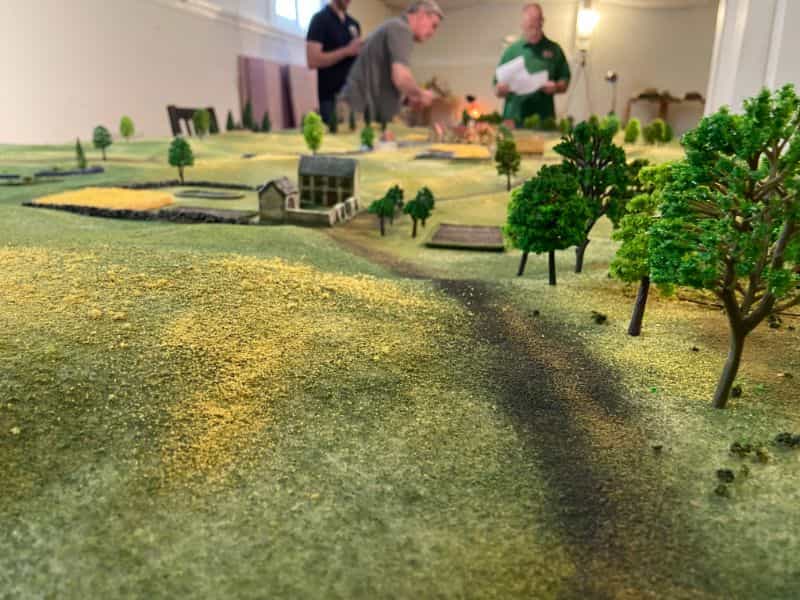
Of course, how you use this stuff depends on what you’re envisioning for your overall “look” of the painted model. Some creativity goes a long way and scatter foliage is one of many materials you can use (even at the same time with other things, e.g., sand or dirt).
9. Texture Mud
Texture mud effects and other similar paste-like art media has been used by miniature painters for years (decades!) because of its versatility as both an adhesive and texture medium when sculpting terrain or creating unique base effects.
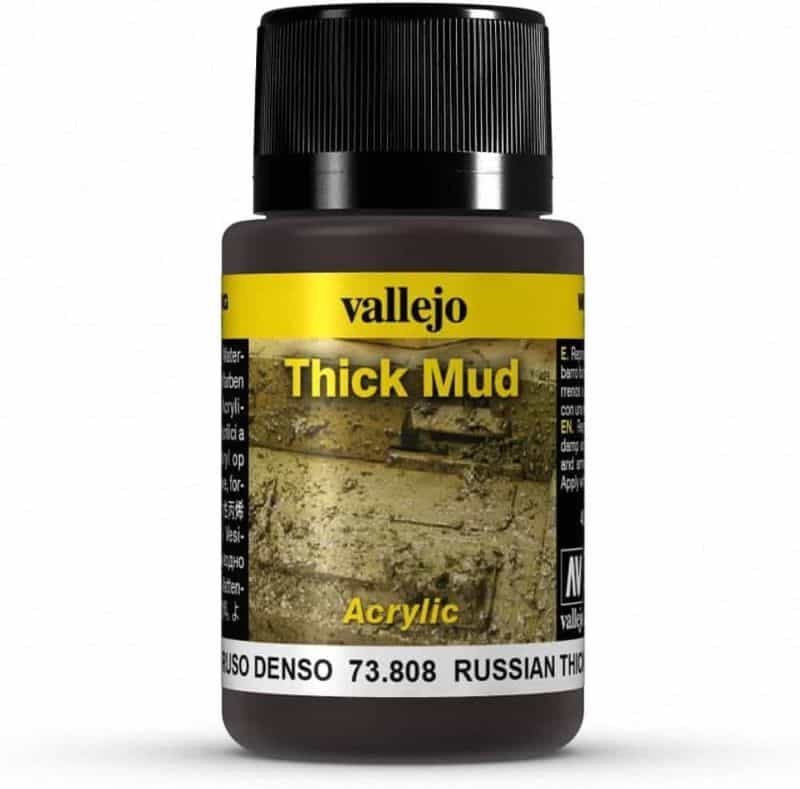
There are so many products for replicating a mud textured effect on your miniature bases that I couldn’t list them all here. But, I’ll note that Citadel texture or technical paints are the most popular kind of texture mud or paste.
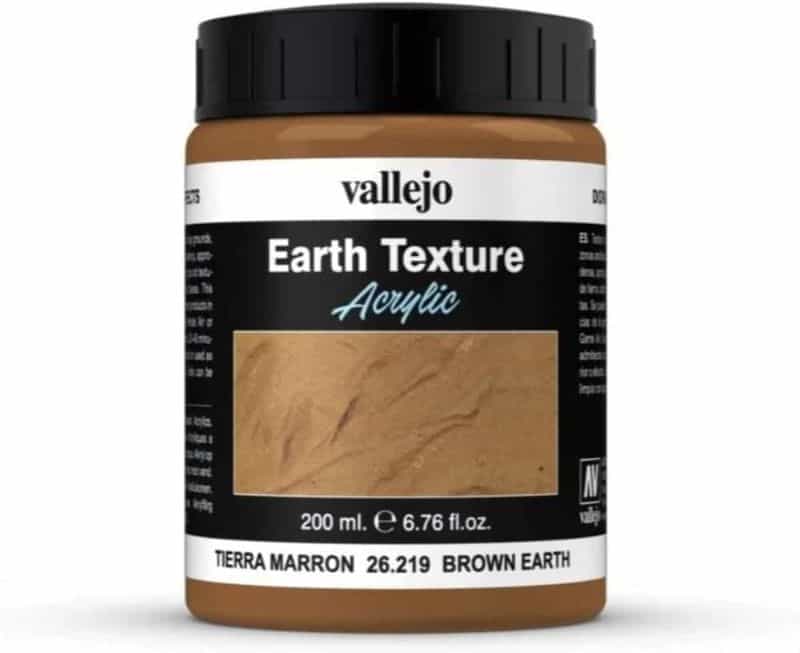
Of course, there are other inexpensive options out there. Check out this article for some alternatives toward adding texture and mud effects to your miniature bases.
10. Vallejo Pumice
As above, Vallejo Pumice acts as an adhesive while providing texture in order to build up layers of terrain quickly and easily. You can apply these on your model bases before or after you paint and attach the miniature.
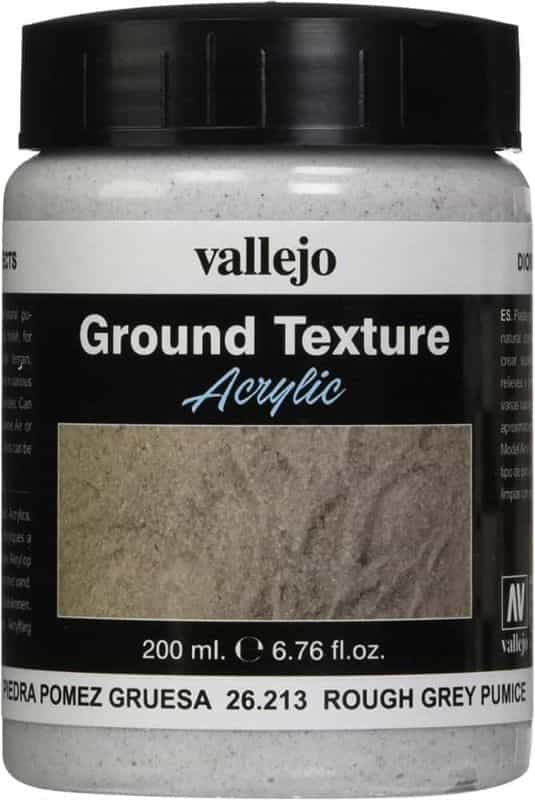
From my experience, however, I suggest applying texture muds such as the Vallejo pumice after you attach and paint the miniature. This makes it easier to clean up any mistakes or messes you make on the base, since you can cover up any errant brushstrokes on the base with the pumice or technical media.
11. Citadel Technical Paints
Citadel technical paints offer a wide range of options when painting bases, including shades of grey, brown, yellow, green, reds and blues. As with other brands, Citadel technical paints are designed to be used as an adhesive when creating base textures.
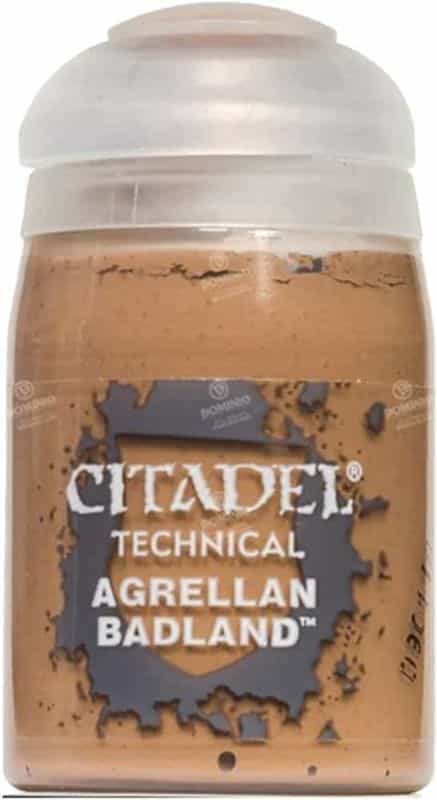
These can add a nice finish to any model and give your bases the realistic look you want.
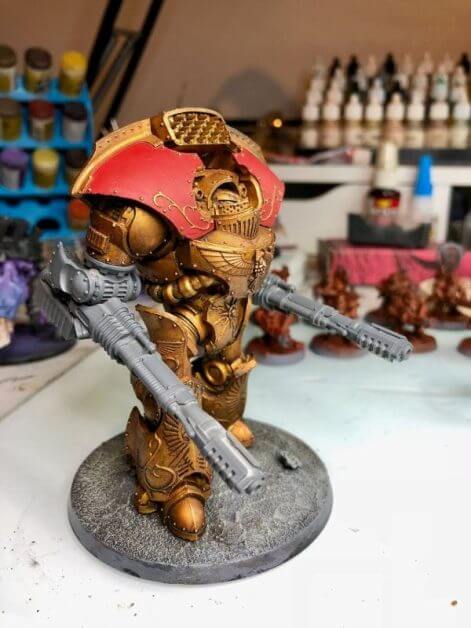
For the easiest route to apply this media, I suggest trying to these technical media after you paint and glue your models to the base. For lower cost alternative, you can try out these products that I tested (which work well).
12. Baking Soda
Baking soda is a household item and incredibly easy to come by. You can use it in a variety of ways, and is an effective way to add texture to your model bases.
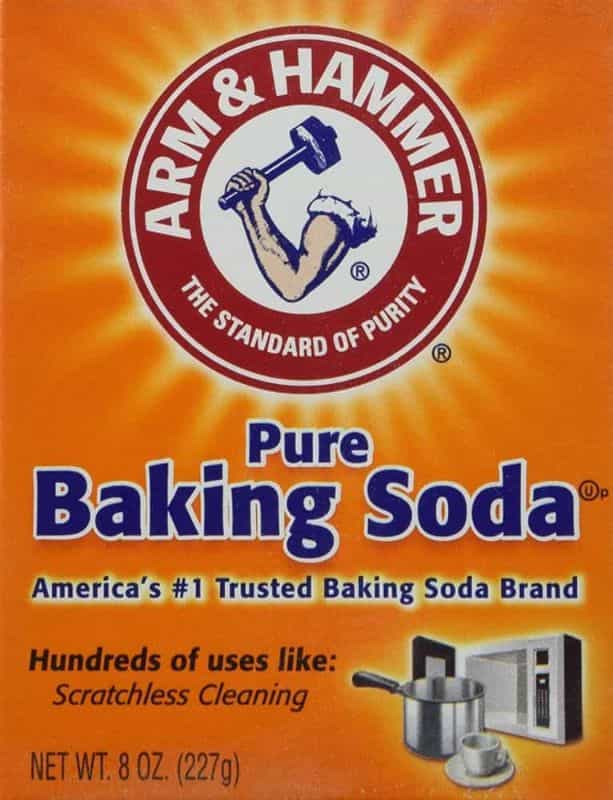
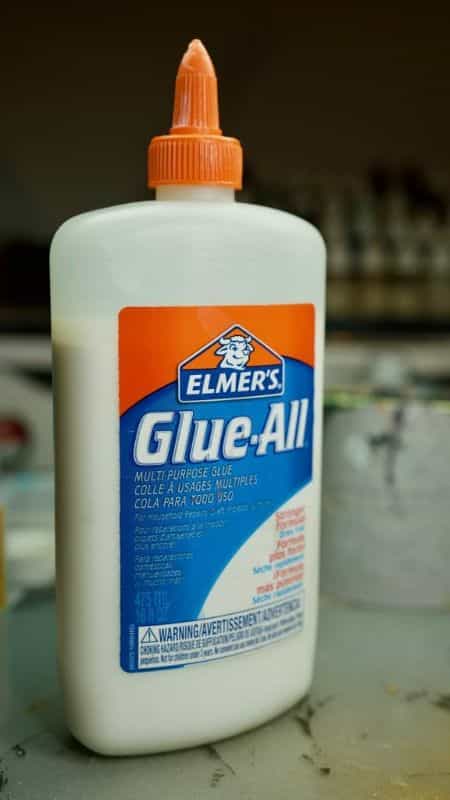
Here’s an example of how to apply baking soda as a basing material: Mix your baking soda with PVA glue (i.e., white glue or Elmer’s glue) and water to create a fine-textured paste. Apply your mixture using a small palette knife or popsicle stick to a miniature’s base. Allow it to dry. Now you have the gritty, texture that you can paint over to replicate ground cover, dirt, rock, etc.
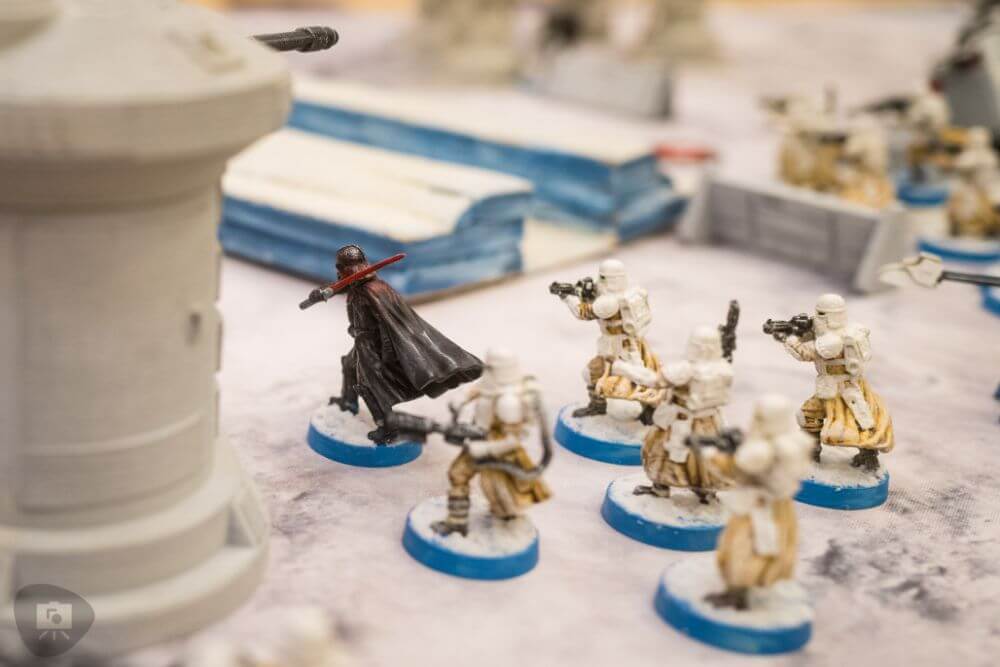
Note that baking soda mixtures can be mixed with watercolor paints, inks, or dry color pigments to give terrain features added color and realism.
Try layering-in different hues of similar color to add interest to your bases. For example, drybrush highlights over a dark-colored baking soda’d base and you’ll add all the contrast and detail you need for some cool realistic effects.
Or, use baking soda with nuanced use of blues and whites to create a snow, winter themed context for your painted models. Apply said mixture on your painted models, too! Snow capped pauldron armor on a stoic knight standing in the cold could be striking!
13. Kitty Litter
Kitty litter can be used to make great miniature base textures. Fresh from the box or container cat litter comes in a variety of sizes and colors, so you have plenty of options when it comes to creating unique terrain features. Be warned, however, as the granules in some brands of kitty litter may be too homogenous, i.e., the same size, and you’ll lose some realism.
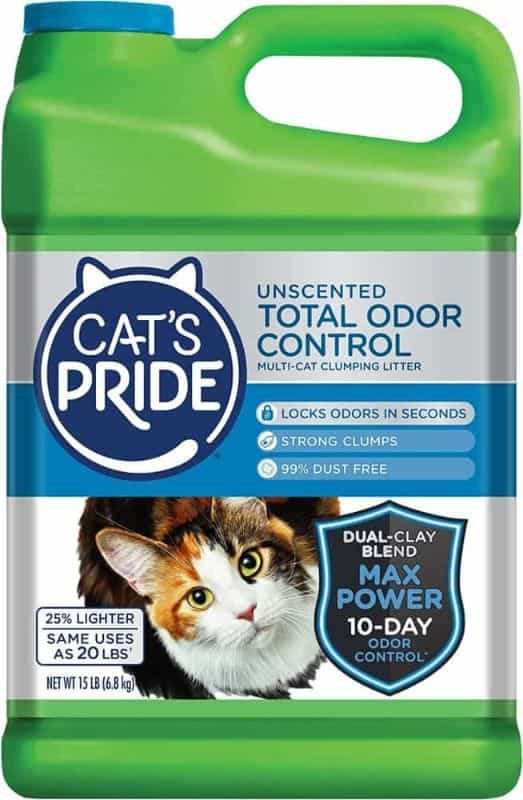
To change things up, add a bit of sand or other granule types, or even other brands of litter to create a more varied and realistic texture. Then, glue the litter to your miniature’s base using PVA glue or other adhesive mediums. After it dries, you can paint it and highlight certain areas with dry brush techniques.
14. Coffee Grinds
Coffee grinds can be used to base painted miniatures in order to give off the look of ash or sooty remains. White glue or PVA glue works well with coffee grinds. As with kitty litter, however, you should be careful of how fine and even your grinds appear. The good news is that coffee grinds often have variations in it that can be used to create a much more realistic texture needed for your miniature bases.
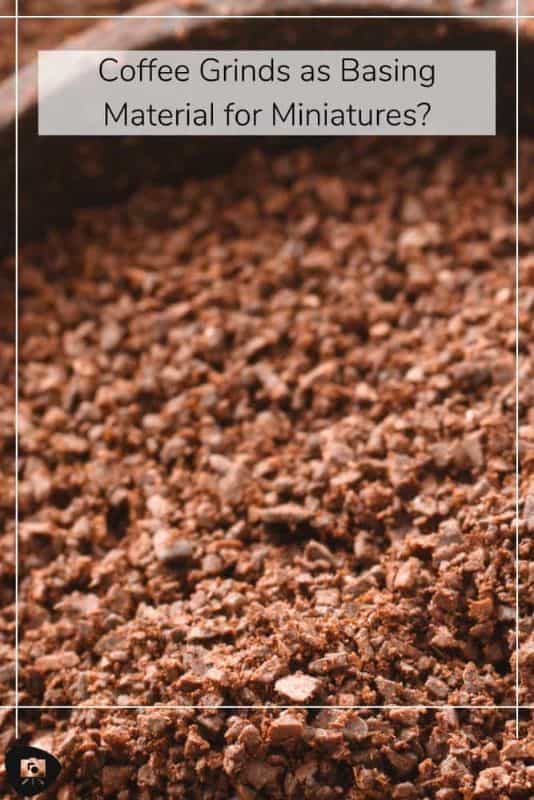
RELATED: HOW TO PAINT MINIATURES WITH COFFEE
For best results with coffee grinds, I like applying glue on the base first, then dipping the base in a pile of dried grinds. Shake off the excess grinds and allow that layer to dry. I repeat this process by applying glue over the dried/glued grinds and adding another layer of grinds. In this way, you can build-up some varied texture.
The color of the grounds can also be used to create a variety of looks from light grey to black, depending on what you are aiming for. Finally, make sure you clear coat your model when you’re done to avoid coffee from molding or rotting (i.e., exposed grinds adsorb ambient moisture and can create problems).
15. Recycled Plastic Sprue
Recycled plastic sprues after you’re done with assembling your models is an amazing way to craft unique bases.
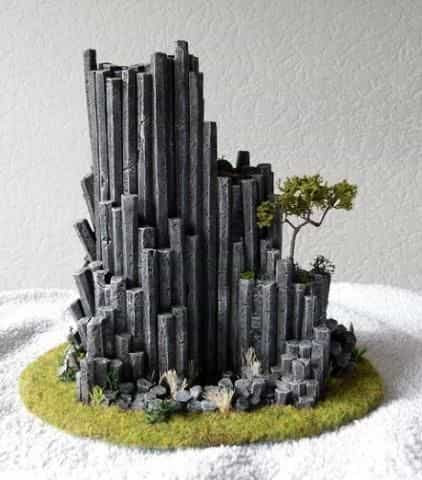
For example, the small plastic pieces that come in all types of models can be used to add texture and interest to your bases. You can glue them down with superglue or PVA glue and paint over the whole thing for a unique look! Here are a few ideas for using recycled plastic sprues from your model kits.
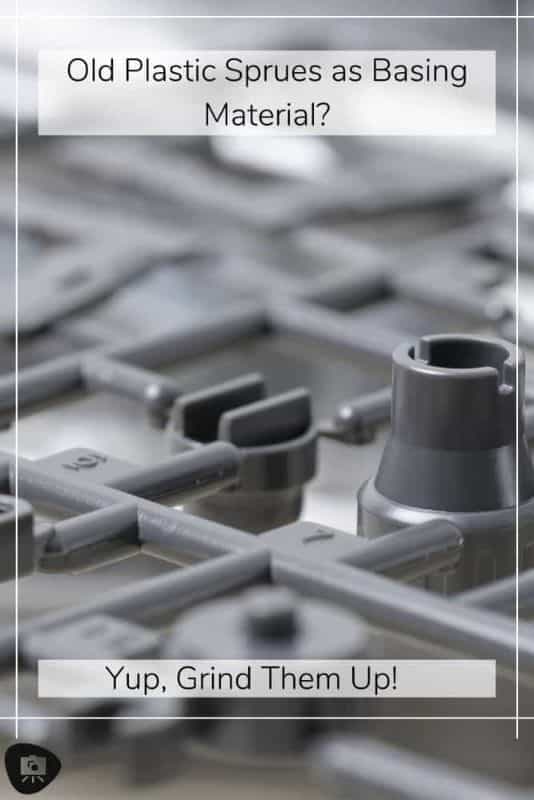
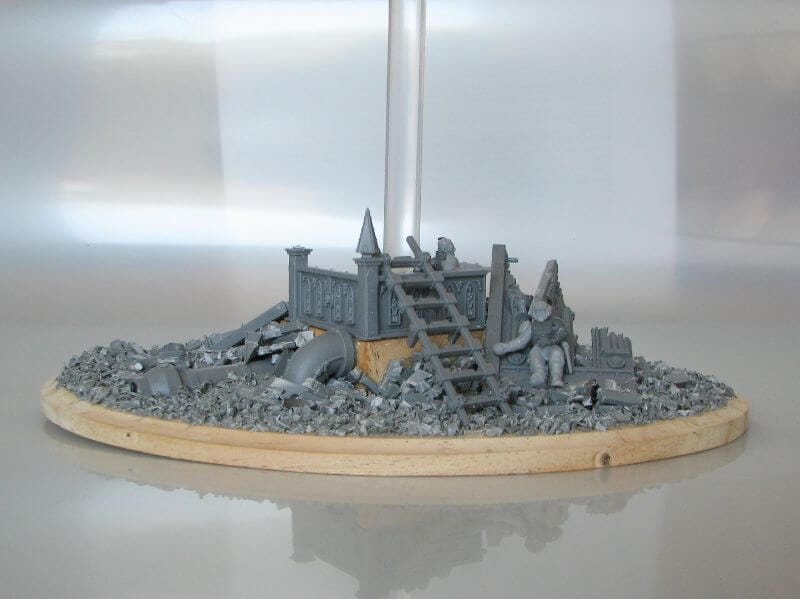
Throw some empty sprues in a coffee grinder or blender. The pulverized plastic bits work well as ground cover, almost like the kitty litter, or coffee grind methods mentioned above. You can use strategically cut up pieces of empty sprues to work as fencing posts or urban ruined terrain.
Make “sprue goo” by mixing small pieces of plastic kit with plastic cement (i.e., toluene based glue). This “sprue glue” mixture serves as a paste that you can work with like thick putty over your bases. Check out this article about how you can use recycled plastic kit sprues.
16. 3D Printed Bases
3D printing has revolutionized the miniature painting world, allowing users to create intricate details that would otherwise be impossible to replicate. 3D printed basing material can be made to include textures, features such as rocks and trees, and buildings or other structures.
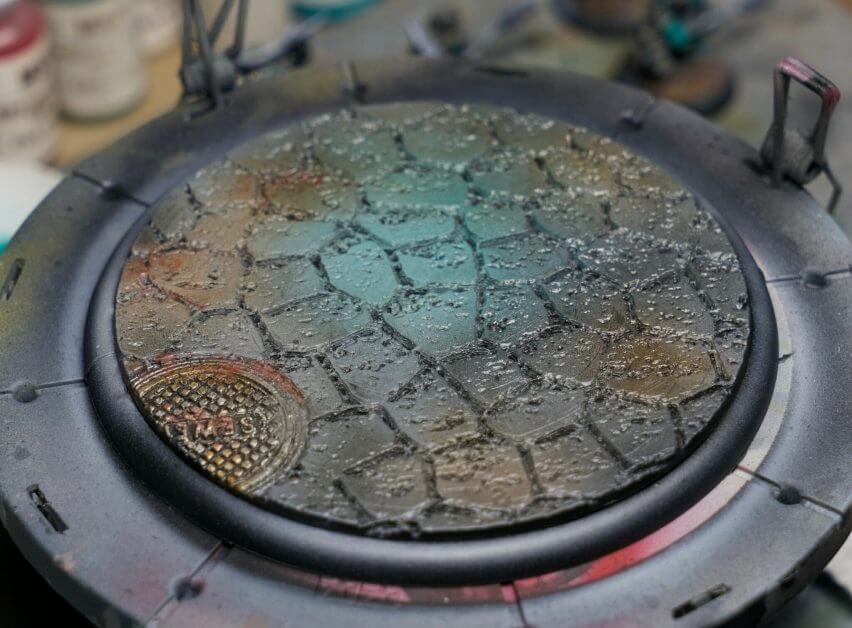
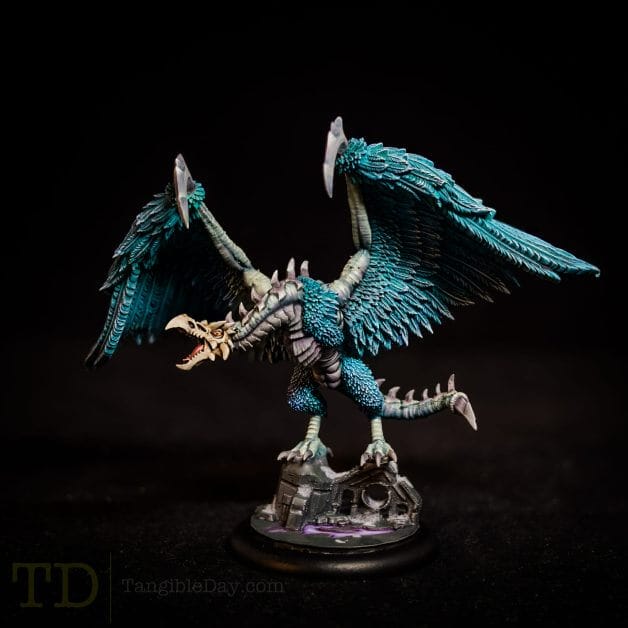
It is a great way to add detail and realism to your miniatures without taking up too much time or money. You don’t even have to sculpt your own 3D models for your printer.
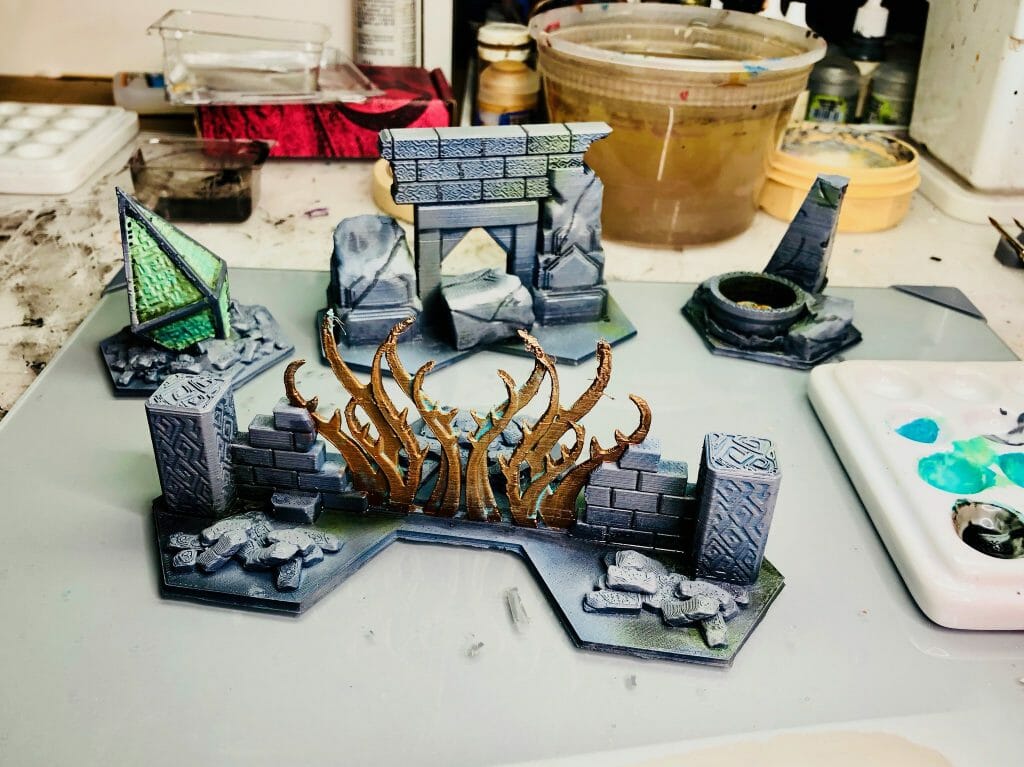
Check out Thingiverse or surf Etsy for some great printable terrain and basing files that you can 3D print at home.
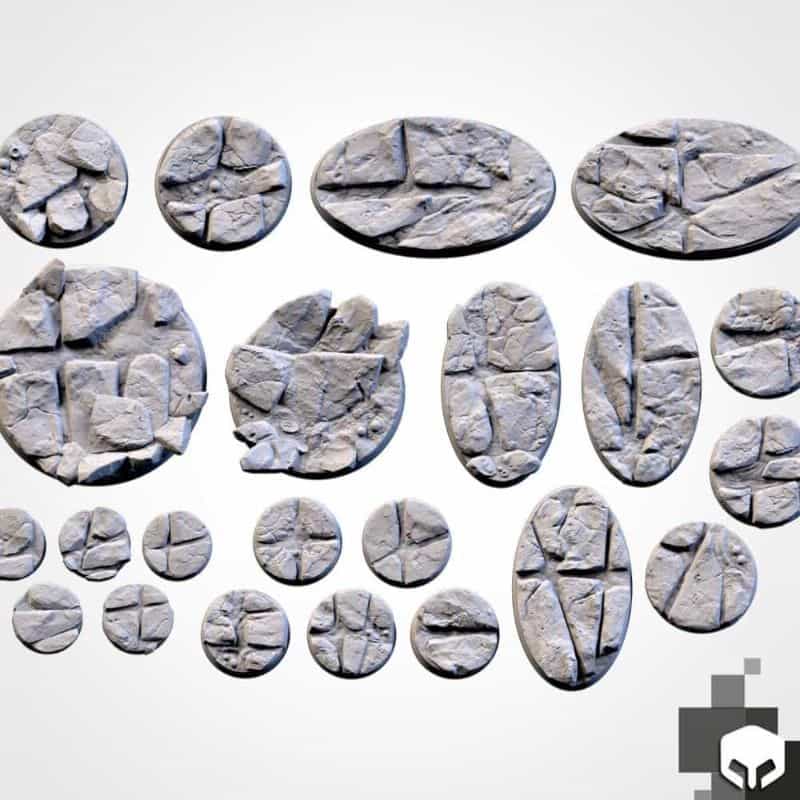
17. Kit-bashed Miniature Bases
Kitbashing is the process of combining elements from different kits to create something unique and one-of-a-kind. This can be applied to basing miniatures as well. For example, you can take plastic parts such as from model railroads or other scale modeling vehicle kits, and combine them with or random ground material to make unique bases.
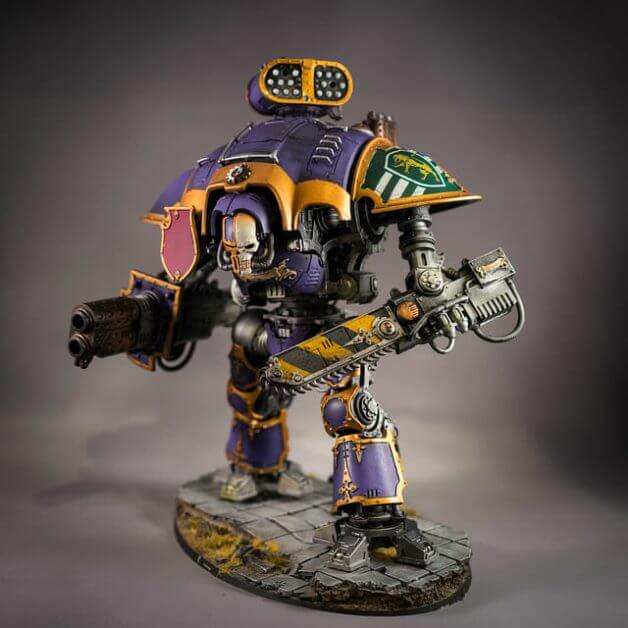
I can’t even imagine where to start with listing all the ways you can mess with the extra bits we all collect over time from the hobby. Mix and match, glue, and play with different ideas. You never know what you might come up with.
You can even find odd things around your home that could come in useful for kitbashing. Things like scrap electrical wiring, or scavenged blister packing material can make for great basing additions. The possibilities are almost endless when it comes to kitbashing miniatures and crafting unique bases.
18. Resin Casted Bases
As mentioned above, high-quality pre-made resin bases are a great way to get your feet wet with base making. Many hobby and miniature gaming companies offer liquid resin casted bases in both flat and round varieties, with or without bevel edges.
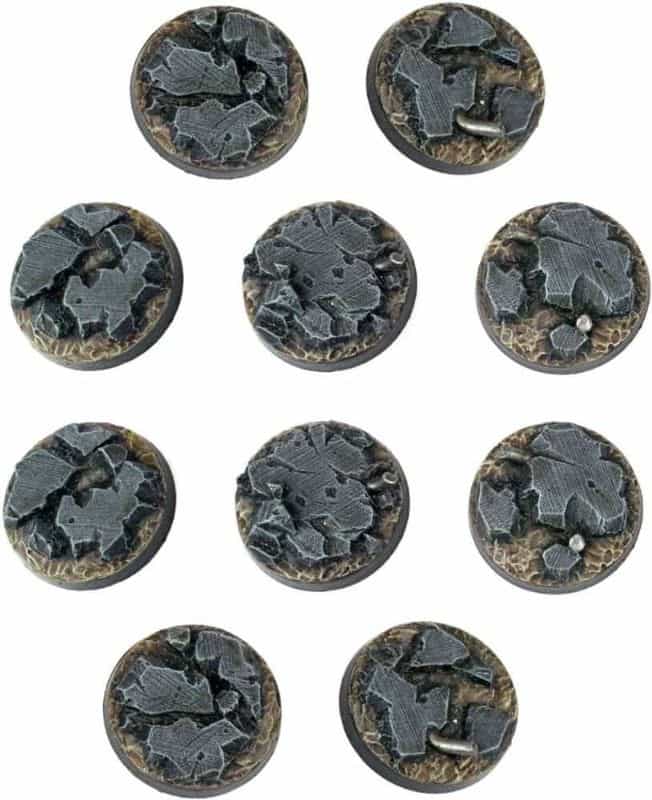
Buy the resin base of your choosing, paint them up and attach your painted miniature on top. And, you’re done!
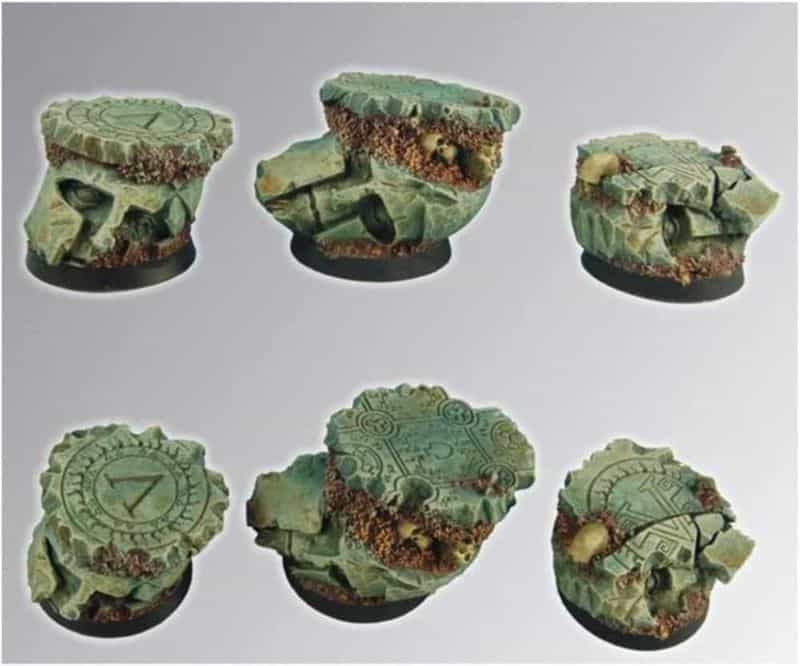
Hey, as a side note: You can also make your own resin casted bases with a silicone mold kit. All you need is some liquid resin and a suitable container for the desired shape of your base (a silicone muffin tin works great). Simply mix and pour the resin mixture, wait for it to cure and pop out your own custom-made resin bases.
19. Tile Grout
I love tile grout! But, not for the reason this product is usually used. Tile grout is a kind of concrete, literally, and a great way to create realistic looking rocks and ground cover for your miniature bases.
You can find tile grout with or without sand mixed in. I like the version with sand in it already for the texture. Grout without sand will form a thinner, smoother surface when dry. It may also be stronger in the long run as well when applied to smaller surfaces.
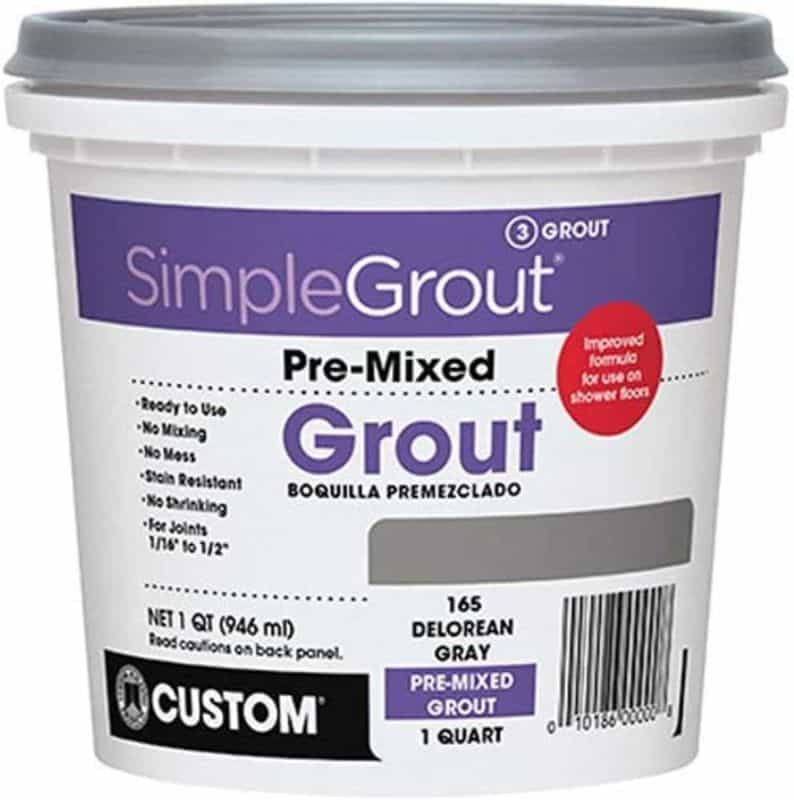
There are two varieties of tile grout, too. There is unmixed tile grout where you have to add water and mix it to use. The other type is pre-mixed, ready to use right out of the container with no additional mixing required.
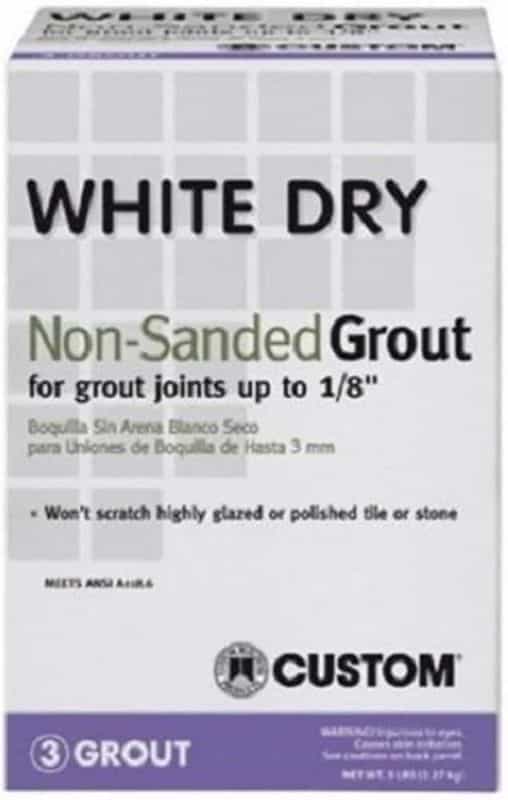
A small container will go along way for basing a huge number of models. Because tile grout is formulated for actual household use and has a waterproofing component, it is also highly durable for gaming purposes.
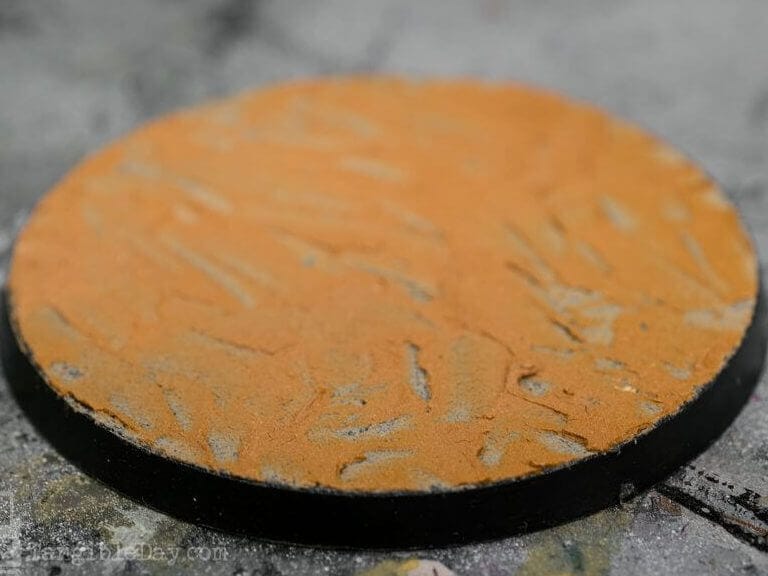
Tile grout also comes in a HUGE number of colors and types. So, you can mix and match, or use one single type of grout to create a variety of different textures on your bases. If you’re making large terrain pieces with foam, too, tile grout is a perfect medium for covering the ground, protecting the base layer, replicating rocky surfaces, and recreating mounding shapes.
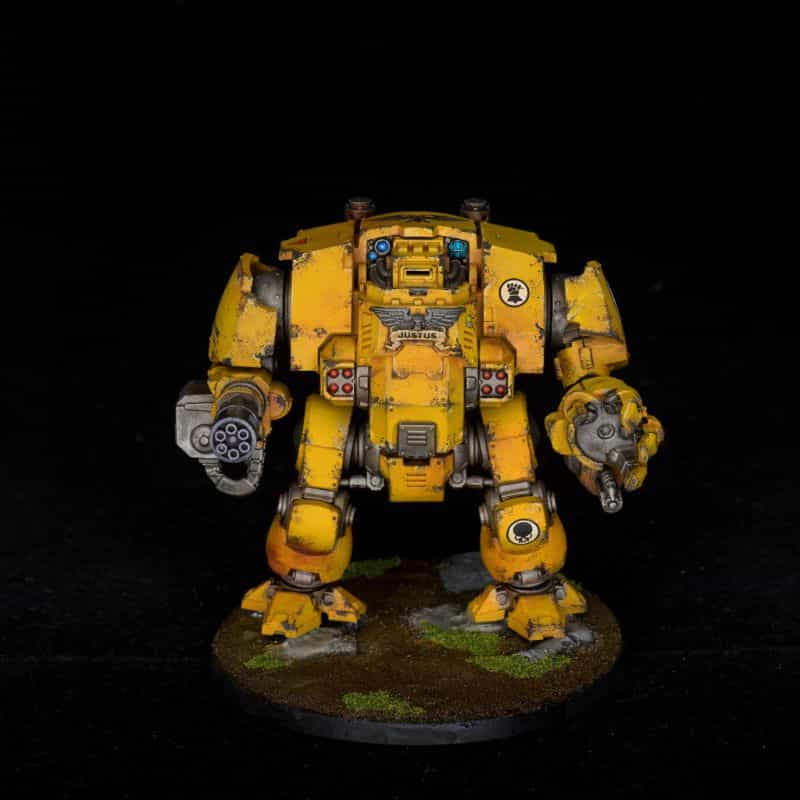
Also of interest is that tile grout is a naturally strong adhesive for other basing materials (i.e., I mean it’s used for ceramic tile work in kitchens and bathrooms after all!). Before the grout dries, you can press other bits and things into the layer of grout and it’ll stick there for good. It’s quick, fast, and super budget-friendly.
20. Crackle Paint
I write more about crackle paint in another article, and also show you how to create “Cracked” bases in under 5 minutes.
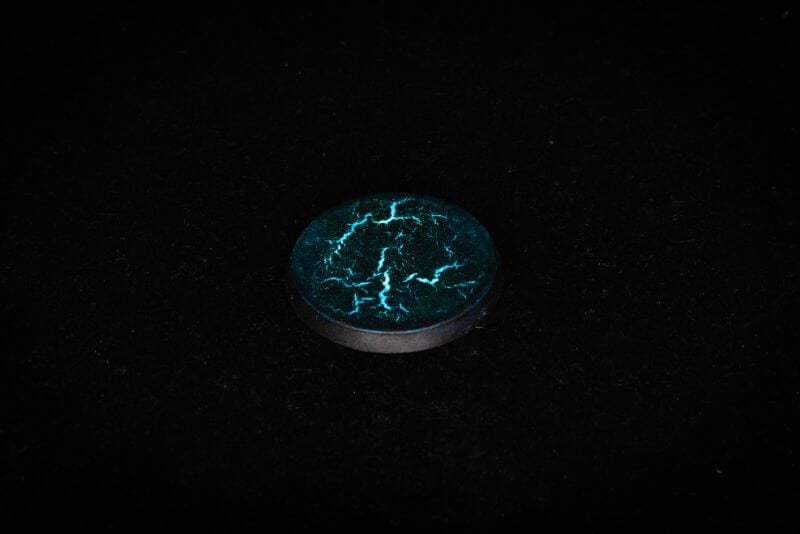
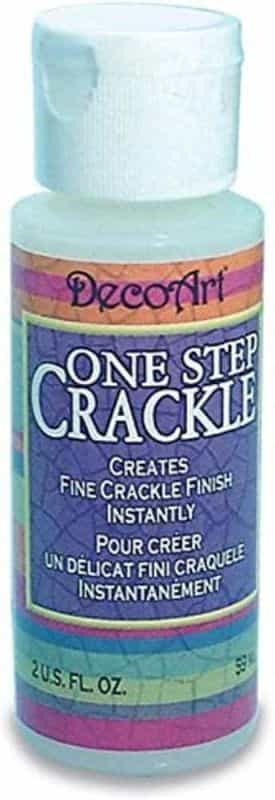
Crackle paint (this is what I use nowadays) is a type of paint that produces a cracked or broken effect when it dries. It is often used to give items an aged or distressed look and can be used in on painted miniatures to recreate metallic rust, faded metal, and worn stone effects.
On the base of painted models, it’ll mimic the cracked dirt and earth of a desert, ice, lava flows, or the dry stream bed of a river–it all depends on how you paint your completed cracked surface.
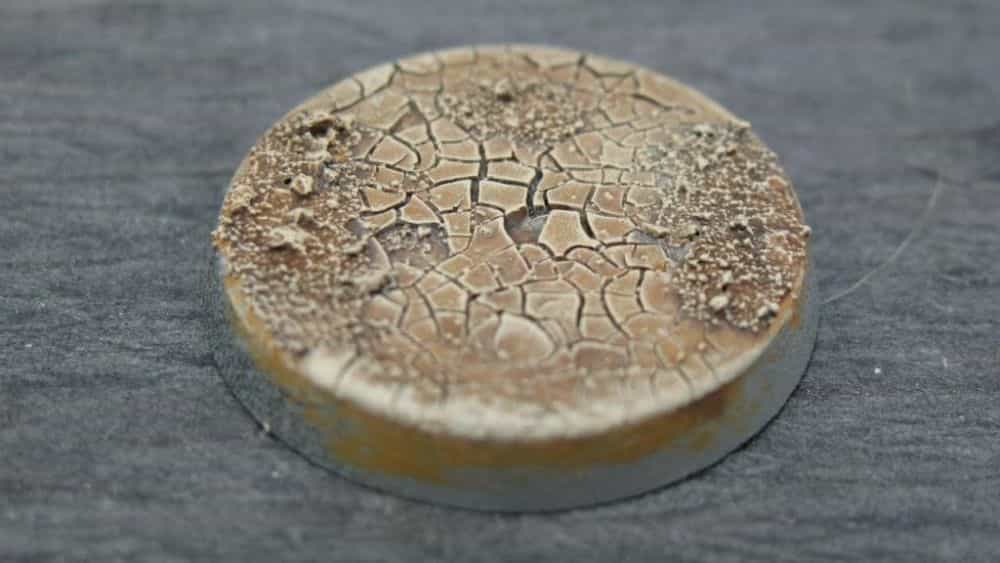
To use crackle paint, you should first prime the base. This will help the medium stick. Apply a thick layer of crack paint. I use a 1/8″ thick layer. You can use a thicker layer, which will make larger, deeper cracks (but also creates a more fragile surface when dry that can chip or flake off). A thinner layer of crackle paste creates smaller, finer cracks.
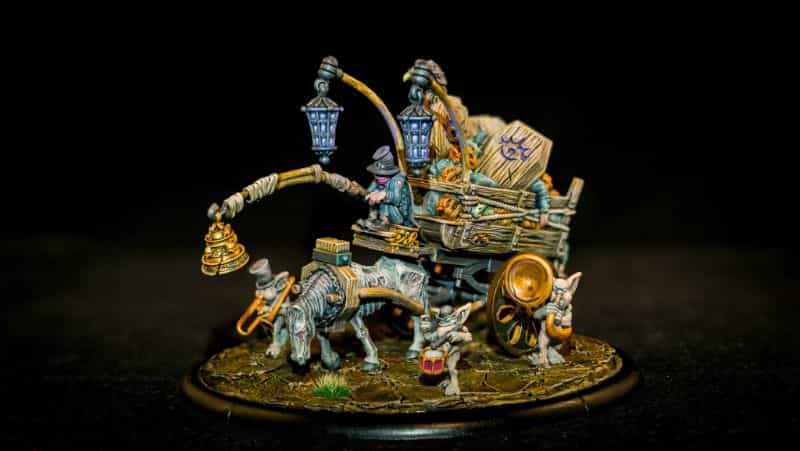
Let the crack paint dry completely. The cracks will form naturally during this drying process. Once dry, you can then use paints and washes to highlight the textured cracks, adding depth and realism to your painted miniatures.
21. Sand
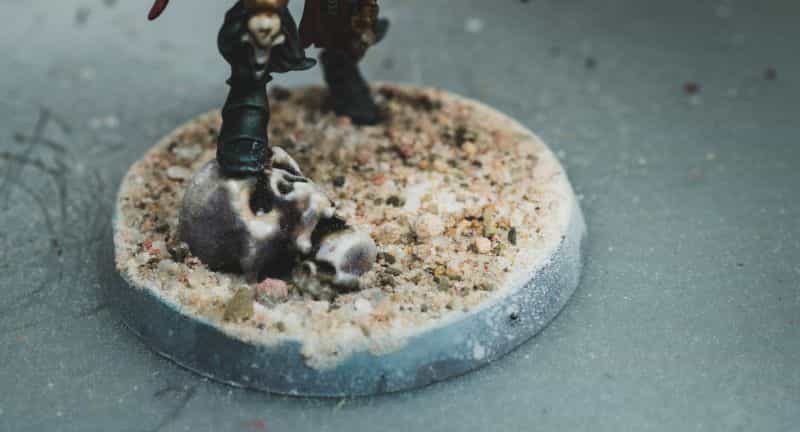
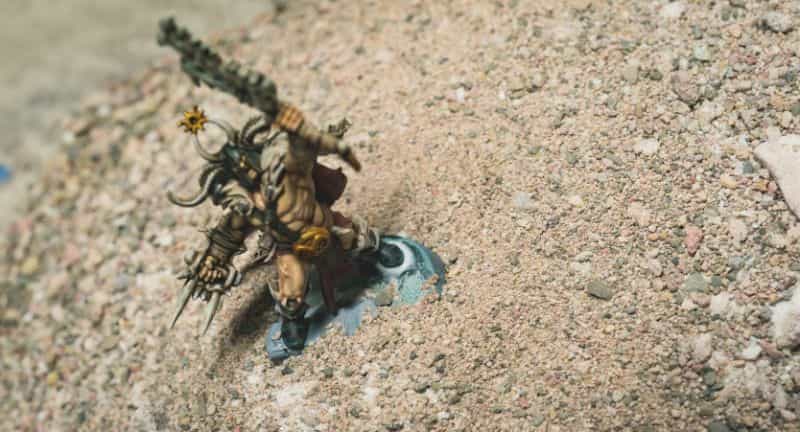
Sand is one of the simplest and most affordable basing materials you can use (see this article for more details about how I use sand to base models, quickly). As others would agree, sand is a great material for finishing the base of painted miniatures due to its versatility.
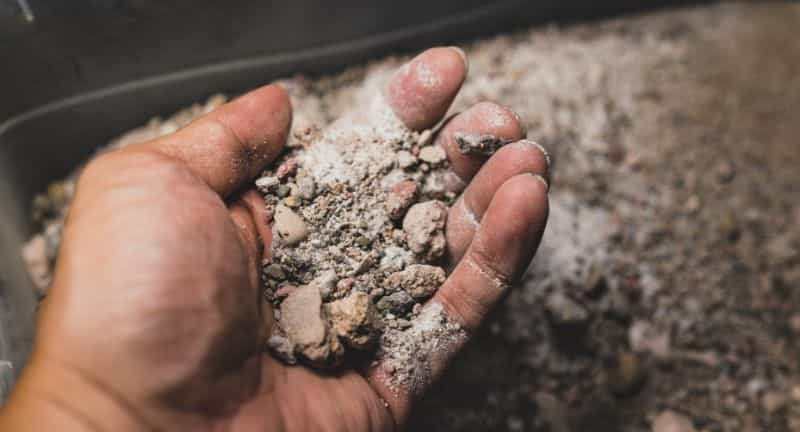
Sand can be used to create realistic textures such as dirt, earth, roads, and footpaths. Combine sand with small bits of gravel or sand of different granule sizes for more varied surface.
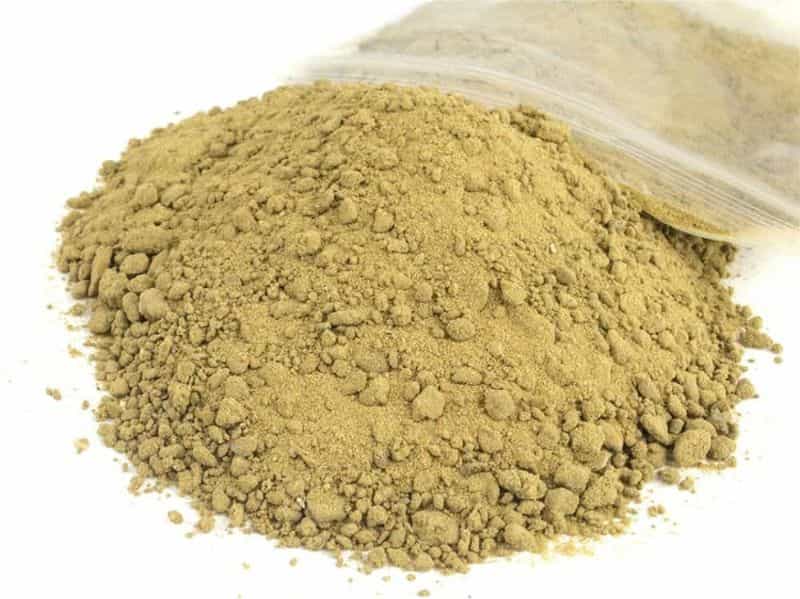
Stick a few shrugs or foliage bits for some organic contrast. You can also use sand to augment water effects like the edge of waves or shorelines.
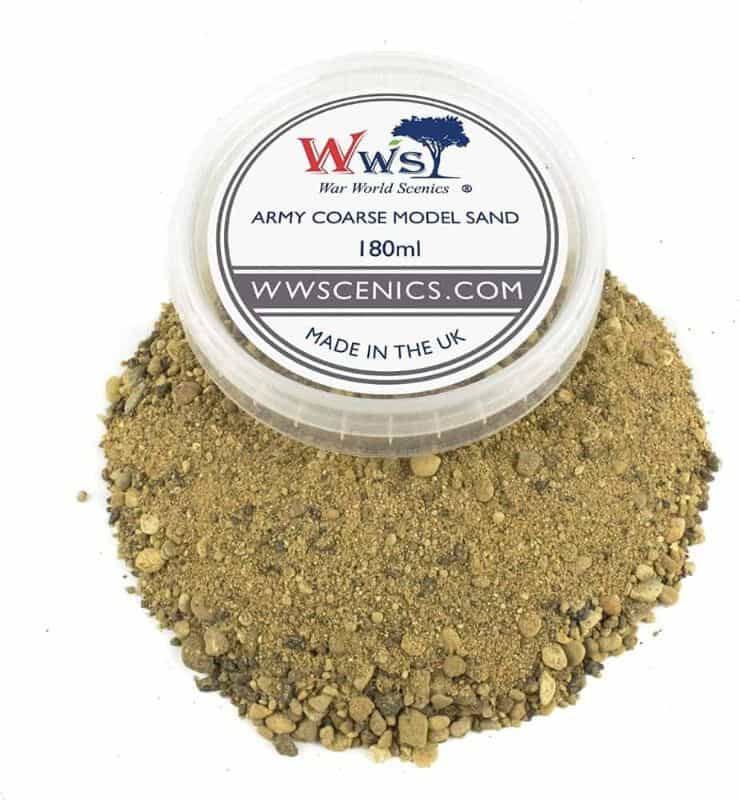
Sand is easy to apply. I’ve found the easiest glue to use for attaching basing sand is white glue or PVA glue, a water based adhesive. You can thin white glue with a few drops of water and brush it on any surface with a regular paintbrush as though you were painting the model itself.
Of course, for a stronger bond you’ll want something like super glue. But, that can get messy and is hard to apply on the flat open surfaces of most miniature bases.
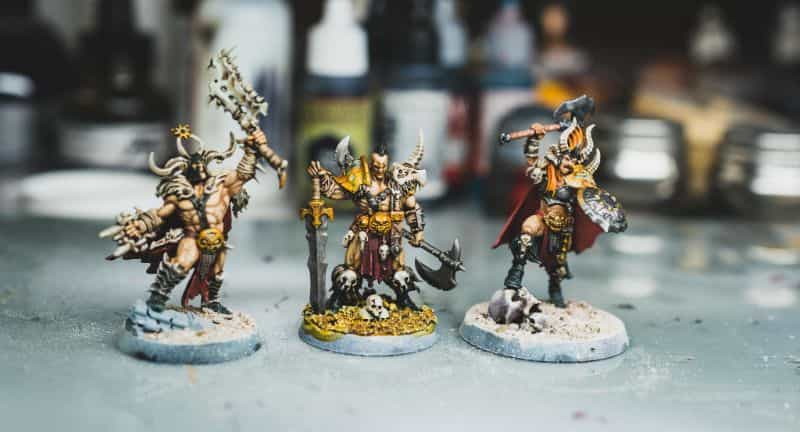
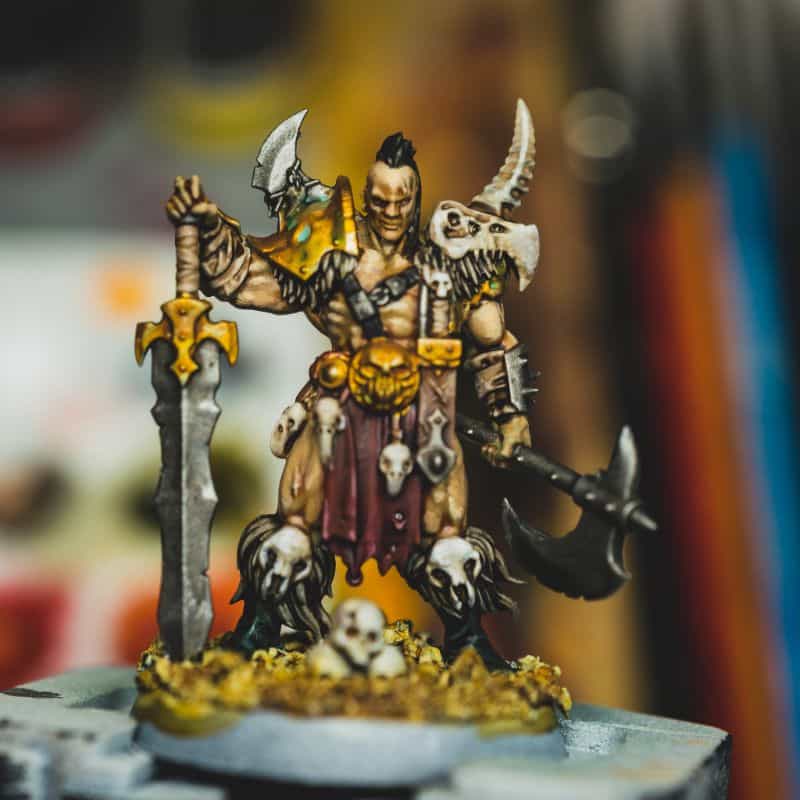
Overall, if in doubt, I recommend simply using sand as the ground substrate for your miniatures. It’s a great start and endpoint for almost any basing method. And, it won’t break the bank.
22. Real Stone, Rock, and Leaves
I’ve seen other modelers and painters use found materials as basing substrate for dioramas, tabletop game miniatures, and even large terrain pieces. Things like real stones and rocks collected from a beach, a walk in the park, or even a backyard can add a lot of realism to your creations.
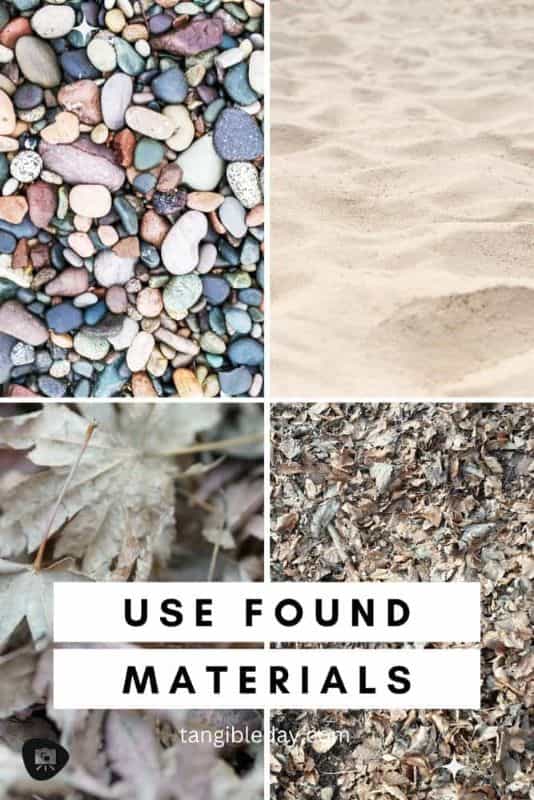
You’ll need to waterproof organic found materials first with some special sealant (something like PVA glue or an enamel clear coat). While rocks and stone are fine “as-is”, things like bark, leaves, or twigs can absorb ambient moisture, attract bugs, and mold. Keeping your bases sealed is important for long-term use, especially if you plan to transport it or store it.
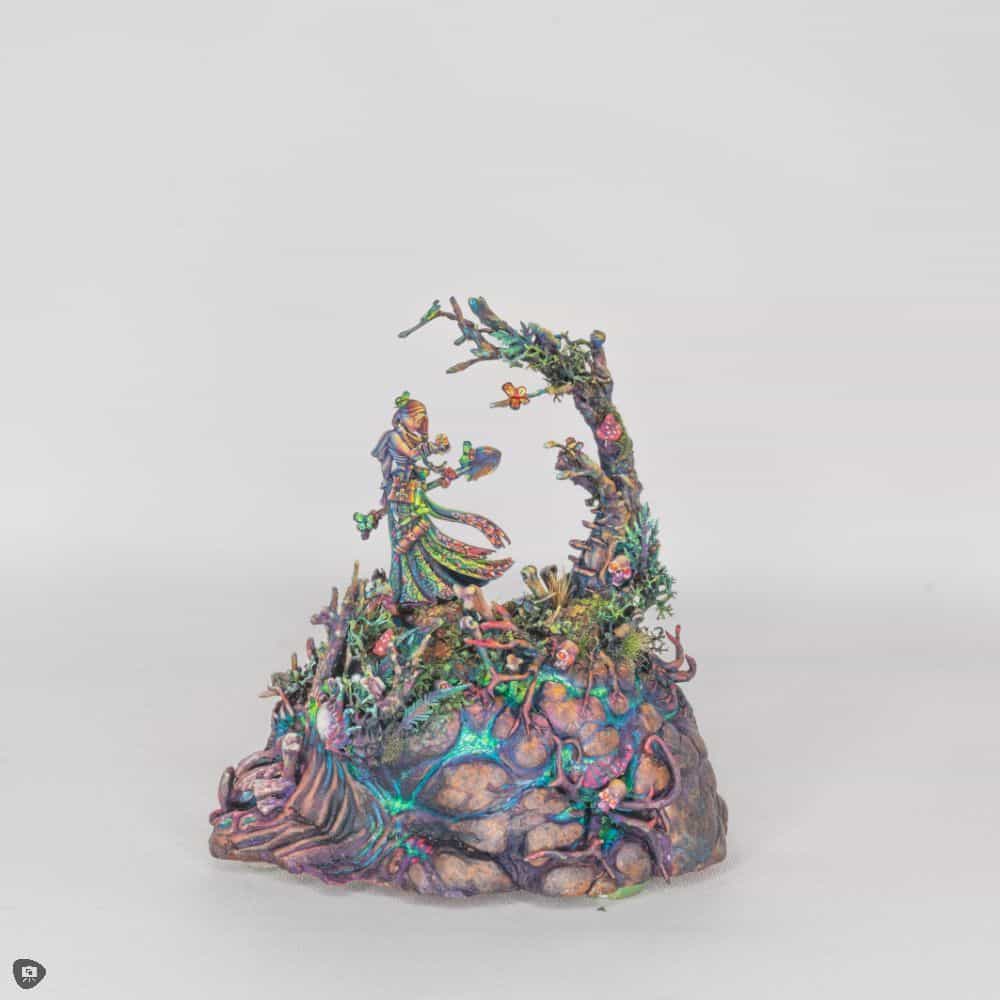
Although the natural colors and textures, e.g., slate, granite, bark, of these found materials will also help bring out the details in your miniature’s paint job, you may still want to paint them to add cohesiveness to your work. A real-twig may look out of place under a well painted miniature, especially a model that you painted with an NMM style.
It is pretty difficult to describe all the ways you can use real found materials for your bases, but the best suggestion I have is for you to experiment. The possibilities are pretty much endless as long as you remember to use waterproof sealants.
23. Granules and Ballast
Granules or ballast are a popular material for model trains and railroad layouts. They come in a variety of sizes, from coarse grit to fine dust. The idea is that you spread the granules on a wet surface (usually some kind of glue) and then press or tap them into place for stability.
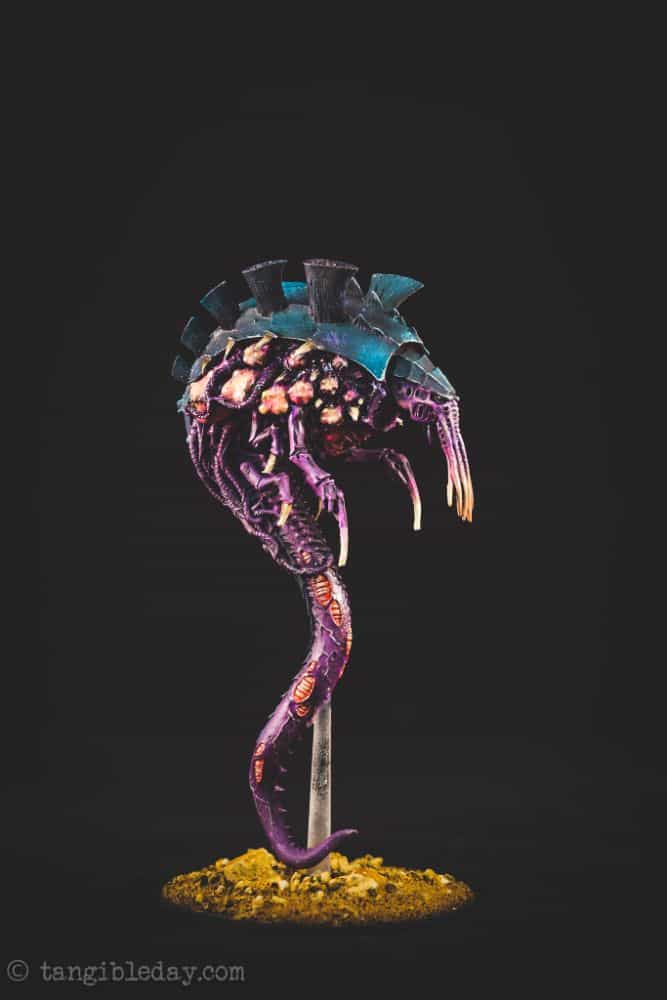
I’ve even seen modelers use this stuff to make realistic looking roads, cobblestone paths, and mortar lines on stonework. The color palette of granules and ballast available gives you more latitude when it comes to painting the model afterwards…. Though, I’d suggest trying to plan how you would use ballast before you start a project (umm well, you should do this no matter what).
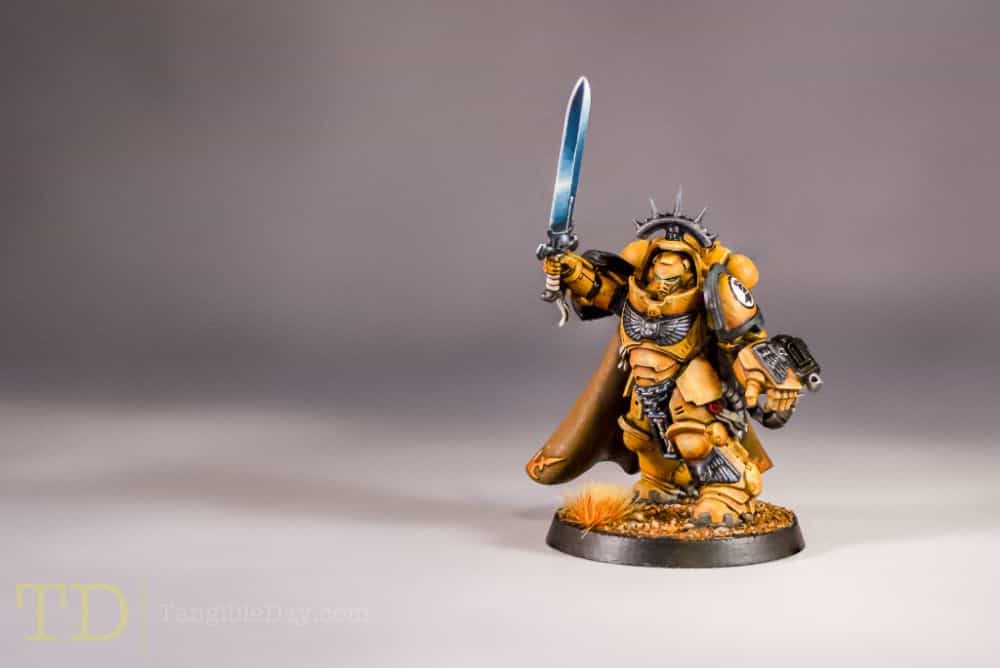
As with sand, you may want to consider painting your ballast groundwork using the standard prime, basecoat, wash, and highlight workflow to bring a cohesive look to your finished miniature.
24. Plastic Tile Work
Plastic tiles are lightweight, durable plastic card stock with stamped textures that replicate the appearance of real world tiles. They are usually used in dollhouses, but you can find a huge variety of plastic tile work in scale modeling shops and hobby stores.
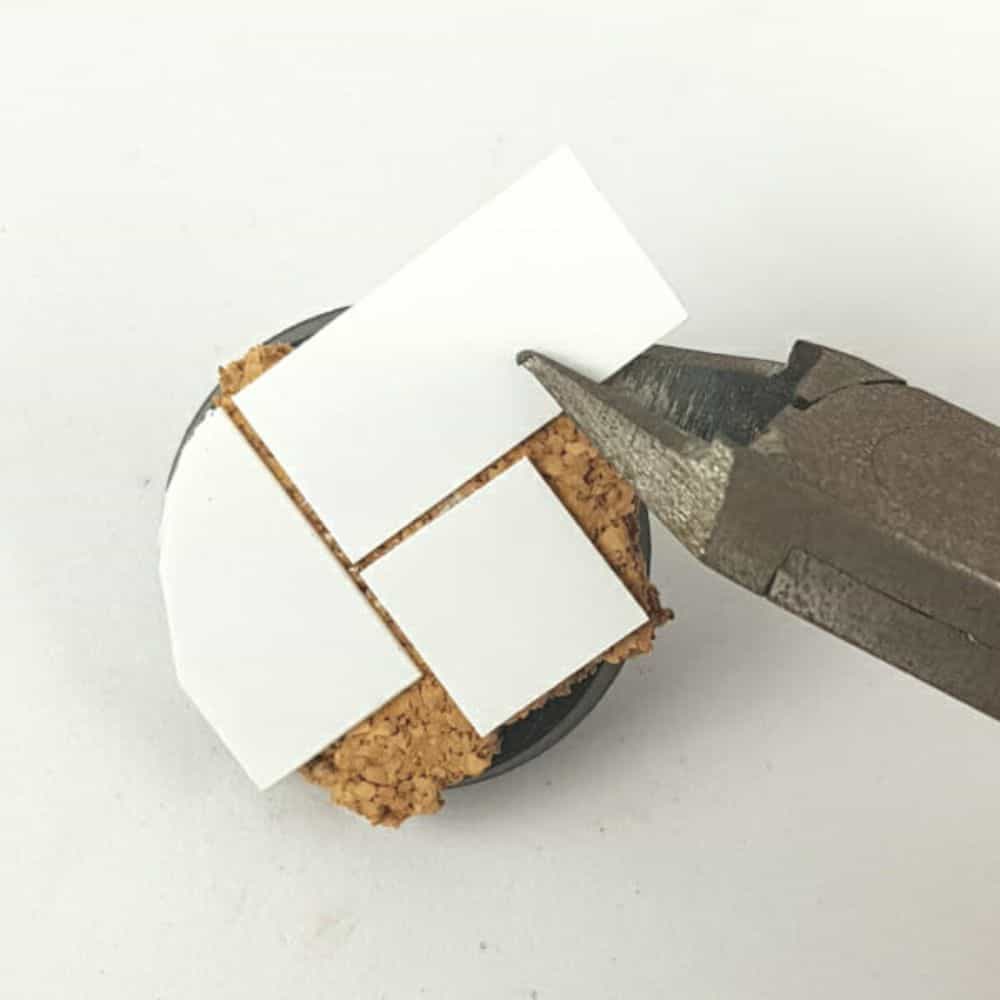
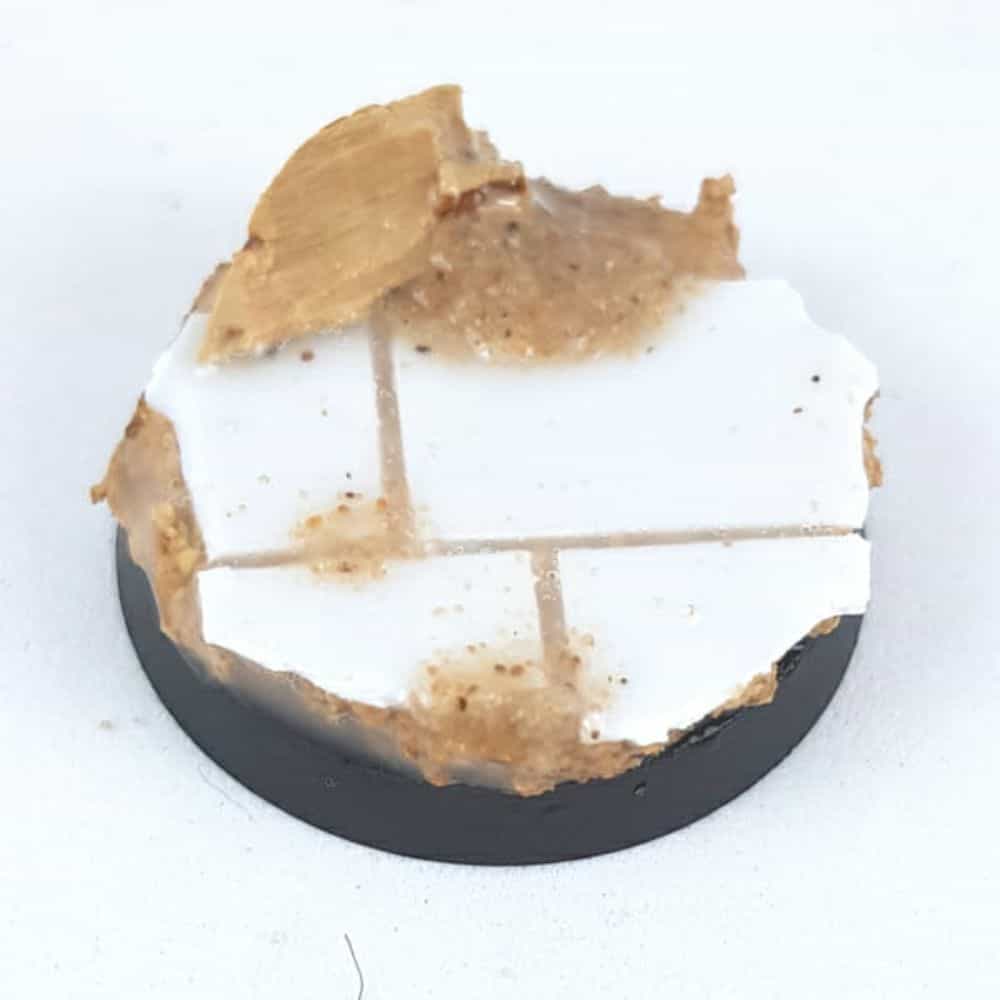
Plastic tiles are a great choice if you plan to make lots of repeating structures, like walls or streets. Although you can use pre-painted/colored tiles, I prefer blank card stock as basing material. You can cut this down with a sharp hobby knife or scissor, and glue them down to your base surface. Once finished, prime and paint them as you would any other part of your model.
For recreating the stonework of ruins, to add ambience to an urban scene or abandoned building, scale tile work and shaped plastic stock is an amazing material to work with. It’s easy to use, and with a little bit of planning, you can create stunning effects that bring dynamic interest to your miniature’s bases.
25. Ceramic Bits and Bricks
Similar to plastic tile work, ceramic and miniature brick materials also mimic the prototypical surfaces you may want to replicate on your miniature’s bases. Of course, the benefit of using brick or ceramic other than it’s appearance and texture is its weight and density.
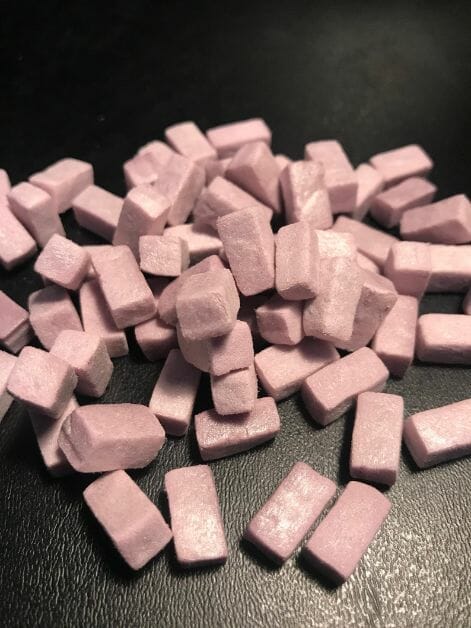
Gluing ceramic or brick work pieces to your model bases requires stronger glue than you may use with sand or other lightweight flocking material. Epoxy or super glue adhesives work well. Or, you can use real tile grout (try the unsanded grout mentioned above) as a mortar to attach ceramic brick pieces to your model bases.
The effect of using ceramic or brick-like material on a miniature’s base can be quite stunning. It adds an extra layer of realism that can really bring out the overall detail in your paint job.
26. Foam Insulation and Putty
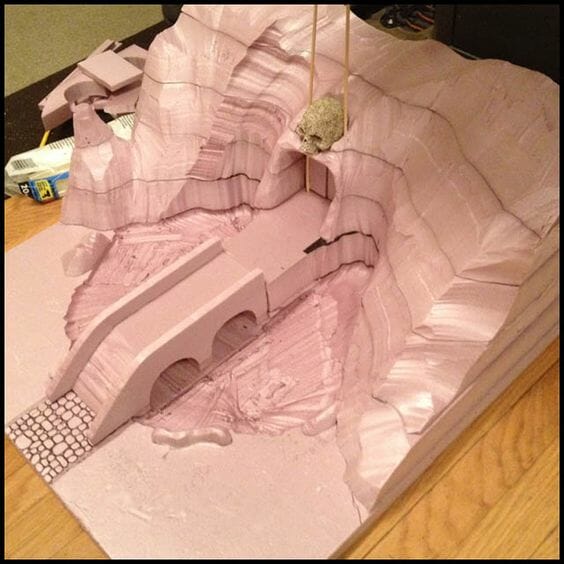
Foam insulation (the pink stuff) and putty are incredibly versatile materials when it comes to basing your painted miniatures. Foam insulation is lightweight, easy to cut and shape (use a hot foam wire cutter), and provides a perfect base on which you can glue other materials such as gravel or grass tufts.
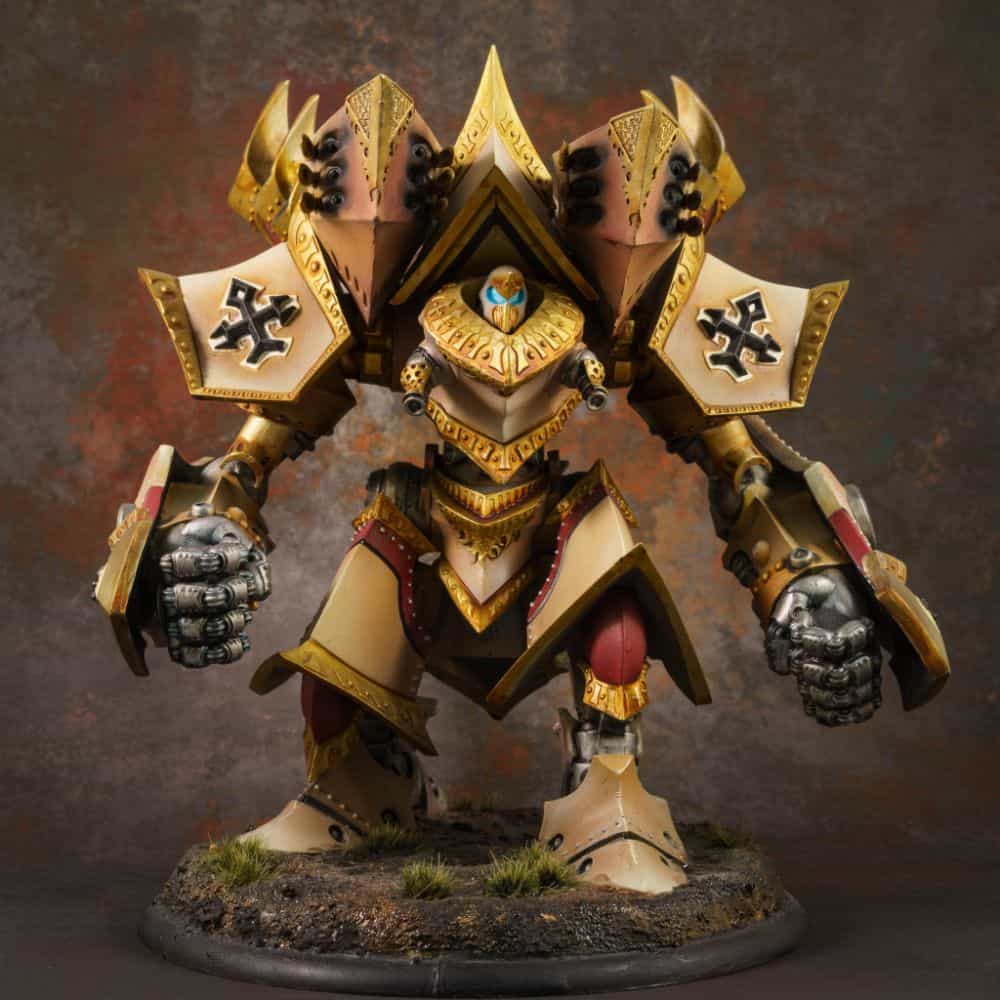
Outside of basing miniatures, you can also use foam insulation boards to create terrain, miniature scale landscapes, and other custom gaming and display models, e.g., model railroad layouts, battlescapes, hills, rocky outcroppings, etc.
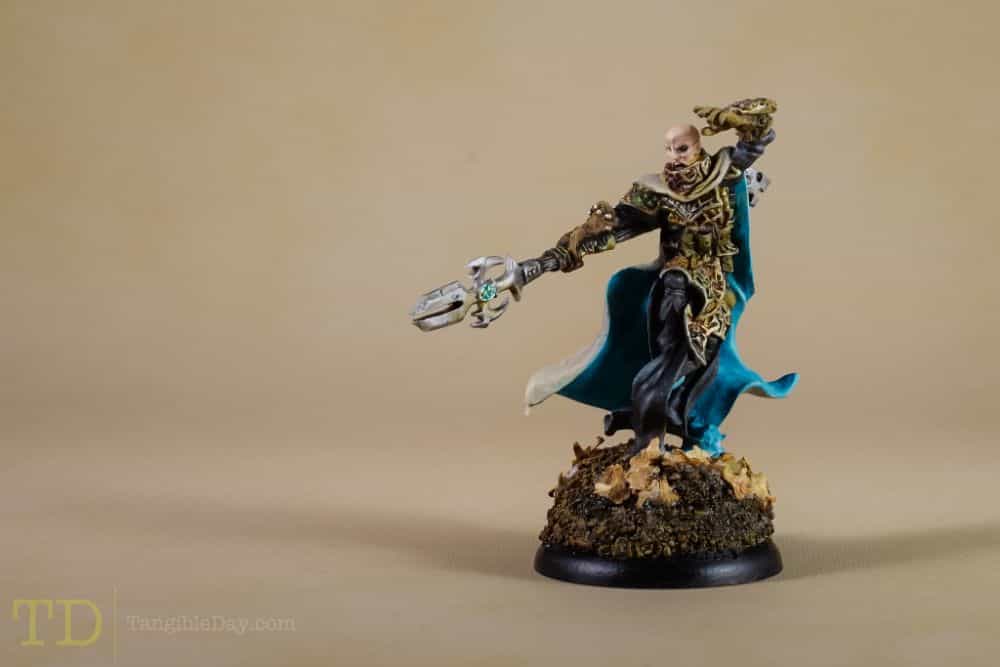
When painting foam insulation, be careful with aerosol spray paint which can dissolve the foam in some cases. Instead, if possible, seal your foam terrain surfaces with a layer of PVA glue or brush-on primer. Once protected, you can use normal painting methods over the foam base layer without damaging it.
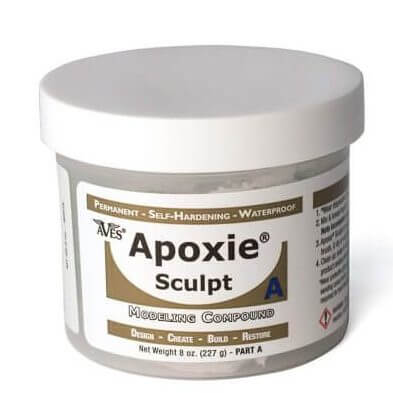
Foam putty is ideal for creating hard surfaces like tile work or cobblestones. It’s easy to mold into whatever shapes you need and can be painted over with acrylic paints for a unique look. Once hardened foam putty also serves as a fairly durable adhesive for attaching other substrates to your model’s bases.
27. Realistic Water Effect Medium
Realistic water effect mediums are essential for creating lifelike water effects on your painted miniatures and basing models. These water effect mediums can be used to create everything from gentle ripples in a pond to raging oceans with crashing waves.

One of the most popular water effect mediums is Envirotex Lite, which is a two-part epoxy resin that sets rock hard yet has a clear finish. To use it, you’ll need to mix equal parts resin and catalyst together, then stir thoroughly (and slowly) until there are no lumps or air bubbles visible.
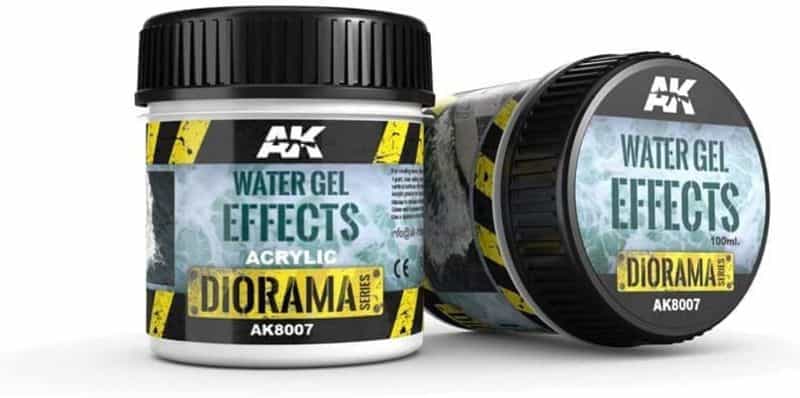
Once the mixture is ready, pour it into the area you wish to create a water effect in and allow it to sit until it cures. Once cured, you can customize your water effect by adding aquatic colors and dyes.
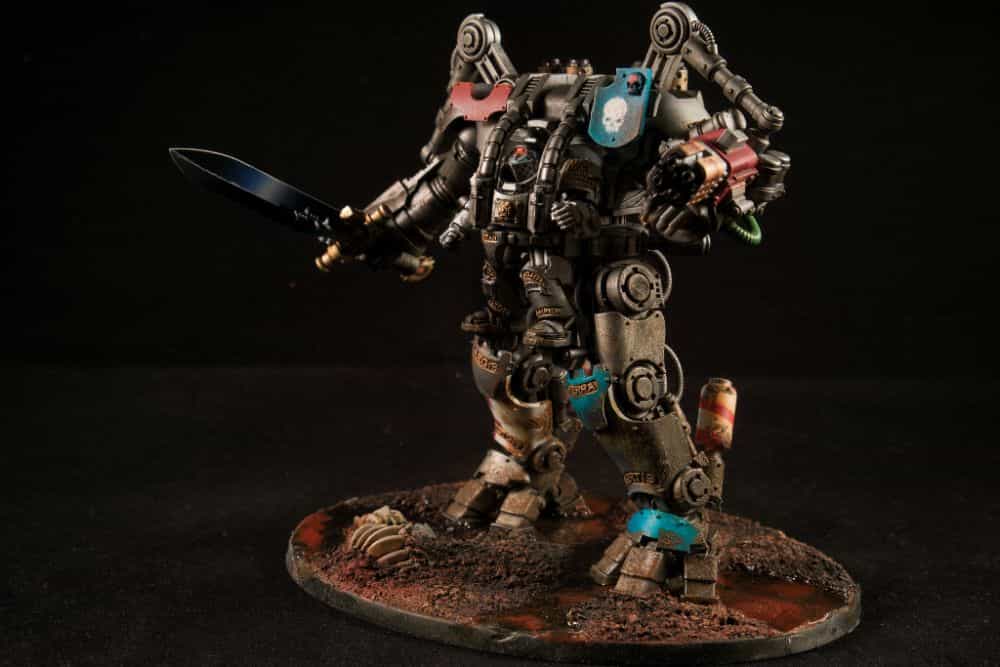
Tips for using resin water effects: Make sure you’ve sealed the edges of whatever base you’re pouring the resin into to prevent spills and leaks. For deeper water effects, build up thin layers of resin (no more than 1/4″ thick at a time) rather than pouring a thick layer. Resin requires exposure to air to dry. Thick layers will dry very, very slowly or won’t completely dry at all.
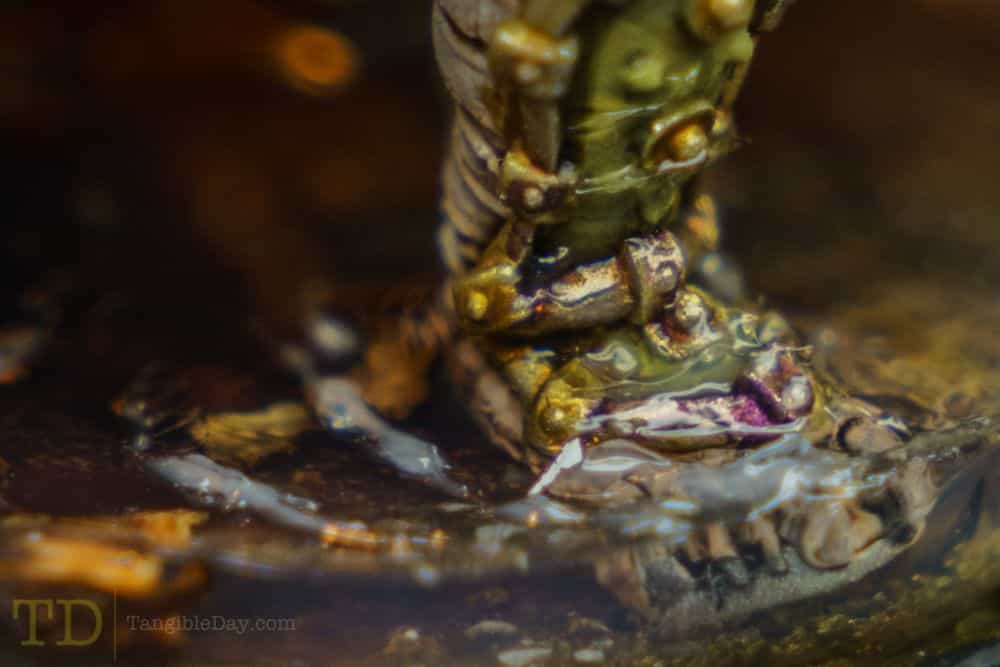
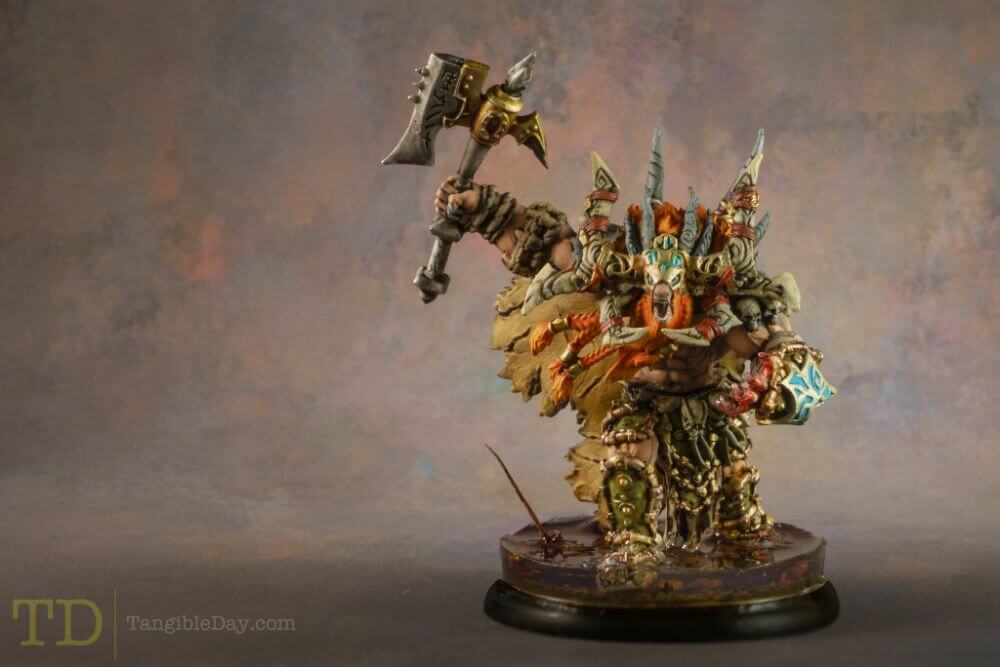
You can also add smaller elements such as pebbles or rocks as well as realistic plants like seaweed or reeds to create a more dynamic look. With careful painting and detailing, you’ll be able to create an incredibly realistic water effect that will make your miniature stand out from the crowd.
28. Cardboard and Papercraft
While not as popular for basing painted miniatures, and more in the realm of making wargaming or RPG terrain, cardboard and papercraft are easy-to-find and versatile to work with. I would recommend exploring cardboard for basing larger models.
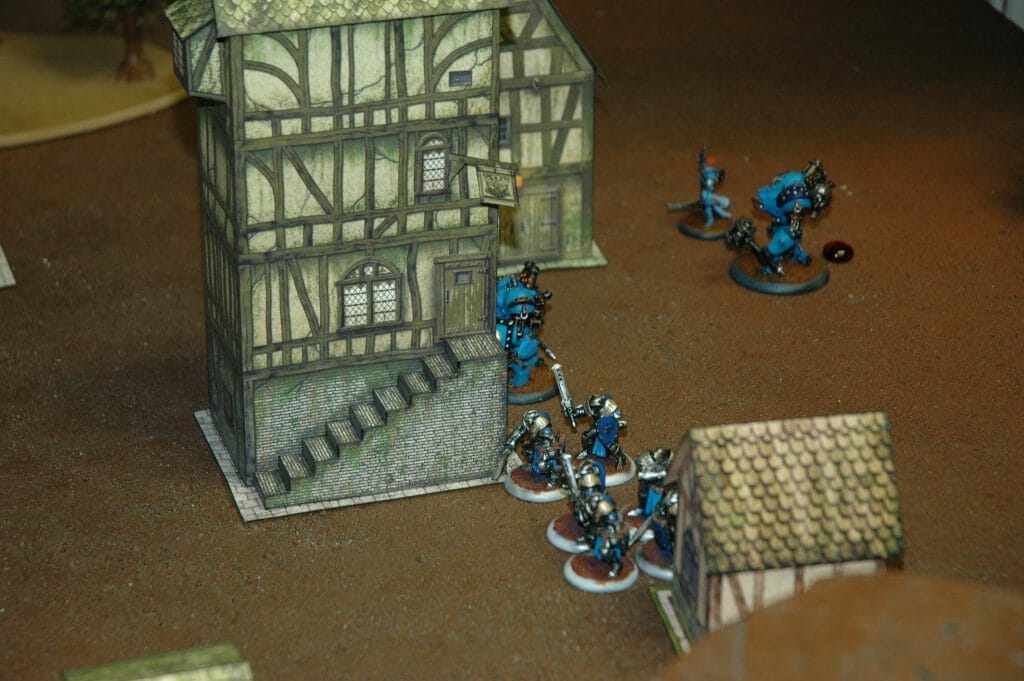
General card stock or cardboard, e.g., those empty Amazon boxes, can build up the base of models, and work as a foundation for other basing substrates, e.g., sand, grout, static grass. Thinner cardboard can be cut into hexagonal shapes or custom surfaces to form roads, tile work, or walkways, replicating the surfaces of wood panels or even concrete–with a good paint job, of course.
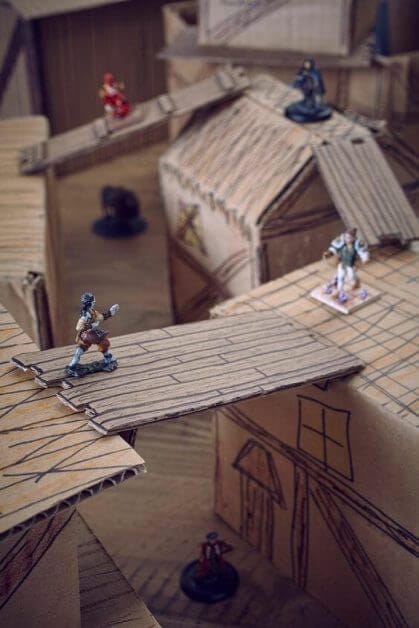
Papercraft is also an excellent way to add detail to your bases. For instance, although a bit abstract, you can attach small pieces of papercraft foliage like leaves or grass tufts to give your terrain some life.
You can even cover the base in various colors of paper strips for a unique look. Sculpt up layers of paper to create unique textures or groundwork. To seal the paper in place and make it waterproof, you can use spray varnish or other protective clear coat.
How to Glue Basing Material to Your Models (Quick Tips)
- Here are three methods to glue basing material to your models: 1) applying the glue and then layering on the basing material, 2) placing an absorbent basing substrate on your model surface first, then applying a thin glue on top, or 3) pre-mixing the glue with the basing material before applying the “mixture”
- Use thinned out PVA glue when attaching granular materials, as it will be absorbed by the base material and hold it in place
- Epoxy and superglue can also be used for basing miniatures, just make sure that the glue is compatible with both the basing material and miniature surface
- Experiment to find the best method for your workflow
There are three basic ways to use glue to attach your basing material to your models.
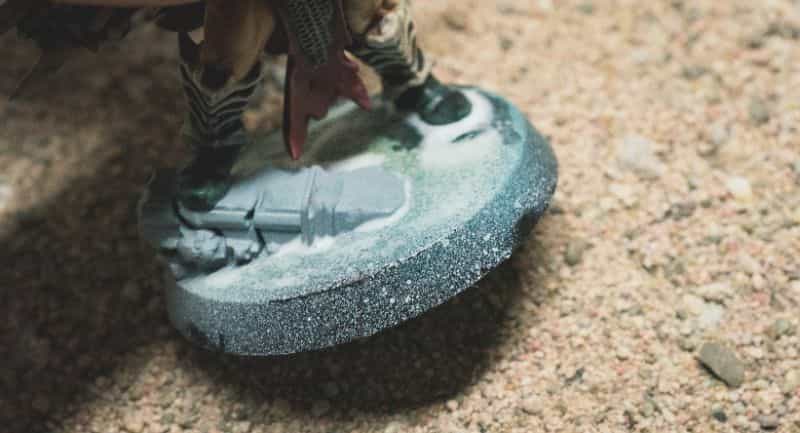
First, you can apply the glue, then layer on the basing material. For example, you can brush on PVA glue onto the base of a model, then sprinkle sand over this wet glue. When dry, the sand will stick in place.
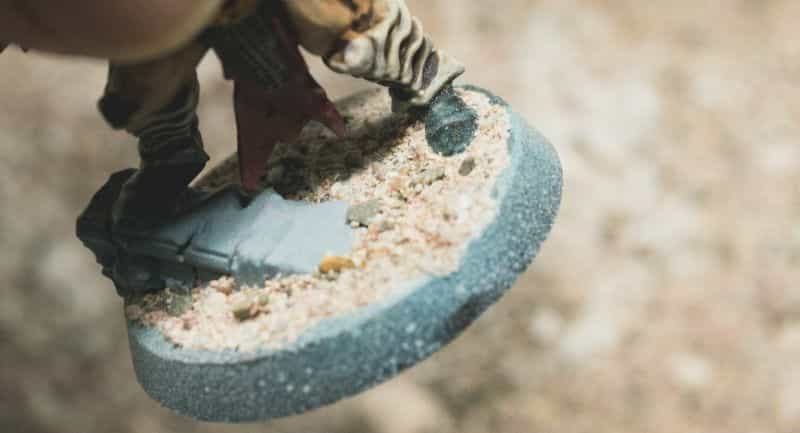
Note that you could also do the opposite. Pile on sand on your base, then drip thinned out PVA glue into the sand. The dry sand will absorb the glue, and as water evaporates from the glue it will hold the mixture in place. Of course, this only works if your base material is porous and granular, and the glue you use is thin enough to get pulled through the material via capillary action.
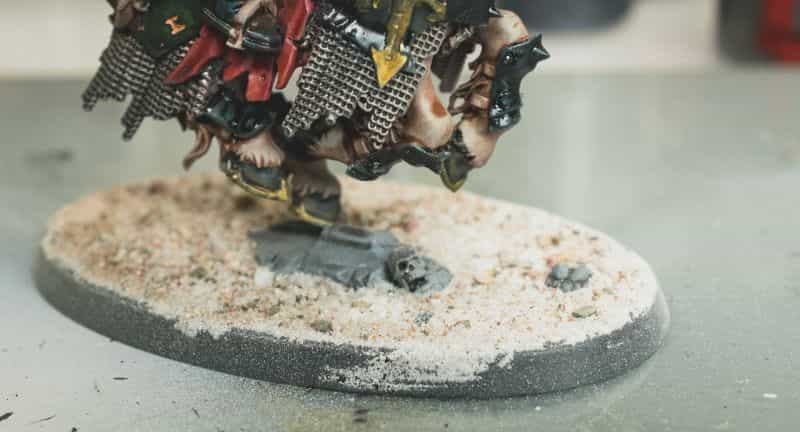
Finally, you can pre-mix your glue with the basing material, then apply this “cocktail” to the miniature’s base. Using the glue and sand example above, you can put sand and PVA glue in a small container, stir until you have a paste like substance. Then using a small spatular or dental tool, you can “spread” this paste over your model’s base as you would butter over toast.
Now, of course, there are other glues and adhesives, such as epoxy and superglue, that can be used for basing miniatures. These work well too. Just be aware that as with any tool, there are advantages and limitations with each.
There are quite a few creative ways to apply glue to your bases, so take some time to experiment and find the ones that work best for you. Whichever method you choose, just make sure that whatever type of glue you use is compatible with both the basing material and miniature materials.
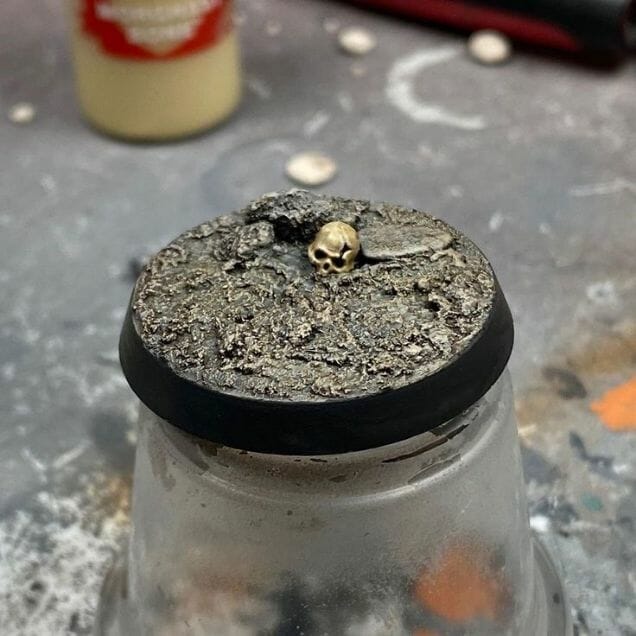
Best Glues for Applying Basing Materials
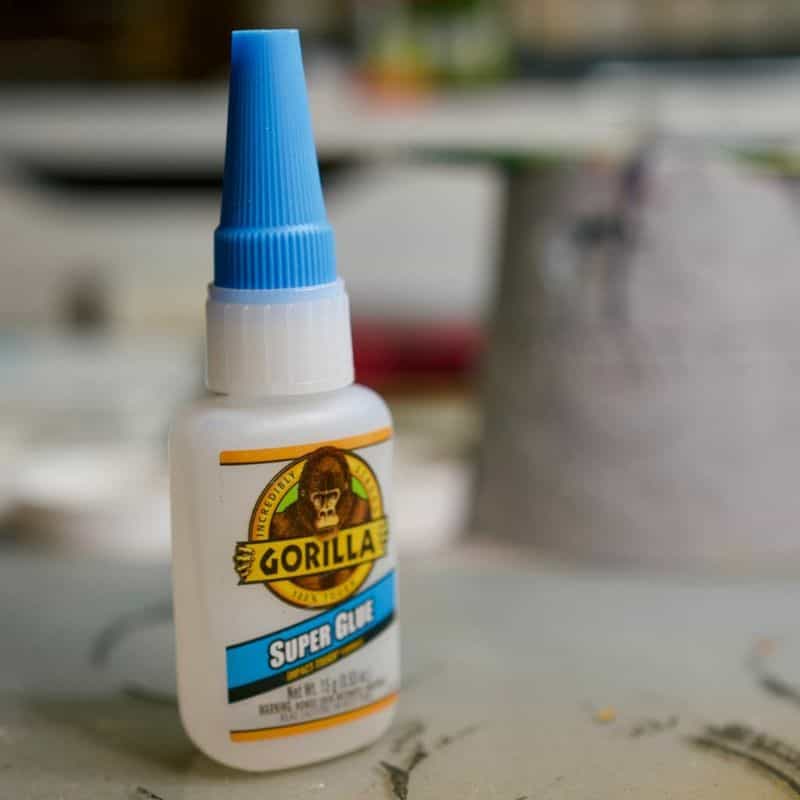
Even though I’ve been advocating for white glue (a water-based adhesive), the strongest, most versatile glue you can use for applying your basing material is super glue.
Super glue or cyanoacrylate is resin polymer that sets quickly, and is the ideal adhesive for attaching almost any material type to your miniature bases. Super glue comes in a few different forms: liquid or gel. The liquid is great for applying the glue to narrow edges, or spreading over larger surfaces; while the gel works well for broader detail things like tufts of grass or small bits of foliage.
READ MORE: TIPS AND TRICKS FOR BEST GLUES ON MINIATURES
Remember, for super glue to cure properly, it need to be exposed to water moisture. Super glue won’t dry if there’s no ambient humidity nearby. A quick tip to help super glue cure quickly if you’re having trouble, is to use a bit of saliva or a binding agent like inexpensive baby powder (talcum) or even sprinkling a dab of dried pigment into the glue before attaching your pieces/materials.
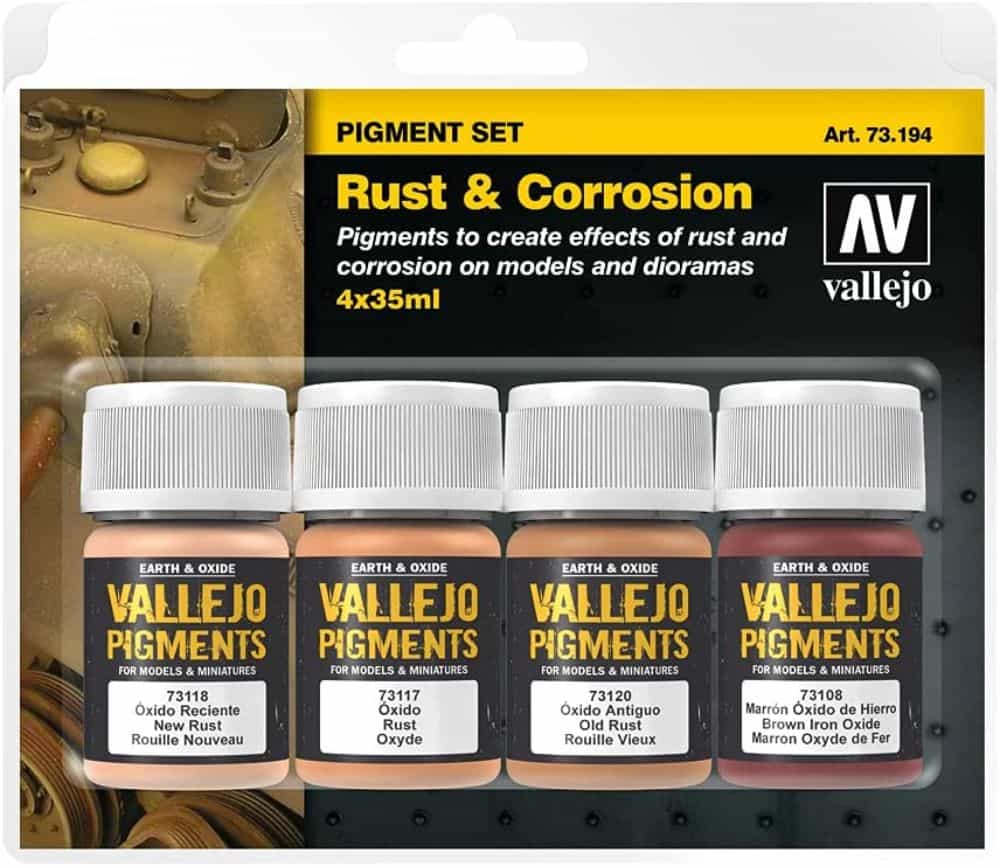
Another excellent glue for basing materials is epoxy. This type of glue is more durable and resistant to wear, but also takes much longer to set (upwards of a few hours). If you’re looking for maximum durability, go with the epoxy.
Conclusion
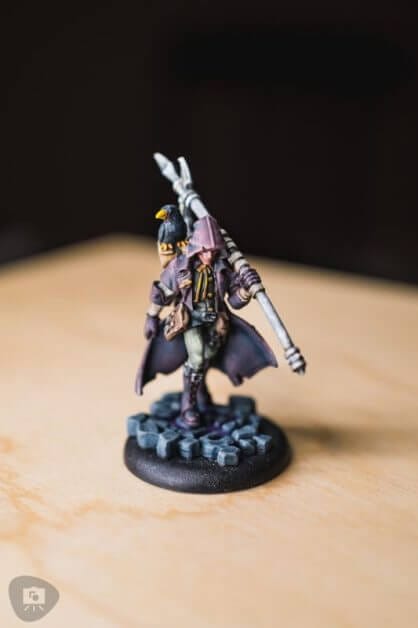
As you may have realized by now, there’s a lot of creativity involved with basing miniatures and choosing the “right” material for your models. You can buy pre-made basing terrain, or repurpose household products, like tile grout, to create the scenes you’re envisioning.
Whether you take the DIY route to create bases, use pre-cast resin or 3D printed bases, the idea it the same: Make something unique, immerse your viewers, and enjoy the process.
I hope this article on miniature basing was useful, insightful and sparked some great ideas for you!
Have any questions? Comments? Leave your thoughts below!
Thanks for reading!


Tangible Day on YouTube (Miniatures and More!)

Pingback: Miniature Basing Materials for Model Hobby Projects (Tips and Review) - Toy Newz
Pingback: Miniature Basing Materials for Tabletop Miniatures and Models (Tips and Review) - Toy Newz