A wet palette is a great tool for miniature painters. It allows you to keep your acrylic hobby paints wet for long periods of time, helps thin your paints for proper consistency, and allow you to mix custom colors without worrying they will dry out. But, did you know there are 3 other applications that best done with a wet palette?
In this article, I share 3 miniature painting applications that are best to do with a wet palette.
What is a Wet Palette?
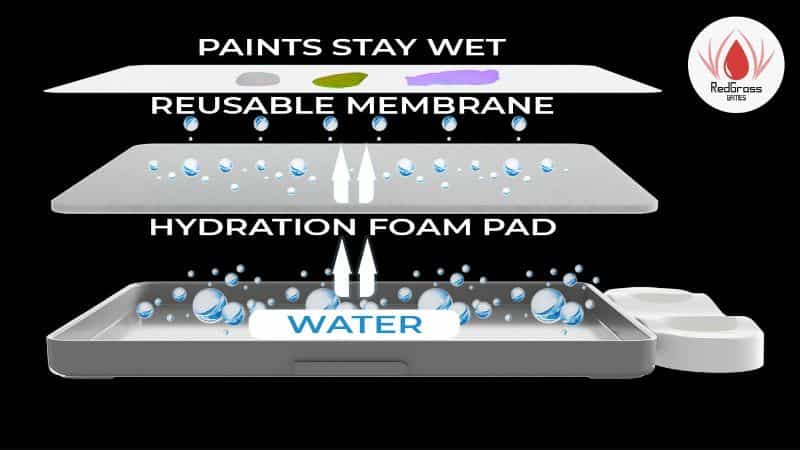
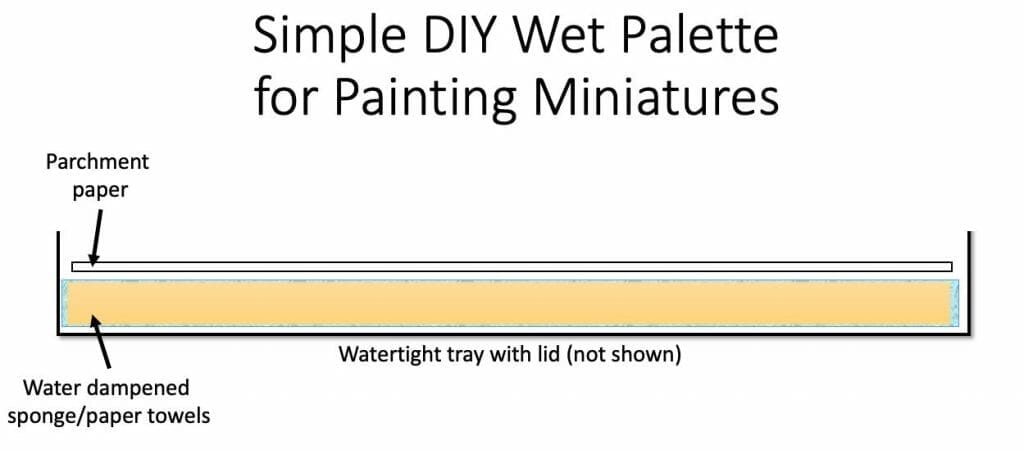
A wet palette is an airtight container with a sponge or other porous material saturated with water. The lid has a hole in the center where you place your paint palette. The moisture from the sponge keeps your paints from drying out, making them easier to work with for longer periods of time.
RELATED: HOW TO AVOID MOLD GROWTH ON YOUR WET PALETTE
Wet Palettes vs Dry Palettes
There are many different types of palettes available for painting miniatures, including both dry and wet palettes. While traditional dry palettes are best for quick color tests, a wet palette is ideal if you want to make detailed color mixes or keep your paints moist for long periods of time.

Some of the best applications of a wet palette include thinning your paints for proper consistency, mixing custom colors, and keeping your paints fresh for hours at a time.
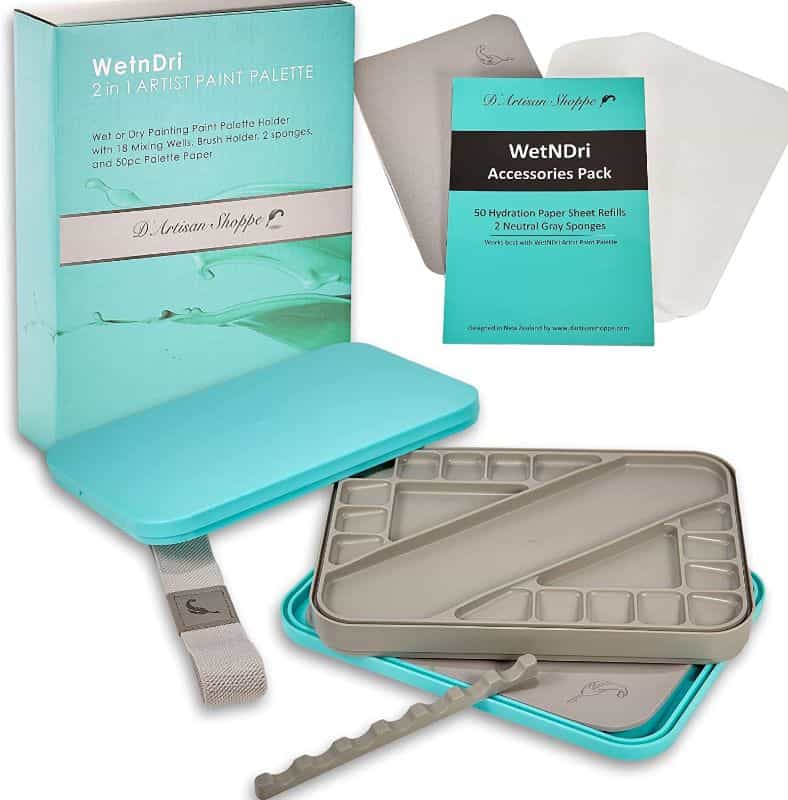
So if you’re an avid miniature painter looking to get more out of your paint job, be sure to check out the many different wet palettes on the market today! In case you’re wondering, however, my favorite palette for painting miniatures is the WetNDri Artist Palette or the Army Painter Wet Palette. Here, you can check out a full review of the Army Painter Wet Palette.
Read on to see the 3 things you can best do with a wet palette!
1. Plan Your Entire Color Scheme Without Painting Anything
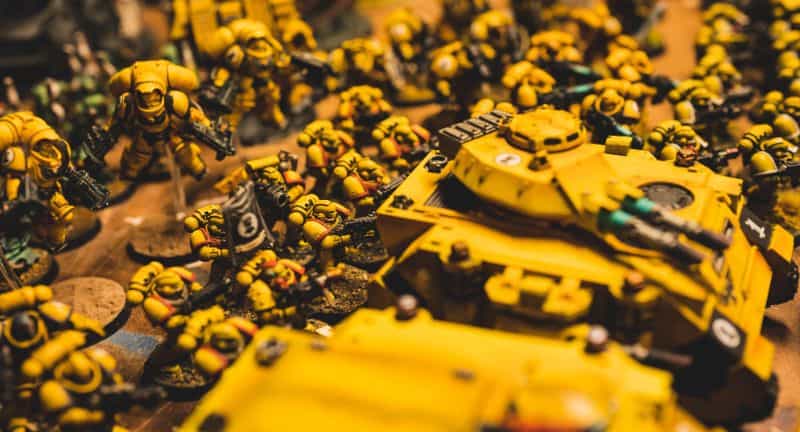
One of the best uses for a wet palette is to plan out your entire color scheme for a model/miniature painting project. Simply dispense and mix together the paint colors you want to use on your palette. Then, use the wet surface of your palette as an adjustable “color swatch” that will help guide your painting process.
When you can see your entire army scheme, color palette, out on a surface at the same time, you can easily make adjustments and plan out your best approach to painting.
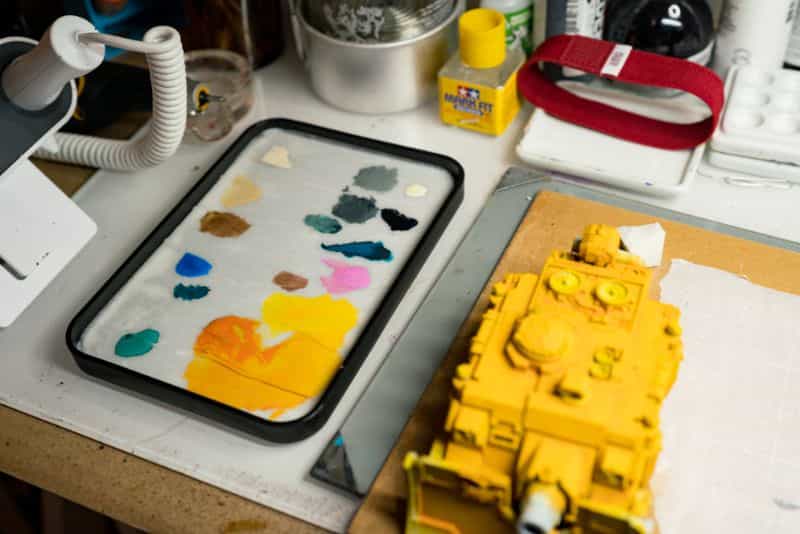
Moreover, you can fine-tune your color mixtures and values, quickly. I’ve written before that using a wet palette can slow down your workflow. But, this is because you’re taking more time and care to get your colors exactly right. If you’re like me, though, that extra time spent upfront could speed up your overall project timeline.
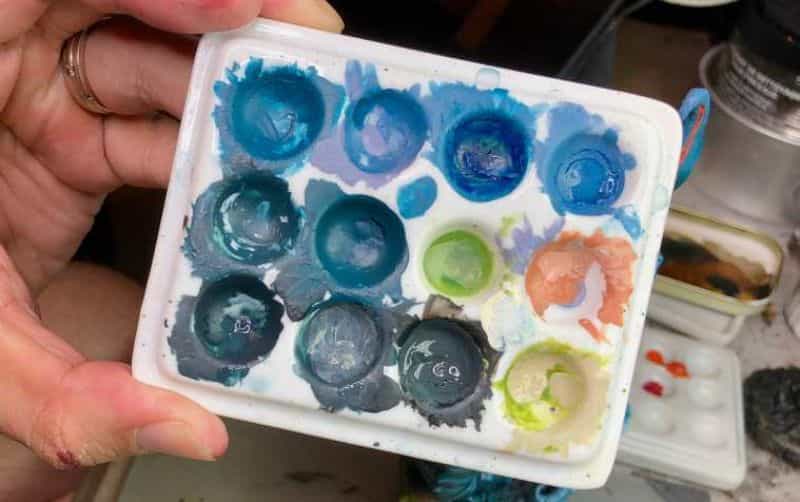
This is because a wet palette can help you modify your color mixtures without worrying about them drying out (at which point, you have to start over). Adjust the value (brightness/darkness) of a particular color in seconds and see how it matches up side-by-side with your other paint swatches.
2. Visualize and Confirm Your Painting’s Contrast Dynamic Range
A miniature paint job is judged immediately by its contrast. Contrast is the measurement of how light or dark a particular hue is, in relation to another. You can find more information on contrast here.
It’s best to confirm that your painting has the right amount of contrast before starting to paint. Too much or too little contrast will make a painting look “off.” The good tool that could help you gauge contrast is a value finder.
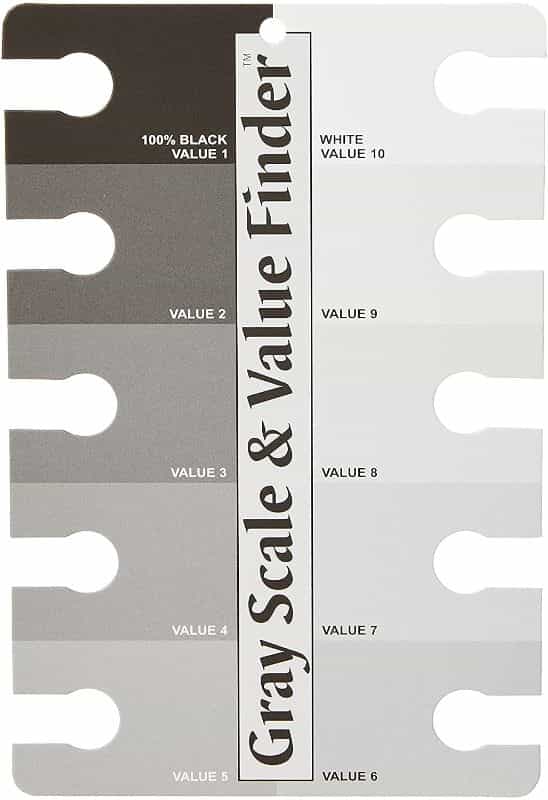
With a wet palette, you can quickly and easily mix up a range of values (from light to dark) for each color you’re planning to use. This way, you can lay them out on your palette and confirm that your painting will have the right amount of contrast.
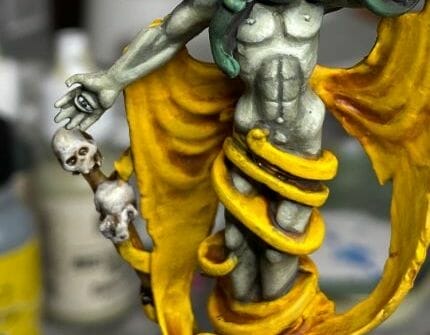
Of course, if you’re simply painting for a tabletop quality standard (also known as “battle ready”), then you don’t need to worry about getting your contrast “just right.” In fact, as long as you have a decent range of values (from light to dark), your miniature painting will look great.
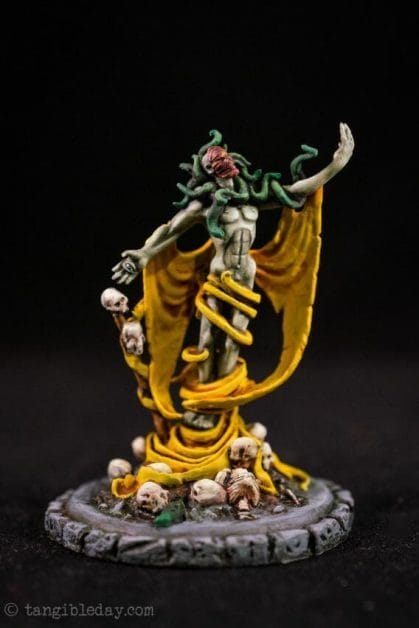
More talented miniature painters than myself may not need a wet palette to get their contrast perfect. But, for the rest of us, a wet palette can help ensure that our paintings have the contrast they need to stand out.
3. Use the Dual Color “Loaded-Brush” Paint Blending Technique
Here’s a fun technique that is best executed with a wet palette. The loaded-brush approach to blending paints on your miniatures is best shown in this tutorial about how to paint a Warhammer 40k power sword.
You can also find a video about using the loaded-brush blending process here.
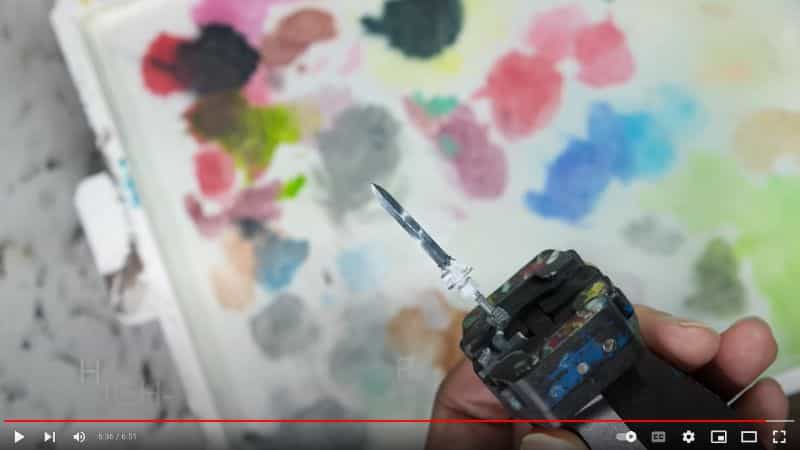
The key factors you should keep in mind when practicing this technique with a wet palette are as follows:
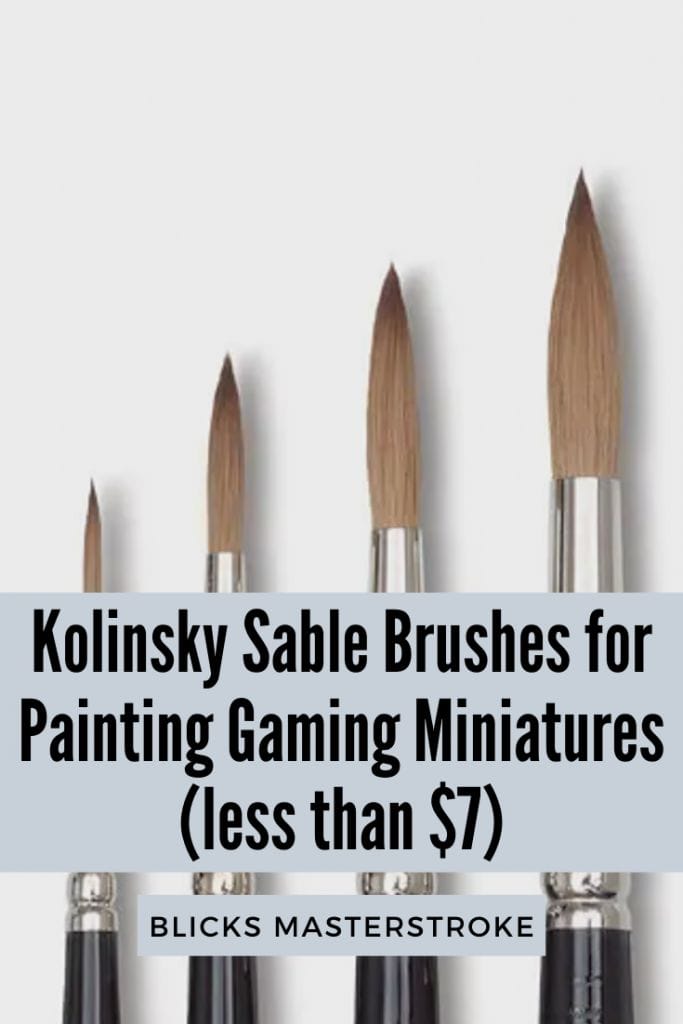
- Use a kolinsky sable brush (see this article about these kinds of brushes)
- A hair dryer may help you finish your painting faster, and it will speed up the drying time of each layer
- Start with smaller, flat surfaces, such as swords or other blades
- A solid base coat layer is critical for the loaded brush blending technique
- It’s simpler to start with a darker hue and then add some brightness with the brush tip
- Using high contrast is more important than color (contrast makes the effect)
- Use an accent “kick” color as a glaze to tie up the blended transition
- Practice, practice, practice!
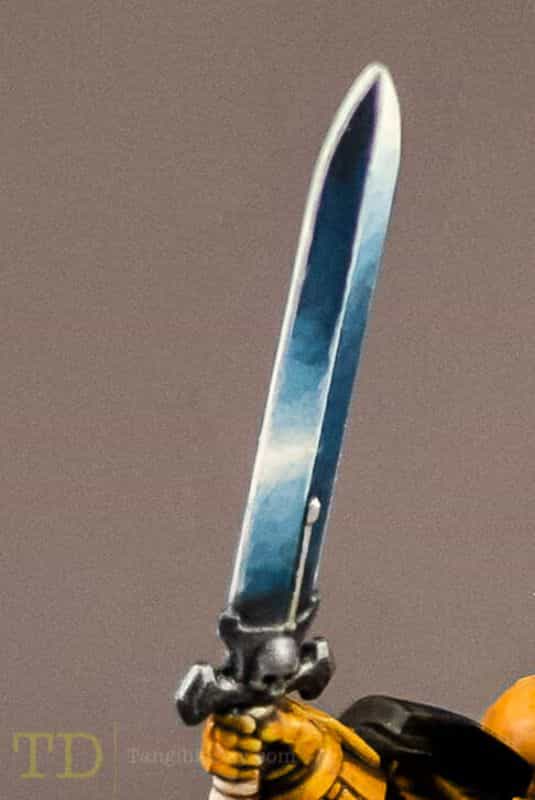
A wet palette makes it much easier to execute the loaded-brush painting technique. The thin/thick consistency of paint that you load on your paint brush will give you more control when you apply the paints to your miniature surface.
Moreover, the colors on your wet palette will stay true to their hue and value (lightness/darkness). This is critical, as it allows you to see exactly how your colors are blending together.
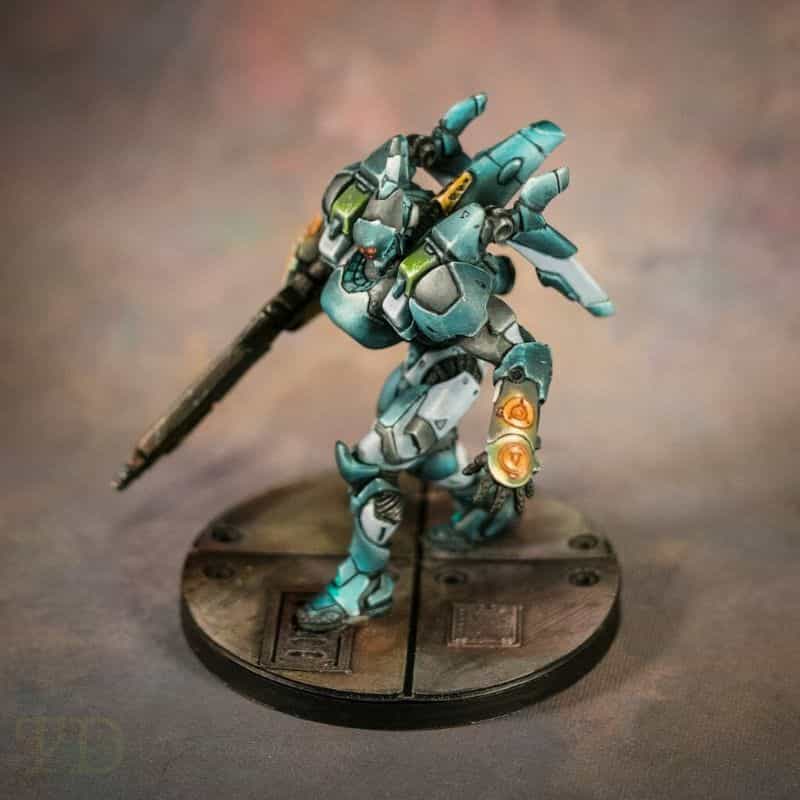
Finally, I’ll note that the loaded brush technique is also useful for adding shadows in recesses, or highlights that blend smoothly into the mid tone color. With a wet palette, you can easily apply paint in this way and achieve professional-looking results.
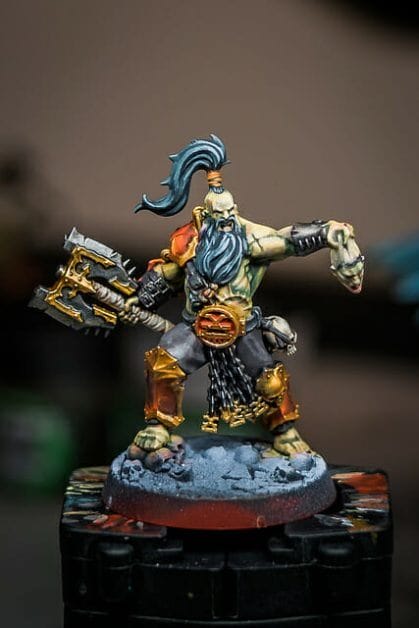
With practice, I’ve seen some painters achieve blends that are almost as smooth as wet blended or airbrushed surfaces, but done faster and with less clean-up at the end.
For those wondering, yes, it is possible to blend with the loaded brush method without a wet palette. But, you’ll have to move quick and really understand how your paint consistency behaves on your brush bristles. For example, as paint dries, it gets thicker and won’t flow of blend as easily or smoothly.
Ultimately, if you’re looking to best use your wet palette for painting miniatures, try out the loaded brush technique. It’s a challenging way to blend paint. But if you pull it off well, then you will experience a level self-achievement that will drive you to want to paint more!
My Favorite Wet Palettes for Painting Miniatures and Models
- Army Painter Wet Palette (Flexible, Compact) – Full Review
- WetNDri Artist Tray (A Unique Dry and Wet Palette Combo) – Full Review
- Masterson Handy Sta Wet Palette (The Workhorse) – Full Review
Final Word
Whether you are a beginner or an experienced miniature painter, a wet palette is a great tool for achieving more reliable results that you’re proud of. Of course, there are limitations to a wet palette, such as its required upkeep and tendency to be finicky with how thin your paints may get (e.g., water tends to oversaturate your colors over time).
However, a wet palette’s key benefits remain, including being able to mix and blend paints with ease, reducing the drying time of your paints, and helping you achieve high levels of contrast in your painting.
The latter of these is most useful for those of you who are still new to the miniature painting hobby. It can be hard to gauge contrast while the paint is on a model. With paint on your wet palette, you can see right away whether you need to add more shade or highlight to your mix.
If you’re still on the fence about whether a wet palette is for you, I recommend giving one a try. You may find that it’s just the tool you need to take your miniature painting to the next level!
I hope you found this article helpful. If you have any questions or comments, please feel free to leave them below.
Happy miniature painting!


Tangible Day on YouTube (Miniatures and More!)
