Last updated October 13, 2024. By Andrew M. Tan.
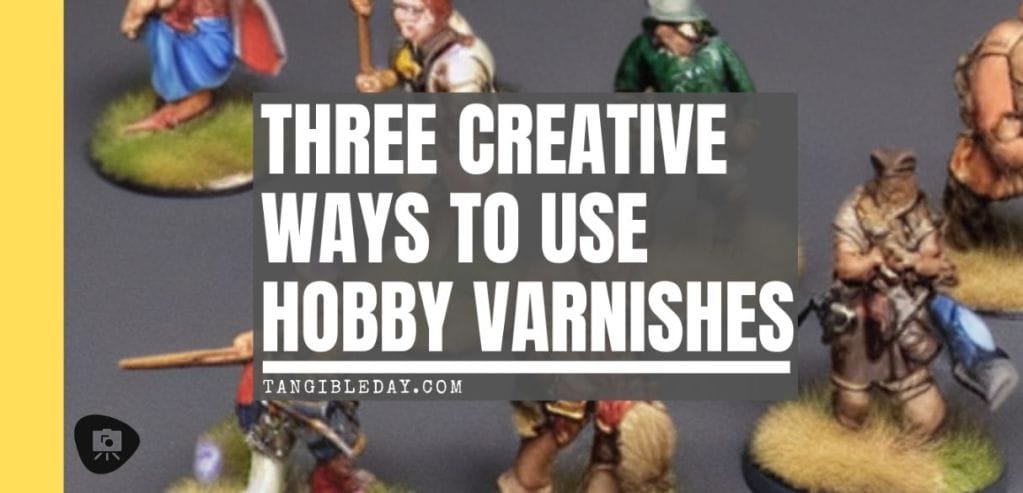
A clear coat of varnish is essential to protecting your painted models and miniatures, but did you know that you can use varnishes in other ways too?
I’ll show you three unique ways to apply varnishes on your miniatures that you may not have considered, but which will undoubtedly come in handy.

Recommended Gloss and Matte Varnishes for Miniatures
| Image | Varnish | Best Features |
|---|---|---|
 | Testors Dullcote Enamel Finishing Coat |
|
 | Krylon Matte Finish Aerosol Spray |
|
 | Vallejo Acrylic Gloss Varnish |
|
 | Vallejo Matt Model Color Varnish |
|
 | AK Interactive Ultra Matte Varnish |
|
A Quick Word About Types of Varnishes
Before I get into the nitty gritty of novel varnish applications, I’d just like to provide you an overview of the many types of varnishes that you may use on miniatures after they’ve been painted.

Whether you like Warhammer 40,000, paint scale model kits, or build model railroads, I’m sure you have a varnish or clearcoat medium in a bottle on your workstation. However, not all of our varnishes are created equal.

The most versatile varnishes are water-based.
That is, you can dilute these varnishes or clear coat mediums in water. Best of all, you can use them with an airbrush or a normal brush, making applications easy and efficient.


There are aerosol varnishes that you may spray on with a rattle can, but they’re more difficult to apply correctly. You not only have to select the appropriate varnish in an aerosol, but also the right circumstances in which to apply it.

I’ve found that water-based varnishes are the most user-friendly, and they also have the advantage of being low odor. This is great if you’re working in a small space, or if you’re sensitive to fumes.

In this case, I strongly suggest you choose a water-based varnish, especially one that is gloss or matte and may be applied thinly and uniformly over your painting models.
You can read this article about my recommended varnishes for painting miniatures.
Three Creative Ways to Use Varnishes on Your Painted Miniatures and Models
Here are some creative uses for varnishes that will aid you in the hobby.
- Use both a gloss and a matte varnish to create “textured contrast” on a painted model
- Apply a gloss varnish to simulate wet, slime, or other reflective kind of special effects
- Varnishes serve as an adhesive and can help you develop other interesting effects
1. Create “Textured Contrast” with a Gloss and Matte Varnish
One of the most fascinating things about miniature painting is that you can use a variety of media to achieve unique effects on your models.
One way to do this is by using both a gloss and matte varnish. By applying these varnishes in different areas, you can create interesting “textured contrasts” that give your painted miniatures more dimension and interest.
What is “texture contrast”?
As a refresher, contrast is the difference between two extremes. The contrast between a deep shadow and a brilliant highlight, for example, has a significant amount of contrast.
Interestingly, changes in texture may also be used to create contrast. Texture is the difference in physical surface appearance (real or perceived) between two parts of a model.

In this context, “transition” refers to the change from a cloth material to something hard and polished like metal. The surface of cloth is usually rougher than that of metal, which is either smooth or has an even texture.
You can create a textured contrast on any model by using two different types of varnish: matte or gloss.
A gloss varnish is reflective and shiny due to its light-reflecting properties. On the other hand, a matte varnish looks dull because of the way it dries; less light bounces off its surface.

So, how do you use a gloss or a matte clear coat application to create textured contrast on a miniature?
Well, it’s simple. When you want an area to look shiny, think about how it would look in relation to the rest of the model that should remain matte or non-reflective. Applying different textures to a miniature can create both reflective and non-reflective surfaces, making the model stand out even more than with just a simple paint job.

As a side note to the usefulness of a gloss varnish, you may utilize this shiny coating to make things like glass appear more realistic.In this situation, simply apply your gloss clearcoat to the glassy surface. Maybe it’s the lens of a flashlight, a helmet visor, or the front element of a telescope.

Varnish can be used like regular paint to create different effects. If applied correctly, it will make the reflective stand out against surrounding materials with a matte finish. This is useful for creating realism in miniature or scale models.

Finally, I’m being general in describing the technique of applying a gloss and matte varnish. This is because you’ll want to explore on your own. The biggest factor in deciding whether to use a gloss or matte clearcoat (or both together) on your model will be the kind of effect you’re hoping to achieve.
The way you choose to use a clear coat is entirely up to you! I’ve provided some examples in my painting gallery, but feel free to experiment and come up with your own ideas.
2. Simulate a Wet Surface with a Gloss Varnish
Did you know that by using a gloss clearcoat, you can create the appearance of a wet surface? This is another fun way to use varnish clear coats outside of protecting painted miniatures.

I frequently use this process in my commission painting work as it is effective in creating special effects. It’s not easy to get a realistic appearance on some types of miniatures, e.g., military vehicles, without using shiny, reflecting components.

Sure, you could try using non-metallic metal (NMM) painting techniques. But, if you’re not experienced with that method, it can be difficult to achieve the same results. And. NMM is not as useful or effective for things that are supposed to appear glassy or wet.

Creating things like blood splatter, saliva, or a swampy terrain feature is easy when you use a gloss clear coat or varnish.

If you want to use a gloss varnish for wet special effects, you only need to know how to apply it. I usually apply gloss varnish without dilution (do not thin), and make sure my layers are applied smoothly and evenly without brushstrokes.
To create these wet-looking effects with gloss varnish, the key is to apply it in multiple thin layers. For best results, you should make sure each coat dries prior to putting another layer on top when working with a gloss varnish.

For those looking to recreate a dripping or flowing liquid with a gloss varnish, then you’ll have a bit of a challenge. Most gloss varnishes have a thin viscosity and will run or drip too easily.

You need to find a way to make the varnish adhere to something so it can build up enough surface tension. Surface tension is the attractive force that causes liquids to “stick” to other objects, including the molecules within the liquid itself (i.e., surface tension creates that curvature in a water droplet).
A droplet of gloss varnish will always be thicker at the bottom than it is at the top because gravity pulls downward. Intuitive, right?
In order to make a dripping effect, like you would see from saliva or drool from an open mouth, jaw, whatever; get a piece of string and run away from the source of the liquid, e.g., drool, to where you want the liquid to go.
After you have set up the string or solid material for the varnish to stick to, simply take your varnish and apply it in layers, allowing each layer to dry before adding more. The process for making dipped candles is similar.

Yes, it is time-consuming. However, if you are persistent, you can produce some really creative effects.
The most common methods for using clearcoat gloss in special effects is to create water effects or marshy swamp terrain features on the base of a model. Taking your brush, all you have to do is varnish the surface you want to appear wet. I do not recommend pouring varnish to do this.

You may think that a thicker layer of varnish would work well. But, it will actually just take longer to dry and you run the risk of developing bubbles. A rule of thumb is to not allow each layer to be thicker than an eighth of an inch, otherwise the gloss varnish will not dry evenly and will look splotchy.
For a gloss varnish to dry, it must be exposed to air. As a result, even if you use a hairdryer to try and speed up the drying time of a gloss varnish, it may not work. In fact, this can lead to the varnish cracking or clumping.
Finally, remember that you can also modify the gloss varnish’s color by mixing in paint or ink before application. This is a great way to produce different shades of “wet” for your miniature.


For those looking for vibrant color effects in their gloss varnish when they apply it as a special effect, use a vivid color rich, high pigment ink. Check out this article for my favorite inks that I recommend for painting miniatures.
3. Develop Other Interesting Special Effects with a Varnish
Did you know that varnishes can be used as a glue? They certainly can! A matte, gloss, or satin varnish may be used as an adhesive. The advantage of using a varnish over white glue, for example, is that it is very thin and frequently less expensive.
The other cool benefit is that you can apply almost any water-based varnish with a regular brush without damaging the bristles.
Varnishes make excellent glues, in my opinion, when applying sand to a model’s base. They are not only easy to use but can be spread evenly without making extra messes.

Another cool thing you can use varnishes for, is to make banners that you scratch build from real paper to stay in its shape.
When you scratch build banners flags and scrolls using real paper it’ll tend to not hold it shape. What you can do with a varnish in this case is help sculpt the paper in the form or direction you want it to stay in when you apply it to your miniature.

Use varnishes to help you with scratch building
Varnishes are also great for making banners that you scratch build from actual, real paper. The varnish helps to keep the paper’s shape, and protects whatever you’ve printed or painted on the banner/flag.
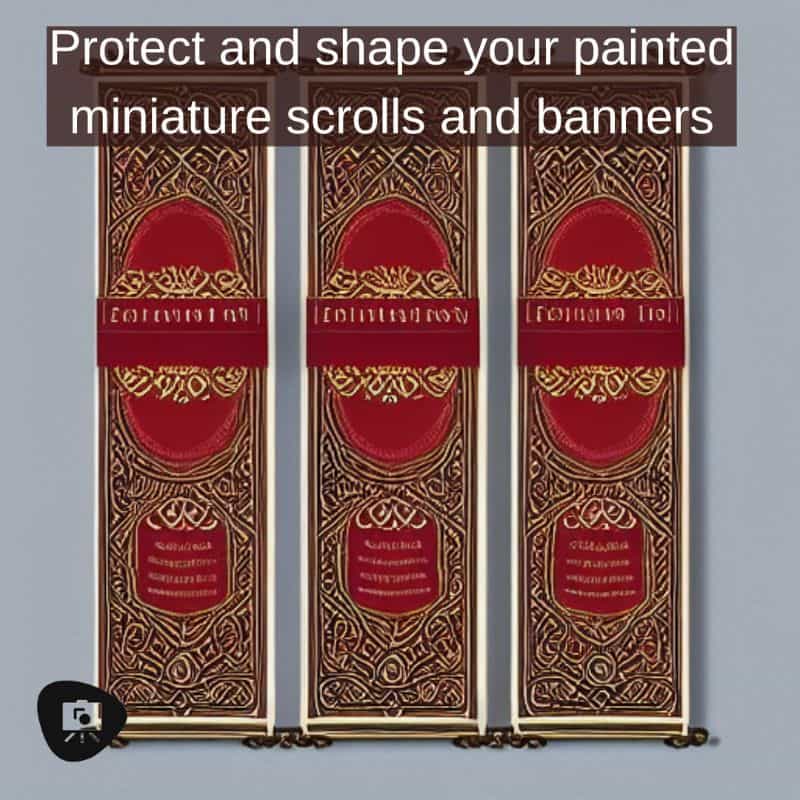
When you scratch build flags, banners, and scrolls out of real paper, they typically don’t retain their form. With a varnish, you can form paper into the shape or direction you want and have the drying varnish keep it in place.

You can add a wave or curl to flags and scrollwork by coating them with varnish, which will help the material hold its shape when it dries. This also serves as an additional protection for any scroll work writing or painting you’ve done on the decoration.

I’ll note, however, that varnishes are not the strongest adhesive. This means that they only work well for gluing lightweight materials. For heavier objects such as miniature tiles, brick or scale model stone, you’ll want a more powerful glue like cyanoacrylate.
As I stated previously, you’ll have to play around with the varnish and see what works best for you. These are simply suggestions that I implemented in my miniature work because they were enjoyable and useful to me.
Bonus: A Slick Layer of Gloss Varnish Will Help You Control the Shade or Wash Application
I have one more unique application of a gloss varnish that many of you may already be familiar with, but I’d want to continue and share it.
You can use a gloss varnish to help you control the way an acrylic darkening wash, aka a shade, is applied over your model. The gloss coat helps keep the wash from sticking to surfaces that you don’t want the wash to stay. Rather, you want the wash to flow into the recesses and darken or shade them.

A gloss coat helps that wash flow more easily. And, this is true whether you using an oil wash or an acrylic wash (see more about oil paints and washes). And, although this gloss coat trick is more common when you’re using oil washes, you can also use them with regular acrylic washes, such as Citadel Shades or Vallejo Inks.

After you finish painting your model and want to apply a wash, follow these tips with the gloss coat:
- Apply a thin layer of gloss clearcoat to the miniature after painting, but before applying a darkening wash
- Make sure the coat is smooth and even
- Do not thin the varnish
- You can use a hairdryer to speed up the drying process
- Apply no more than one or two layers of gloss varnish
- Use an oil wash for the best results; if using acrylic shades, be more careful with the application
Apply a thin gloss clearcoat layer over the entire miniature surface after you’ve finished painting it, but before you apply your darkening wash.
The key here is to make sure your gloss coat is smoothly applied and even. You don’t want brushstrokes in your varnish otherwise the wash will not flow properly.
Don’t thin your varnish.
For best results, do not thin your varnish. Thinning your varnish may result in an unusual surface tension when applied with a paintbrush. In this situation, you might want to use an airbrush to apply your gloss marsh.
Using a regular brush is acceptable as long as you’re patient and careful to apply your gloss varnish thinly and evenly across the miniature’s surface.
You can use a hairdryer to speed up the drying process of your gloss coat, but make sure it dries completely before moving on. A good rule of thumb is to keep your first layer thin so that you have an easier time applying your wash.
“Less is more”.
For this reason, don’t apply more than one or two layers of your gloss coat. If you apply too many layers, the wash will flow in odd and unusual patterns, as I’ve experienced in my own work.

Once the gloss coat is dry, use your normal wash application process making sure to keep most of the product where you want it to flow. If all goes according to plan, you’ll notice that the majority of the wash will runoff from your model’s race surfaces and collect in lower recesses like nooks and crannies.

If you’re using an oil wash, it’s easy to fix any mistakes since you can simply wipe them away. However, if you’re using acrylics, be more careful with where the paint is going since once it dries it will be harder to remove.

A gloss coat varnish is a nice option before beginning this process, as it will help to keep most of the liquid in areas where it would naturally cling (such as recesses and deeper areas on the working surface).
A gloss varnish coat can help you shade your model more effectively, which then allows you to paint faster!

Final Word
And there you have it! I just showed you three innovative ways to use varnishes that go beyond the basics of protecting your model. Some of this information might have been familiar to you already, but hopefully this serves as motivation for trying out new techniques.
The most fulfilling part of any hobby is exploring and finding new ways to do cool things with the tools you have available.
Breaking the rules can be rewarding!
I hope you enjoyed this article, and thank you for reading. If you have any questions or feedback I’d love to hear from you. Leave a comment below!
Happy miniature painting!
Enjoying Your Visit? Join Tangible Day
Free newsletter with monthly updates (no spam)


Tangible Day on YouTube (Miniatures and More!)

By Andrew M. Tan, PhD
Andrew is a commissioned miniature painter with more than 15 years of experience painting tabletop miniatures, photographing models, and testing hobby tools in real-world use. Read his full bio.
Pingback: Three Creative Uses for Varnishes in Miniature Painting and Scale Modeling - Toy Newz