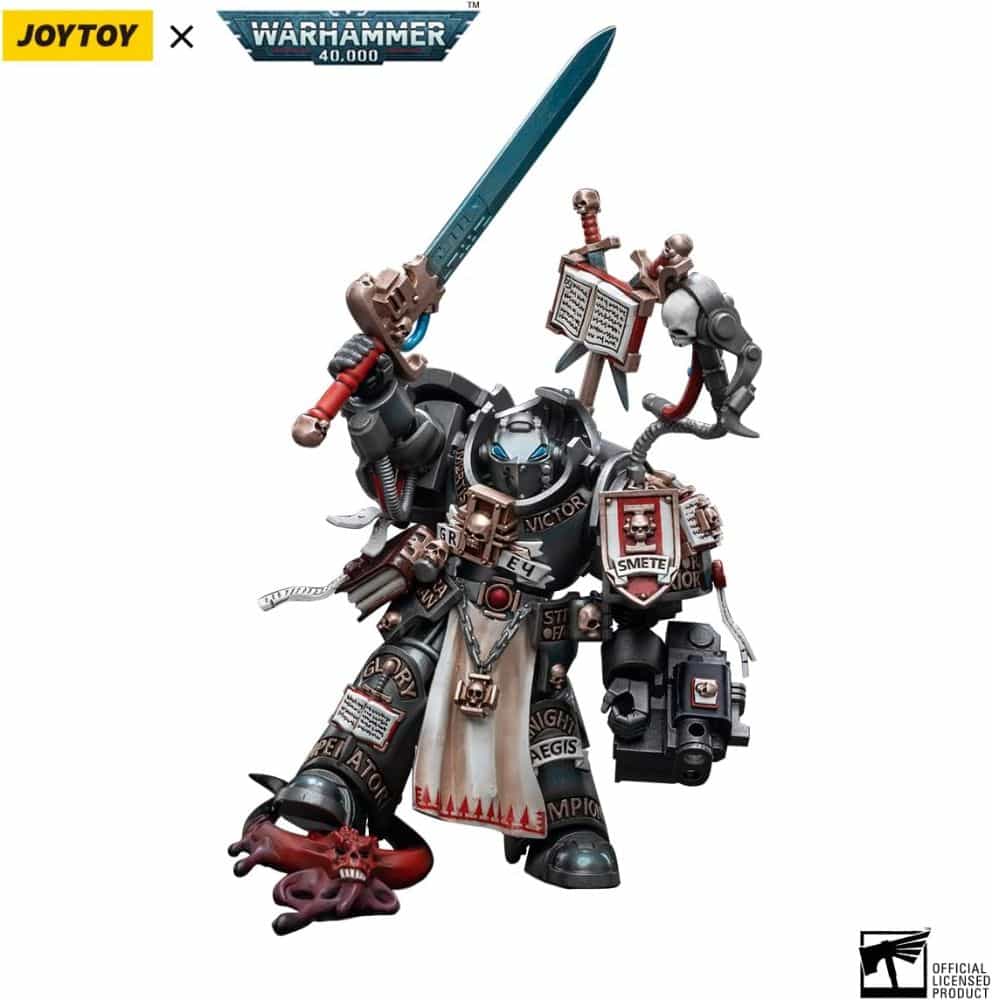
Dive into the grimdark universe of Warhammer 40k with the precision of a skilled Inquisitor as we explore the exhilarating world of miniature photography featuring the stellar line of JoyToy action figures. This guide will expose you to the basic techniques (and inspiration) needed to capture stunning toy photography images. Deploy your camera and rally your creativity, as we delve into the art of positioning, lighting, and practical effects to capture the heroic essence of this JoyToy Warhammer 40k action figure.
In this article, Gregory Culley shares his photography approach to the art of action figure toy photography. Here he uses a JoyToy Warhammer 40k Grey Knight Action Figure to illustrate how the three basics of photography, namely composition, lighting, and post-process editing can be used to create stunning toy photography images.
What is Toy Photography? Breathing Life into the Inanimate
Toy photography is an imaginative and increasingly popular genre of photography that involves staging and capturing toys –- particularly action figures, dolls, and miniatures –- in lifelike or fantasy-based scenarios. This form of photography can encompass a broad range of styles and themes, from realistic to whimsical, and often involves elaborate set-ups that evoke emotion or tell a story through inanimate objects.
I love toy photography because it takes our imaginary Vision into the real world, if only in a still-life photo. And importantly, it allows us to share those “ideas”.
The community around toy photography is vibrant and diverse. My favorite miniature photographer is Felix Hernandez. And while he doesn’t necessarily photograph what we may think of as children’s toys, his art is stunning and surreal in its style and aesthetic.
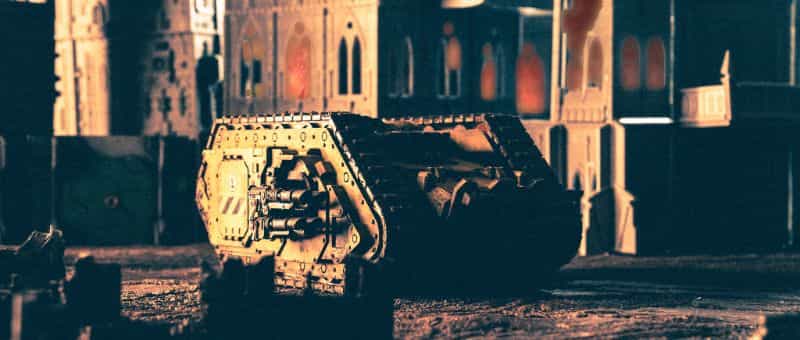
The practical effects he employs give his images an immersive factor that I can’t find anywhere else. It is something I aspire to achieve within the wargaming miniature niche myself. Hence, my keen draw to Gregory Culley’s work which you’ll see below.
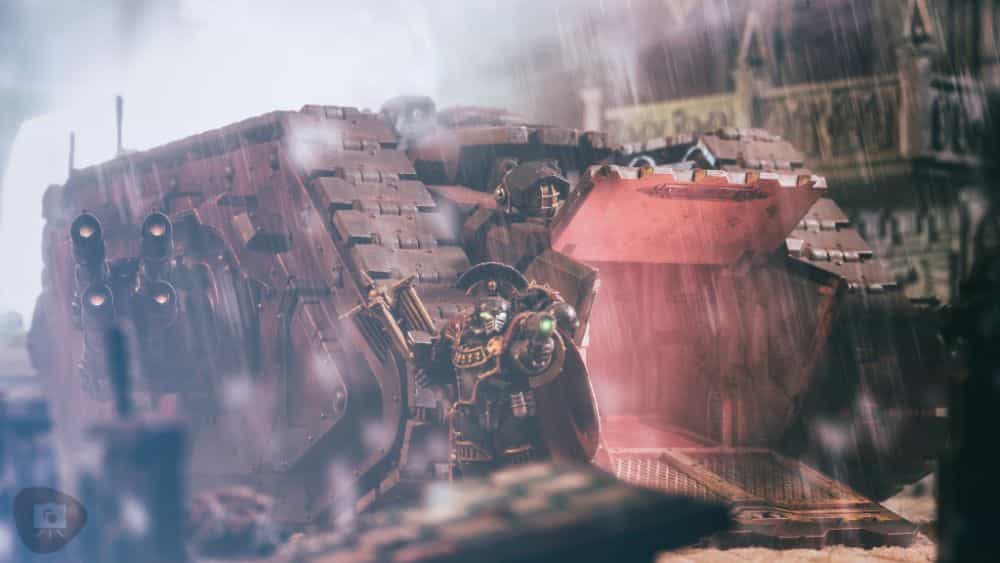
In general, many toy photographers have gained recognition for their creativity and technical prowess in the field. Moreover, many enthusiasts find joy in the nostalgic aspect of the hobby, as it provides an opportunity to engage with beloved characters and toys from their childhood.
How Do You Take Toy Photography?
One of the foundational elements of toy photography is the creation of a sense of scale and environment that brings the toy to life.
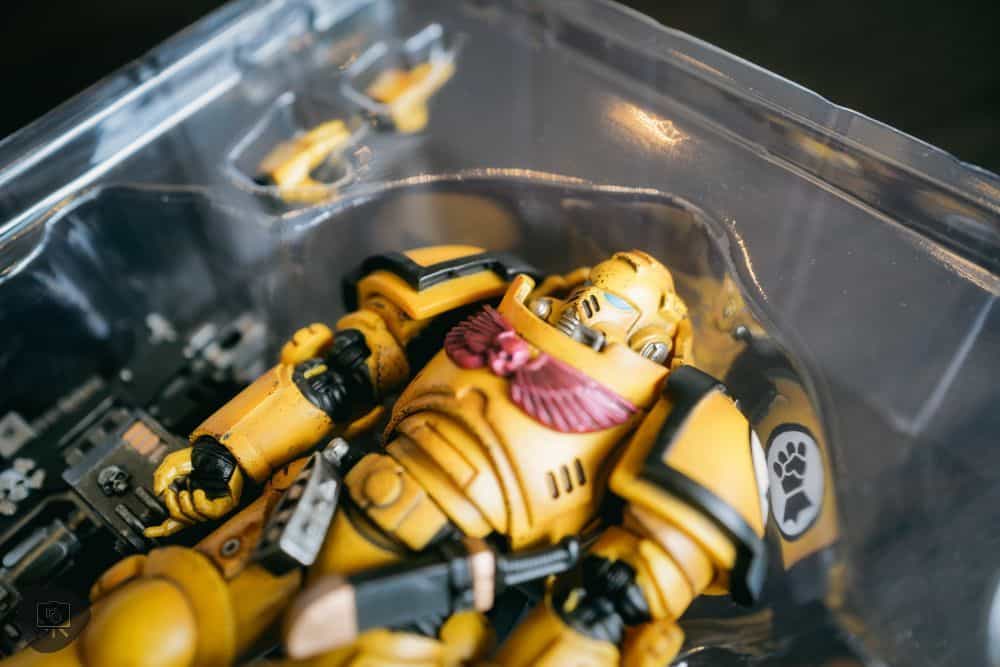
This often involves utilizing macro photography techniques to focus on the details and textures of the toy, while also creating a depth of field that lends a sense of realism to the scene (source). Additionally, toy photography frequently employs various practical effects, such as lighting, fog, or water, and digital editing to enhance the final image.
RELATED: BEST PRACTICAL LED LIGHTING FOR PHOTOGRAPHING MINIATURES
Read on to learn more directly from Gregory about his methods for photographing miniatures, including these amazing JoyToy action figures for Warhammer 40k.
Let’s Begin: Who is Our Subject?
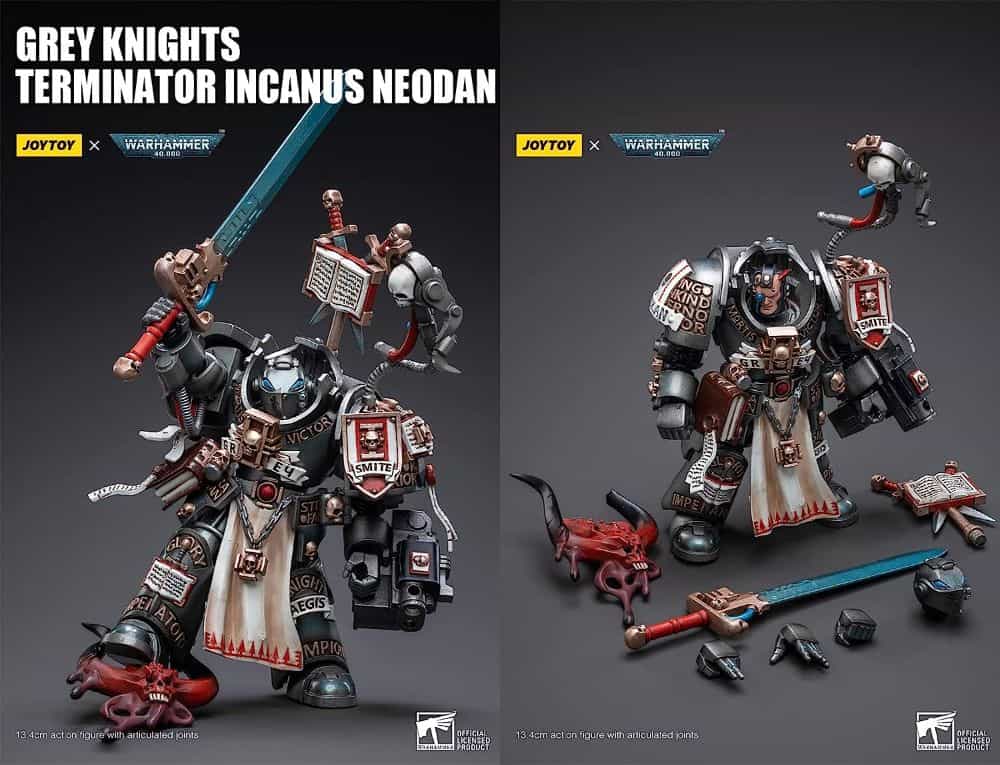
The Mighty Grey Knight Terminator Incanus Neodan
I recently ordered and received my first Joytoy action figure after seeing them being put to good use by several other toy photographers. I opted to get the Grey Knight Terminator Incanus Neodan because, well, who doesn’t love a big Terminator?
Pro Tip: Study Your Subject
While it leans towards the pricier side, the exquisite level of detail and exceptional paintwork came as a delightful surprise. This has often been a deal-breaker for me, with subpar paint jobs dissuading me from purchasing many otherwise appealing items over the years.
As a collector’s item, these pieces truly stand out. However, as always, I had different plans for it beyond merely showcasing it on a shelf. This particular piece was immediately put to use the day it arrived.
I dedicated several hours to studying my 28mm Grey Knights, seeking inspiration for poses. After experimenting within the bounds of the figure’s extensive range of articulation, I was able to select a few fitting poses.
My Equipment List
(You may have your own camera and studio equipment. There is no perfect set of gear for your art. My best recommendation is to try to use what you have and allow your creativity to fill in the gaps. Remember, creative limitation is good for you!)
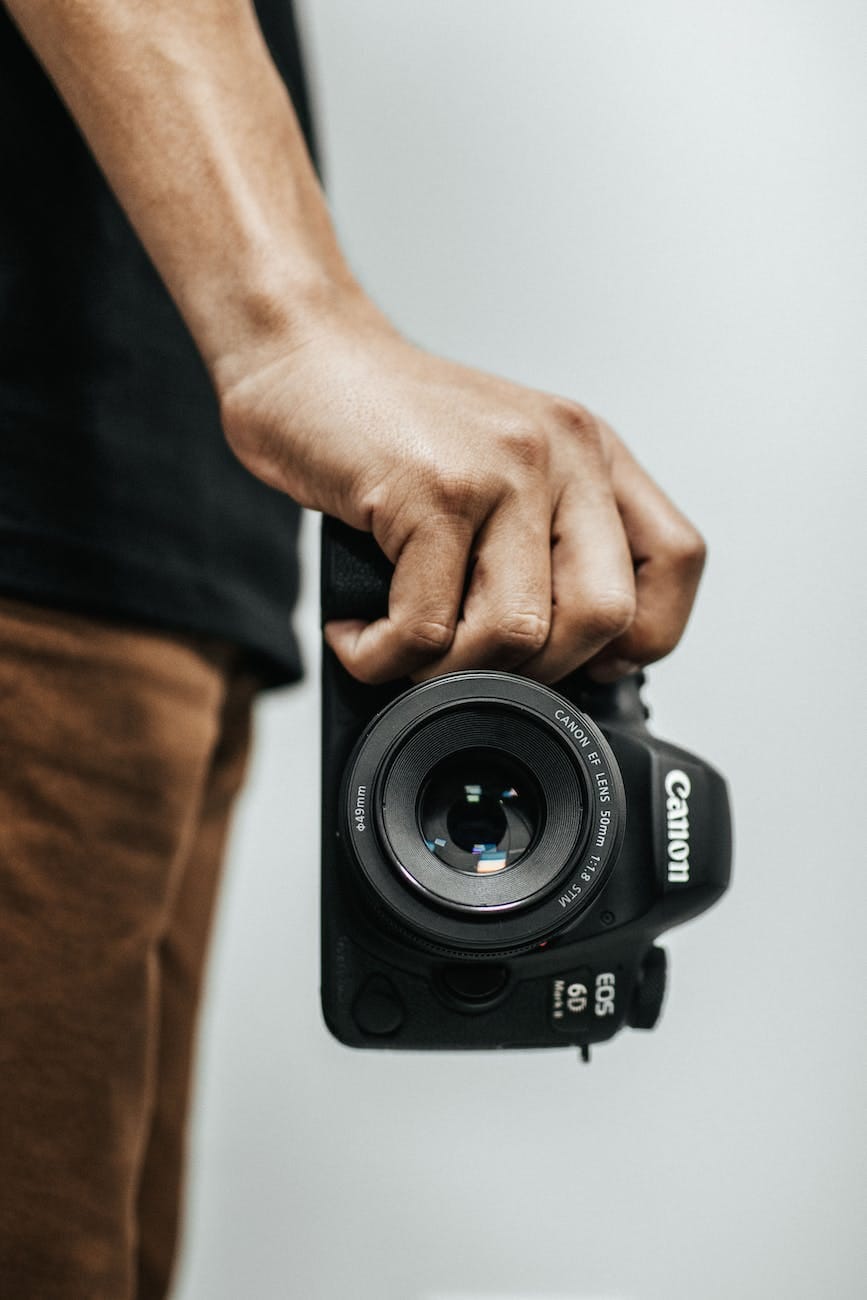
For my photography, I relied on my dependable Canon 6D, paired with the time-tested 70-200mm f/2.8L USM Mk1 lens, and a 13mm focus extender tube. Despite their age–10 and 22 years old respectively–these pieces of equipment consistently deliver excellent results.
The extender tubes, which reduce the minimum focus distance of any given lens, can be a bit challenging due to the narrow focus range they permit. Nevertheless, they’re invaluable tools when new gear is financially out of reach.
Here’s a list of all the equipment I used for this photoshoot below:
- Camera: Canon 6D
- Lens: Canon 70-200mm f/2.8L USM Mk1 (or MK2)
- Focus extender tube: 13mm
- Lighting: One single LED work light
- Lighting: One 480 LED light panel
- Special effects: Smoke machine (used in Shot 1)
- Special effects: Garden water spray bottle (used in Shot 2)
- Special effects: Cardboard box on fire (used in Shot 2)
In the following sections, you’ll see three examples of my different photography approaches (Shot 1-3). Each example will provide you with an explanation of my technique, settings, post-processing editing workflow, and the final image.
Shot 1 – “Heat”
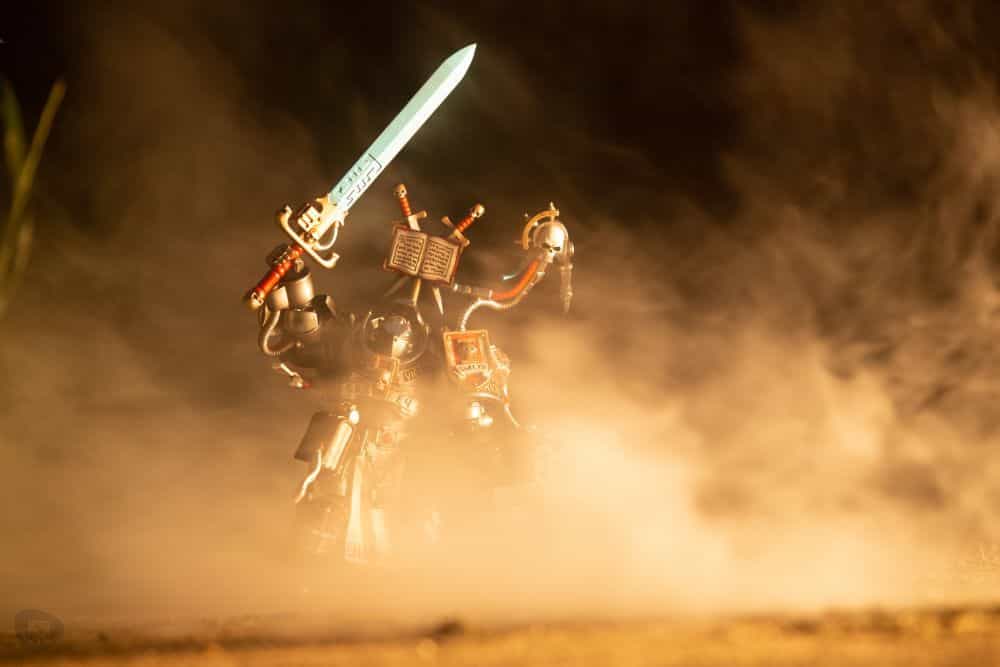
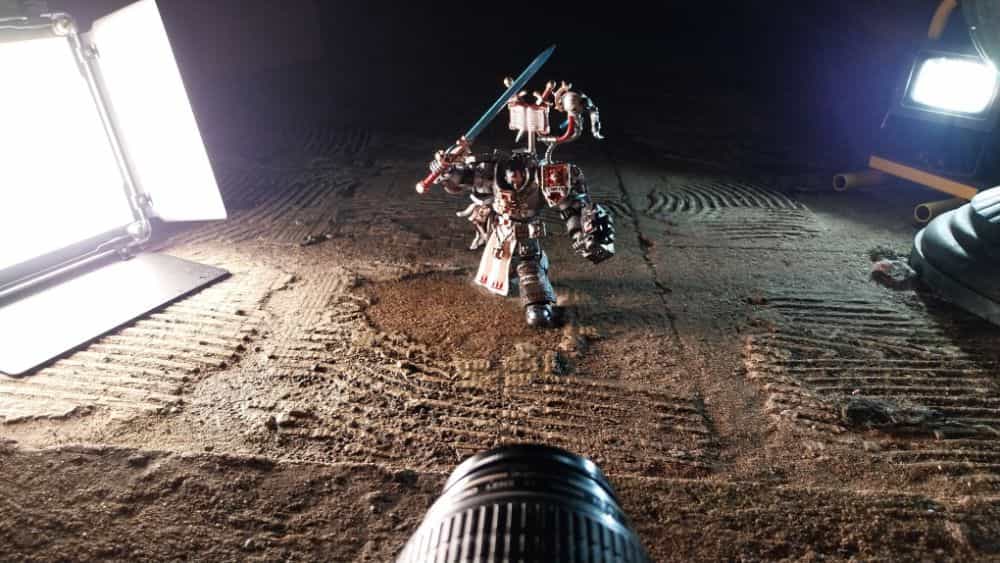
For my inaugural test shoot, I aimed for simplicity and avoided any special effects like wire wool. Using a two-light setup, I staged the figure outdoors on a concrete hardstand.
One was a single, non-diffused LED work light positioned off to the right and behind the figure for backlighting. The second was a large 480 LED light panel situated just to the figure’s right, providing dramatic fill light. To add an atmospheric touch, I introduced smoke from the rear right.
Camera Settings
170mm, 1/40s, f/4.5 and ISO 2500
Post Processing Edits
With simplicity in mind, I imported the picture into Adobe Lightroom where I cropped it and adjusted the white balance to a warmer tone.
To enhance the appearance of the smoke and give it the semblance of a raging inferno, I lightened the image and nudged up the texture slider.
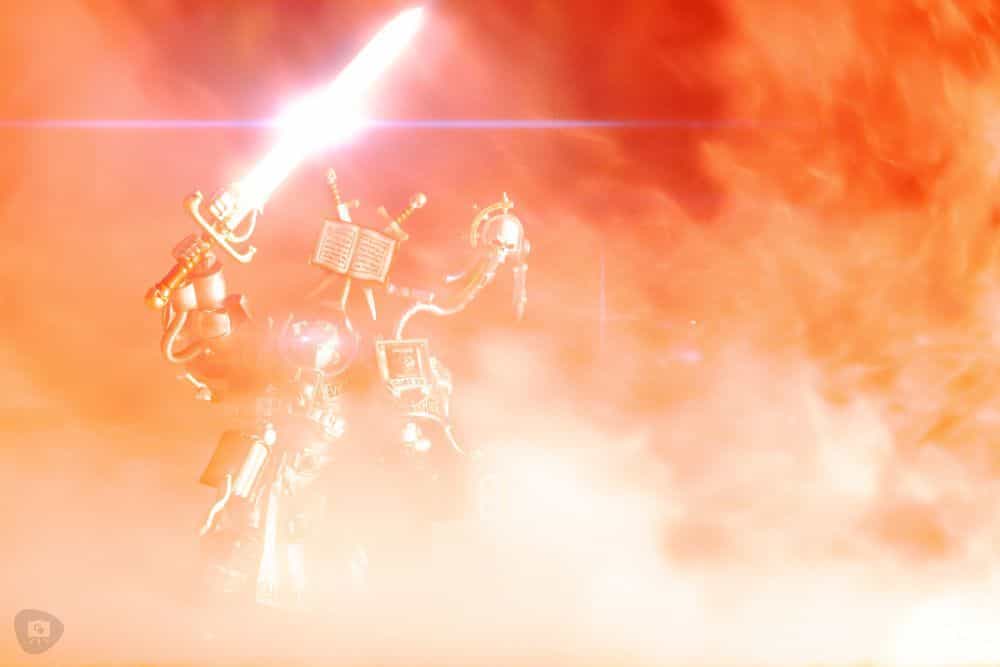
The final touches were added in Boris FX Optics, a cinematic effects plugin for Adobe Photoshop and Lightroom. Here, I incorporated lens flare and made the overall color adjustment that you see in the image below.
Note, of course, that you can use any post-processing software package for your miniature photography. I use Adobe software packages because they are the industry standard, have a large community of users, and are well-supported.
Here is the final image of my Grey Knight Terminator figure with backlighting from a single LED work light combined with a 480 LED light panel and dramatically enhanced smoke to give it an extra-dramatic touch!
Shot 2 – “Cold Fire”
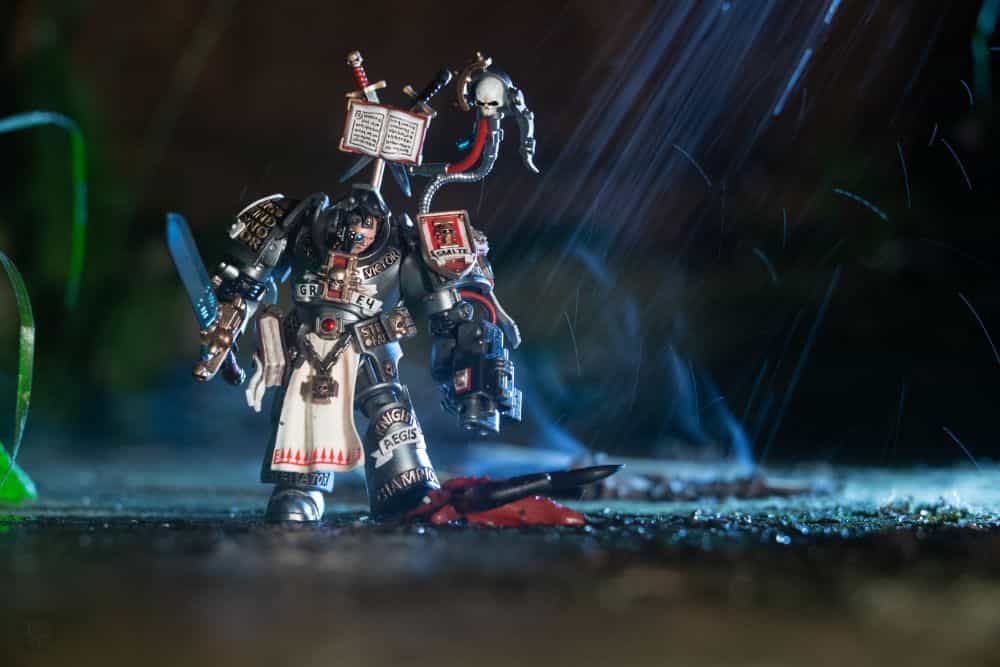
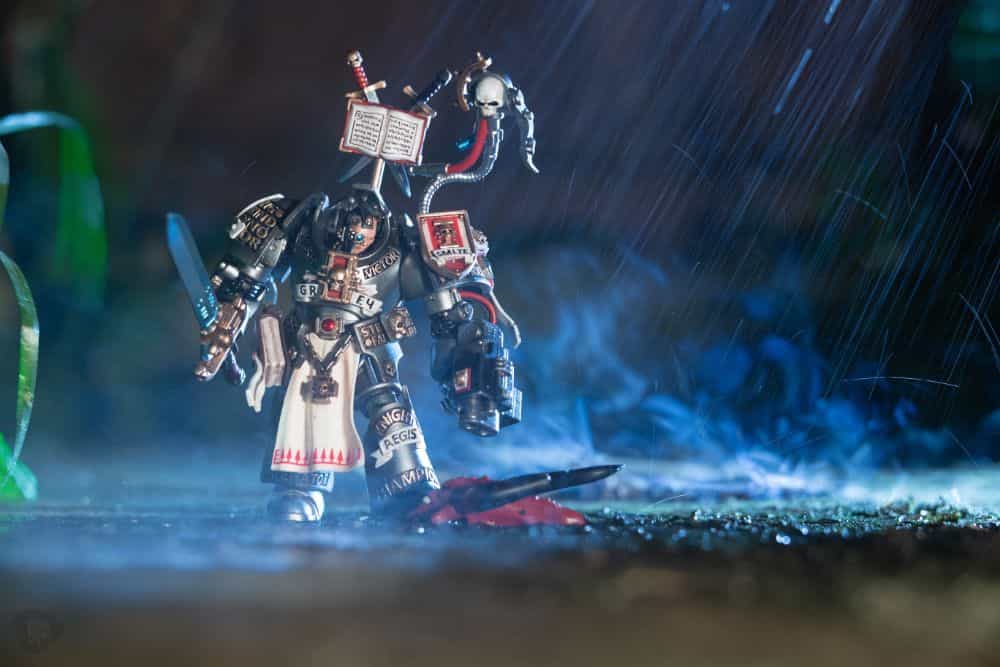
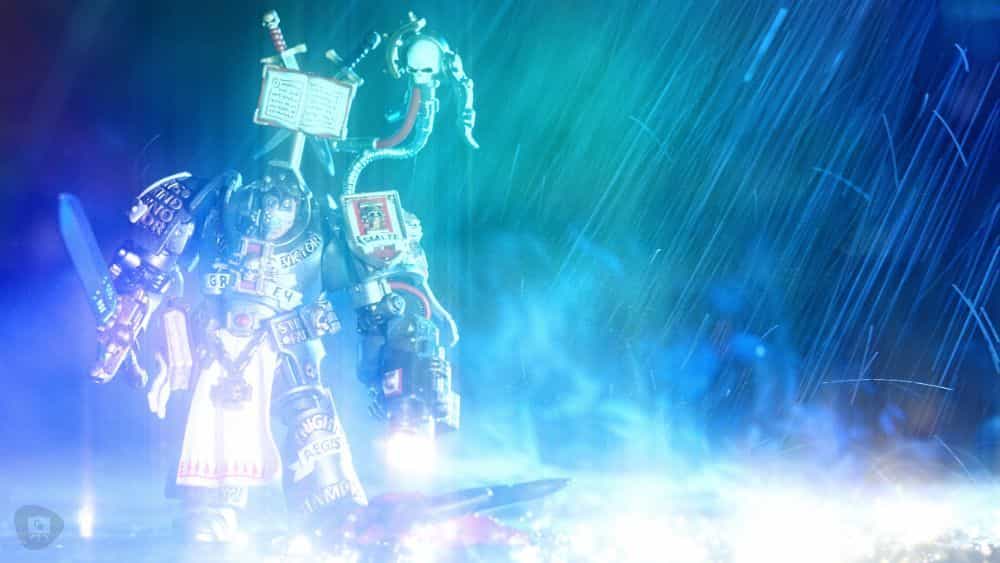
On the following night, I decided to challenge myself by incorporating more practical effects, specifically water, and fire, which can always be a bit tricky to handle. The setup was similar to the previous shoot, but this time, the figure was positioned slightly closer to the camera. The lighting remained unchanged from the first shot.
I ignited a piece of cardboard and placed it on the concrete, far from anything flammable, letting it smolder (always remember to have water on hand for safety!). I then used a water spray bottle to create rain effects.
Capturing rain effects correctly can be quite challenging. It’s almost impossible to get it perfect in one shot, so I recommend using an intervalometer to take multiple shots in quick succession. These images can later be blended in Photoshop to achieve the ideal amount of rainfall.
Camera Settings
135mm, 1/25s, f/4.5 and ISO 2500
Post Processing Edits
The files were imported into Lightroom, where I adjusted the white balance to a cooler tone. Then, I opened them as layers in Photoshop and blended them using the ‘Lighten’ blending option.
After exporting them back to Lightroom, I cropped the image and sent it to Boris FX Optics. Here, I added final touches like muzzle flashes, a hint of light leak, and some particle effects in the foreground.
Shot 3 – “Portrait”
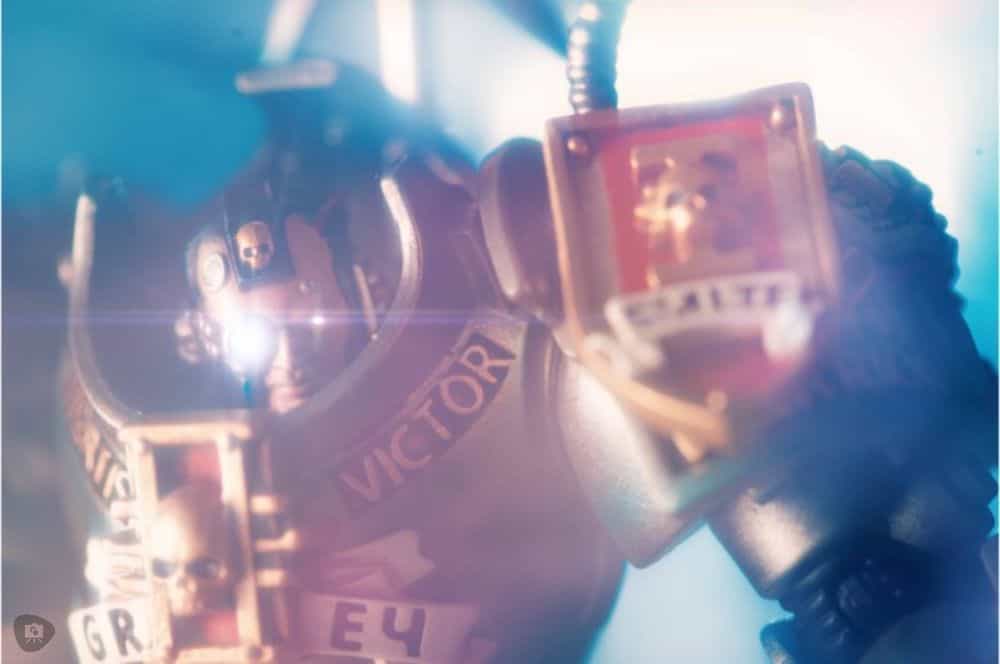
This shot was designed to be a bit different – an actual close-up to test the figure’s limits. I was quite pleased with the result, except for one minor drawback: the eyes are printed on, which is only noticeable under this level of intense magnification. This detail was actually the rationale behind the glowing eyes effect.
Camera Settings
10mm, 1/25s, f/4.5, ISO1250.
Post Processing Edits
This image required a swift edit. I quickly cooled down the white balance in Lightroom and added a couple of glow effects with to enhance the eyes.
Finally, I produced a faint vignette and reduced the brightness of the background to make it look more cinematic.
Overall, I am quite pleased with how this photoshoot turned out. Despite its apparent simplicity, there were plenty of interesting shots to be had. Using a combination of dependable gear, practical effects, and careful post-processing workflows I was able to capture some stunning results with minimal effort.
When it comes to miniature photography, the possibilities are endless; so don’t be afraid to experiment and find your own unique style!
Final Thoughts
All in all, photographing the JoyToy action figure has been an absolute “joy”; so much so that I have another figure ordered and on its way and I can’t wait to snap more images!
To be clear I’d had no contact or payment from JoyToy. I just love this model so much that I felt the need to write this article for you.
I’m thankful for the opportunity to share my work with you and hope this article has been inspirational for anyone interested in trying out their own miniature photography. The possibilities are endless once you learn the core fundamentals of composition and lighting.
Epilogue
Thank you for taking the time to read about Gregory’s journey in action figure toy photography. Remember: Don’t be afraid to experiment and take risks! Have fun and keep shooting!
For more miniature photography inspiration, check out Gregory’s Instagram feed.
Are you a miniature painter or photographer, or interested in getting into the hobby? Let us know in the comments below! Happy mini painting and photo taking! 📸 😊

Tangible Day on YouTube (Miniatures and More!)
