In the world of miniature gaming, safely and efficiently transporting your painted army is a universal need. Like an armored troop carrier, a magnetized army carrying and storage case will help you get to the frontlines ready for battle. After reviewing a number of foam tray systems for taking your models on the go, I’ve had the opportunity to test out one of the best utilitarian magnetic miniature carrying cases on the market.
In this article, I review this budget miniature transport case with magnetic-ready features. Find out if this is the right magnetic carry case for you!
Disclaimer: This miniature army transport case was sent to me free of charge for review purposes. As always, however, I’m at liberty to share my honest opinion, bad or good, so you have the best information possible when making a purchasing decision.
In a Hurry? HEre are 3 Useful Magnetic Carry Cases for Miniatures!
- Clear Acrylic Action Figure Display Case (Complete See-Thru Case)
- Miniature Transport Case (Best Magnetic Carrying Case for Miniatures)
- Jucoci Miniatures Storage Case (Heavy Duty Magnetized Transport)
Verdict: Is The Magnetic Miniature Carrying Case Worth it?
For tabletop gamers and wargaming enthusiasts, the Magnetic Miniature Carrying Case offers a blend of flexibility, protection, and ease of transport. While there are some minor design areas for improvement, its functionality, especially the magnetic attachment feature, gives it an edge over traditional foam carriers. It’s a worthwhile consideration for those prioritizing security and ease of access to their miniatures.
Pros
- Large Capacity
- Height Adjustable Metal Trays
- Magnetic Attachment
- Durable Material
- Stainless Steel Handle
- Easy Assembly
- Cost-Effective (vs Foam Cases)
Cons
- Assembly Required
- Security Dowels
- MDF Aesthetic
- Lacks Front Hinge & Clasp
- Magnets required for attaching miniatures are sold separately
Key Features of the Miniature Carrying Case
1. Large Capacity
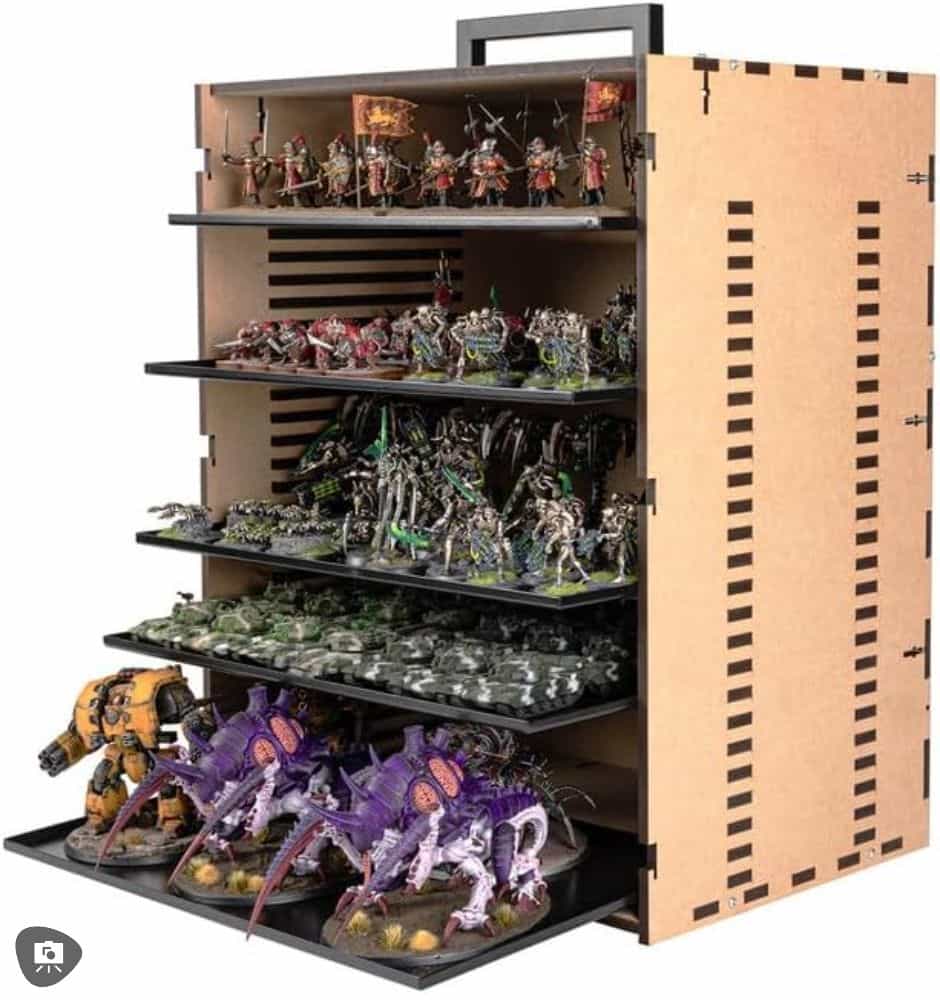
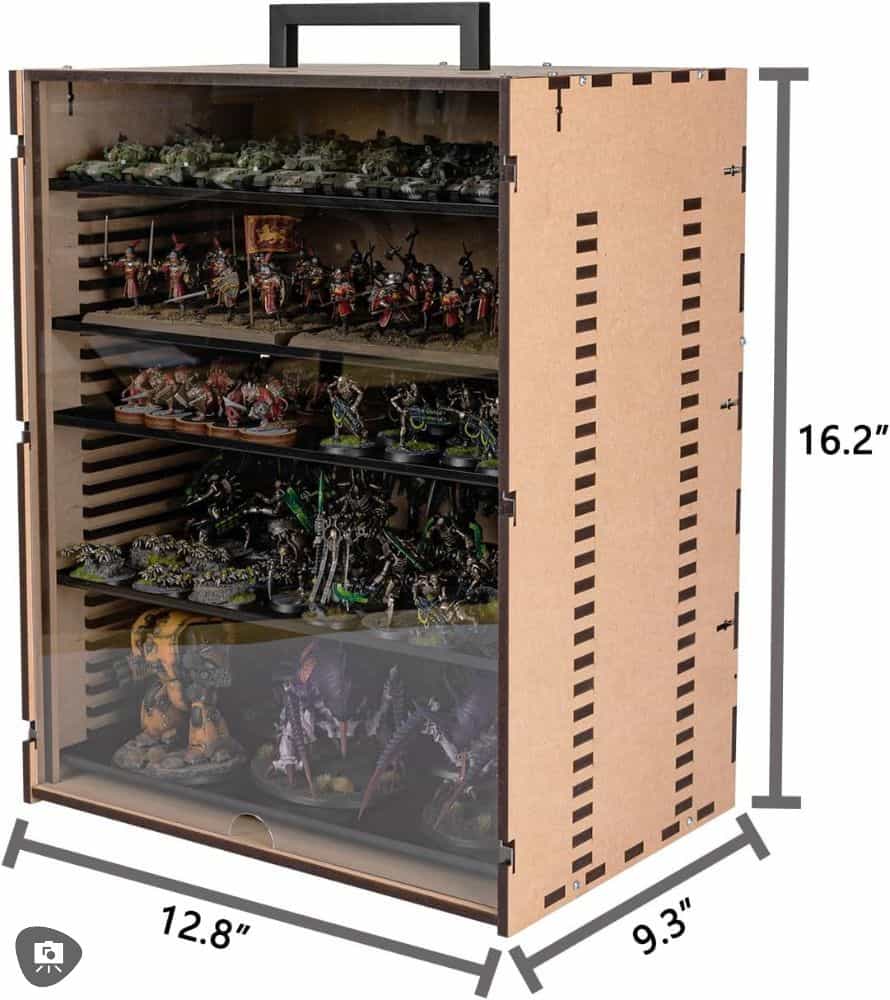
Packed with five metal trays, this case boasts tons of space to carry your army wherever you go. The large, flat metal trays offer enough space for the largest Warhammer 40k models (within reason).
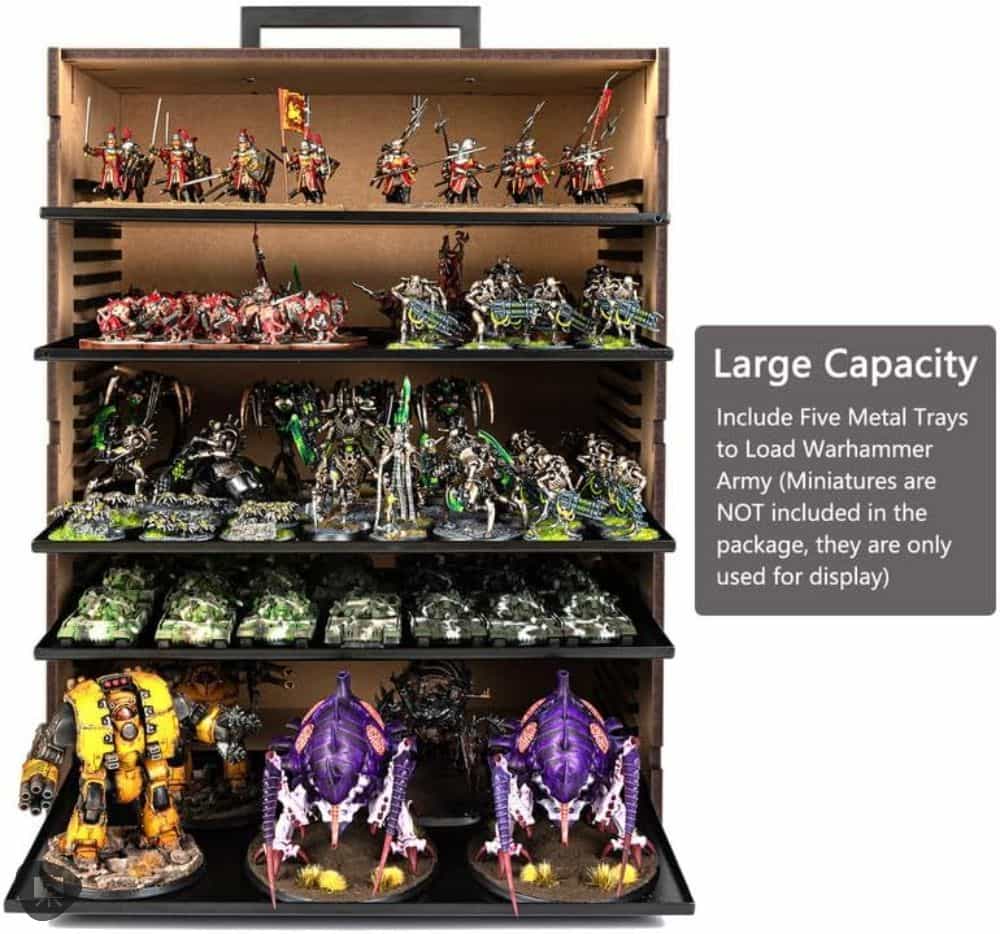
Taller models effortlessly accommodates the vast array of miniatures one might bring to a convention, a trade show, or a wargaming tournament.
2. Height Adjustable Metal Trays
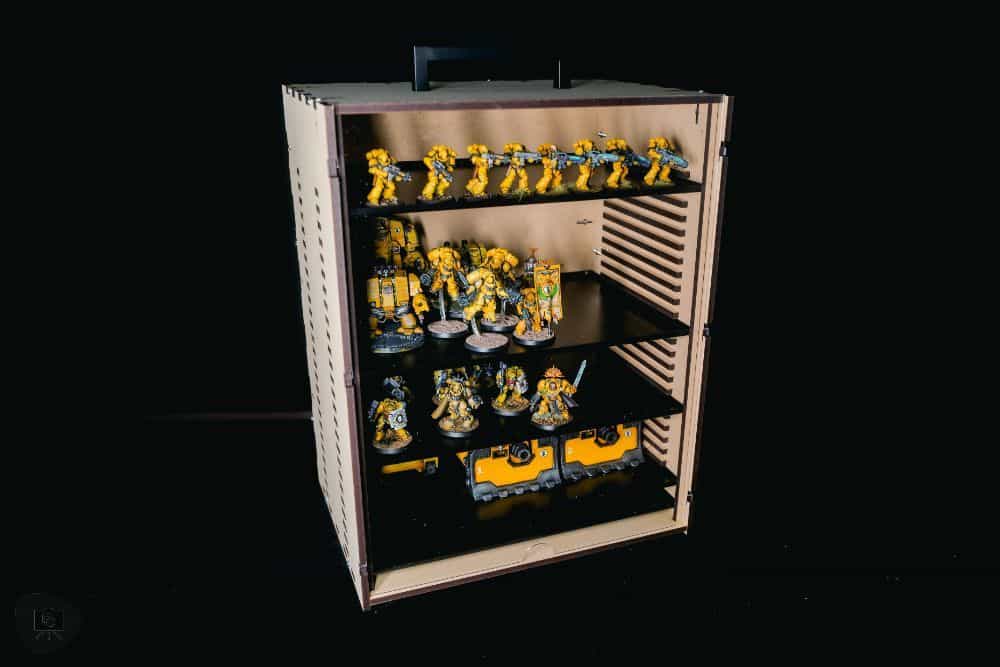
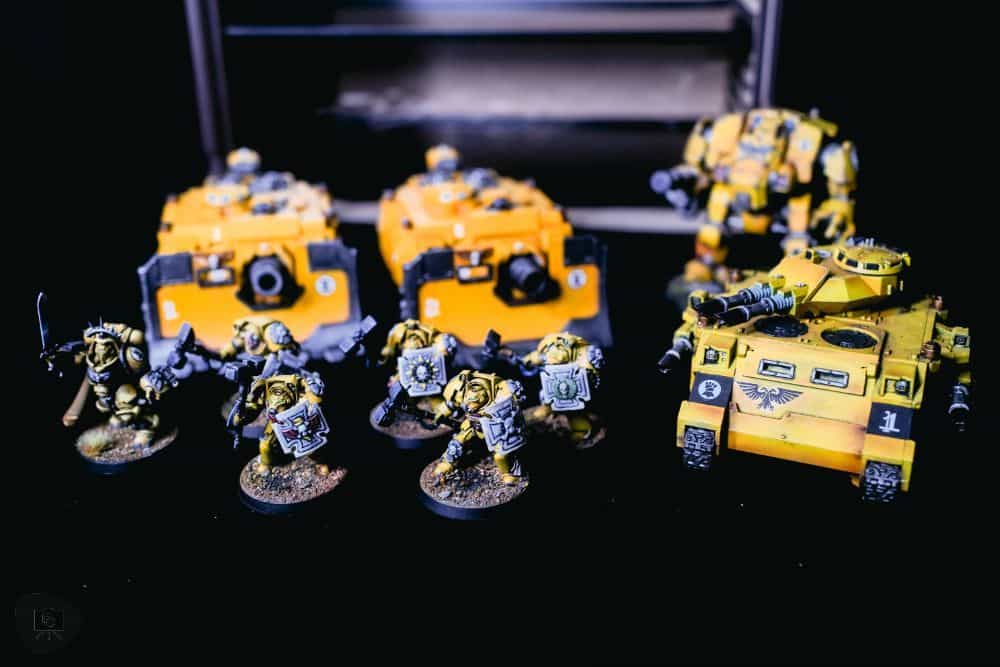
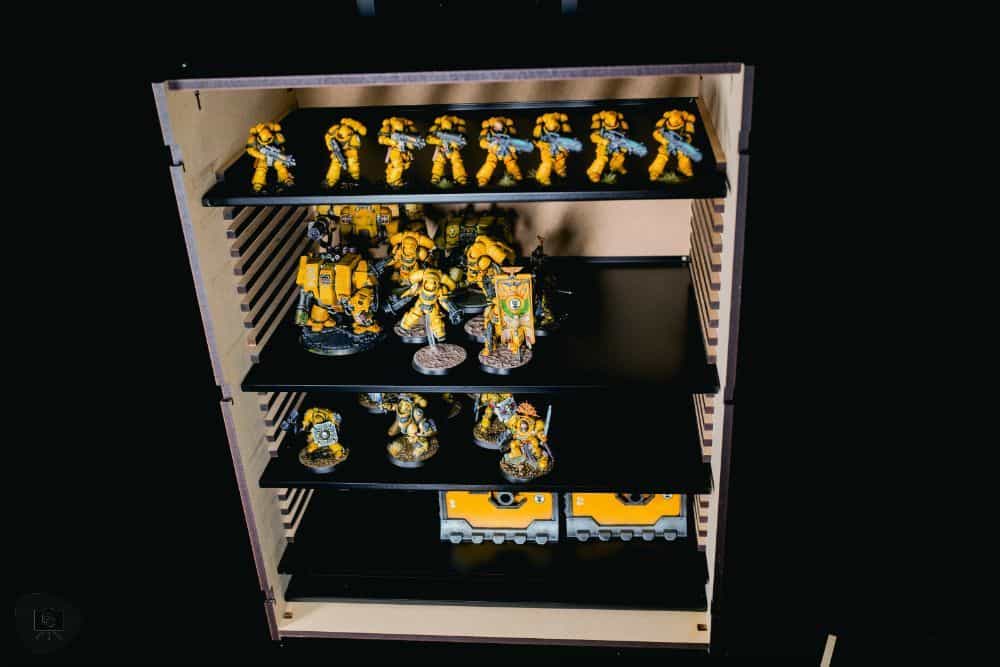
With built-in inner slides for the metal trays, adjusting the position of each tray is a breeze. You can move trays up and down within the case to accommodate models of different heights (see photos below).
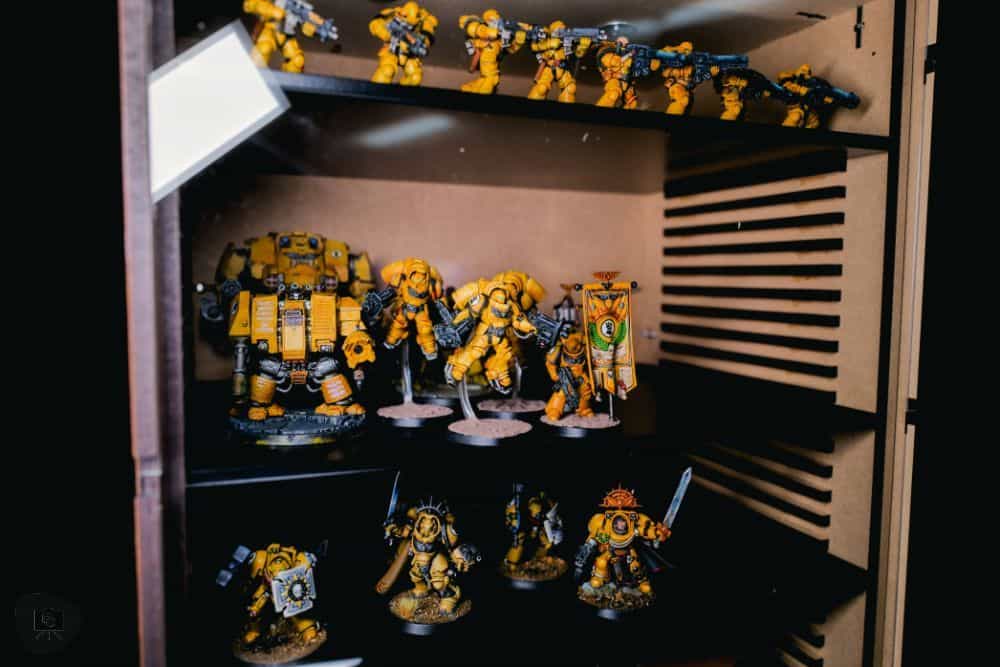
Optimize your carrying capacity for different army builds, load outs, and gaming situations on the go. The trays have a smooth, highly conductive surface, improving contact (and adhesion) between your magnetized miniatures and the the metallic tray surface.
3. Material and Durability
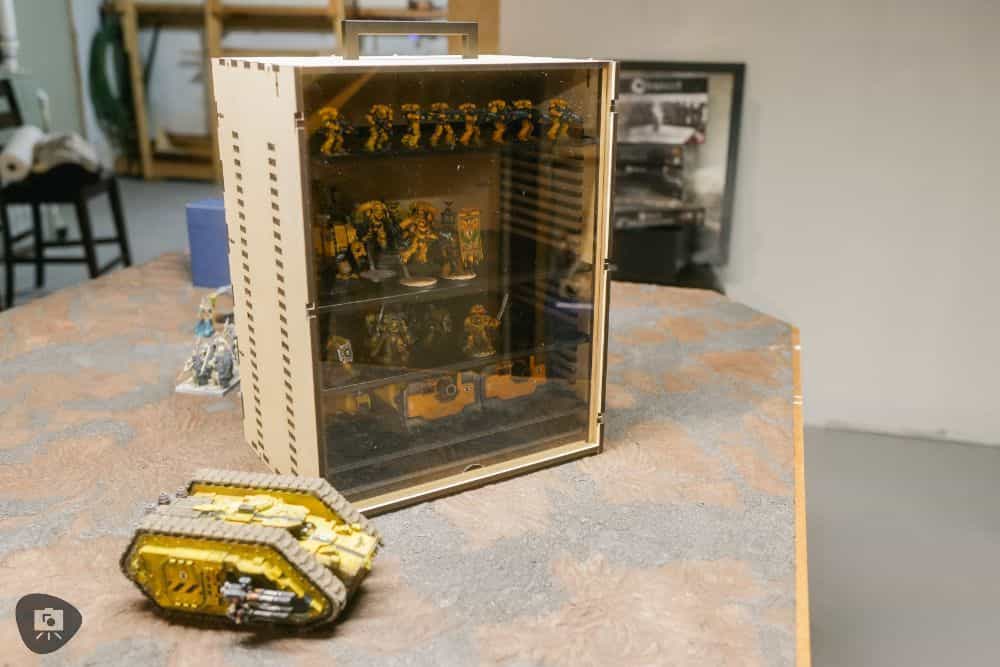
In my hands-on use of the carrying case, the laser cut MDF within and around the case felt durable with excellent constructions. High tolerance fit and finish made me confident in the cases’ ability to withstand the rigor of travel. For improved durability, I may prime and finish the exterior of the MDF case material to improve its moisture resistance.
4. Stainless Steel Handle
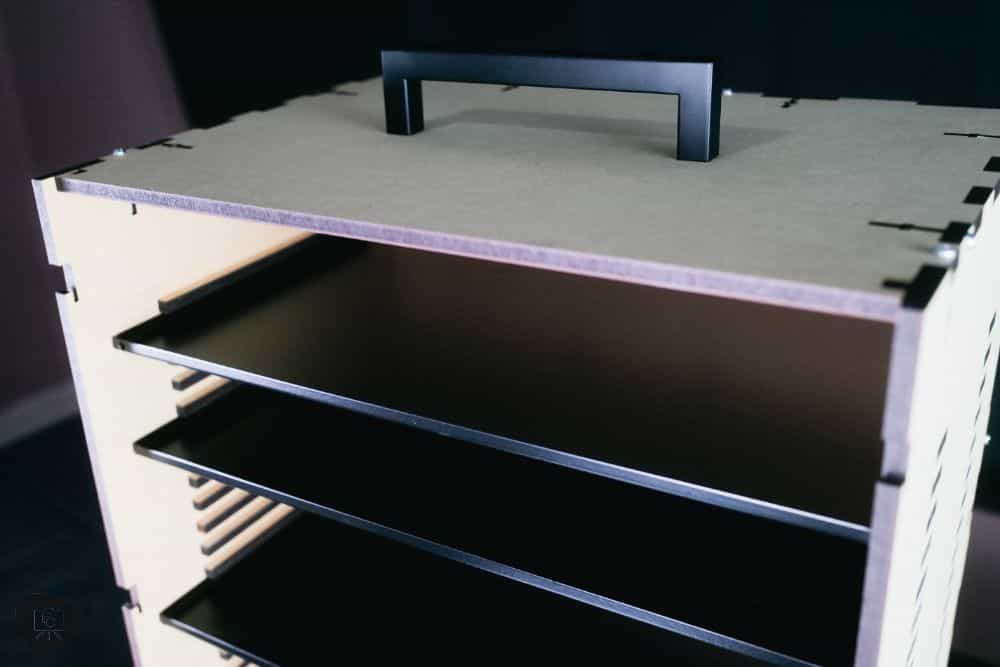
Transportation is further simplified with the sturdy stainless steel handle, positioned ergonomically atop the case. When I pick up a fully loaded case by the handle, the entire system is well balanced. The magnetic trays do not wiggle free or bounce around within the case. I’m confident that I can pick this miniature transport case up and just go!
5. Simple Assembly
Although there are a lot of parts to put together when assembling the miniature transport case, the process was simple.
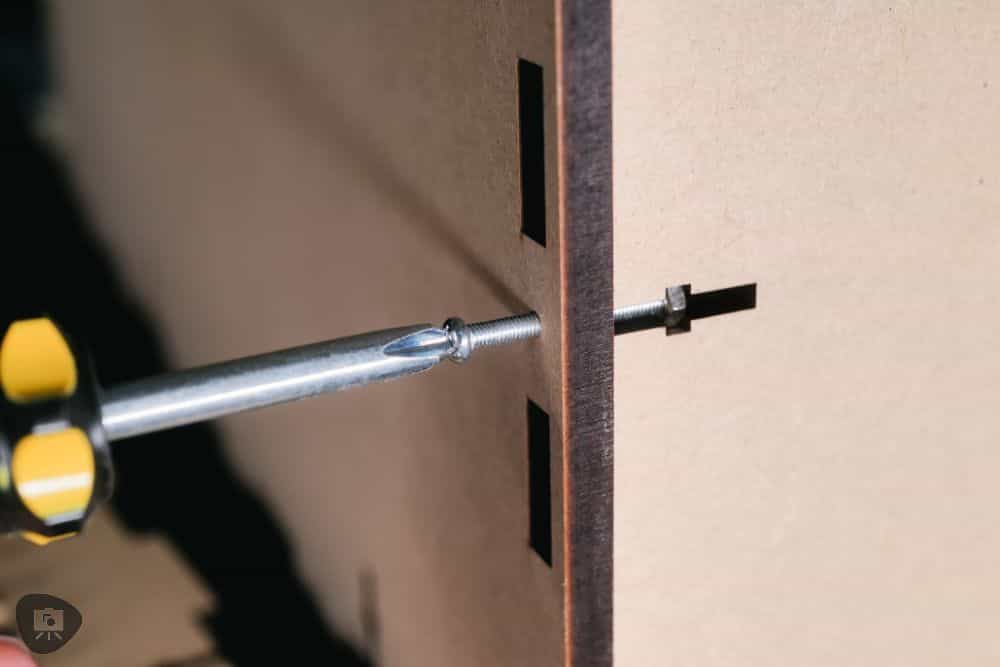
As with anything in our miniature and modeling hobby, a bit of patience and care was all I needed. More about this experience below.
Personal Experience with the Miniature Storage and carry case
Transitioning from large plastic bins lined with foam to this magnetic carry case has been an adventure. My array of games, from 40K (at the skirmish level) to Bolt Action and World of Tanks Miniature Game, demands efficient storage and transportation, especially when the battlefront shifts to FLGSs or friends’ homes.
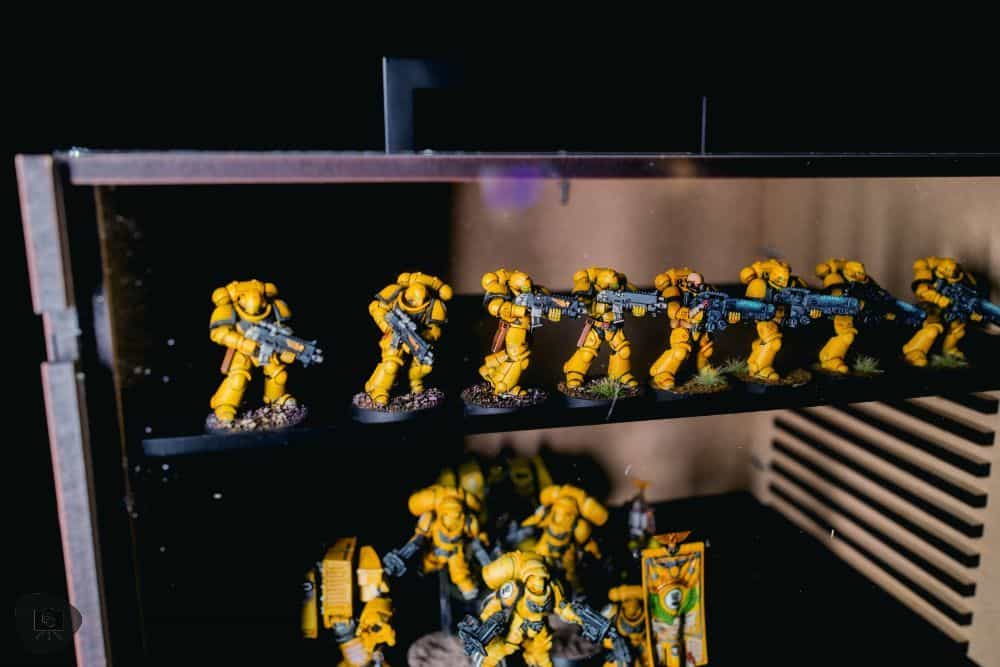
The case, with its robust build and metallic trays, has served remarkably well. The artist in me is already envisioning an airbrushed interior in stark black, and the exterior adorned with iconic wargaming symbols. I know that sealing off the somewhat porous MDF material will help the case endure the possible hazards of traveling to different events.
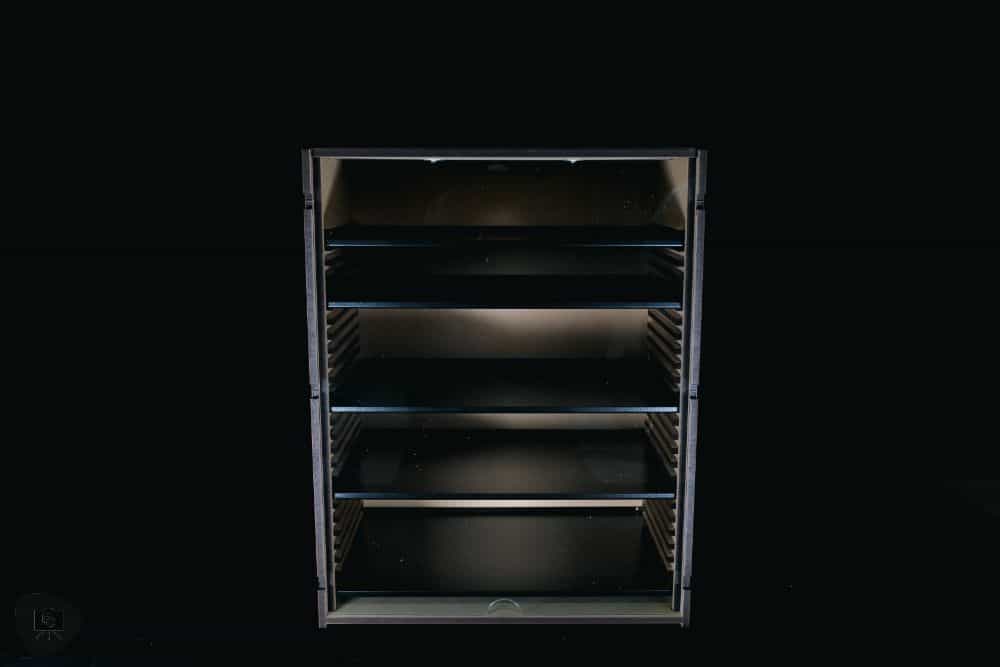
A slight longing does persist for an acrylic front with a hinge and clasp, but that’s a minor trade-off.
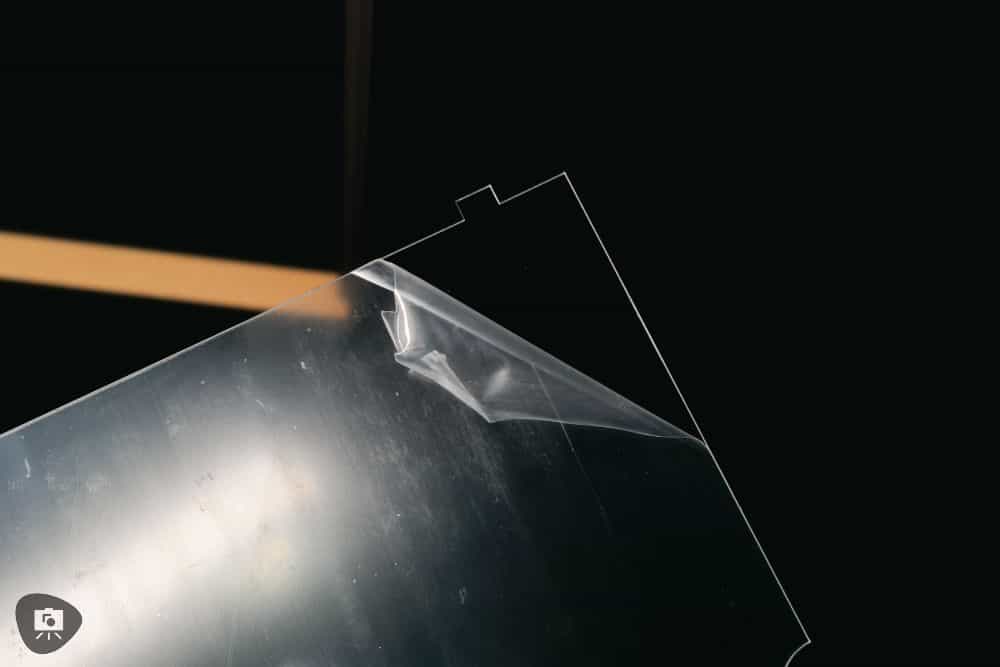
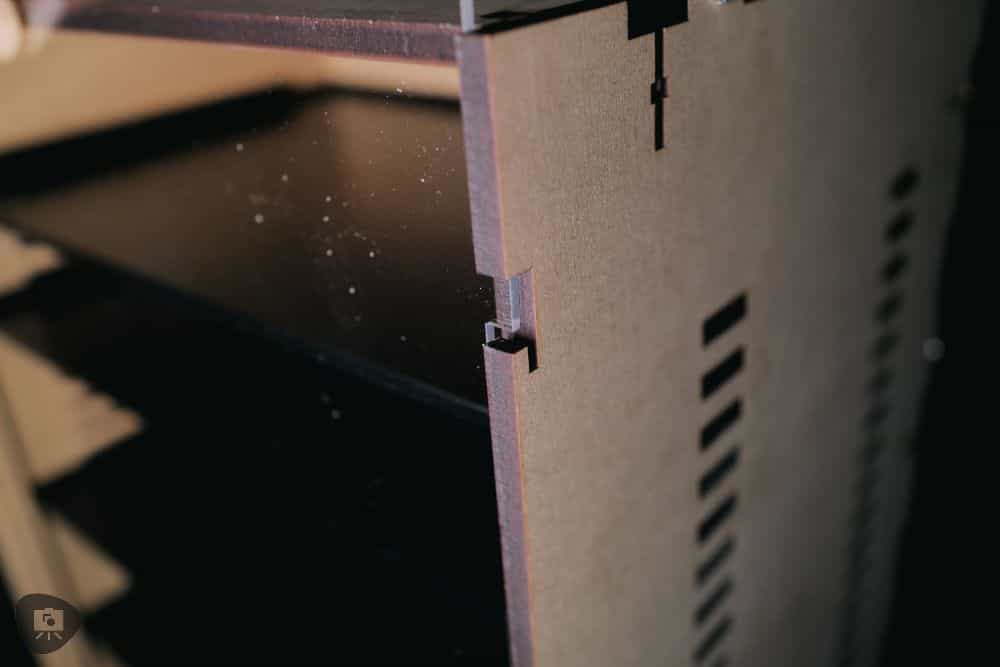
For this case, the front acrylic sheet slots into pre-cut “keys” in the side of the MDF case. It works well, despite it’s somewhat simplified mechanism. Suffice it to say, there’s no door on this case.
For a more elaborate, premium magnetic case, you can check out this acrylic magnet-ready model carrying case. You can see right through all the walls of the case, which is kind of cool. But it is more expensive.
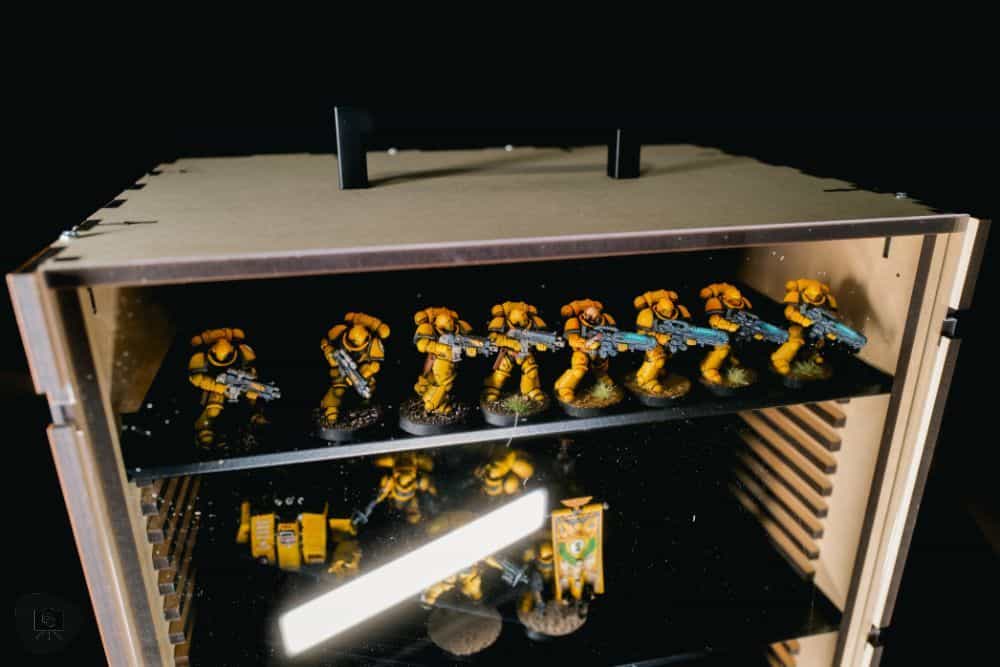
When it comes to balancing cost and value, the MDF miniature carrying case reviewed here is a good value.
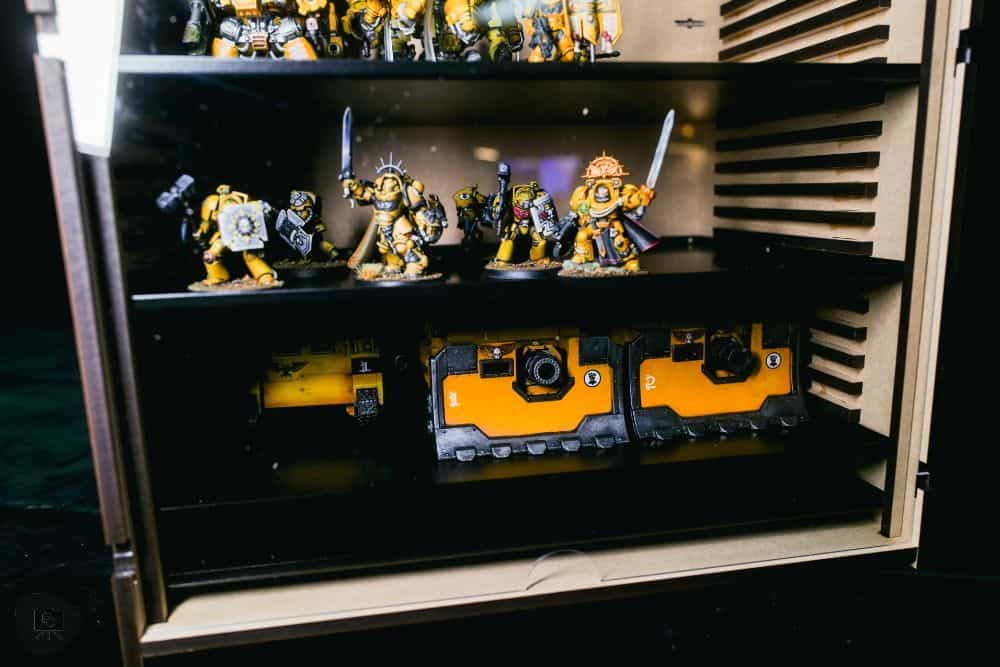
As for its core material, MDF, it couples well with the metal trays, allowing the addition of magnets underneath each miniature, securing them in place.
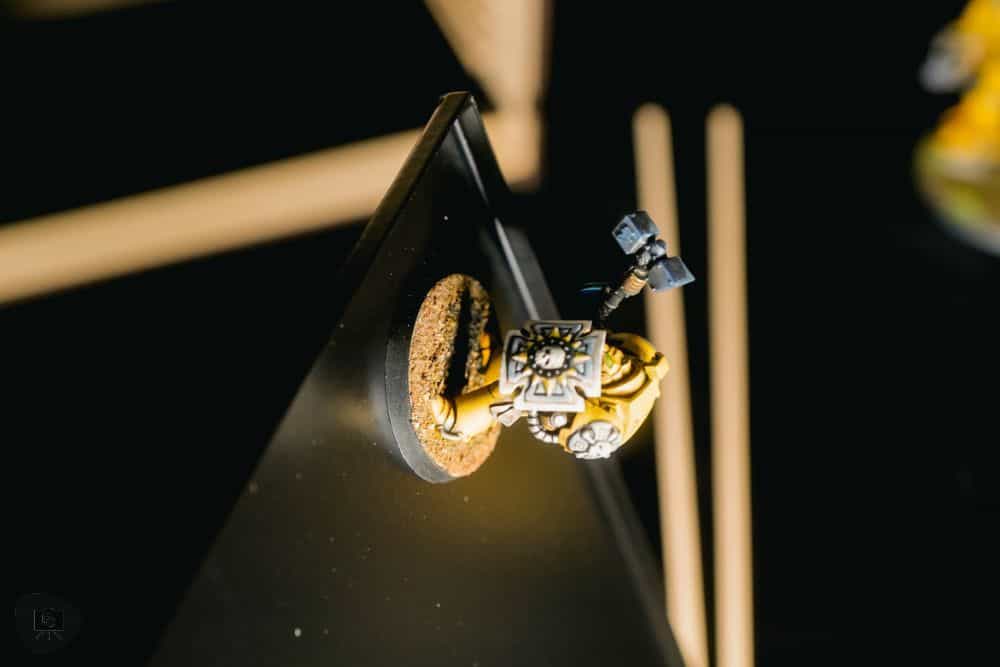
A Quick Word About the Case Assembly
Upon unboxing, my first impression was a bit of dismay as I saw all the parts that were required to assemble the case. I never enjoyed assembly.
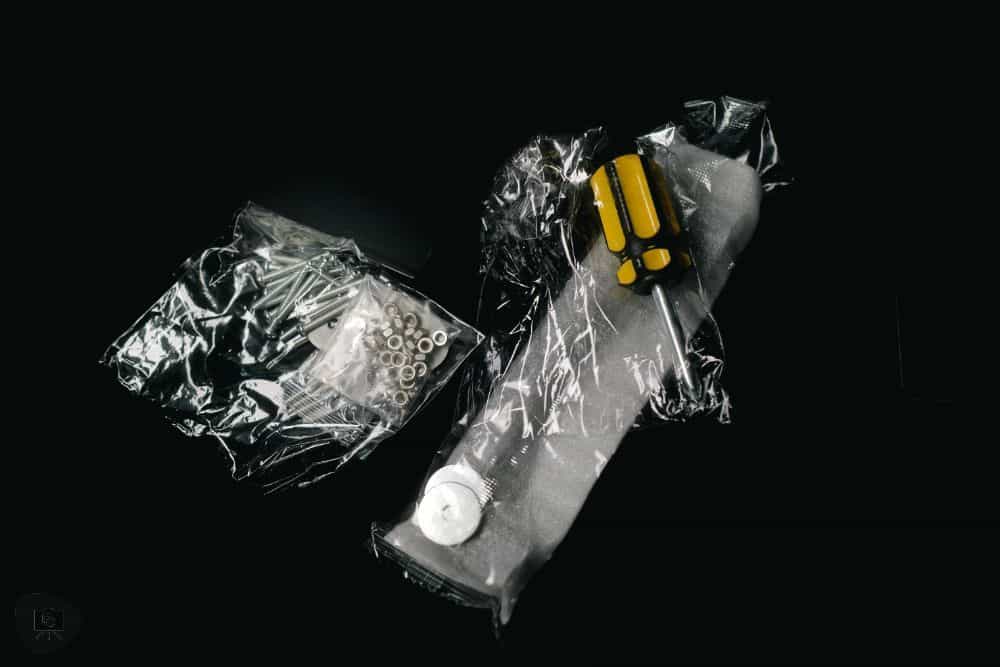
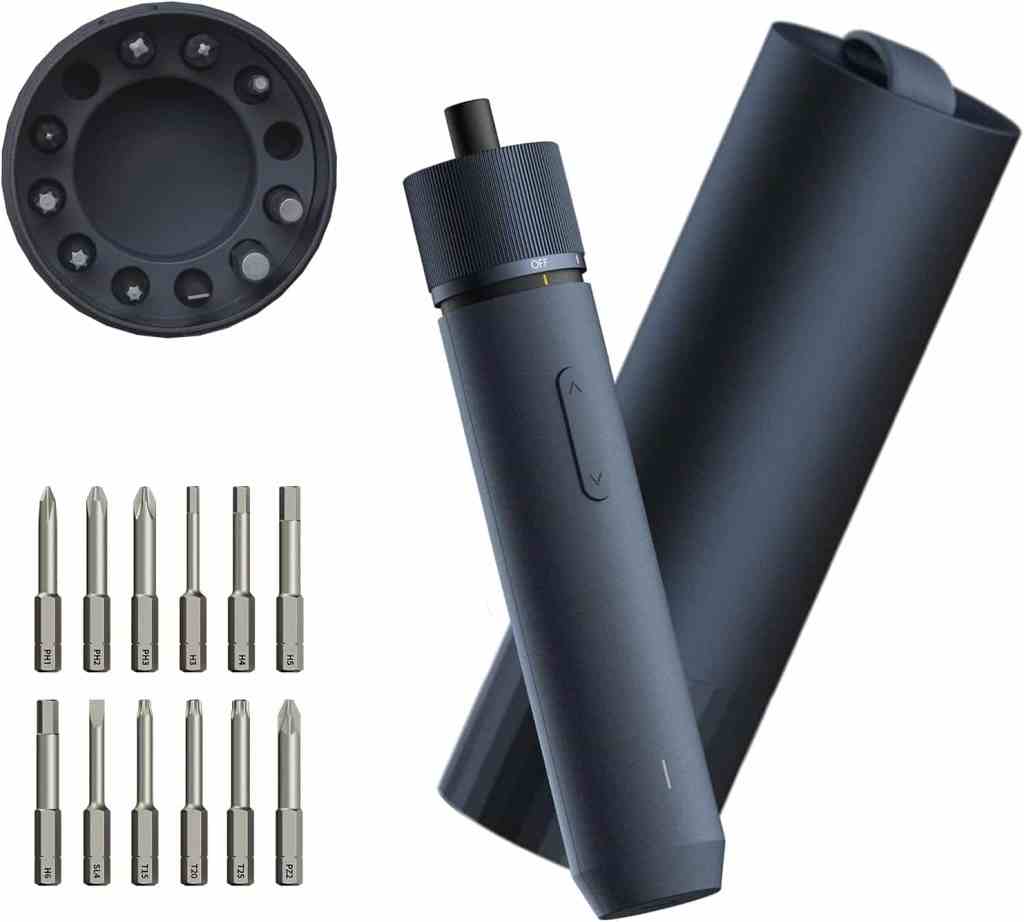
My recommendation for anyone in the miniature painting and scale modeling hobby is to pick up a battery powered, mini power tool like this electric screwdriver. You’ll thank you me later.
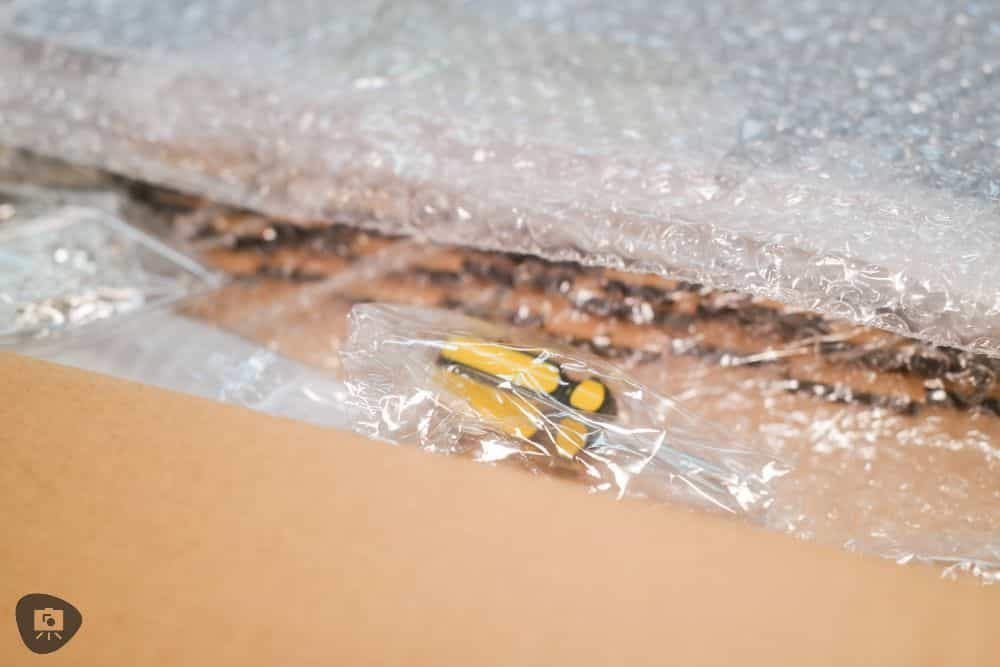
All of the MDF sheets were pre cut and clean. I didn’t need to do any preparatory work to get the parts ready for assembly.
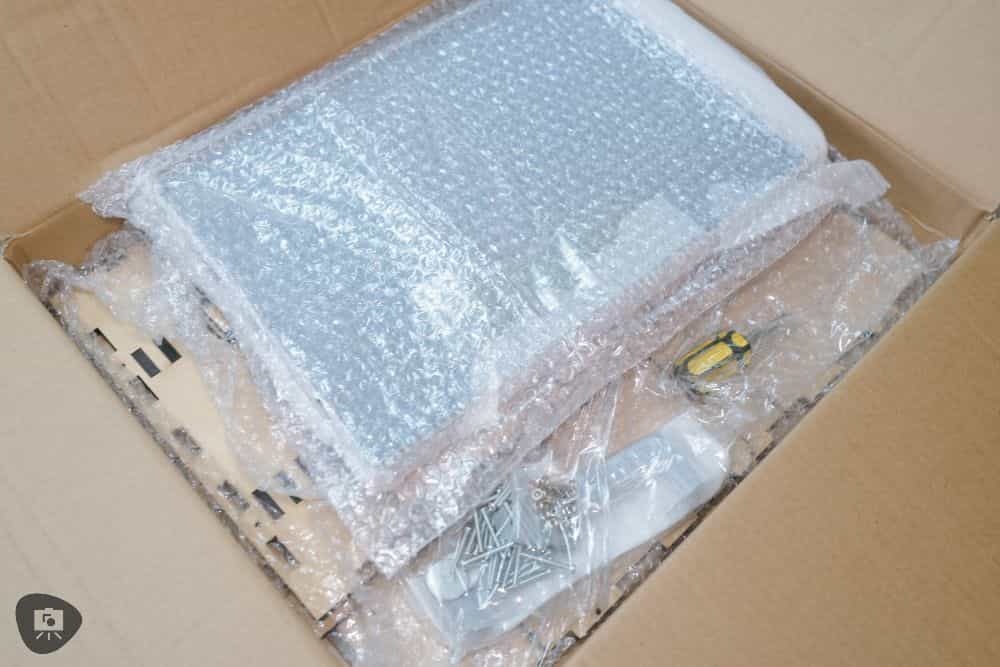
The instructions were clear, and I was able to grasp immediately what I needed to do.
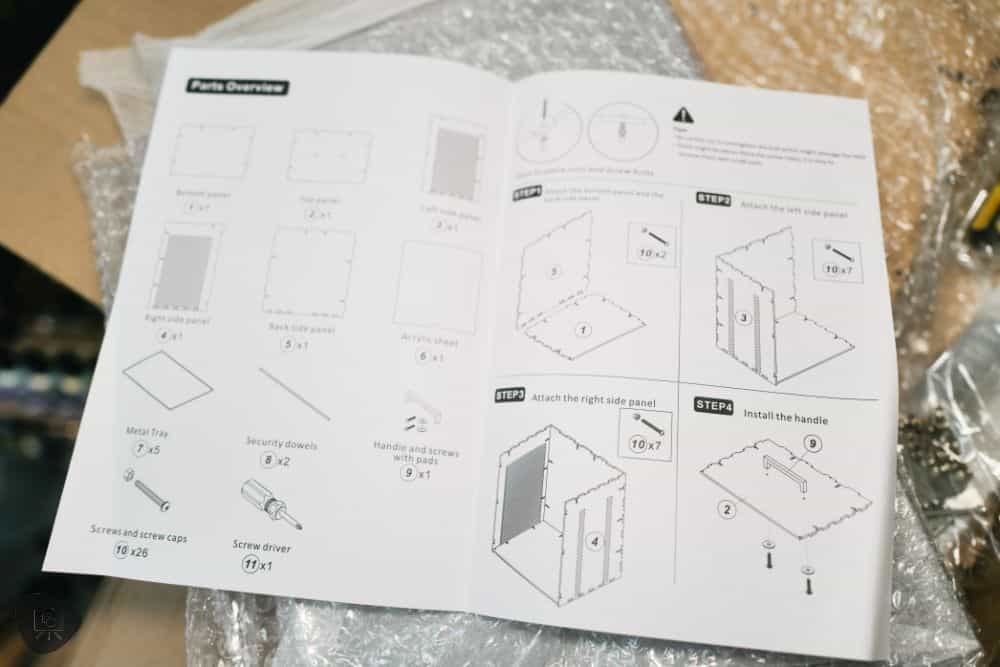
As mentioned above, a power screwdriver was helpful. But, if you’re unsure, the carrying case kit comes with a handy screwdriver.
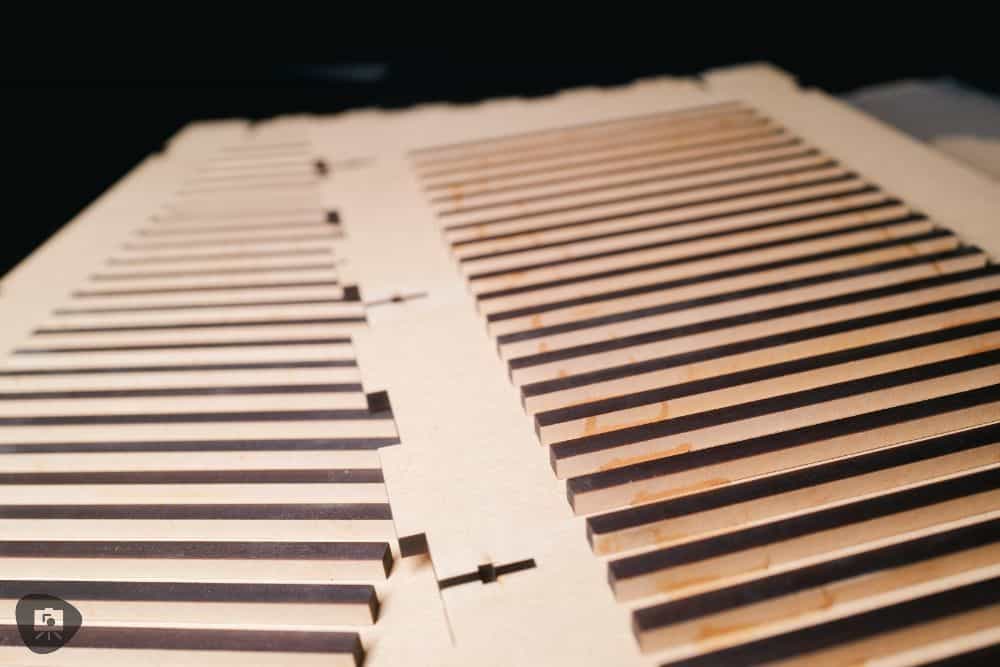
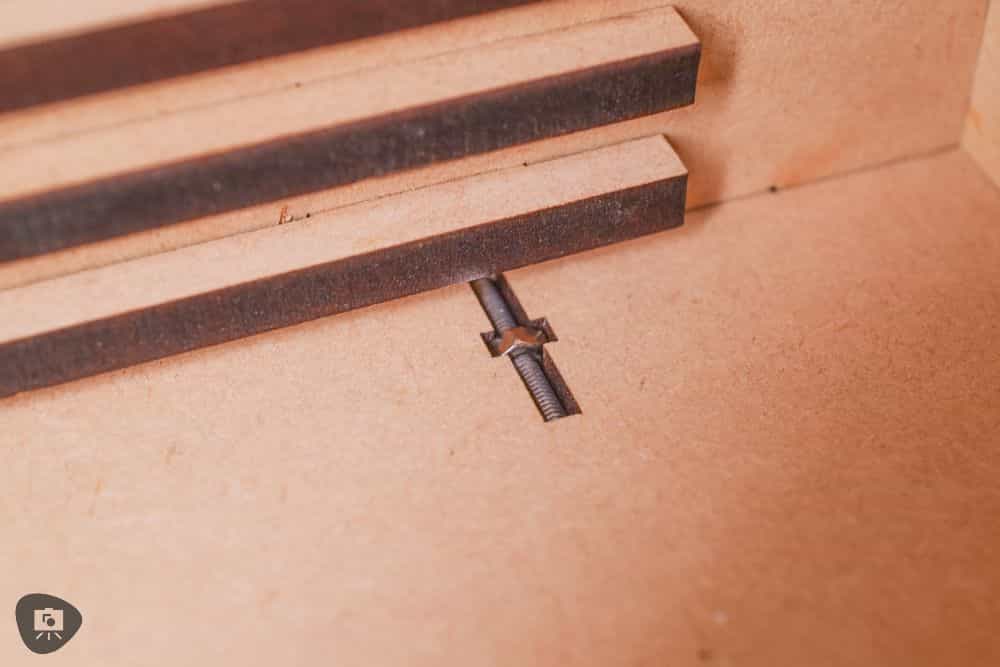
Using this screwdriver (along with my electric one) I got to work screwing in the bolts and nuts into the MDF sheets.
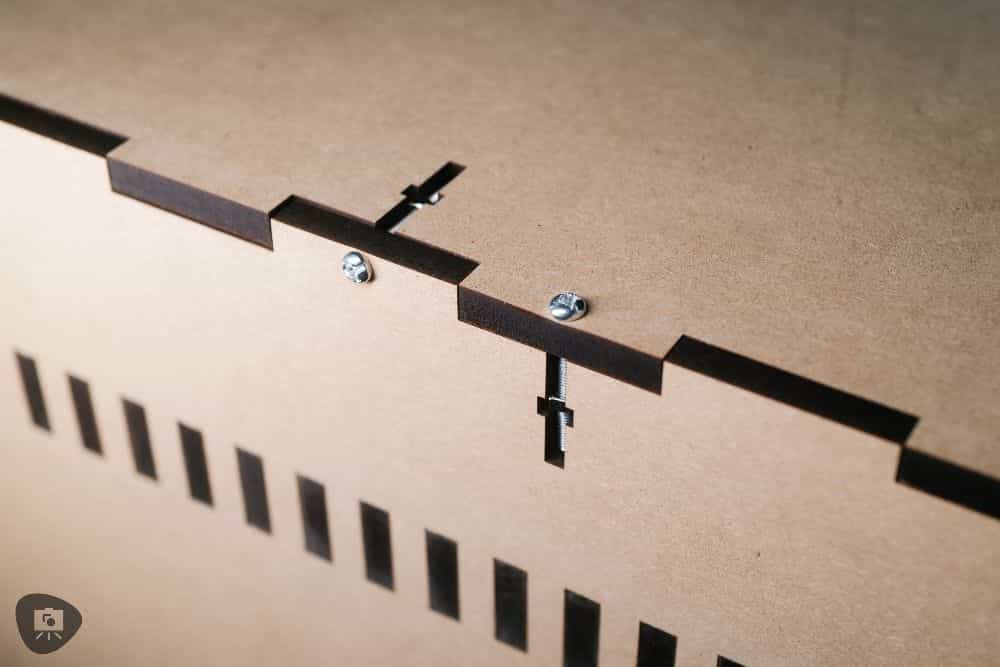
As the walls went up, I noticed how quickly I was moving; But more impressively, how sturdy the case would become when I finished. All the pieces fit tightly with no wiggle room between slotted parts.
The “door” that covers the front of the case is a clear acrylic sheet. Before installing it, however, you’ll have to peel away the frosted plastic backing from both sides. Doing so revealed a very clear and attractive cover for the carrying case.
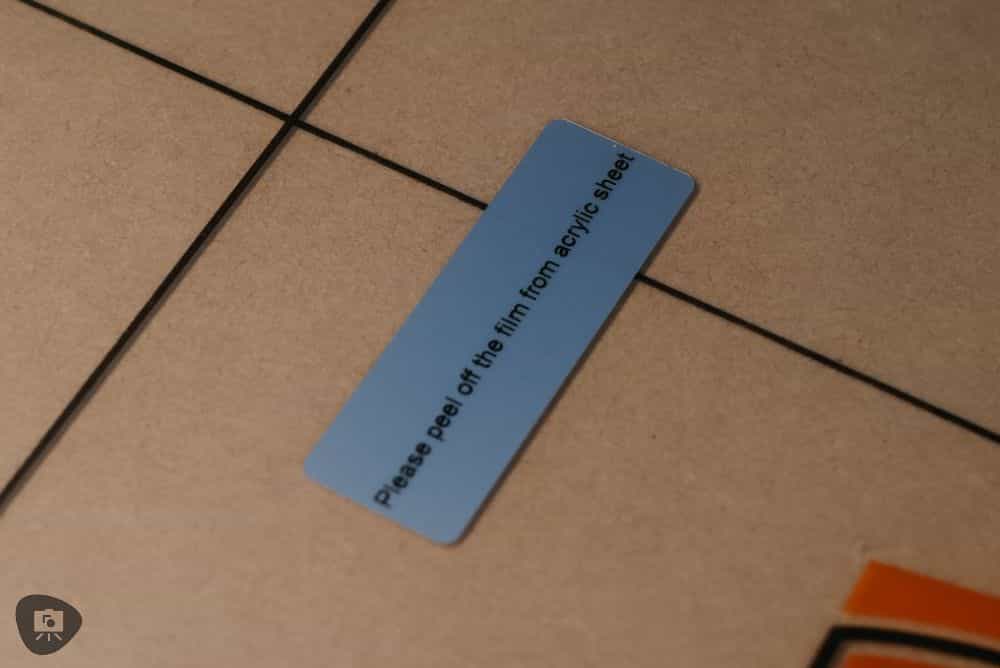
Slotting the acrylic door into the case was simply a matter of lining up the keys with the MDF slots on each side of the case. While I think this may be a hassle, a hinge or other door-like mechanism would have added weight, complexity, and perhaps even extra cost to the carrying case. This is a good compromise.
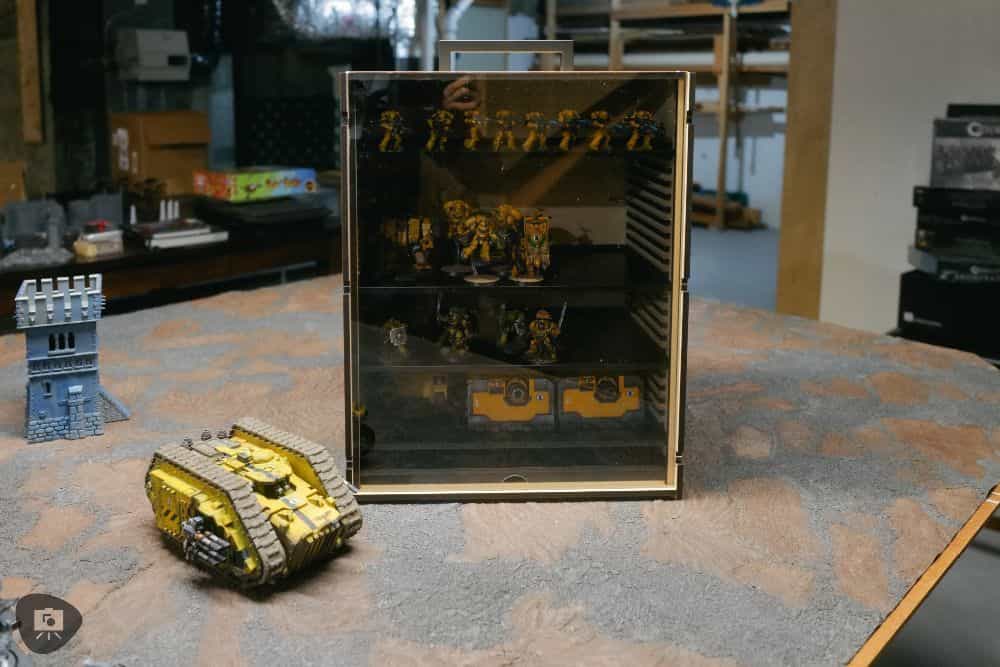
How Well Do the Metal Shelves Work?
The magnets on the bases of my miniatures are strong neodymium (rare earth magnets). They are very strong for the small size. However, if they don’t have good contact with the metal surface they are meant to attach to, it can be flaky.
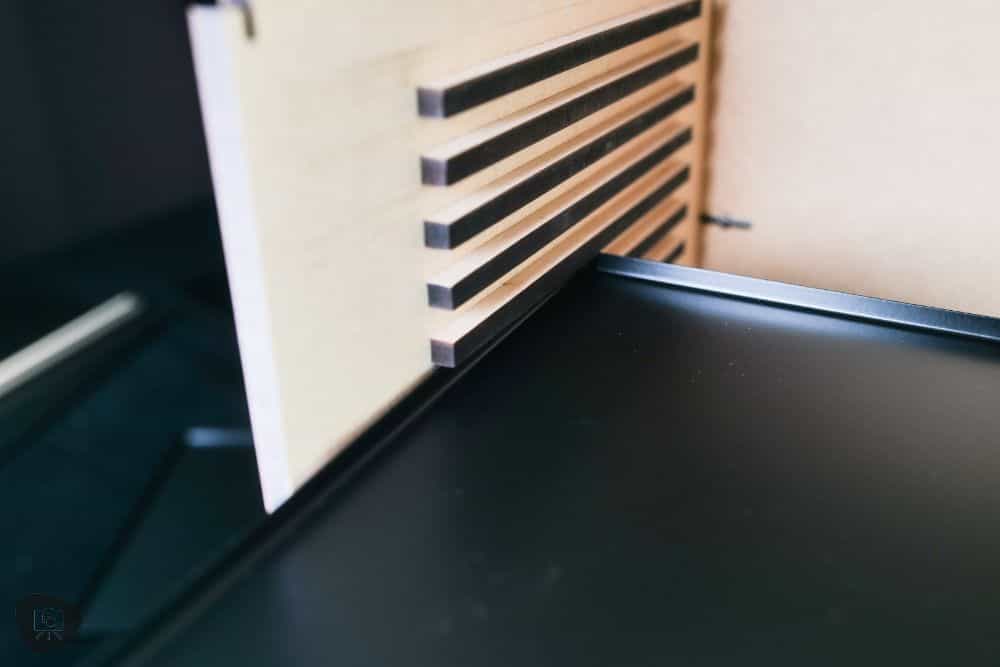
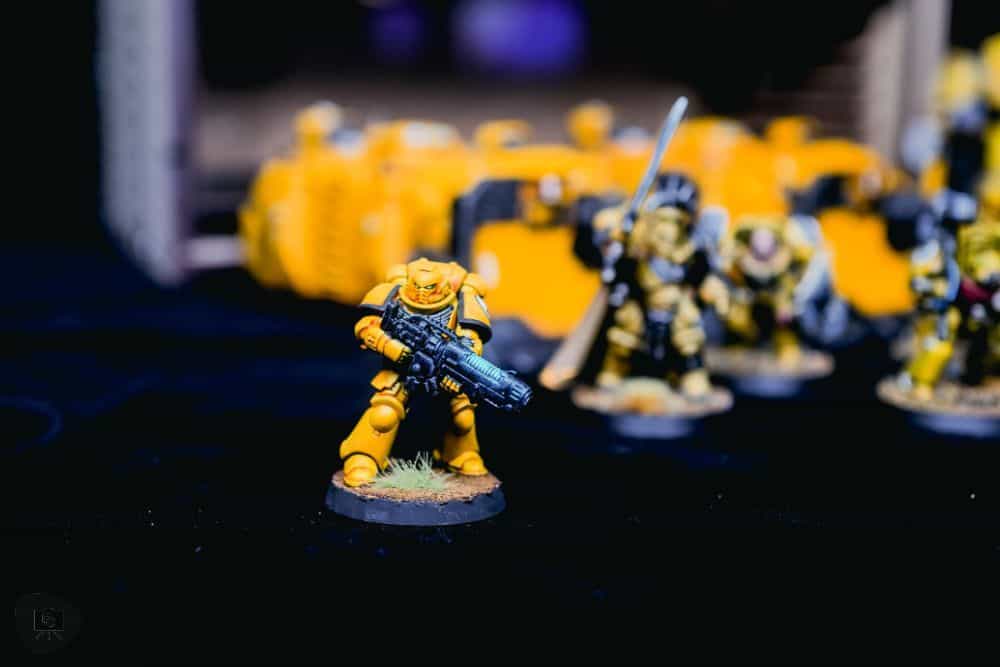
No problem here. The five metal trays that slot into the miniature carrying case are sturdy, smooth, and very flat. The magnetic bases of ALL of my models, e.g, Warhammer 40k, stuck very well to these metal trays.
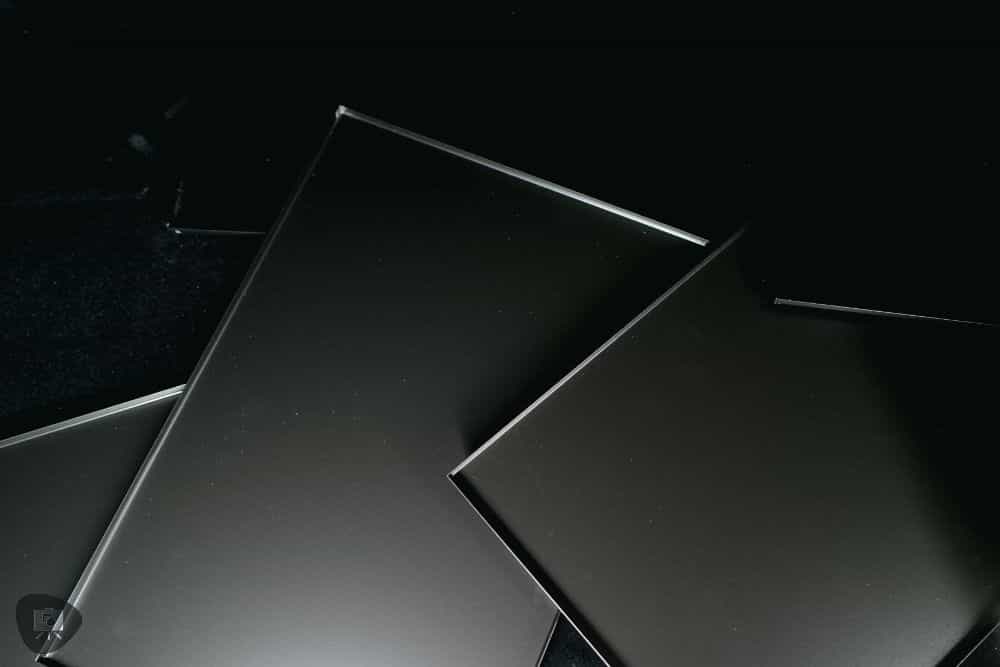
The beveled edges of each metal tray have a fairly steep angle, which also maximized the amount of carrying capacity on each tray. I was very, very happy with the number of models I could fit into each tray within the case.
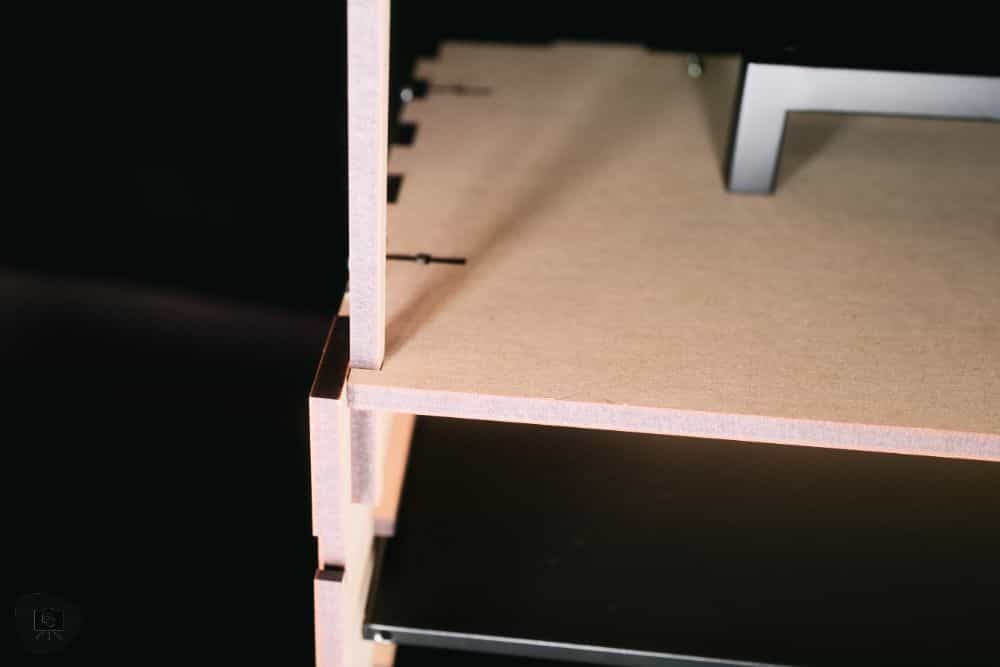
Note: A limitation of the trays is that they slide easily and you’re required to insert a wooden MDF dowel through the top of the case to “lock” them in. This is a fairly cheap way to keep everything from bouncing around. But it works.
In practice, how does it all come together?
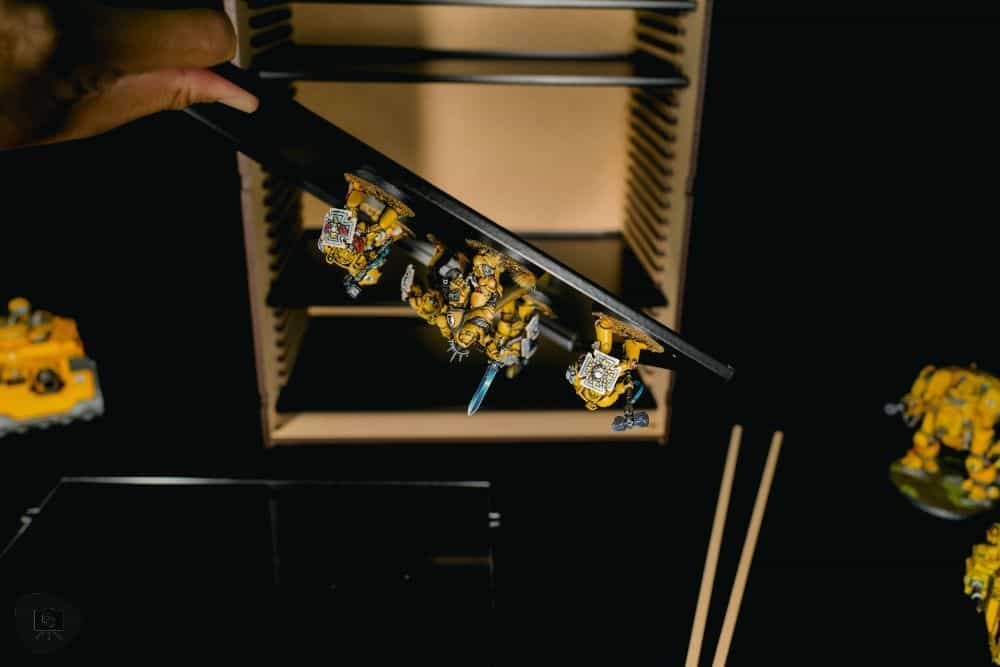
For storage, the metal trays are wonderful. For deployment, they are really convenient. When you’re ready to play, you simply pull out each tray and lay them out on the table. Everything you need is within easy reach.
The simplicity in the design of this case is endearing. You want to use it!
Comparison to Foam Carriers
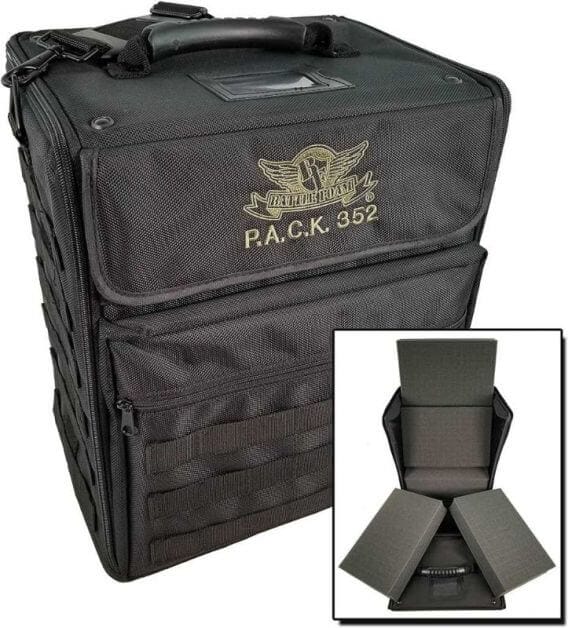
I’ve tested a lot of miniature transport cases and fancy storage options. Almost all of them use foam trays or some type of foam system to store the miniatures.
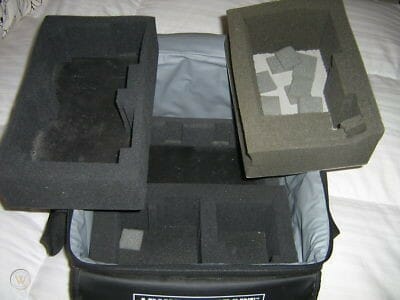
The advantage of foam, of course, is that you don’t need to buy magnets to attach to each of your miniatures or models prior to using them in your case. You simply take your miniatures and insert them into the foam carrying case. Sometimes, the models fit well. Other times the models may require a bit of a squeeze or jostle around (if things are too loose).

Pros and cons to foam and magnetic carrying systems?
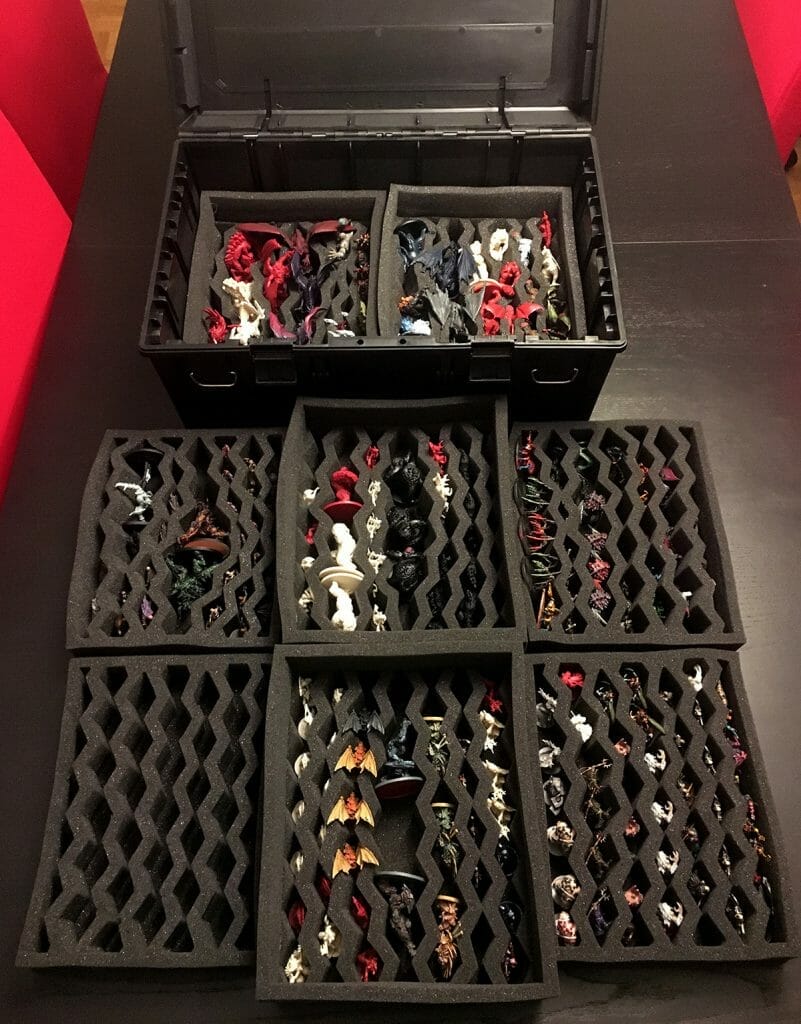
I think you can already see some of the limitations of foam just from the photo above: Foam requires some brain power to use effectively with miniatures, especially if you have a lot of miniatures and of various sizes.
You have to plan ahead each time you’re placing your carefully painted miniature into the trays, and deployment can be a hassle. All those spike-y bits may get stuck in the foam if you’re not careful, breaking them off, or scratching the paint job.
On the other hand, foam is less expensive in general over the long run. They are also great for smaller army collections, because you’re not dealing with a large volume of cushion material.
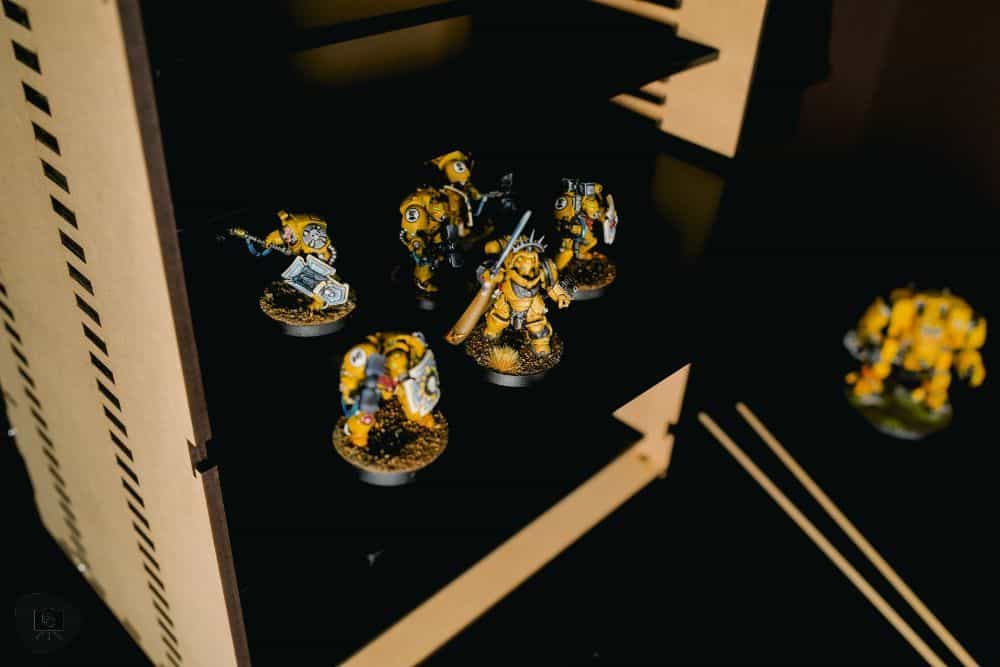
Enter the magnetic carrying case. While you have to spend time and money to magnetize your miniature collection, once you’re done with that step, everything becomes simple. You’ll have improved protection for your miniatures and a much better time packing away or deploying your models from the case.
The metal pull-out drawers are kind of awesome, too. It’s an elegant solution for miniature hobbyists and wargamers who want to store and travel with their miniature collections with ease.
Where Do I get Magnets for my miniatures? What kind of magnets do I need?
I get all my neodymium magnets on Amazon. Of course, the size of the magnets that you need will depend on the miniatures you have. If you’re unsure and want a variety of useful magnet sizes, I recommend you pick up a magnet set that I have.
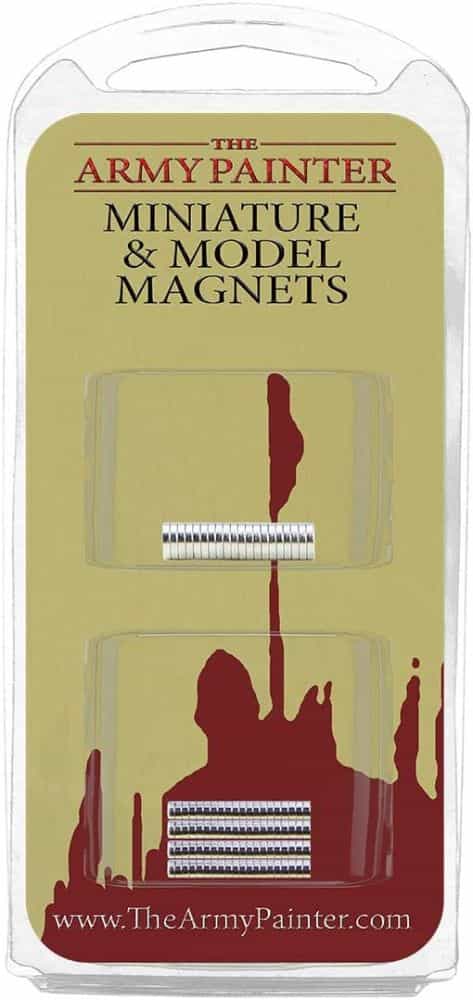
How do I attach magnets to my miniatures?
To attach magnets to the bases of your models, or even the tank treads or flyer bases of the vehicles you have, I always recommend using some combination of super glue or epoxy putty.
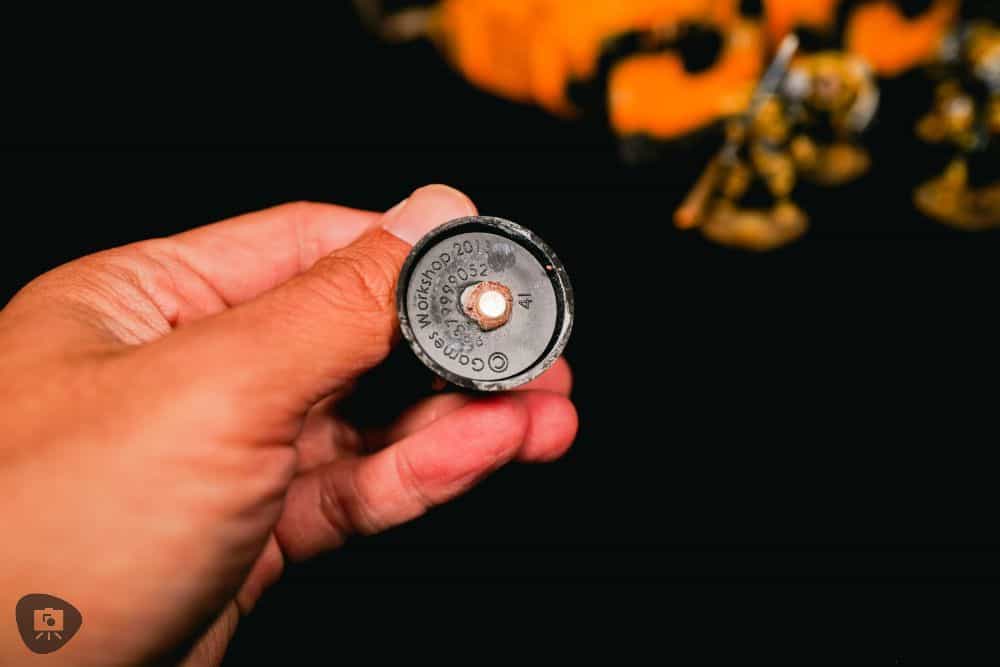
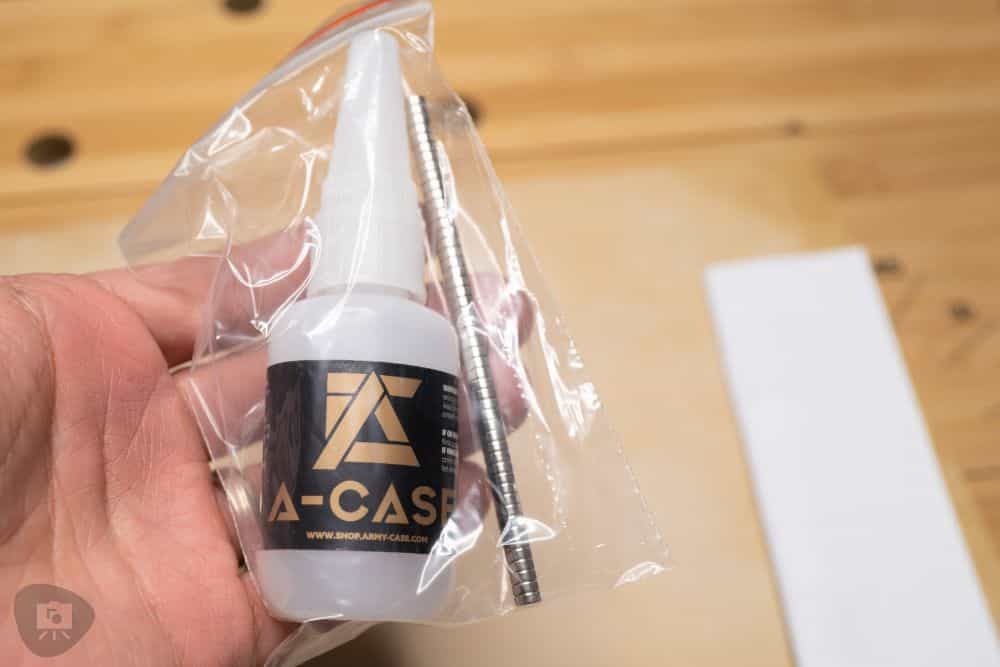
You can even use quick-setting two part epoxy resin. It’s a bit messier, but for a stronger bond on larger magnets with heavier models, it’s the best option.
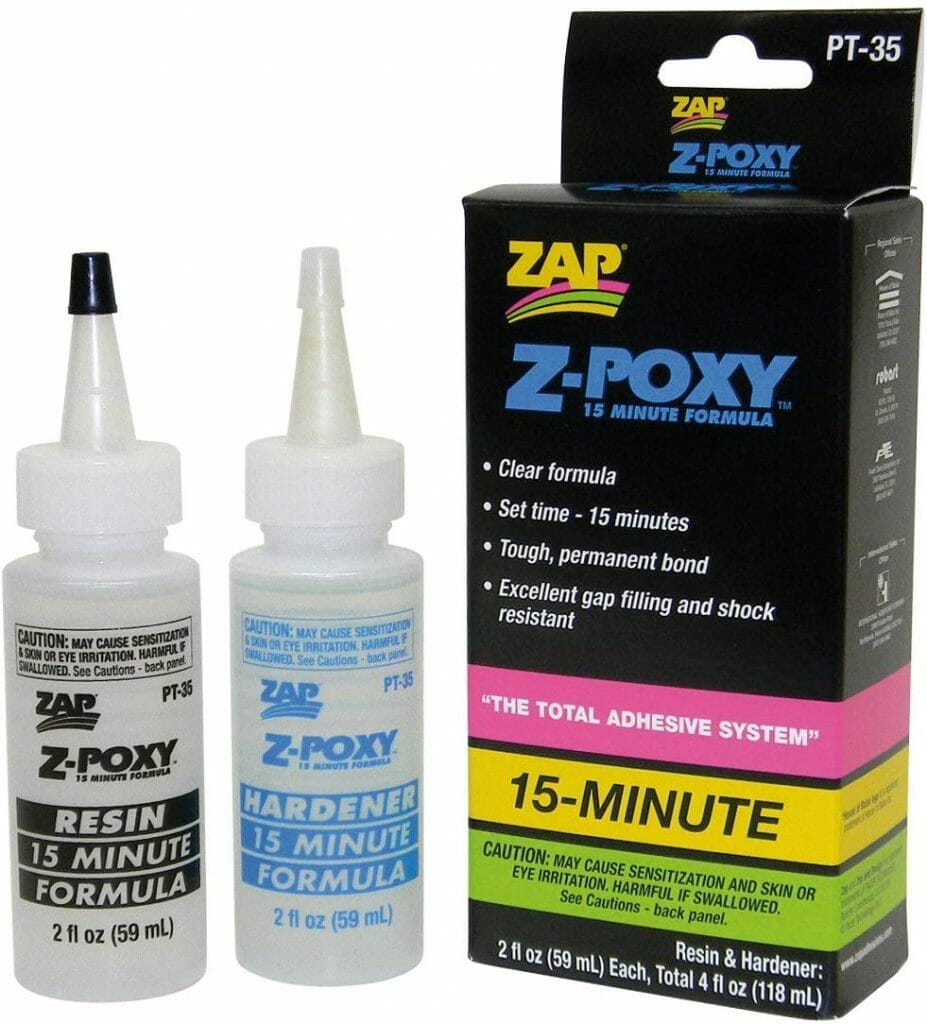
Here’s a step-by-step guide to help you achieve a sturdy magnet attachment on your miniatures:
Materials:
- Neodymium magnets (appropriate size for your miniatures’ bases)
- Super glue (cyanoacrylate adhesive)
- Epoxy putty
- Toothpick or a small applicator
- Safety gloves (to prevent skin contact with super glue)
- Clean cloth or tissue
- Isopropyl alcohol (optional, for cleaning)
Instructions:
- Preparation: a. Ensure your work area is clean, well-lit, and ventilated. b. Wear safety gloves to avoid any direct contact with super glue. Remember, super glue binds skin instantly. c. Clean the base of the miniature and the side of the magnet you intend to attach with a cloth or tissue. If needed, wipe with a bit of isopropyl alcohol to ensure they’re free from oils and residues. Allow to dry.
- Super Glue Method: a. Place a small drop of super glue on the base of the miniature where you intend to attach the magnet. Use sparingly, as a little goes a long way. b. Press the magnet onto the glued area firmly. Hold for a few seconds to ensure a strong bond. c. Allow the super glue to set (this could take a few seconds to minutes).
- Epoxy Putty Method (For a more reinforced bond): a. Mix or roll a small amount of epoxy putty as per the manufacturer’s instructions until you get a consistent color. b. Wrap or place the epoxy putty around or underneath the magnet, ensuring it’s in the desired position on the miniature’s base. c. Gently press the magnet (with the putty underneath or around it) onto the miniature base. Ensure the magnet is flush with the base and there are no gaps. d. Smooth out any excess putty using a toothpick or your fingers to ensure a neat finish. e. Allow the epoxy putty to cure based on the manufacturer’s recommended time. This can vary from a few hours to 24 hours.
Other Quick Tips:
- If you’re working with larger miniatures or those with a significant weight, consider using multiple magnets or larger ones to ensure they’re held securely.
- Always store your super glue in a cool, dry place with the cap tightly sealed to ensure longevity.
- Make sure your magnets are clean from debris, so they have flush contact the metal carrying surface.
- When removing strongly magnetized models from metallic surface, use a gentle sliding motion to “peel” the model away, rather than pull directly upward, to avoid breakage of the magnet-glue bond or miniature.
Final Thoughts
Are magnetic model carrying cases better? Are they worth it? It depends.
If you’re in the market for a no-hassle way to take your magnetized miniature gaming army with you, without resorting to a DIY option, then this magnetic carrying case is my recommendation.
In general, the Magnetic Miniature Carrying Case (with no fancy name) is a highly functional and pleasure-to-use miniature storage and transport solution. Balancing affordability with utility, it may not replace what you’re currently using. But it offers an appealing alternative for those eyeing a budget friendly magnetic storage system. Take a closer look yourself!
I hope you found this review helpful.
Well, what do you think? Are you interested in a new or upgraded miniature transport and storage case? I’d love to hear your thoughts on the ideal transport and storage solution for your miniature and model collection. Leave me a message below! I’ll get right back to you!
Safe hobby travels! 😀🚗




Tangible Day on YouTube (Miniatures and More!)

