Dry brushing is an essential miniature painting technique because it has so many uses in the hobby. It’s also one of the easiest methods to learn, which makes it popular among both novice and experienced painters. Whether you’re painting minis for tabletop wargames or roleplaying games, e.g., DND, or board game miniatures, dry brushing is super useful.
In this article, I give you an overview of the three most popular uses for dry brushing on miniatures.
KEY TAKEAWAYS
- Dry brushing is a core skill for all miniature and scale model enthusiasts.
- Primary effect of dry brushing is controlled paint application on raised areas of a miniatures.
- Beyond highlighting, dry brushing is great for smooth gradient blending, object source lighting (OSL), and zenithal highlighting.
- Despite its simplicity, dry brushing is often undervalued.
- Not just for beginners; seasoned painters benefit too.
- With practice, dry brushing provides nuanced results and combines well with other advanced techniques.
IN A HURRY? CHECK OUT MY TOP 3 RECOMMENDED DRY BRUSHES
- The Army Painter Masterclass: Drybrush Set (Popular workhorse)
- ARTIFY Drybrush Set (Complete dry brush set)
- e.l.f. Eyeshadow Brush (Budget-friendly alternative to hobby dry brushes)
Read on to learn more about the different ways you can use dry brushing in your miniature painting.
Reasons to Learn How to Dry Brush Miniatures
Everyone should know how to dry brush their models. Even if you aren’t pleased with its primary effect, which is to highlight raised areas on miniatures, when combined with other techniques you can pull off some spectacular effects, e.g., layer blending, special lighting effects, slap chop speed painting methods, and much more.
Although dry brushing is a simple and often maligned technique for its ease, it is a technique that I still use all the time. In fact, there are three ways I use dry brushing in my miniature painting projects.
Whether I’m painting minis for Warhammer 40K, board games, 3D printed models, or some tabletop game, e.g., RPGs, DND, dry brushing is one of my go-to techniques. It’s fast, economical (you don’t need fancy delicate brushes), and produces reliable results with practice. Dry brushing isn’t only for beginners! With practice and experience, you can achieve nuanced results that elevate your miniatures to the next level.
Quick Note About Ideal Miniature Sculpts to Dry Brush
Some miniatures are better for applying the dry brush method to than others. At this point, I’m pretty confident I can tell what miniatures I think dry brushing will work well on.
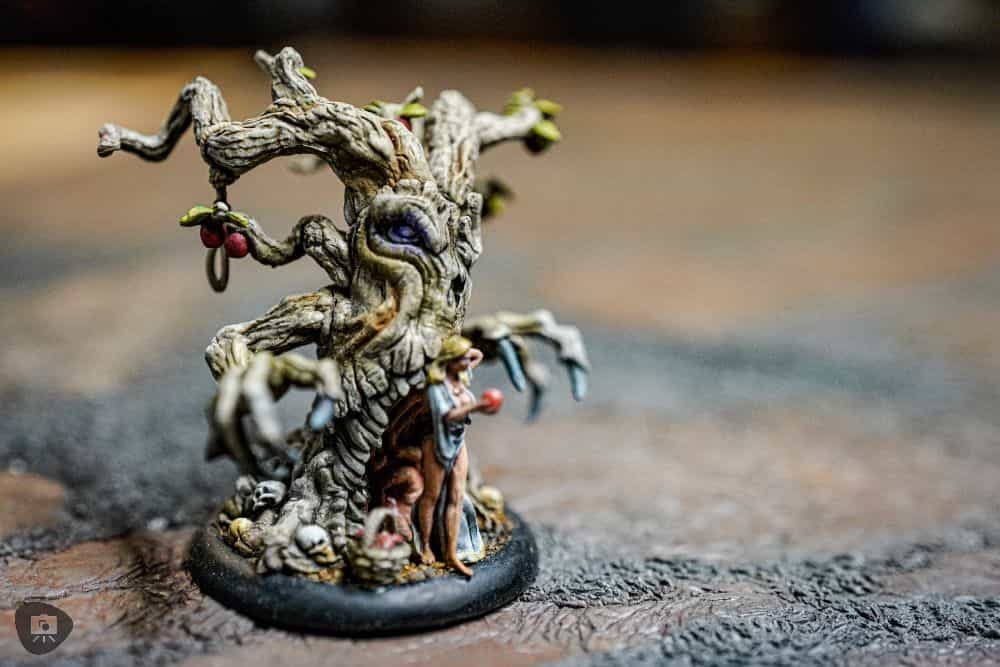
Miniatures that lend themselves well to highlighting with a dry brush are those with good texture contrast. That is, texture and detail that is well defined, such that the raised surfaces are clearly separate from the recesses and “valleys” on the surface of the model.
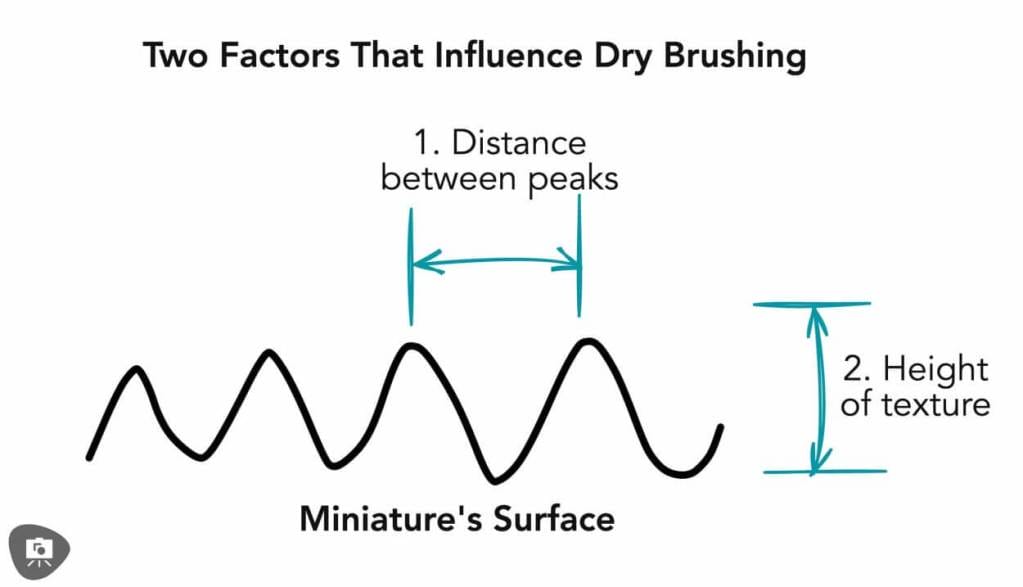
Two factors play into the overall effect of dry brushing a model. First, the greater the difference in height between peaks and troughs in the textured detail on a miniature’s surface, the easier it will be for you to control your dry brush application over that surface. In other words, deeper textured models are easier to dry brush. Second, how far apart raised surfaces are from the recesses will determine whether your dry brushing strokes will appear coarse or fine.
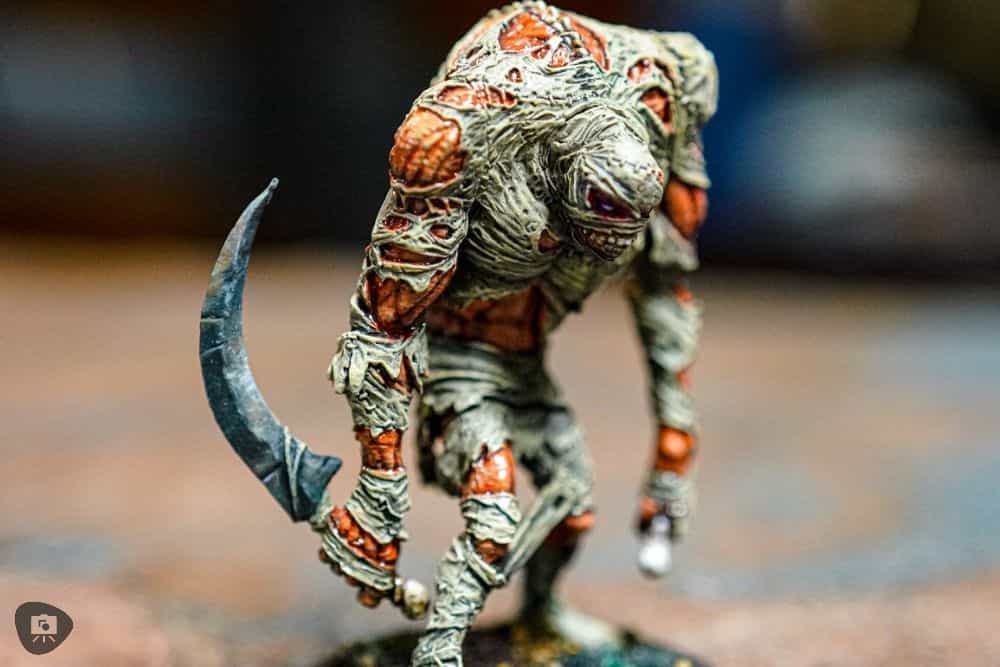
With these factors in mind, when you’re trying to decide whether a model is worth dry brushing, consider how much work you want to put in to get a satisfactory result, as well as what you should expect.
For example, a miniature with shallow texture height will be much harder to dry brush, effectively. Similarly, models with wide open, smooth surfaces, e.g., defined as texture peaks that are far apart with shallow recesses, may not work as well with the dry brush technique.
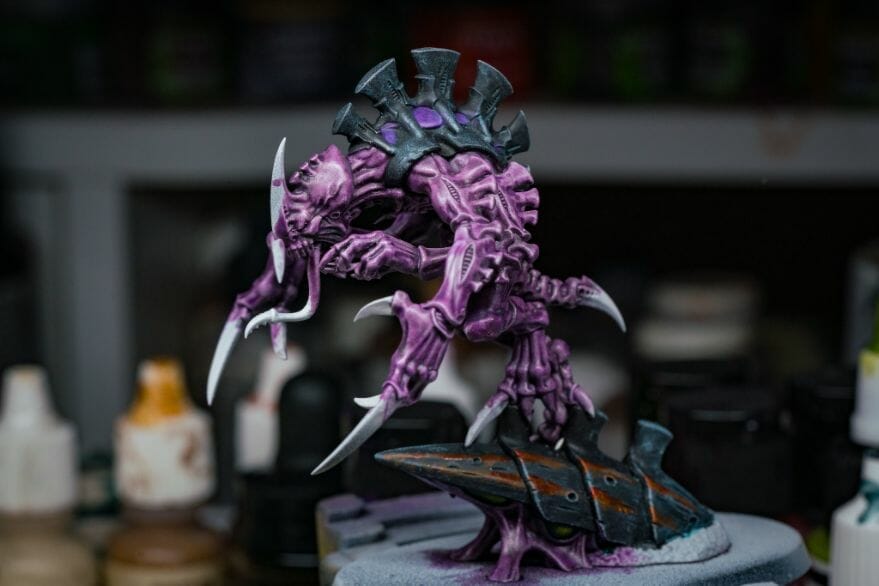
Vehicles or structures with flat, untextured panels are notorious for making you work extra hard to achieve a decent dry brush effect. Here, you may want to start with a large dry brush to cover the surface efficiently and evenly.
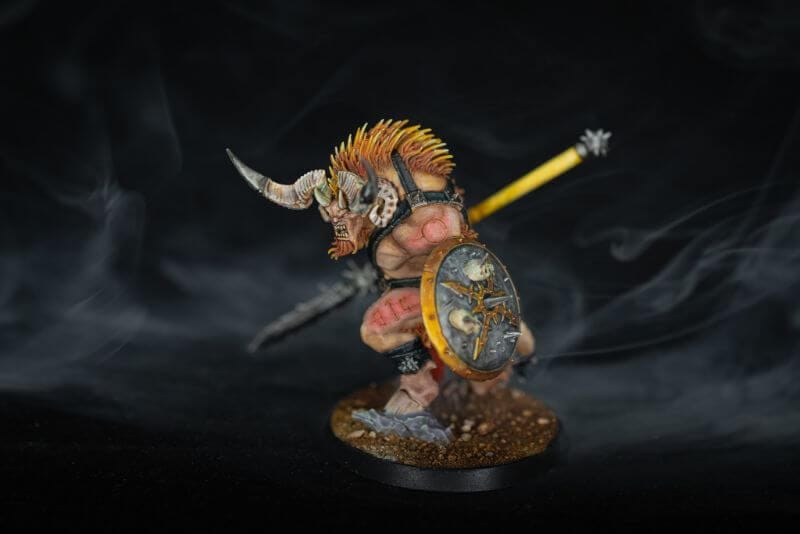
While I can get into granular descriptions with all the types of models that work well with dry brushing (or not), the best way to learn is to apply the technique yourself across a wide range of miniature types, sizes, and genre.
Read on to see three useful ways to apply dry brushing in your miniature painting work.
3 Ways to Use Dry Brushing on Miniatures and Models
If you’re looking for more in-depth info about dry brushing, then check out this simple how to dry brush miniature guide. There you’ll learn the basics of dry brushing, how to choose a brush for dry brushing, and tips for pulling off great effects.
Now let’s dive into three popular uses for dry brushing on miniatures.
Dry Brush Method 1 – Highlighting
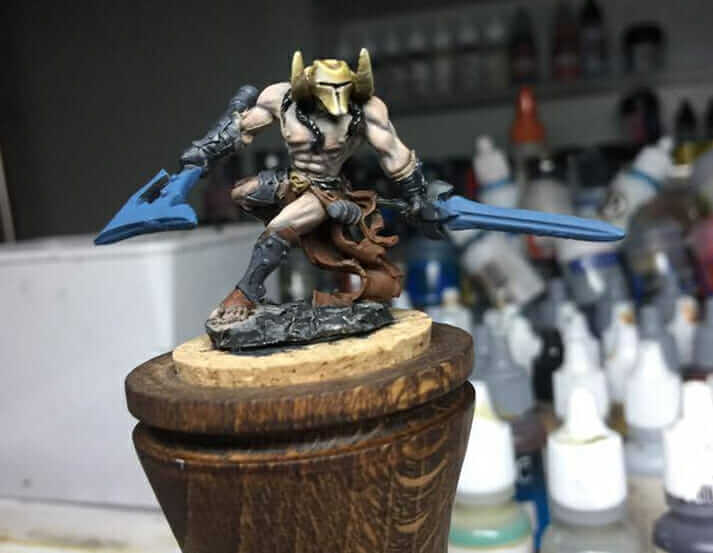
Using dry brushing to paint highlights on miniatures is one of the most well-known methods for the technique. The main purpose of dry brushing is to add a highlight effect to raised areas on the model, such as muscles, armor plates, or other details. This method is perfect for adding contrast and definition to your miniatures quickly.
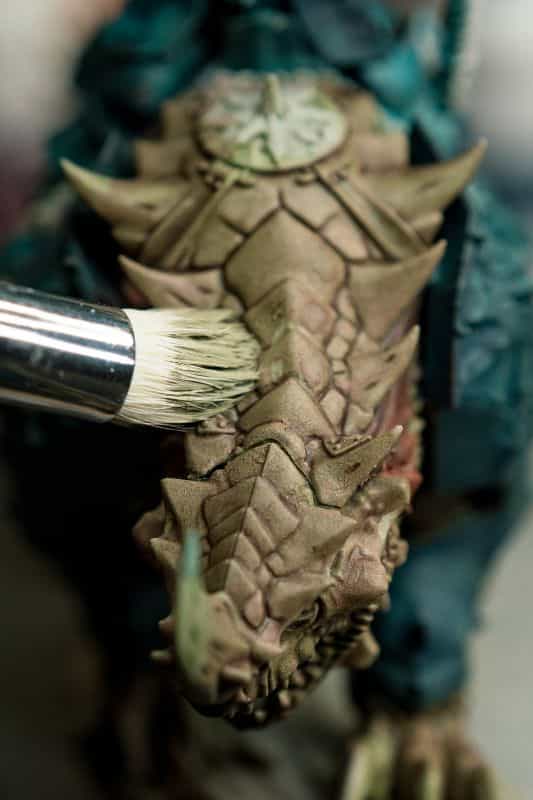
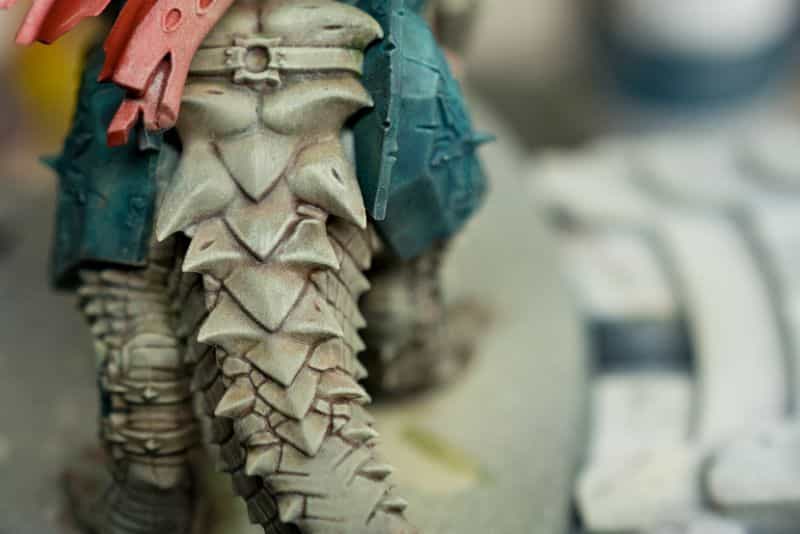
By strategically applying a lighter shade over the base color, dry brushing can effortlessly accentuate the raised details of a miniature. This technique brings out the intricate features that might otherwise be overlooked, giving the figure a more three-dimensional look.
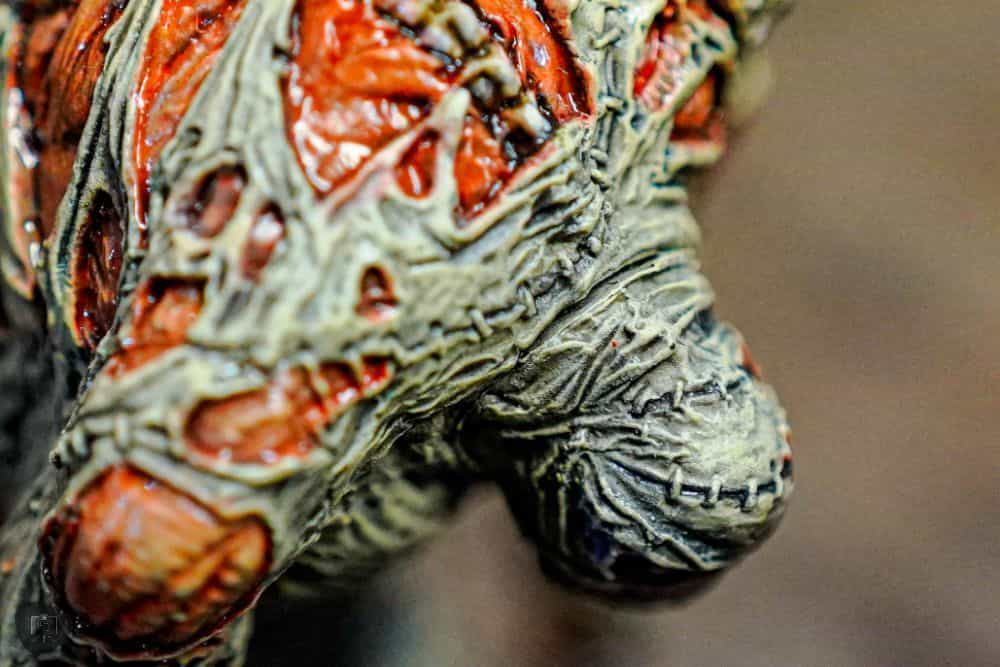
Additionally, because dry brushing uses “dry” pigments that you apply by swiping paint-loaded bristles over a miniature, you can quickly highlight an entire model in a few seconds (or minutes) depending on the size of the miniature and area you want to cover.
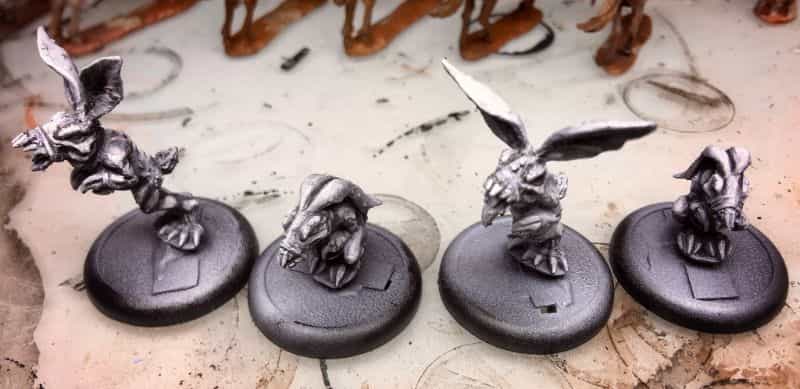
With practice and control, you can even use dry brushing to increase the contrast on fine textured detail.
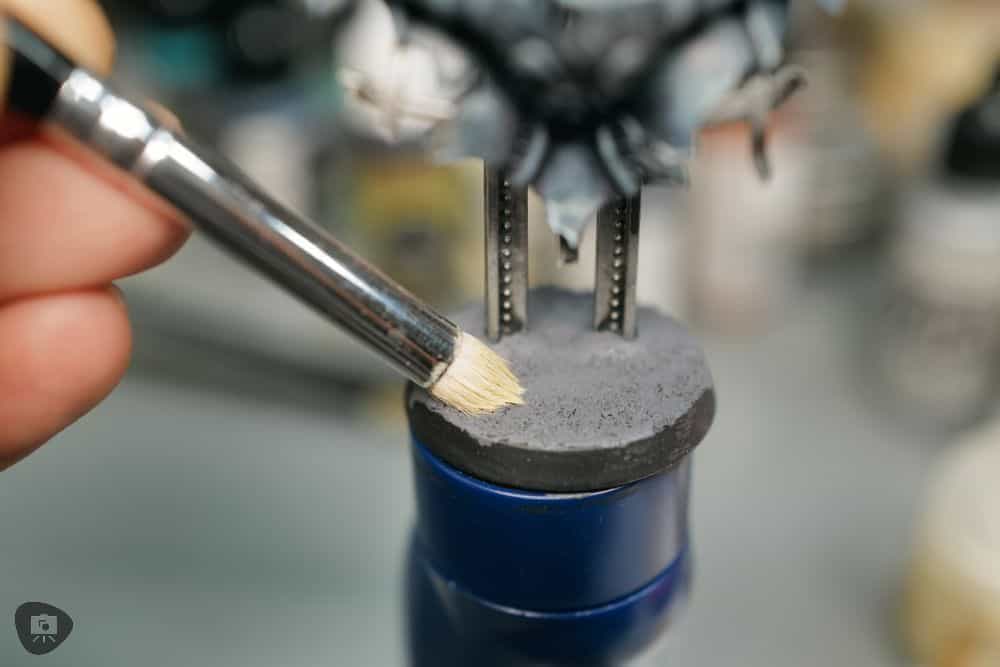
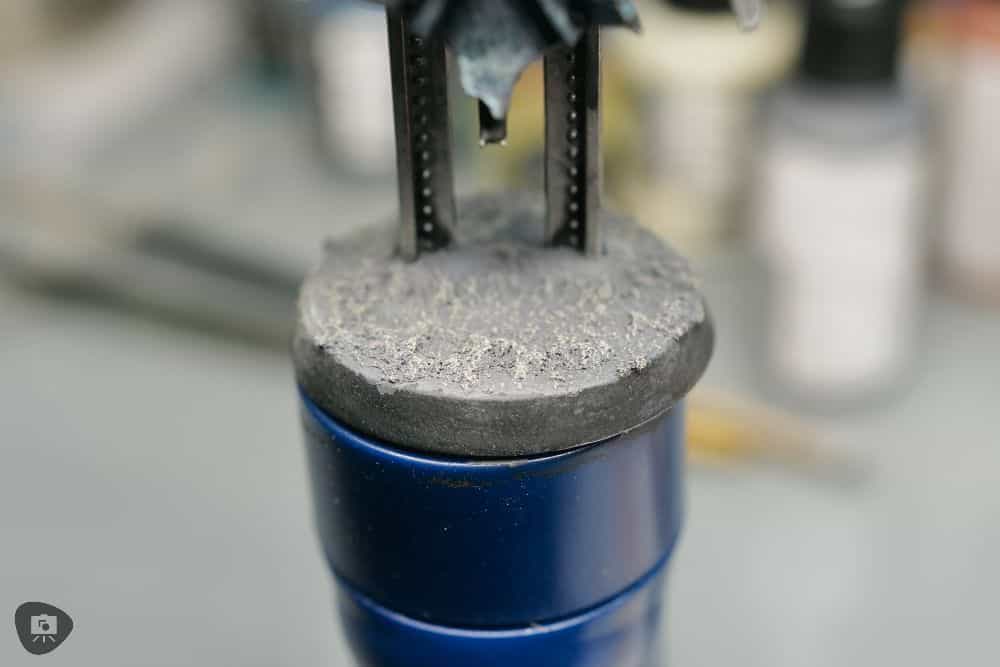
When you’re using a dry brush, the extra control you have for applying paint to raised, elevated surfaces of a model makes the technique ideal for zenithal highlighting techniques when you don’t have an airbrush or the eminently useful white-black spray primers available.
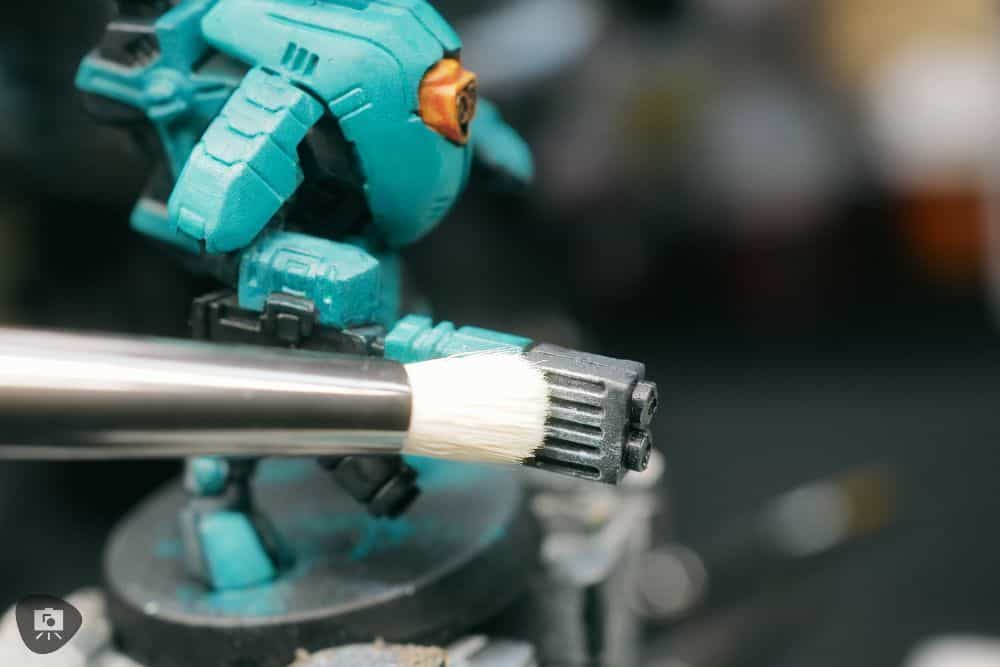
When you combine the power of dry brushing to highlight your models with other techniques, such as zenithal highlights, or the slap chop speed painting approach, you can quickly and efficiently paint a large number of models, big pieces of terrain, and even vehicles with wide surfaces, etc.
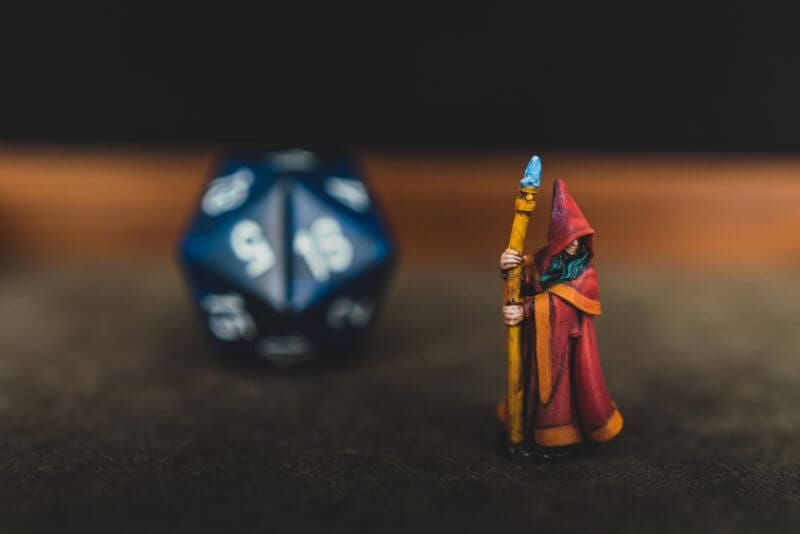
How to dry brush highlights:
- Preparation:
- Ensure the miniature is clean and primed.
- Choose a color for drybrushing that is lighter than the base color of the miniature.
- Brushes specifically designed for dry brushing tend to have very dense bristles (i.e., lots of brush hair close together) and are fairly stiff. Round or flat chisel-shaped brushes work well. Most of the paint pigments should load on the top ends of the brush.
- Base Coat or Dark Wash:
- Start with a dark base color or a darkening wash on your model, and make sure it is completely dry.
- Load the Brush:
- Dip the tip of your brush into your paint.
- Wipe off most of the paint on a paper towel or a piece of cloth until there’s only a small amount of paint left on the brush. The bristles should appear “dry,” not entirely clean of paint, but have a good amount of colored pigment on them.
- Drybrushing:
- Lightly swipe the brush back and forth across the raised areas of the miniature.
- Start with a gentle touch, gradually increasing pressure if needed to transfer the remaining dried paint pigment onto the miniature.
- Focus on the areas where light would naturally hit the miniature, such as the top edges of armor or the curves of muscle.
- Continue painting (if needed)
- If you’re not done with the piece, continue painting as you would; perhaps combining other techniques or simply applying a wash to add color or other overlying effects to your model.
Dry Brush Method 2 – Color Blending
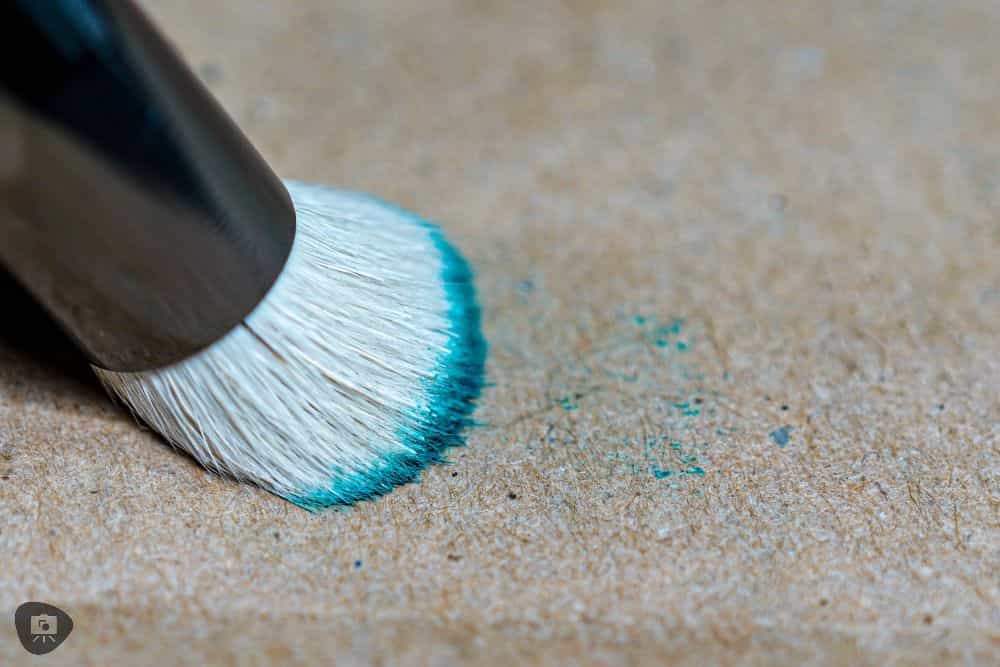
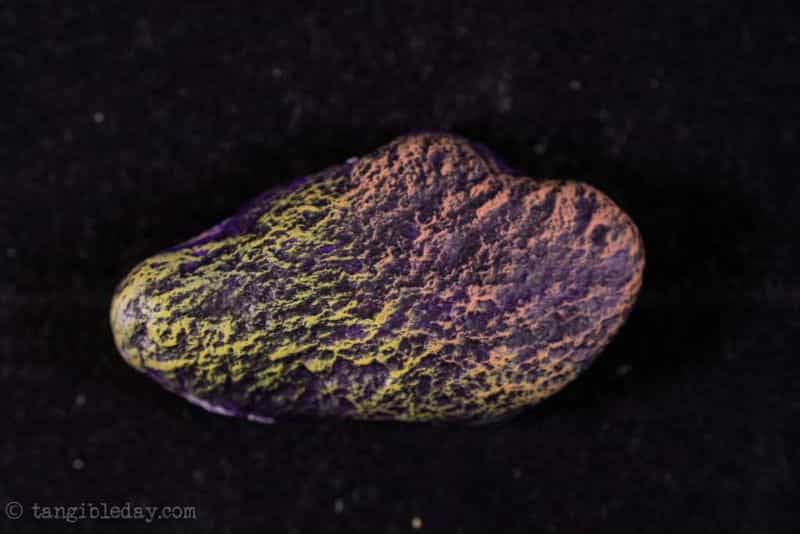
Did you know that dry brushing is a useful method for blending color? It is a less well known way to softly, and dare I say smoothly, blend color across a miniature’s surface. Color blending with the dry brush approach does require a tad more skill and patience.
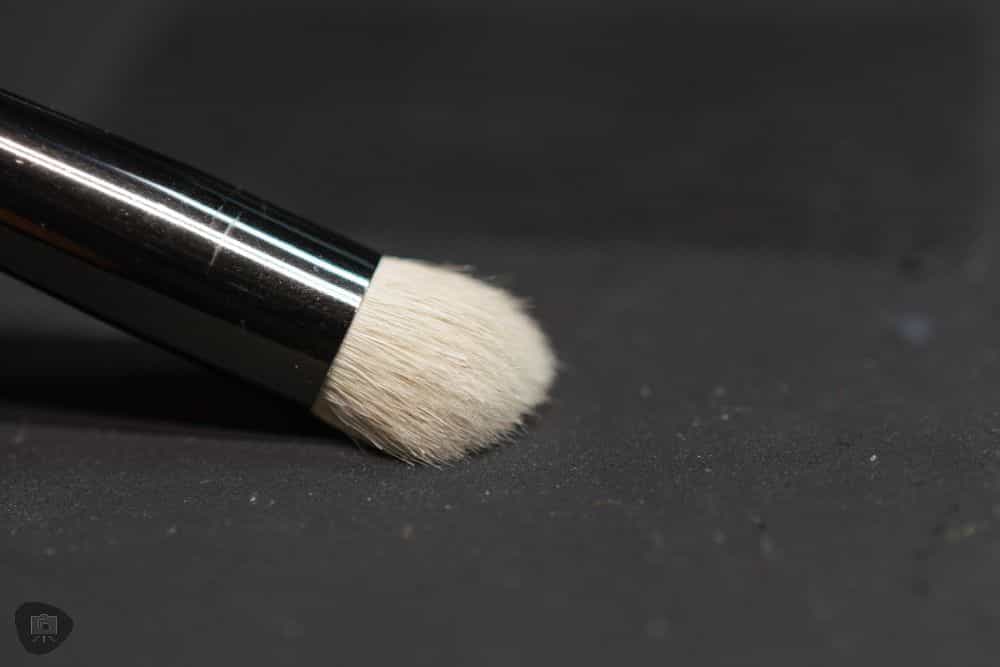
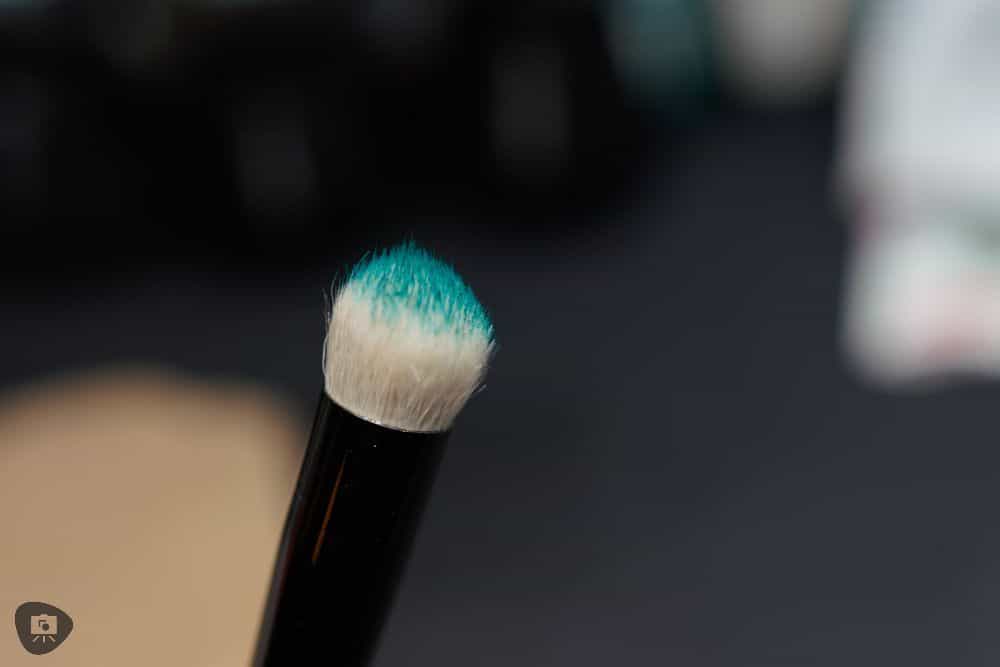
You may also want a soft, bristled dry brush to do this well. A soft-bristled cosmetic blending brush works well for this, and I like using the e.l.f. brand make-up brushes with round tops for this. Of course, any dry brush you have around works fine to blending color. It just depends on the kind of brush “character” that may appear on your model. Coarse, stiff bristles, for example, will leave a textured appearance; where as the soft bristled brushes I prefer provide a smoother, finer paint layer.
What’s the difference between highlighting and color blending with a dry brush? Not too much, except with the latter, you generally won’t use a highlight paint (i.e., bright color). Instead, you’ll be using two different colors and using the dry brush approach to bring them together, creating a gradient.
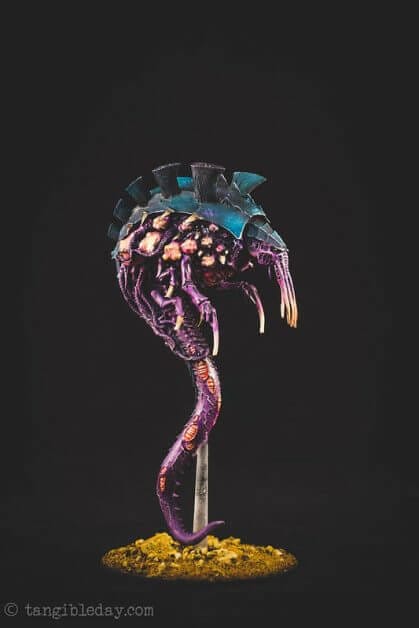
Now, remember: your dry brush must be “dry” to work well. This means you’ll probably want to completely dry brush one color, wash the brush, allow it to dry, then load a new color to follow through with the paint job. This can slow you down a lot.
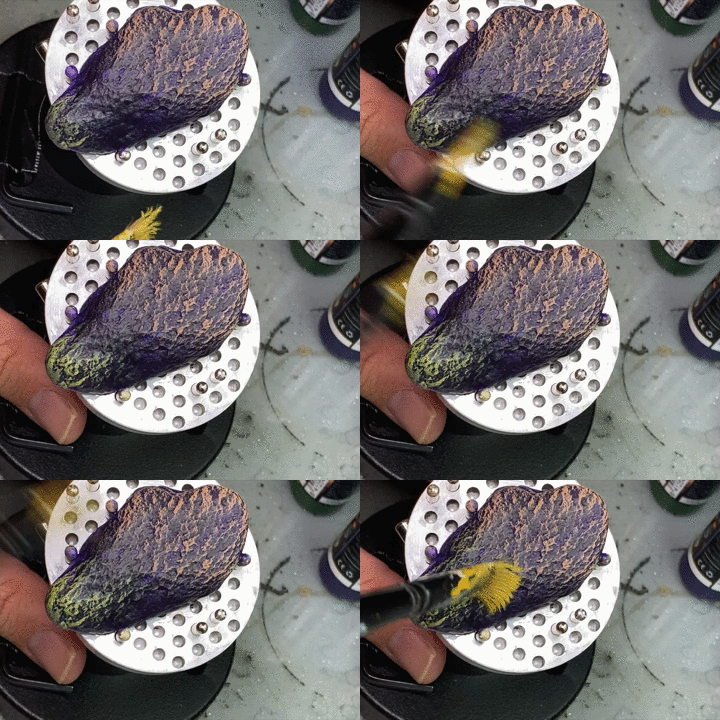
So, instead, if you want to be more efficient, I recommend using two dry brushes when blending different colors on a model. You would load each dry brush with the two different colors you want to blend together.
how to use dry brushing to blend color on a miniature:
- Preparation:
- As before, ensure the miniature is clean, primed, and coated with a solid base color.
- Choose two or more colors that you wish to blend. Typically, you’d start with a darker color and transition to a lighter one. Or, simply two colors you want to bring together into a blended gradient, like on a miniature’s cloak or some color-change effect you’re trying to paint.
- Have your dry brushes ready, one for each color you intend to blend.
- Loading the Brush:
- Dip the dry brush into the first color, wiping off most of the paint onto a paper towel or cloth until only a trace amount remains on the bristles.
- Initial Application:
- Lightly brush the color onto the area of the miniature where you want the blending to start, focusing on the raised details.
- Transitioning Colors:
- Allow the first color to set, and clean your dry brush thoroughly or switch to a new brush, then load it with the next color, again wiping off the excess paint.
- Apply this color slightly overlapping the edge of the first color, brushing back and forth to blend the transition between the two colors.
- Refining the Gradient:
- Repeat the transition process for any additional colors, ensuring a smooth gradient by overlapping the colors slightly. You should have a lot of control here, which I enjoy.
- You can go back and forth between colors to achieve a more seamless blend, but remember to keep the brush strokes light to maintain control over the blending process.
- Finishing:
- Allow the miniature to dry thoroughly before proceeding with any other painting techniques or seal the miniature with a varnish to protect your work.
Dry Brush Method 3 – Texture and Glowing Special Effects
The beauty of dry brushing lies in its versatility. Whether you’re aiming for a rough, worn-out appearance or looking to mimic certain natural textures like fur or stone, dry brushing can be your go-to.
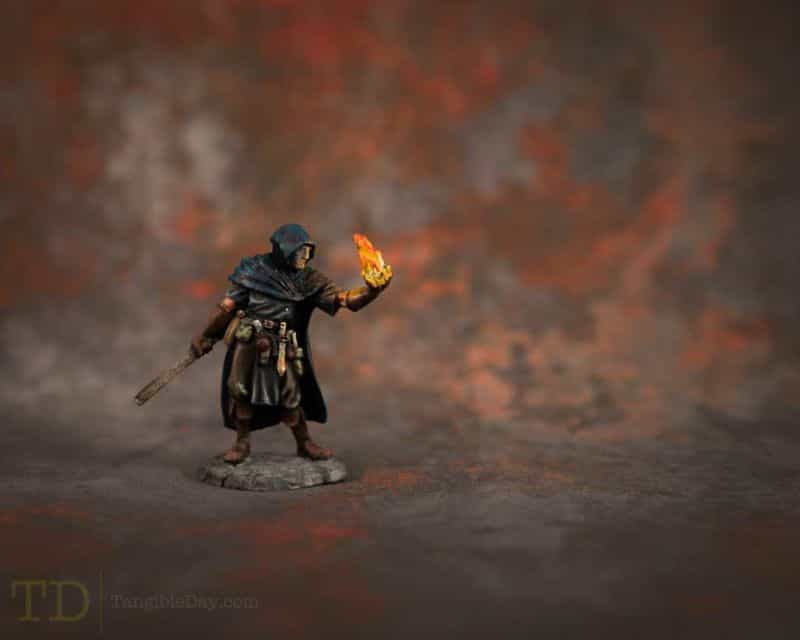
Because dry brushing focuses on the raised texture of your model, it will naturally bring out small imperfections on that surface, even if that surface appears smooth from a distance. This isn’t bad; in fact, this is wonderful!
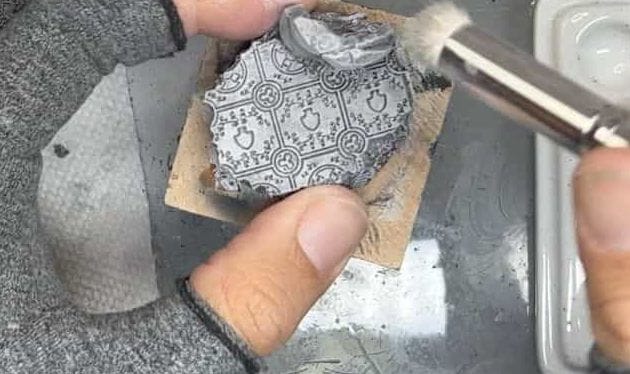
The somewhat rough character that a dry brush produces on any surface, whether it is fine detailed parts of a model, or simply on an open flat surface, like the armored sides of a tank, will give your piece an extra layer of realism that other painting techniques may not achieve. In fact, you can use dry brushing to weather your models, putting on dirt, rust, or other effects.
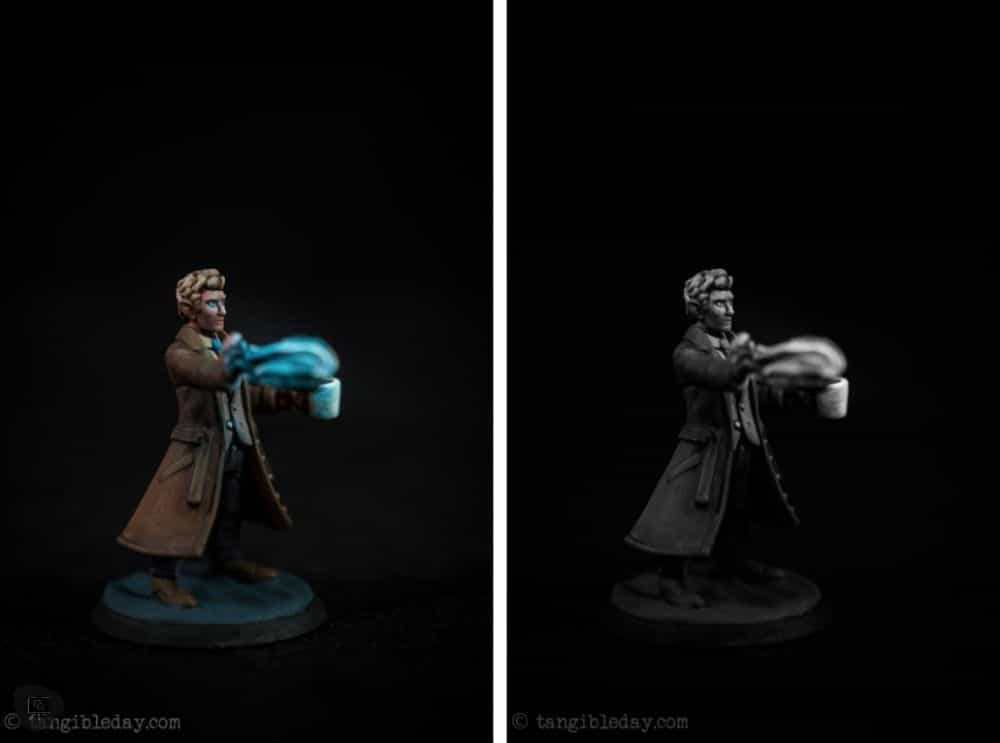
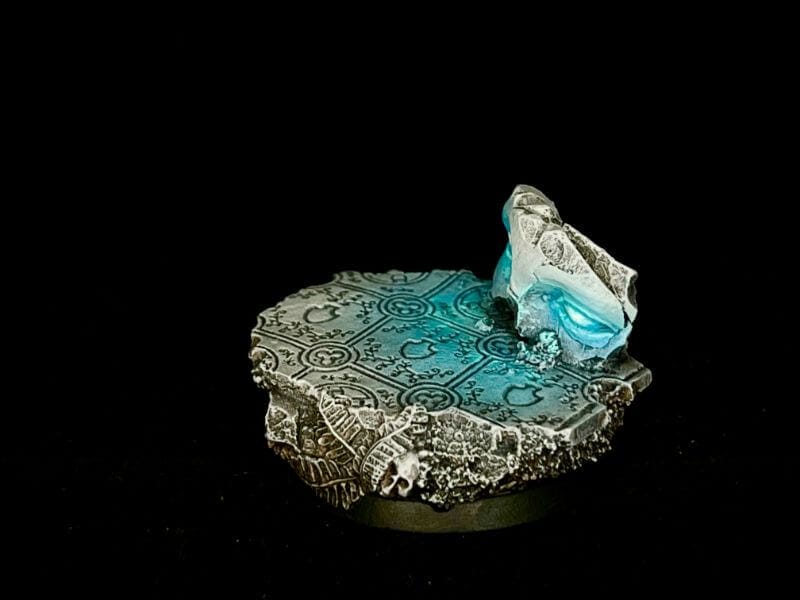
And, for those who are creative and ambitious, you’ll find dry brushing one of the easiest ways to paint those impressive glowing effects, also known as object source lighting (OSL).
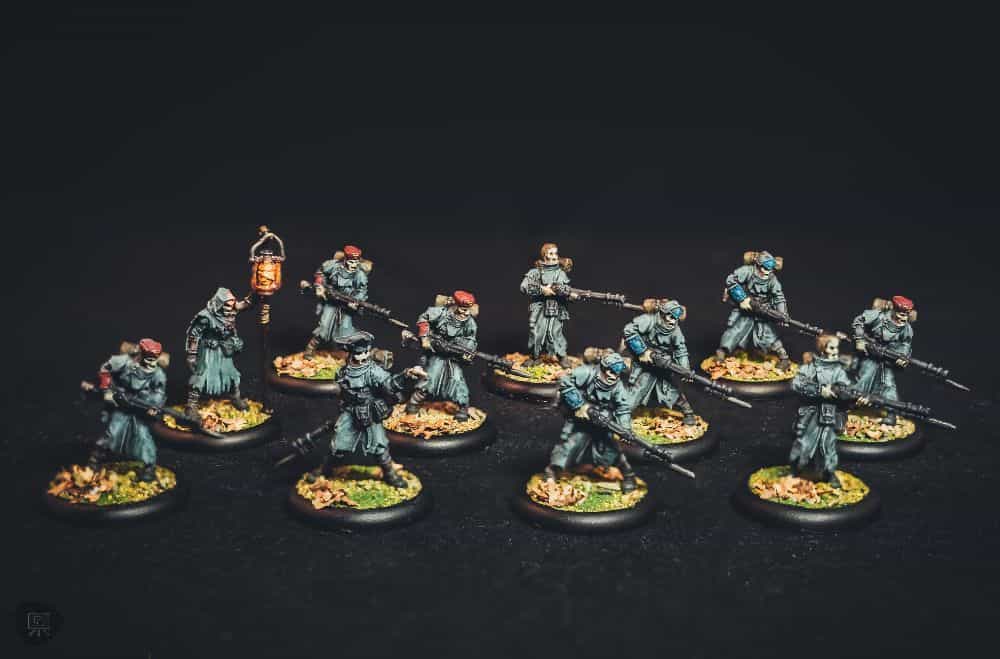
While I won’t get into the granular details of how to paint the OSL effect here, I can say that you should perfect the highlighting method with a dry brush first.
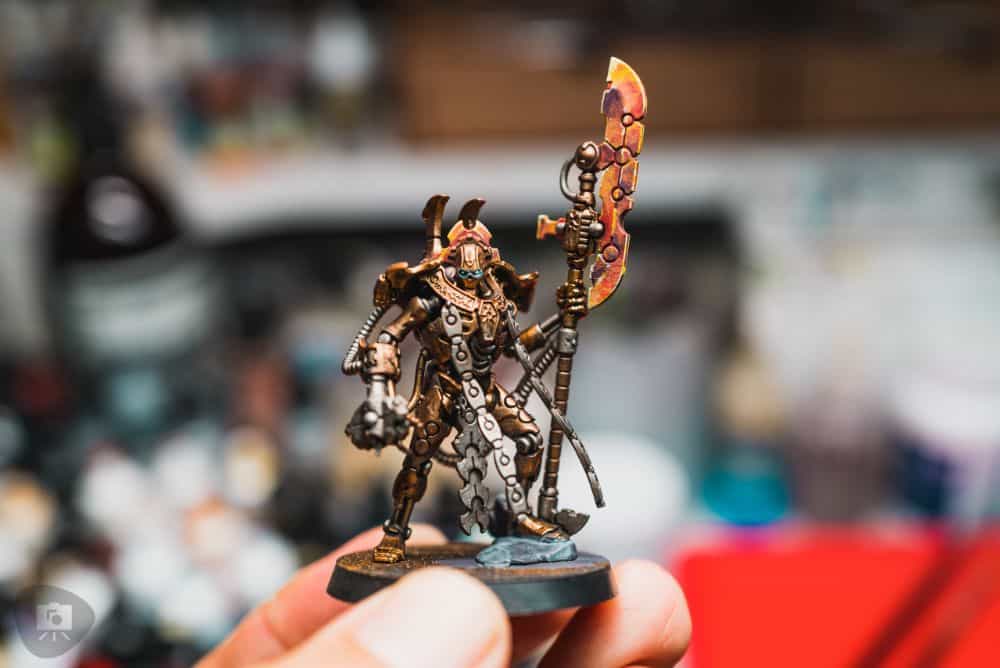
And, you should be able to have sufficient control over your dry brushing to apply very bright highlights to mimic the glowing light source. If you can do this, then it’s a matter of applying a colored glaze to “colorize” the glowing element on your miniature, e.g., a lamp light, a illuminated power sword, or the mystical eyes on an otherworldly creature.
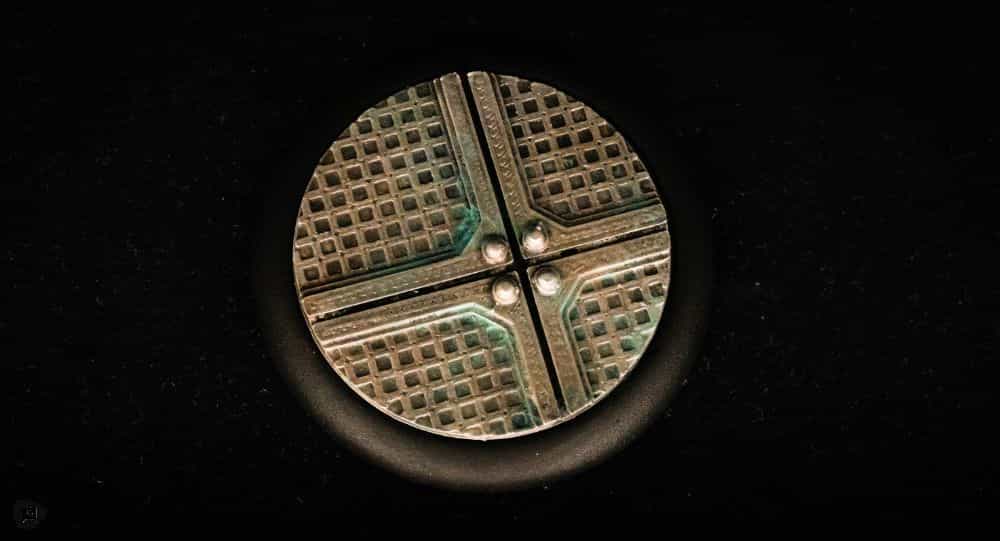
How you use dry brushing to create special effects on your models, as always, depends on your creativity and ambition. The key again is to be super comfortable with controlling your dry brush, focusing on the methods I show you above in #1 and #2. Once you get the hang of those approaches, learn to combine them with other must-know miniature painting techniques, experiment, and add your own spin to the mix.
A Relaxing Bonus of Dry Brushing!
Beyond its practical uses, dry brushing serves as a therapeutic exercise for me. How so? The fear of damaging my precious collection of Kolinsky sables, reserved for more refined painting techniques like loaded brush blending and edge highlighting, dissipates. With dry brushing, I can comfortably pick up any brush – be it a recycled one or a specialized hobby dry brush – and immerse myself in the painting process without any reservations.
Recommended Dry Brushes for Painting Miniatures
There are a lot of dry brushes you can use. For some of my work, I even use inexpensive cosmetic brushes with soft, synthetic bristles (i.e., blending brushes work best). When I’m looking for a small, oddly shaped dry brush to get into the nooks and crannies, i.e., deeper parts of a model, I’ll recycle an old paint brush.

Of course, if you’re looking for dry brushes ready-made for our miniature painting hobby, here are 3 that I would recommend you start with.
- e.l.f. Eyeshadow Brush – This is a cosmetic brush with soft bristles. You’ll want to pick one up in a size that fits your project. The softer bristles give you a “smoother” finish when you’re dry brushing and do require a gentler hand when you’re dry brushing, i.e., more practice and skill to use. I like cosmetic brushes because they’re inexpensive and make it easy to lay down very fine layers of pigments. Unlike hobby dry brushes (mentioned below), they may not be as durable. So, it is important to clean them thoroughly after each use and handle them with care.
- The Army Painter Masterclass: Drybrush Set – This is a highly recommended set for any hobbyist. I picked these up at a convention and haven’t looked back. They have stiff bristles and a natural round shape that helps with dry brushing. The fairly stiff bristles give you a good bit of control, and the set comes with 3 sizes. While I don’t use the smallest brush much, the other two-sized brushes are used regularly.
- ARTIFY Drybrush Set – This is an intriguing copy of the Artis Opus dry brush set and less than 1/3 the cost. Whether they are equivalent or better than other dry brushes on the market remains to be seen. But these are a very popular dry brush set. It comes with 5 dry brushes in appropriate sizes for painting miniatures, a dampening pad, and brush soap. The goat hair bristles and handle construction seem to be durable. If you’re looking for affordability and more bang for your buck, these would be great to check out for yourself.
Conclusion
I hope you found this article useful. Dry brushing is a powerful technique and everyone should grasp the basics of how to do it. With practice and some creativity, combining dry brushing with other miniature painting approaches allows you to create some cool effects on your models.
I also think dry brushing is relaxing. The process is almost meditative, with repetitive application of paint on a model, without worrying too much about perfection. It’s a great way to unwind and enjoy the hobby.
When it comes to choosing how and when to dry brush it’s all about experimenting and finding what works best for you and the particular project at hand. Keep practicing, keep trying new things, and most importantly, have fun with it!
Are you dabbling with dry brushing? Are there any creative things I missed that you’re using dry brushing for?
I’d love to hear from you! Leave a comment below.

Find Your Base Color Scheme


Tangible Day on YouTube (Miniatures and More!)
