Not sure if you have enough contrast on your painted miniature? A quick way to check if you have enough contrast on your miniature is to take a photo! Once you have the image, remove the color. You’ll see the dynamic range on your model a lot better, and painting with high contrast will become a lot easier!
In this article, Chris Spotts, studio artist and owner of the “The Spotted Painter”, shows us a quick tip on how to use photographs to help paint miniatures with high contrast.
I’ve been a fan of Mr. Spotts, and I have learned a lot following his work on social media. You can see more of his instruction on his Facebook page here.
The key to the venerated “3D pop” in miniature painting is contrast.
RELATED: 50 AWESOME MINIATURE PAINTING TIPS
Read on to learn about how Chris Spotts uses photographs to help him paint with high contrast.
How to Use a Photograph of Your Miniature to Paint with High Contrast (5 Easy Steps)

In 5 easy steps, use a photo to see where you may need to brighten or darken your paint job (i.e., increase contrast).
- Take a good photograph of your miniature with even light over your entire model
- Remove the all of the color using your favorite photo editor (turn the image black and white)
- Assess the black and white photo for contrast
- Re-emphasize highlights and shadows with brighter or darker value paint
- Repeat from #1, if necessary
1. Take a photo of your miniature in good light.

READ MORE: BEST LAMPS AND LIGHTS FOR PAINTING MINIATURES
2. Remove the all of the color using your favorite photo editor (turn the image black and white)


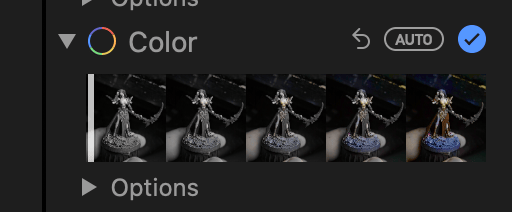
In most software, this is a slider that you merely drag to reduce the saturation, which turns the photograph into black and white.
3. Assess the black and white photo for contrast

Losing color in a picture will help identify where you need things (saturated colors can fool your eye) particularly value contrast.
How identifiable are pieces of your mini without color information?
RELATED: BEST MAGNIFYING LAMPS FOR EVERY MINIATURE HOBBYISTS
A black and white photograph of your miniature will let you know if you need to change things. The colorless version of your miniature will tell you where to make some things darker or brighter.
4. Re-emphasize highlights and shadows with brighter or darker value paint
In the example miniature above, a black and white photograph tells you 3 important things:
- I need more shadow and color in the skin tones.
- I need to take my non-metallic metals a bit brighter.
- I need more contrast in my red (this can be either made darker or brighter)
Once you have done this with your miniature, go ahead and paint where you need more highlights or shadows. Of course, you’ll be using colored paint for this step.
5. Repeat from #1, if necessary
After you’re finished painting your miniature to adjust for the needed contrast (based on your black and white photo assessment), decide whether you need to re-take the photo for another round.
This may be a cyclical process until you’re satisfied with the result. Make sure to take your miniature into different lighting conditions to check for any areas that may need more work.
Try this process on a recent mini. If it’s mostly all the same tone of grey, then you’ll need more contrast, probably!
Summary
Using black and white photos of your work-in-progress miniatures is a quick and easy way to decide where, and if, you need to add more contrast.
Contrast is the key to a beautiful paint job. Even as a speed painter who works on hordes of miniatures, you can get really great results with a high contrast paint job.
It takes practice, of course, to paint well. And, sometimes extra tools at your disposal can help you climb the learning curve that much faster. Once you’ve got a “eye” for contrast, you’ll soon find that you will need less and less technical aids to make your paint jobs more interesting and impactful.
Other example images of 3D printed and painted miniatures with object source lighting (OSL)
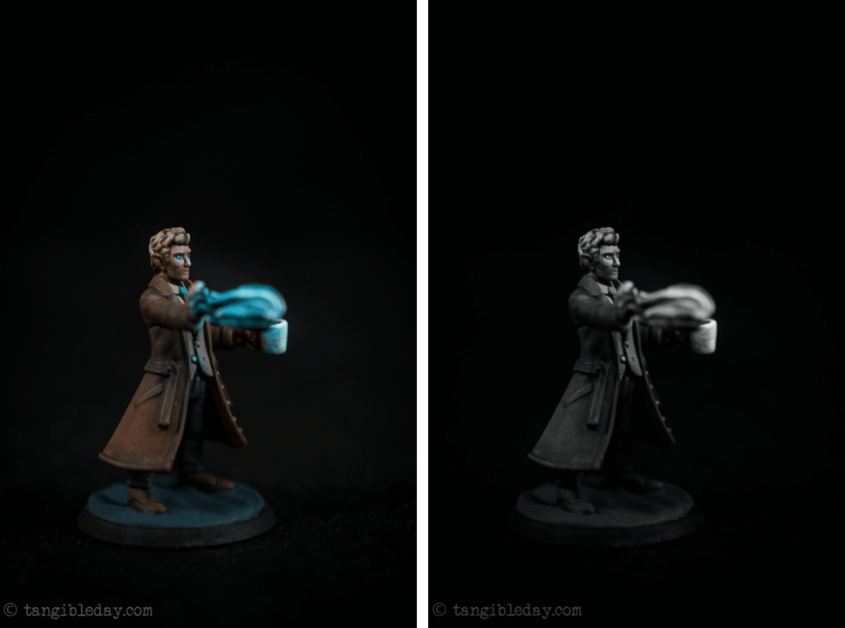
The images above were photographed in a light box designed for product photography. Check out how a photo light box can help you photograph miniatures better.
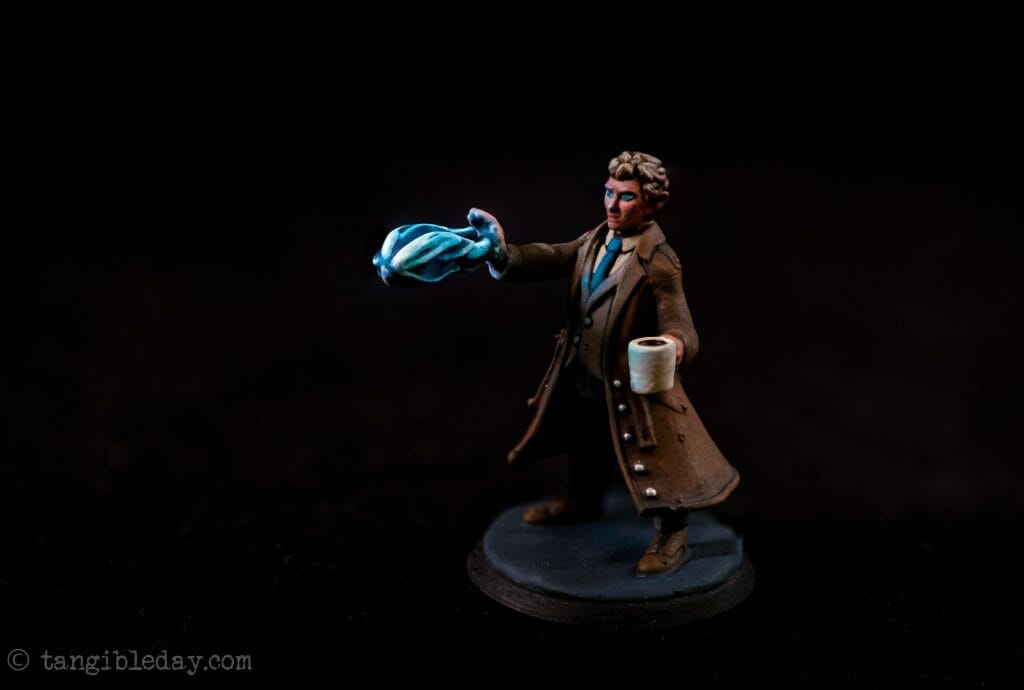

This miniature painting article for painting with high contrast using photographs is sponsored by “The Spotted Painter“.
Feel free to share your work with Chris Spotts and remember to follow The Spotted Painter on Facebook!

Tangible Day on YouTube (Miniatures and More!)

Pingback: How to Paint High Contrast Miniatures with Photography (5 Steps) — Tangible Day | Ups and Downs of Family History V2.0
Pingback: Tangible Day – Featured Blogger of the Week March 19, 2021 | Ups Downs Family History