How do you paint marble effects on your miniatures? You can use the marbleizing technique to paint miniature bases, stylize stone effects, and even create elaborate terrain pieces. Using marble effects can add significant interest to a model. Of course, there are a few key elements you need to know for creating compelling, realistic looking marble.
In this article, I show you how to paint the marble effect on any surface using simple techniques. There are many ways to paint marble on small surfaces, but this has been the quickest way for to achieve a realistic looking stone marble effect on models.
Key Takeaways
- Use reference images of marble to ensure your vein patterns appear “organic” and “natural”
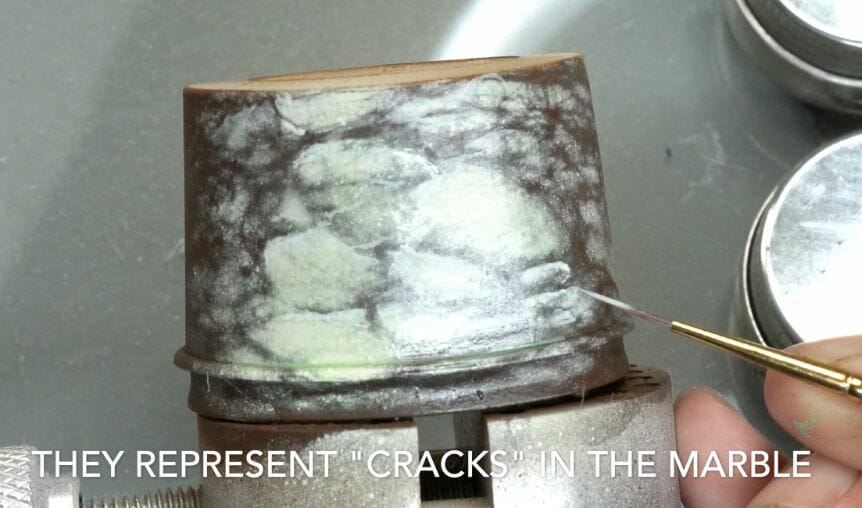
- Marble veins are essentially cracks in the stone, or layered-in color like a cake when you look at a slice from the side
- Real marble is often processed to have a smooth or polished surface, so try using a varnish with a glossy or satin finish
- Glazing other colors over a marble surface can add interest and realism (how to glaze)
- Freehanding isn’t necessary, but can further add convincing elements to a marbleized surface
You can find a video that summarizes this post at the bottom of the article. Continue reading for how to paint marble effects on miniatures!
What is marble? It’s a piece of cake!
Prototypical marble isn’t a natural product. Marble” is processed from raw stone, shaped, and finished by people. In reality, natural marble is merely a type of rock with multiple elements and colorations mixed into it in layers. The veins threading through marble are the result of time and immense pressure. And, similarly, all you need for painting marble (or any miniature) is also time and pressure.
What is “real” marble?
The Earth is a giant oven and deep below the surface magical things happen where minerals, chemicals, and rocks come together to form geological pastries. You can think of marble as a multi-layered cake made of different types of rock baked together with huge amounts of heat and pressure.
If you want to get all scientific about it, a geologist will say that marble is a metamorphic rock that forms as a result of other existing rocks mixing together (i.e., metamorphism) with heat and pressure. With time, these key geological ingredients change the chemical makeup and mineral structure of the rock, creating a melange of organic forms, structures, and patterns within the stone.
The resulting product is a raw form that a stonemason may process into the beautiful and elegant marble objects we think about everyday. When we see marble, we are witness to a process that took history to make. Recreating the marble appearance, of course, shouldn’t take too long. All we need is to know that marble is a cake with layers.
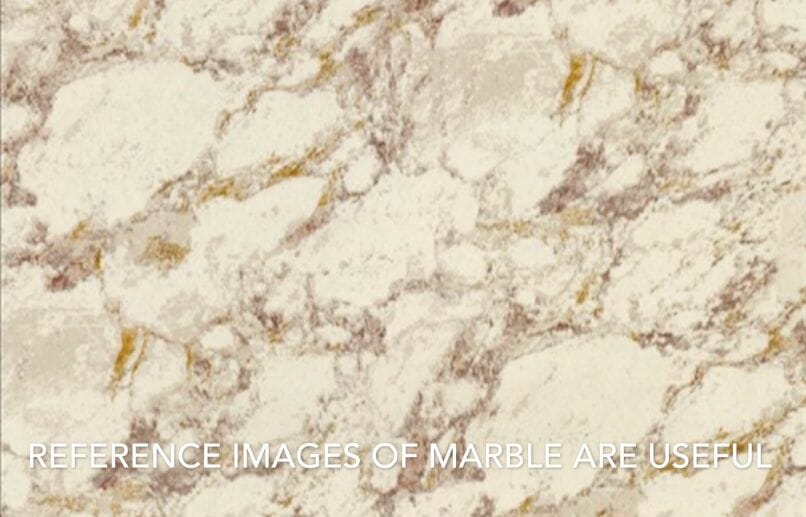
Pro tip for painting marble: Use reference images
Don’t work from memory unless you’ve had a lot of practice painting marble or freehanding marble-like designs. Often what we see in our head is skewed from reality. Things can get mixed up in your mind’s eye, and to create compelling marble, you need to paint the marble effect as closely as possible to real marble.
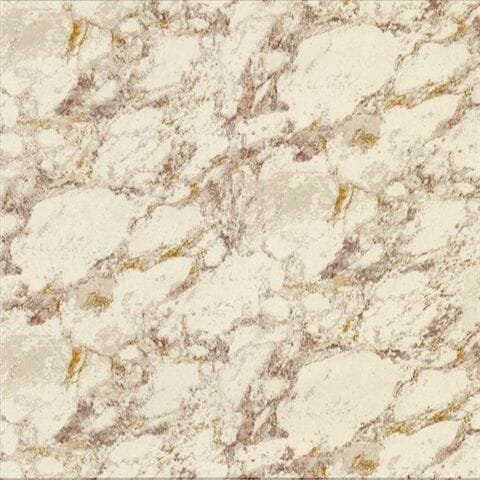
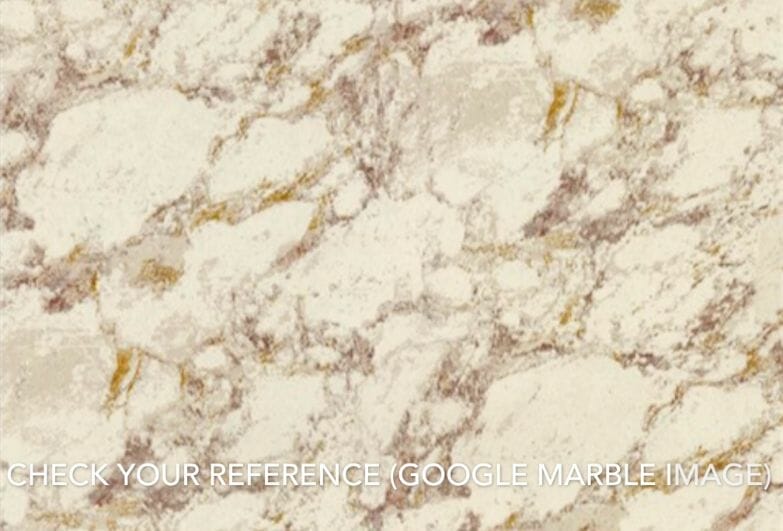
The best way to do this is to have a reference image available. I use a Google search for images to find pictures of things I want to try and recreate. In this case, I simply type “marble” in the Google search bar and scan the library of images that appear.
Once you have an image you like, simply save it somewhere you can quickly glance at it as you’re painting. You won’t be trying to copy the image exactly. Instead, you want to use the reference image as a guide to understand the generally flow of how to paint the marbling effect. There are many types of marble, and each has a different “look” (also known as a “motif”). An important use of the reference image is to make sure you stick to a single motif as you paint. Don’t mix and match marble types on a single painted surface.
For example, observe how the veins travel across the surface. What angles, twists and turns do they make? Do they look like bubbles, clouds, or sharp cracks? If they have a particular pattern, stick with it throughout your painting.
How to paint marble effects on miniatures (3 easy steps)
Here are the 3 key steps to painting marble effects:
- Prime and then base coat your surface with the “vein” color
- Create and use a stencil
- Apply the main marble color and varnish
Note: There are more involved ways to paint fake marble on miniatures using a combination of freehand techniques, a good eye, and a steady hand. But, the steps below is the easiest and fastest way to paint a compelling marble effect that strikes a balance between difficulty and overall impact.
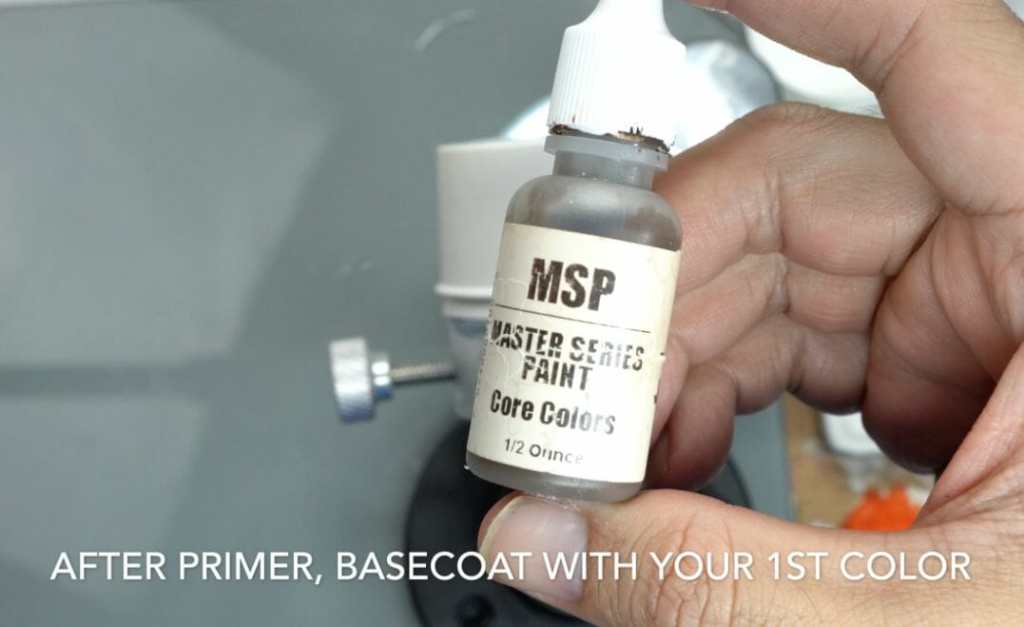
1. Prime and then base coat your surface with the “vein” color
Different colors makeup the appearance of marble. Marble could have dark veins in a bright surface, or vice versa. In general, I find it is easier to paint realistic looking marble when it is a brighter color. I think this is because I see the veins as “cracks” inside the marble and dark, shadowy colors play to that impression.
To start painting, remember to use your reference image to understand the color contrasts within the surface. You’ll be starting with two general colors: a dark and bright tone.
Prime your miniature surface with a suitable primer (here are my primer recommendations for miniatures). I use Vallejo Surface Primer that I airbrush over the surface.
Note: You don’t need an airbrush to paint marble. You can use the same principle techniques outlined here with a regular brush. It will take longer, and will require a few adjustments, but the effect will be the same. Check out this post if you’re interested in getting an airbrush.

For more about airbrushing, check out this complete guide for details about how airbrushes can help you paint miniatures.
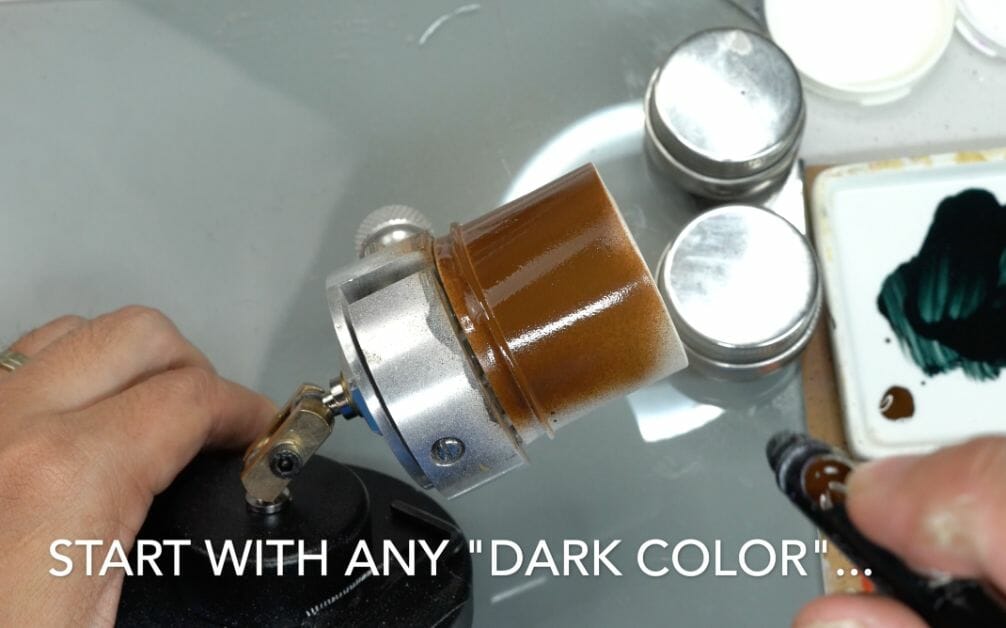
After you finish priming the surface, paint the first base coat color of the marble surface. This first basecoat color will be the color of the veins and cracks in the marble. It will help you achieve the marbleized effect later when you move to the next steps.

In this case, I base coat the surface using a dark brown color. I use an airbrush to apply 1-2 layers of a brown color. You can use any color you like. If you’re stuck, you can go back to your reference images for color scheme ideas.
2. Create and use a stencil
To speed up the process of painting marble, I highly recommend the use of stencils. You can either make your own stencil, or buy them. Here are some cool stencils you can use for other airbrushing and painting effects on your miniatures.

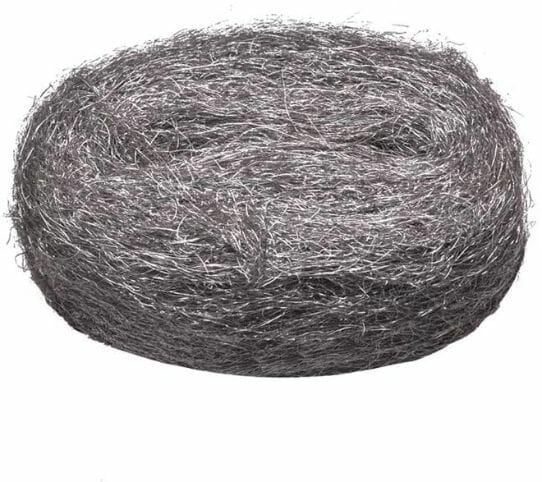
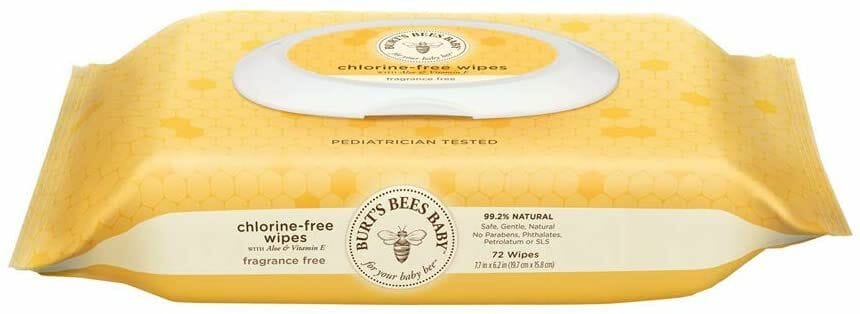
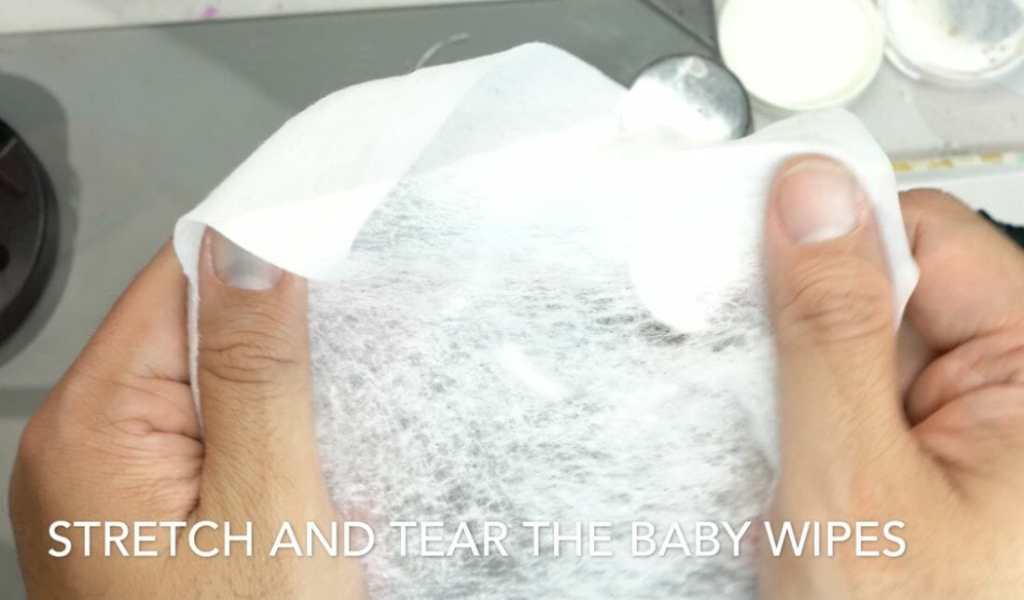
You don’t need to spend much money or time for creating stencils. For the most part, use whatever household products you have nearby. For DIY stencils for marble painting, you can use steel wool marble effects or use generic baby wipes. The main idea with DIY stencils for painting marble is to use something that has a thickness to it that will keep its shape when wet. You’ll be painting over your stencils.
The key to using any stencil is to make sure the pattern you choose fits the effect you want to paint. In this case, remember your reference image. You want the stencil pattern to help you recreate the “look” of marble.
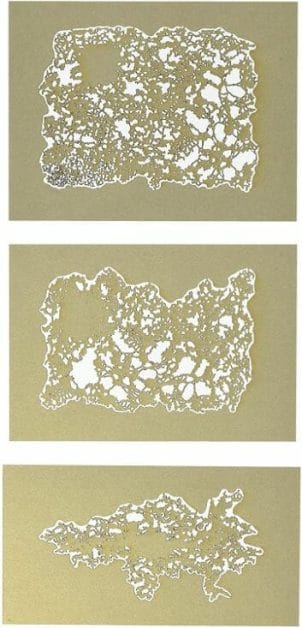
In this example, I use baby wipes that I stretch thin by hand. Pulling the paper fibers apart provides me with a pattern of holes that seem to mimic the marble pattern I want to make.
It takes practice to make stencils that work for your particular needs. You kind of have to play and create all those happy accidents. The great thing about painting marble is that the random patterning is often easy to replicate if you take a organic approach. Play.
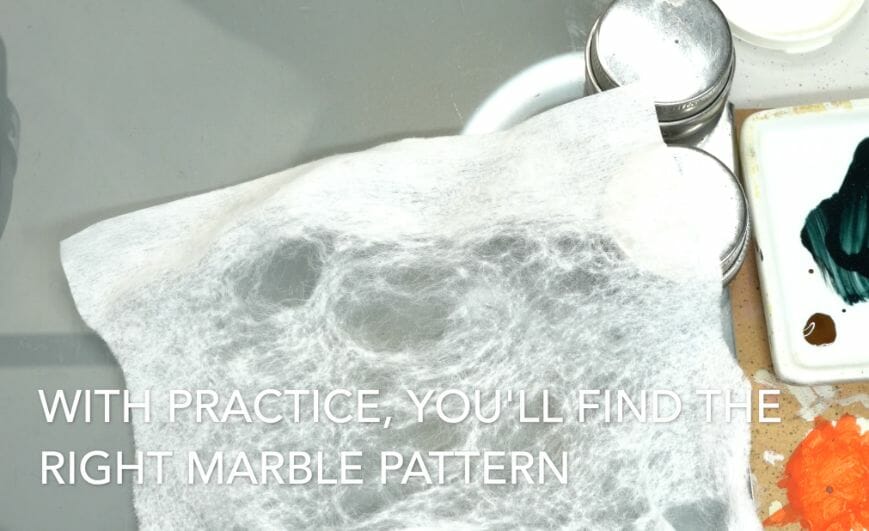
Another nice thing about making your own stencils for texture effects is that you can experiment. You can continue making as many stencils as you like until the pattern you want appears. And, it’s inexpensive!
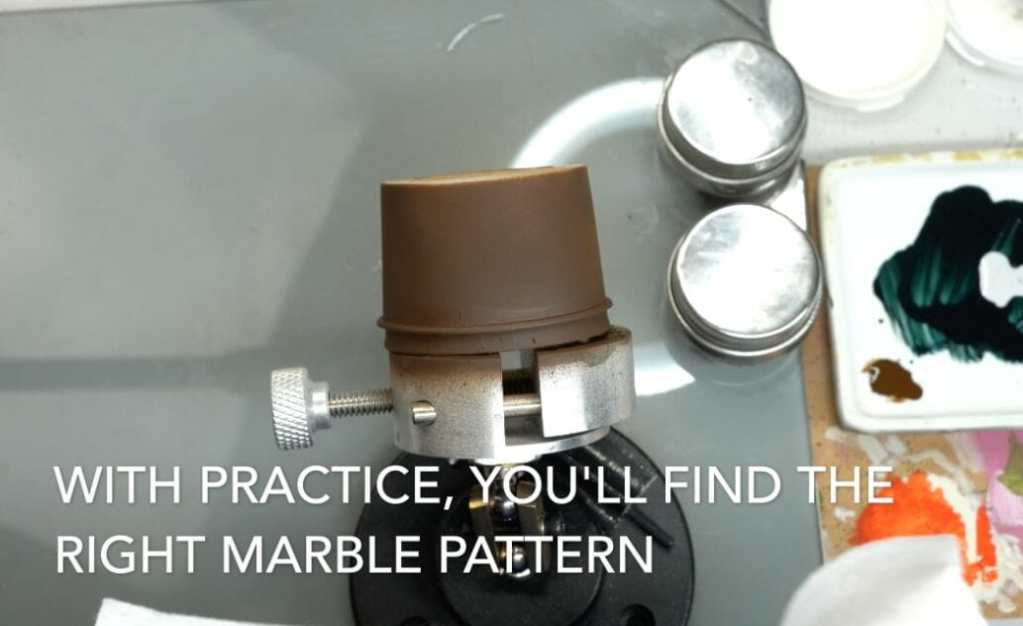
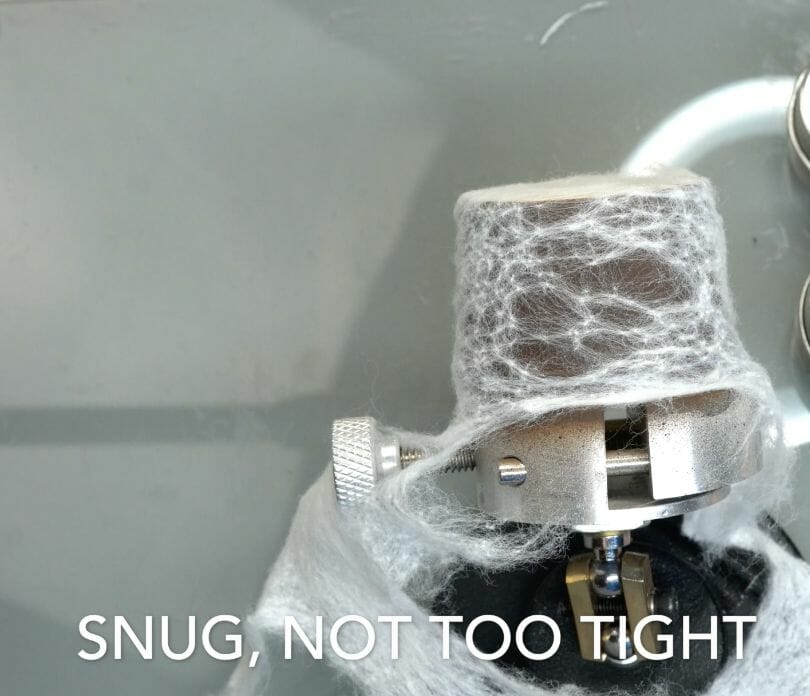
To apply the stencil to your surface, wrap the torn fabric (or steel wool, whatever) to the surface. You want the stencil to be snug so that most of the new paint you apply over the top doesn’t seep under it.
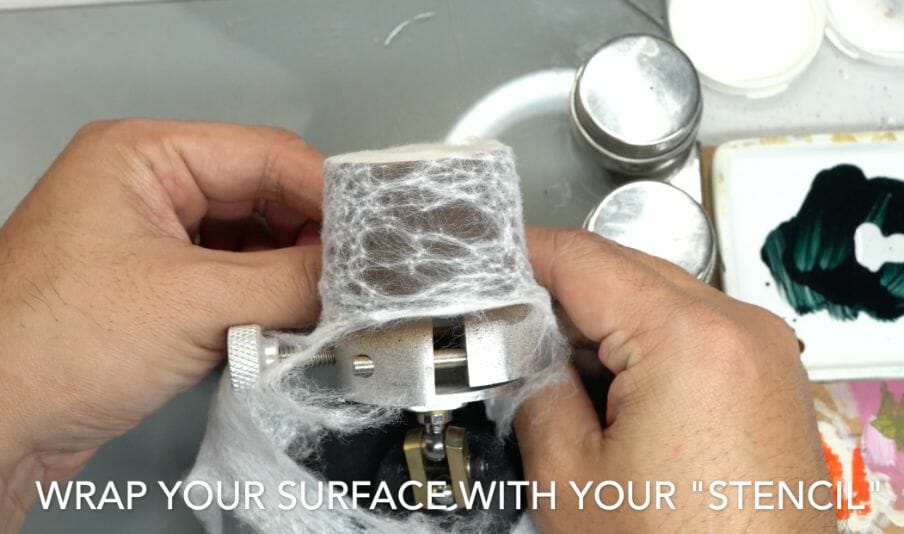
You may want to use a bit of painter’s tape to hold your stencil in place. I didn’t need any here because I was able to pull the baby wipe around the back of the model and twist the ends to keep it from moving.
Try not to pull your stencil too thin, since you may want to reuse it.
3. Apply the main marble color and varnish
The next step is to paint the main marble color. In this case, my reference image suggests I use an ivory color. Using my airbrush, I apply 1-2 layers over the entire surface.
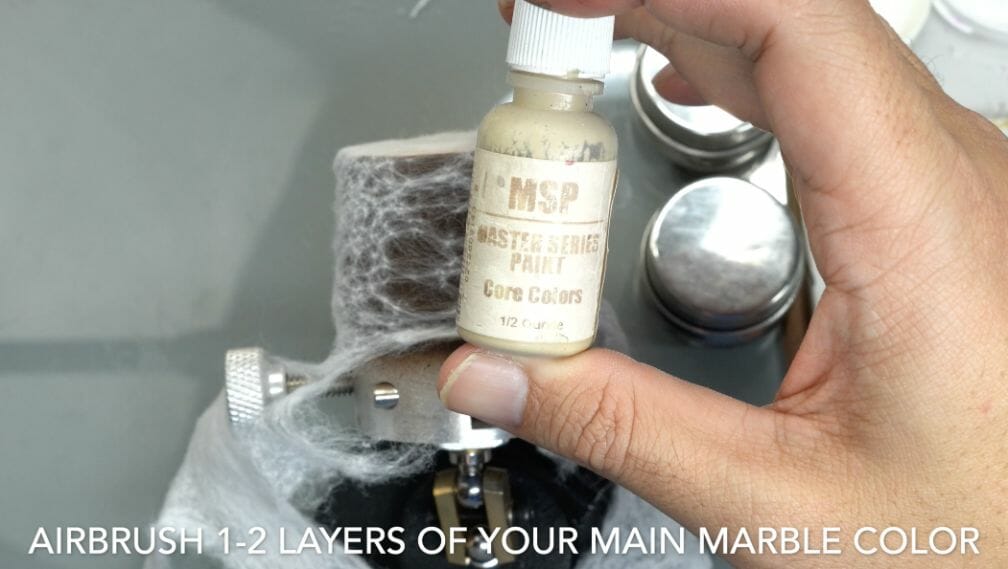
Use a low airbrush pressure to avoid blowing your stencil off the surface. Keep the nozzle a fair distance away and lightly coat the model with the paint.
Sweep the spray so you evenly coat the surface with the primary marble color. The marble effect will best reveal itself if you paint directly over the stencil (e.g., top-down), rather than at an angle. This avoids paint from “blurring” the edges of the veins.

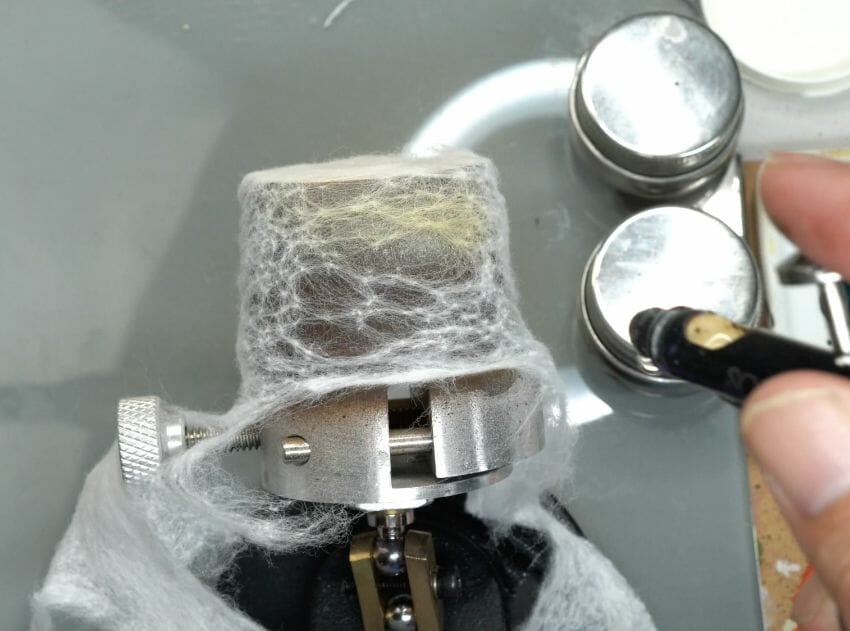
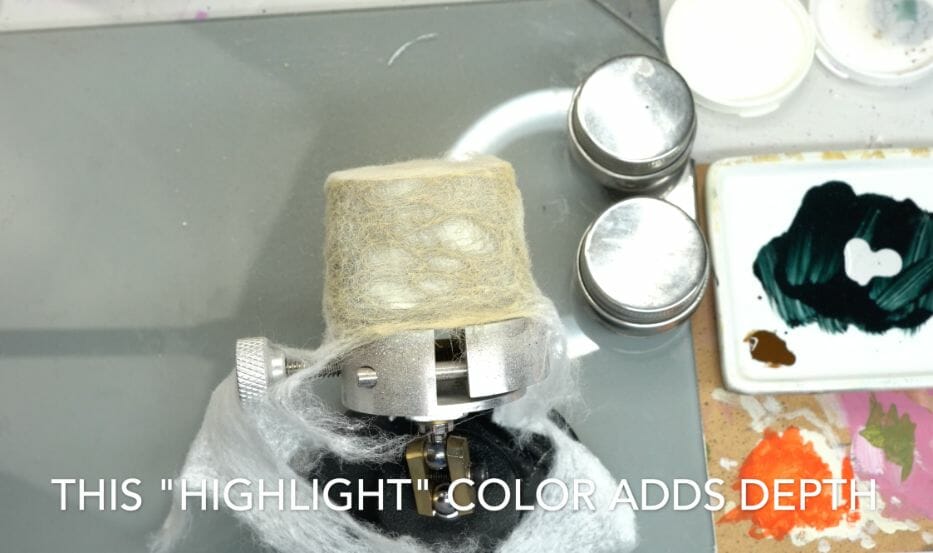
You can apply multiple layers of the paint if you want more color. To push the effect further, I do suggest adding a secondary color as a highlight over the first marble color.
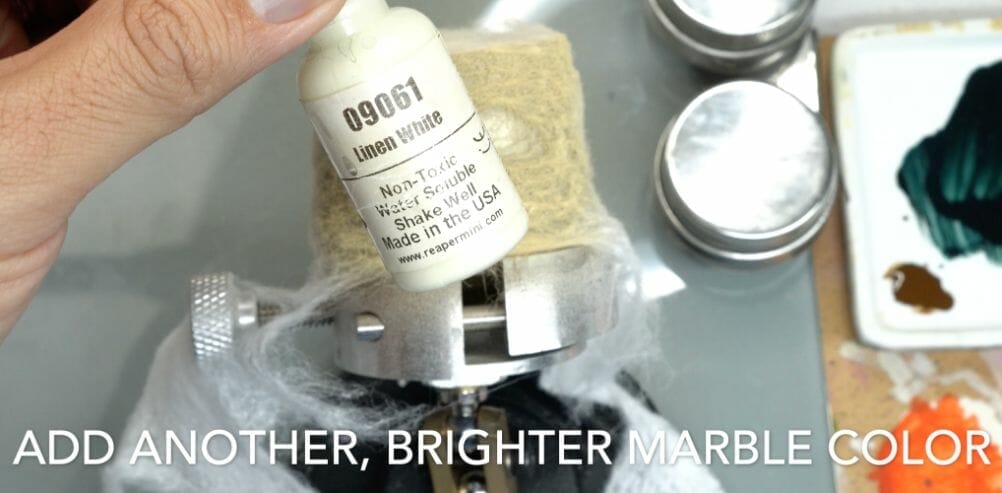
The highlight color does two things that help sell the marble effect. It breaks up the monotony of the main color tone. Nobody likes boring looking marble. And, the addition of the secondary color adds a bit more organic realism to the stone effect. Real marble isn’t simply two colors!
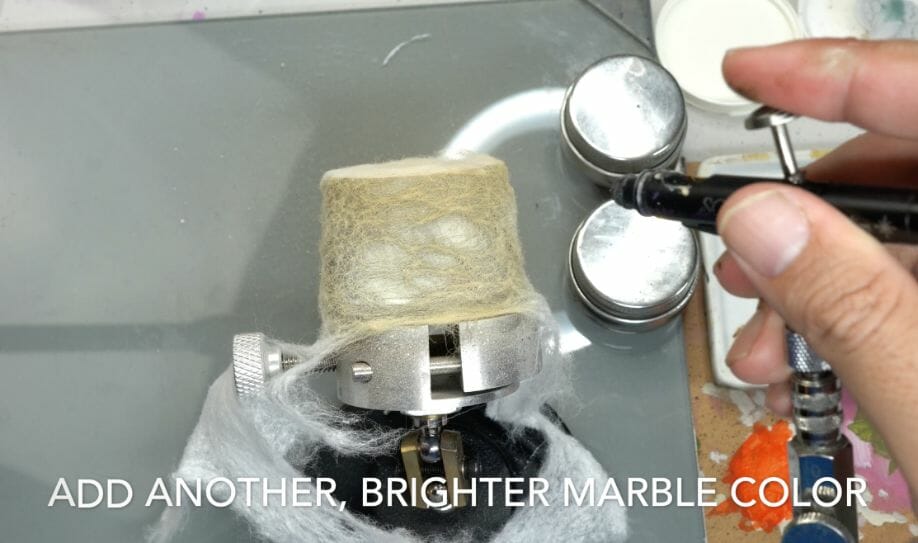
A tip with this second highlight color is to spray it in a random pattern over the surface. You don’t need to evenly coat the second highlight color.
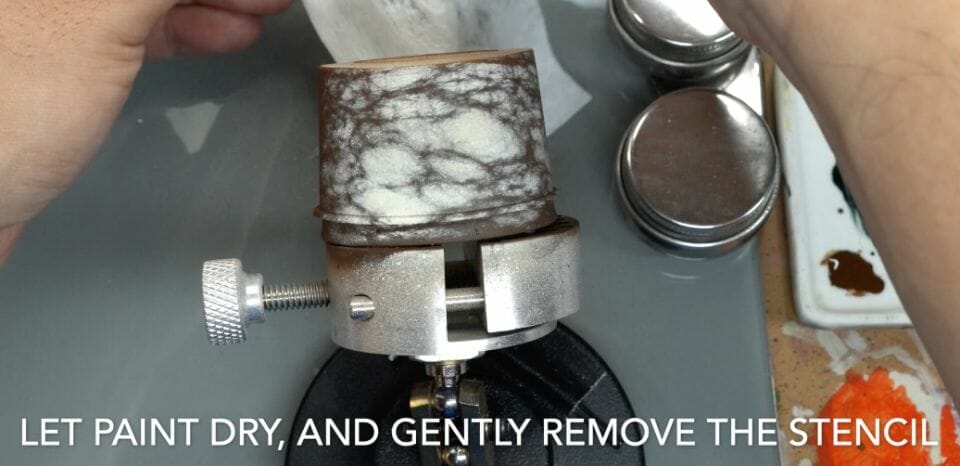
Make sure to allow each layer to dry completely before applying the next. You don’t want paint to pool on the surface of your miniature. That’s just sloppy and will rob you of a good marble painting effect.
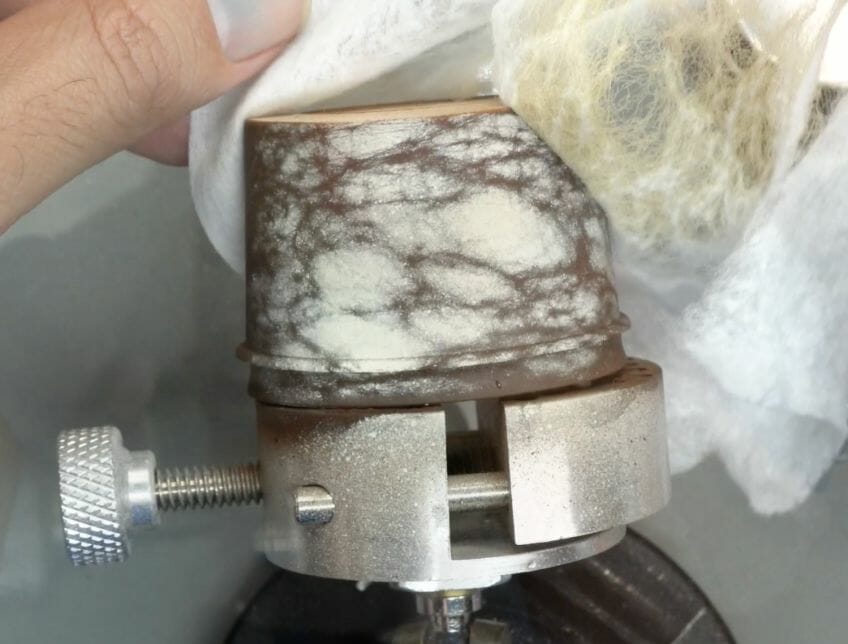
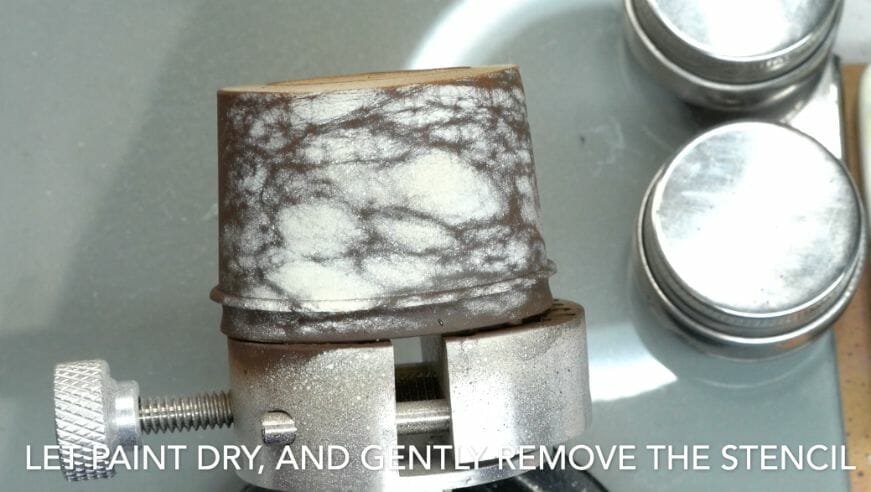
When you’re done, simply remove your stencil, carefully. If you want to reuse your stencil, don’t pull too hard or stretch the stencil as you remove it. This is especially true if the stencil is still damp with paint, which makes stencils more fragile and prone to ripping or tearing (unless you’re using steel wool, in which case, who cares).
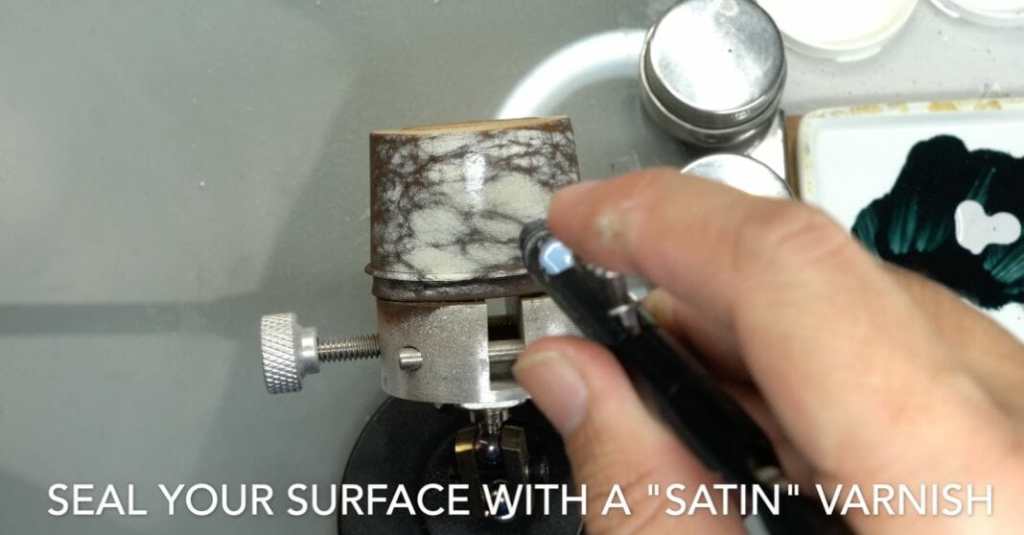
Marvel at the pattern you’ve created. You’re almost there. To finish off the marble, you’ll want to seal the surface in a good varnish.
Because most marble is semi-glossy (at least in my mind), I like using a satin varnish. You can apply the varnish over the dried painted marble surface with an airbrush or a regular brush. Just make sure to avoid streaks.

READ MORE: BEST RECOMMENDED VARNISHES FOR PAINTING MINIATURES FOR TABLETOP GAMING AND DISPLAY
The type of varnish isn’t as important as how you apply it. Again, you want a nice even coat of the varnish to avoid any streaks or brush strokes. Avoid pooling varnish on the model’s surface as that will break the illusion of the marbleized surface.
When you’re done with the varnish step, take a step back and admire your handy work! For most marbling effects, I often stop at this point and call this done. Of course, there are ways to push your marble effects further to give it a unique look and style. Take a look at a few other optional steps you can take to push your marble effect further.
Optional marbling effects to try
Here are two other things to try to make your painted marble effect stand out:
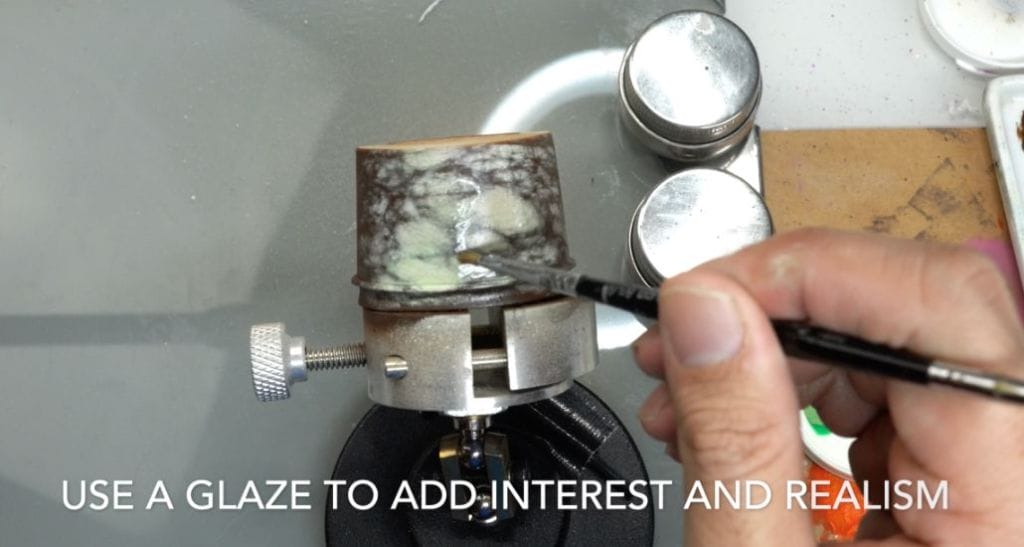
- Glaze other colors over your marble surface to add additional “interest” and realism
- Freehand more vein patterns over the surface to break up the stenciled effect
Glazing other colors for style and realism
Real marble usually has more than 2-3 colors in it. In the natural world, marble may exist with other minerals embedded in the surface. These other elements have colors that may accent the main tones and hues.
For fun and styling your mable, you can use this idea as justification to add other colors to your marble surface. Although my reference image doesn’t have more than a few warm colors in the main palette, I felt I could add a bit of coolness to the surface (e.g., playing with color temperature).
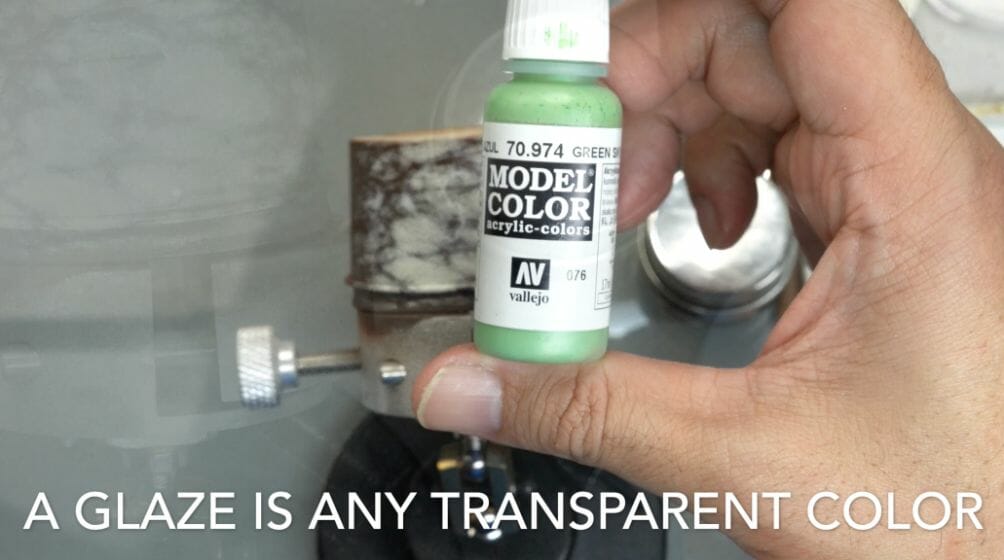
To do this, I chose a green paint. Maybe, it’s a bit of moss tinting the surface?

Using this green paint, I create a glaze by mixing in a bit of water and glazing medium on a palette (about 1:2 paint to thinner). This created a thinned, transparent film of paint that I could apply over the surface of the painted marble.
READ MORE: HOW TO GLAZE MINIATURES

To sell the effect, you don’t need much glaze at all. Just a tiny bit of color will go a long way. When deciding what color glazes to use, or whether to use a glaze at all, it helps to think about where the marble exists in the imaginary space.
Is the marble old, sitting out in the open under the weather? If so, then certainly a bit of weathering will help sell the effect. Brown dirt, green lichen, perhaps, could help the viewer see the marble as part of an outdoor, weathered object. If the marble is inside, maybe as part of the festoons of a well-kept temple or sanctuary (e.g., a fancy bathroom), then maybe a pristine glossy marble will serve you better.
Freehand veins to add more contrast and breakup the stencil pattern
If you recall above, marble is a metamorphic rock. It is created from the mixing and layering of different minerals and other rock types. That means marble is usually filled with all these other bits scattered across its surface.
Maybe, you want to bring some of those elements into your marble effect. To do that, the easiest way I found was to simply freehand them in. In my case, a quick glance at the reference image suggests other bit of veining happening across the surface.

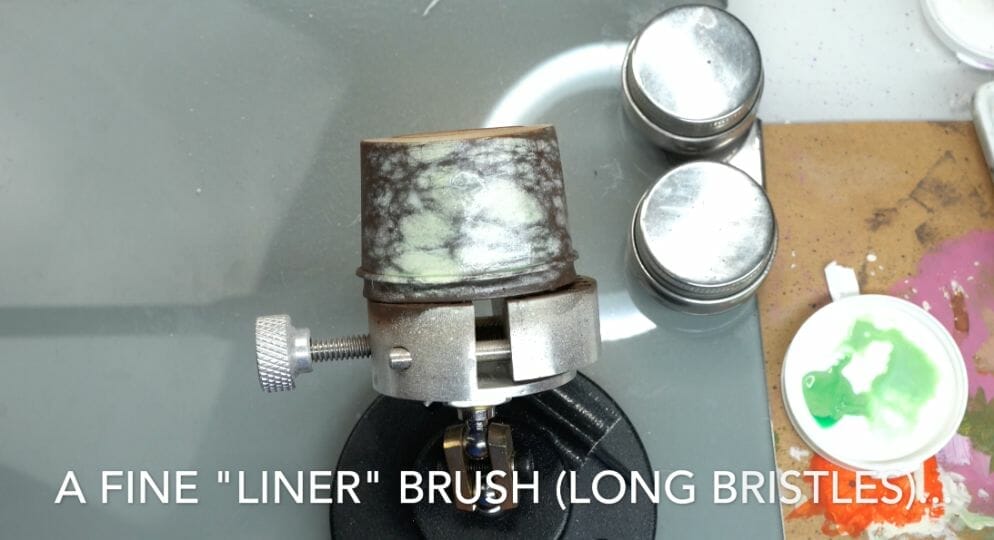
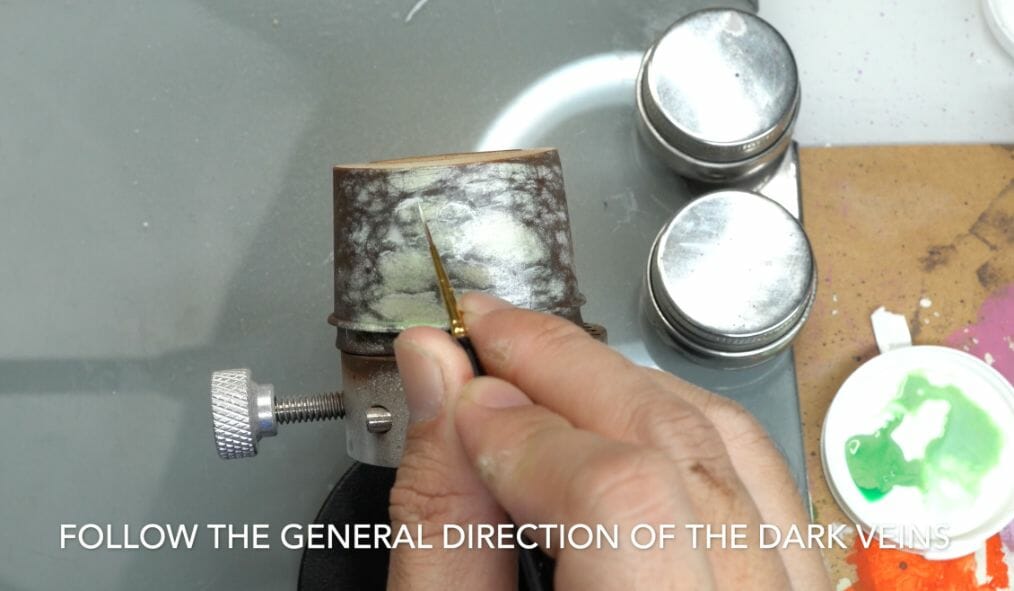
For long stretchy lines, I like using a fine-liner paint brush with long bristles. Here’s one you can try. The idea is to use a paint brush with long bristles that you can “drag” and twist along the surface to pull paint in a serpentine line. You want to create organic-looking cracks on the marble.
In my case here, I see the lines as brightly colored. So, I take my main marble color and paint it directly as veins over the top of the original marble painted surface.
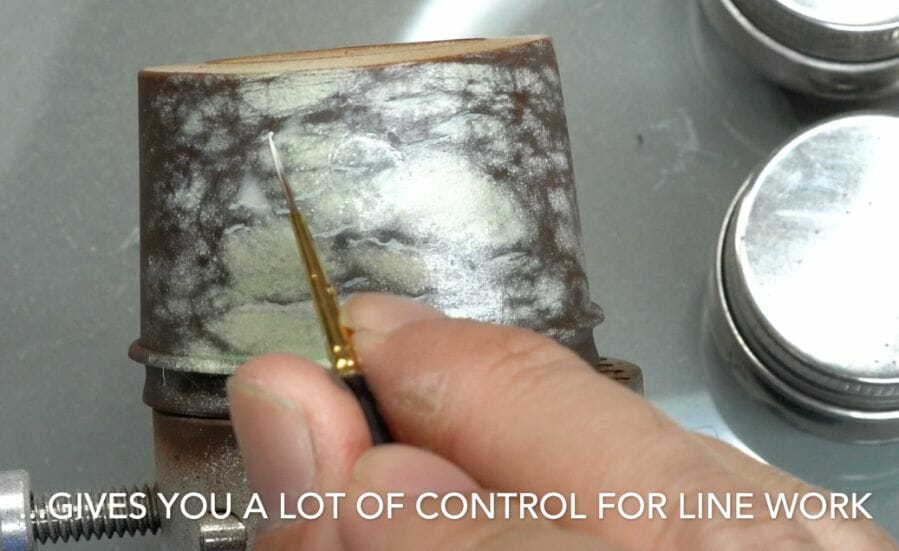
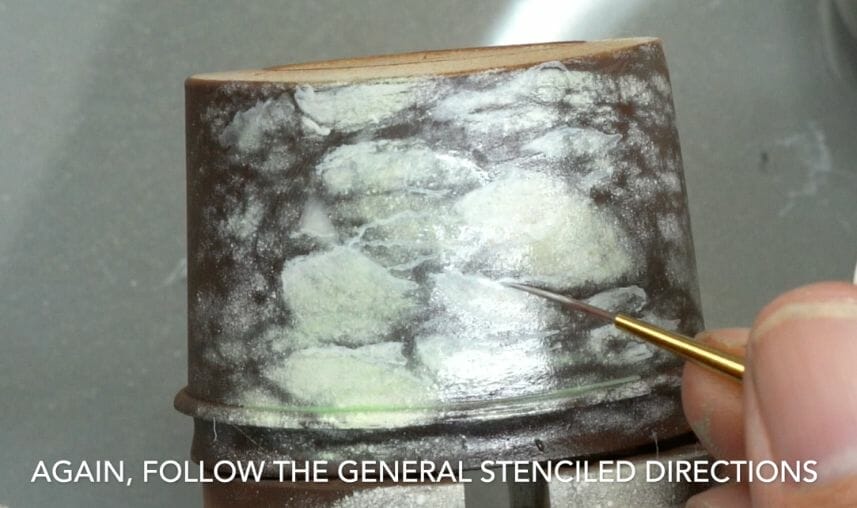
I ensure that the pattern I’m freehanding follows the general “flow” of the stenciled veining underneath. I also make sure to avoid crisscrossing veins, which make them appear artificial. Try and keep the veins looking natural.
The new veins should add to the effect of the marble, rather than detract from it. Go slowly with your liner. It also helps to practice making the veining lines on a different surface like a piece of paper before doing it on the model itself.
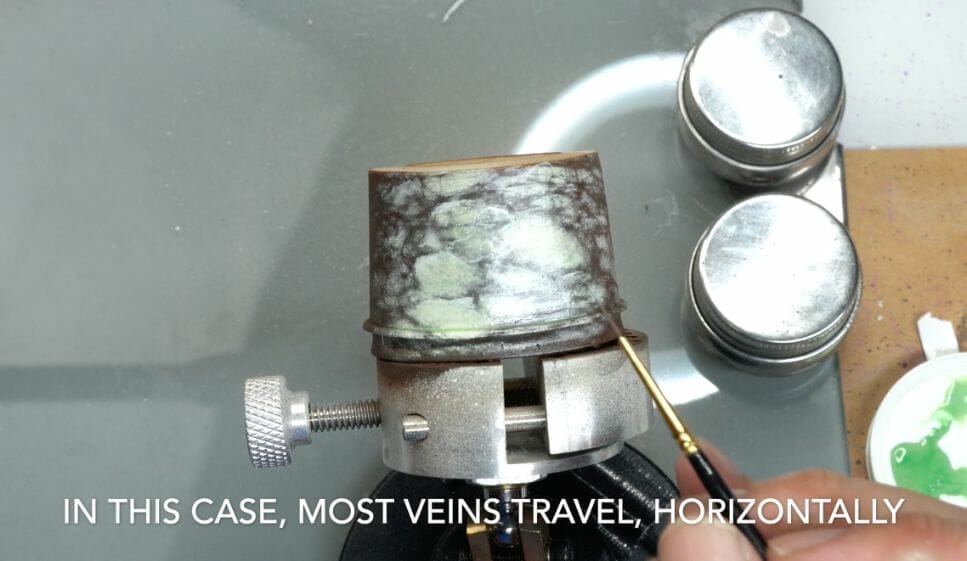
Keep your veins traveling in the same overall direction as the original stenciled veins underneath (in this case the veins are dark). So, you’re placing bright veins over dark veins. Keep your hand light and the paint thin. You don’t need opaque paint for this step.

You just want subtle hints that other veins are embedded in the surface. Or, perhaps, the original stenciled veins are traveling “below” the new veins you’re freehanding.
If you’re unsure of how to go about freehanding the design, go back to your reference image. Keeping your paint thing will also help you avoid the splotchy effect that would make your marble look fake.
Though, if you do make a mistake or paint something you don’t like, you can use the underlying color (from previous steps) to “erase” your mistakes. Or, at the very least, you can use your original paint colors to hid any bits you don’t like.
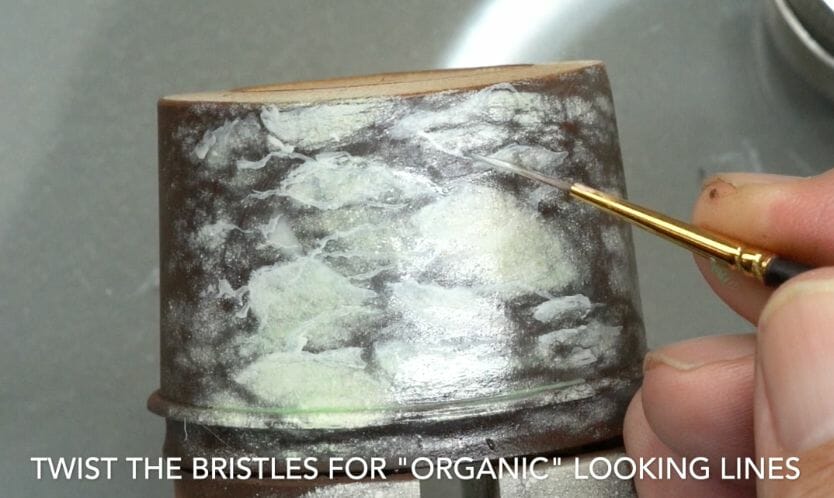
I tend to find that twisting the brush tip helps keep your veins looking natural. Slowly rotate the bristles as you pull your strokes across the surface. Remember to keep the strokes tapered if you can. Cracks look more natural when they don’t look like flat brush strokes. Vary your line thickness.
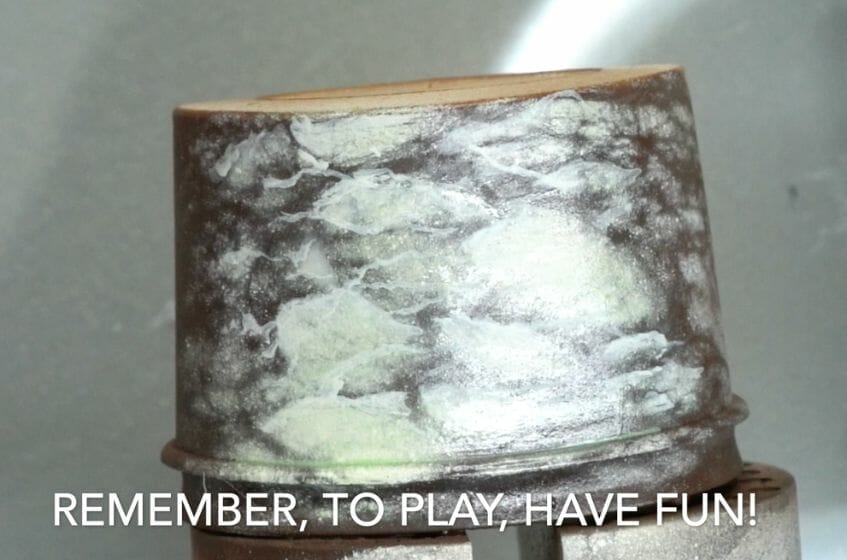
When you’re finished, remember to varnish your surface again to protect the paint job and give the marble surface a realistic sheen.
Here’s a short summary video showing how to paint the marble effect
Conclusion
Painting the marble effect on a miniature doesn’t require a lot of fancy techniques or freehand drawing skill (though it helps!). There are many types of marbles in the world. Each has a unique motif of color, form, and pattern. Use a reference image to guide your color choice, vein patterning, and overall appearance.
Experiment with other ways to add interest and style to your marble. Remember to seal and varnish your painted marble to finalize the overall effect.
Of course, there are a multitude of ways to paint the marble effect. This article showed you just one of the fastest and, in my opinion the easiest way to achieve the painted marble effect quickly. I hope you found this article helpful and gave you some ideas to try.
Thank you for reading!


Tangible Day on YouTube (Miniatures and More!)

Thanks tangibleday, it was a nice article. What I think Italian Marble can be best when it comes to marble furniture they are shiny and beautiful more importantly they sustain their shine for a longer time.
Yeah the kind of marble you want to create certainly affects what you can do with paint 🙂
I have a simpler but related project. I ordered hexagon marble for a small bathroom floor and it came in white rather than the “breathe” of gray color that was displayed in the showroom. The marble is raw unfinished, honed. Can I apply a “barely there” light gray tint to it before sealing it with a matte finish sealer? I do not want a shiny finish.
That is an interesting question (and project). Given that I’m not sure… maybe the best approach is to try a small test piece on the side (somewhere inconspicuous) and see how that works out? I’d be curious myself to know if this works!