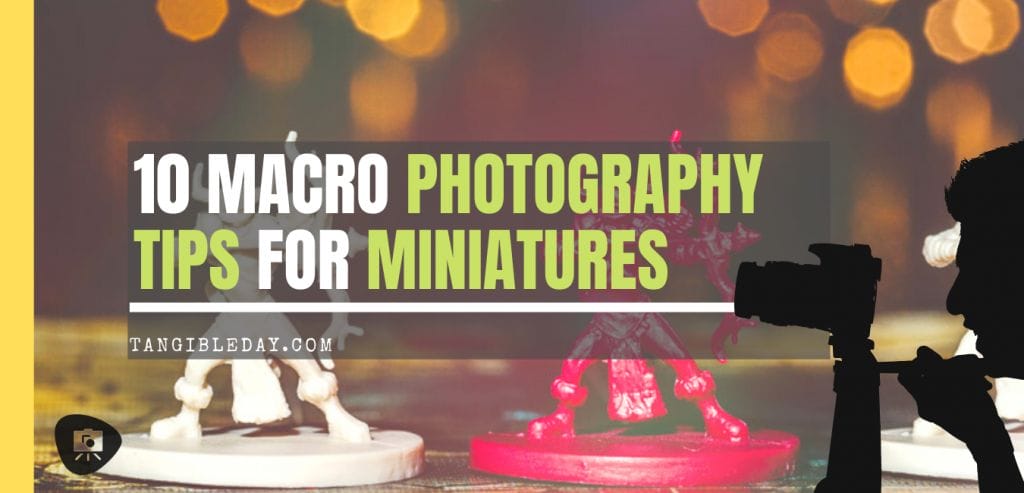
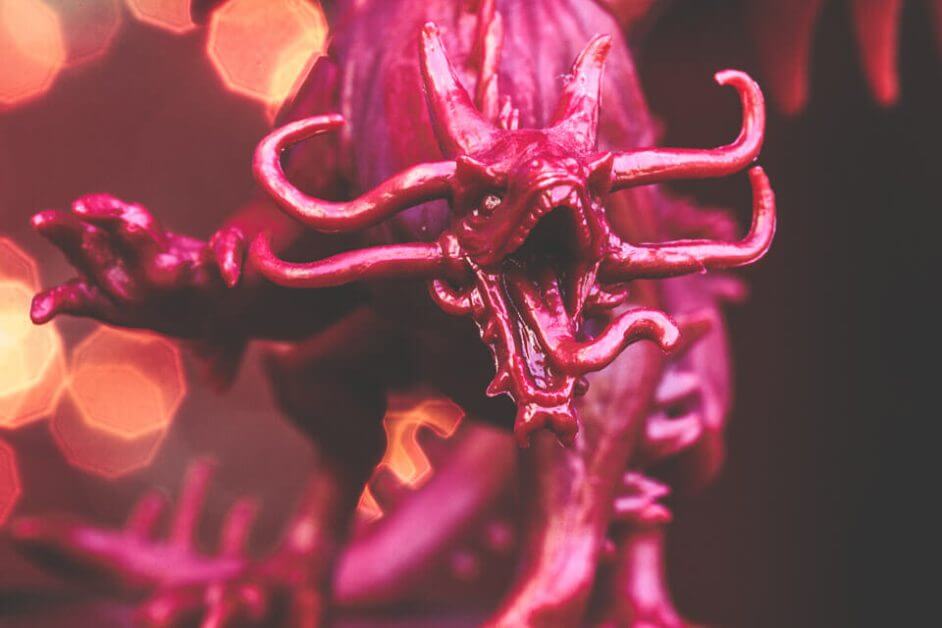
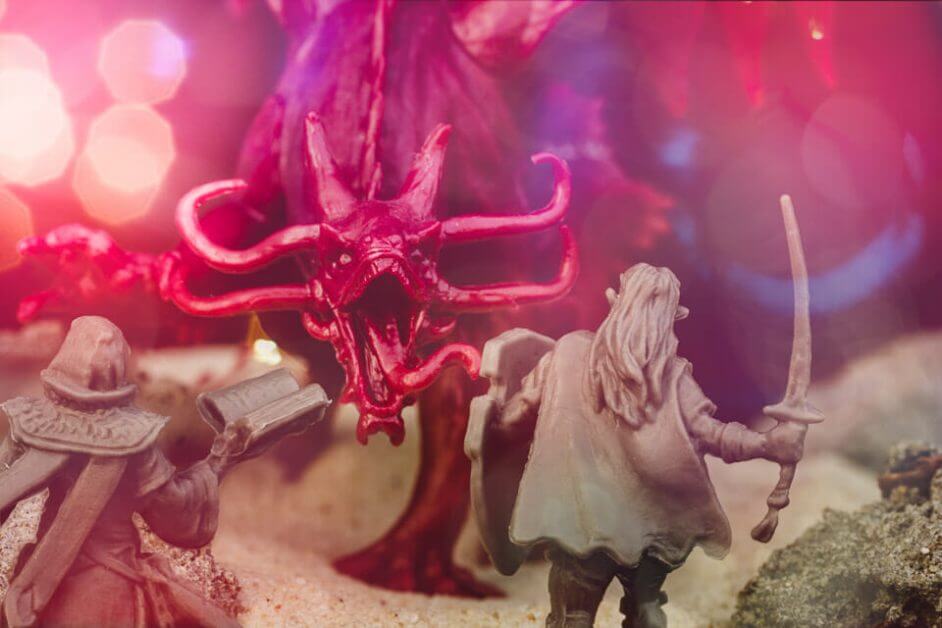
Do you want better photos of your painted miniatures? Miniature photography is an emerging niche of the tabletop gaming world. You can tell epic stories in a single photo or a series of images. Specialized miniature photographers like Felix Hernandez have created other-worldly scenes that transport you to new dimensions. If you’re a miniature painter or tabletop gamer with a knack for story-telling, or simply enjoy creating photographs, this article provides some simple tips for better miniature and model photography.
In this article, the talented Michael Falk of See Imagery provides you with his expertise in creative macro photography using simple techniques.
KEY TAKEWAYS
- Learn how to take better photos of your miniatures
- Understand the principles behind photographing scale model subjects
- Encourage creative experimentation with your camera equipment
- Leverage your local resources
Disclosure: We are a participant in affiliate programs for Amazon Services LLC Associates, Etsy, Noble Knight Games, and KEH Camera. Some of the links on this page may refer you to these or other affiliate sites where we earn fees for qualifying purchases.
The great thing about photographing miniatures and getting close to your “small subjects” is that you don’t need a lot of space or large set props. As with any photography, the most important thing you need for good pictures of miniatures or models is excellent light.
RELATED: RECOMMENDED LIGHTS AND LAMPS FOR PAINTING MINIATURES AND MODELS
Here are 10 key tips for better macro photography of miniatures and models:
- Clean your surface of hair, dust, and fingerprints
- Use a narrow aperture (sometimes)
- Find good light
- Use a tripod
- If it’s windy outside move indoors
- Use a ring flash or twin light flash when shooting macro
- Focus on your subject
- Use manual focus
- Use your camera live view to check your focus
- Focus stack in photoshop
How do you take good photos of miniatures? For more details, read on below.
Why photograph miniatures?
Silly question. Why photograph anything?
Photography is like any hobby (or profession). It depends on the person. For you, the modeling hobbyist or miniature painter, photography is merely the secondary activity. You use your camera to document your progress or to share your complete work with your community.
Whether you’re using social media platforms or traditional media, e.g., canvas or paper prints, your photos capture your view of the world. In this case, your world is in miniature. For you, it’s the small things; the details that most people miss seeing everyday.
You like getting close to your work. Like really close.
A problem, of course, with taking lots of photos as a hobby is storage space.
You can use online storage options or a simple external hard drive.

What is macro photography?
Alright, let’s get a definition out the way.
What is the genre of macro photography?
Macro photography is the extreme close-up type of photography where you’re getting very close to small subjects. This could be living things, like insects, or inanimate objects, like painted miniatures.
Now, let’s be clear. In macro photography, the end result is usually a photo of a subject that is greater than life size. In other words, macro photography is an approach to create images of things that make them look BIGGER than normal.

For proper macro photography, there is a need for some specialized equipment that lets your camera focus very close to your subject. Most standard equipment will let you get close and focus on small subjects, but the magnification ratio is usually below that of true macro photography (1:1 or better).
Read more about macro photography and magnification ratio here. For a more details about capturing macro photography, check out this complete guide.
When it comes to most photography of miniatures, the kinds of images we create aren’t necessarily “macro” according to a strict definition.
What we are doing is taking photos of miniatures with tools that let us get pretty close, but do not necessarily magnify the subject. In other words, this article is more about miniature photography rather than macro photography.
To keep things simple, we will use miniature and macro photography a bit interchangeably.

The great thing about miniature photography…
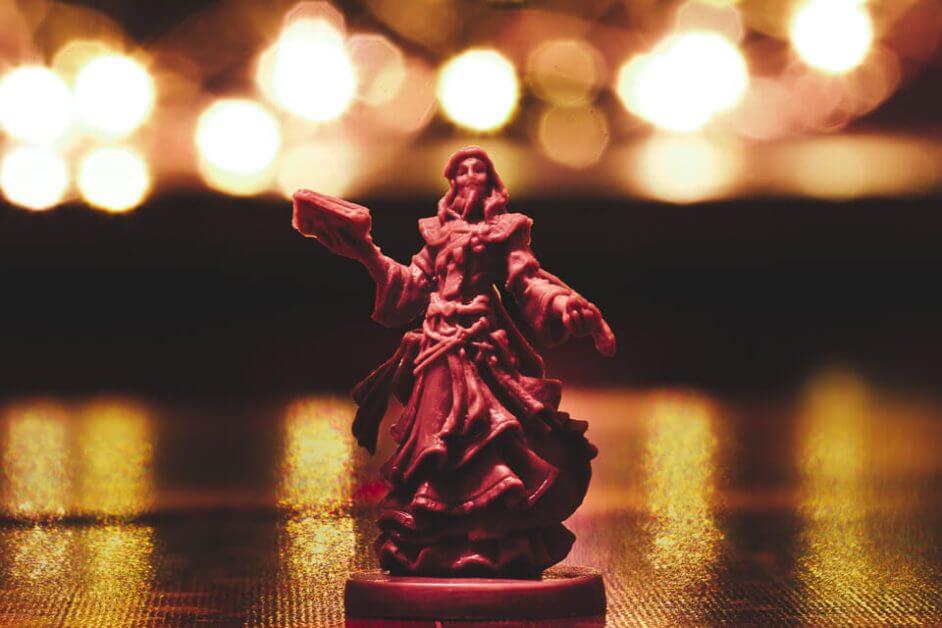
The greatest thing about photographing miniatures, in my professional opinion, is the beauty you can discover in the small things. When you pay attention to those small things in life you’ll never be bored again. Macro photography is about making small worlds larger than life.
We want photos that give life to miniatures.
This means seeing from your miniatures’ perspective, their eye-level.
Can you pretend you are the size of the models you’re photographing? If you can immerse yourself, take your tall-ness down to size, then you’ve begun to understand the magic of miniature photography.
Miniature photography is empowering. Some of the most powerful imagery I’ve experienced come from photos of miniatures and models.
Where’s your camera? Keep it close.
Even stuck at home or alone, you can create splendid images with very little space and resources. That’s digital technology for you. We’ll never run out of film.
Go play with new imagery. Make a mess! Clean up is as simple as a delete button press.
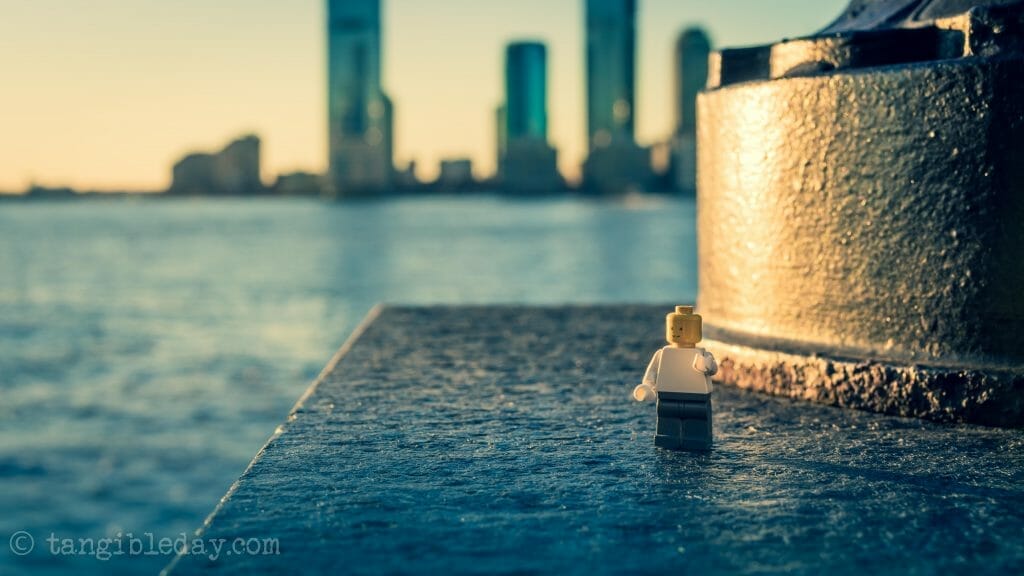
Seriously, if you are a photographer, dabbler or pro, the time to explore new genres of photography is now. As a miniature artist, macro photography fits in perfectly with your creative outlet. You don’t have to travel outside your home or yard. Do all your photography right on your desk or table!
You likely have amble subject matter just laying around the house, stuff that you never imagined being photo-worthy. When you start thinking in terms of macro you begin to see opportunity where you never thought to look.
What is a macro lens and do I need one for photographing miniatures?
A macro lens is a specialized lens that you use to photograph things close up. All major camera companies make macro lenses, which let you focus from infinity to 1:1 magnification ratio. What separates a macro lens from a regular lens is the ability to shorten the distance between your lens (and camera sensor) to the subject.
Here’s a bit more detail about macro lenses.
If you don’t have a macro lens, you may run into some limitations with focusing on your miniature or model subjects. Macro lenses aren’t cheap. Good quality lenses from Nikon, Canon or Sony can range between several hundred to thousands of dollars.
The good news is that you don’t actually need a macro lens to photograph miniatures with good effect.
Yes, that’s right. You don’t need a macro lens for miniature photography!
You can use an extension tube. An extension tube essentially makes any lens on your camera (e.g., DSLR or mirrorless interchangeable lens camera) into a macro lens. And, extension tubes are cheap!
Ultimately, the great thing is that if you already own a camera with interchangeable lenses, you can take a useful shortcut.

Most new photographers have the nifty fifty 50mm f/1.8 in their bag. With extension tubes that nifty fifty can become your new nifty macro lens.
What kind of extension tube should I buy?
When shopping for extension tubes you will find two different kinds:
- Non-electrical contact (no communication with camera)
- Electrical contacts (talks with camera)

Non-electrical contact extension tubes (no communication with camera)
With the first non-electrical type of extension tube, there is no electrical communication between your lens and the camera body. The extension tube acts as a dummy “extension” that changes where your lens focuses light on the camera’s sensor. In other words, these extension tubes use pure physics to do their job.
These extension tubes are very cheap. But, you will encounter two limitations with non-electrical contact extension tubes.
First, limitation isn’t much of a problem for closeup miniature photography. On extension tubes without electrical contacts, you will find that the autofocus on your lens will not work. But, for really good macro, close up photography, the most reliable method of focusing is using the manual focus ring on your lens.
At short distances, most autofocus systems will fail to lock-on reliably, even on high-end expensive cameras.
Second, which could be more of a problem is the inability to change your lens aperture. Your lens aperture controls how much light can enter through the lens, as well as determines your depth-of-field (DoF). Depth-of-field determines how much of your subject is in focus. Simply, a larger aperture setting (or small f-stop number) will create a shallow DoF. If you can’t control your aperture, you lose control over how much of your miniature or model stays in-focus.
For more about depth-of-field, check out this site.
You can get around a shallow DoF by using post-processing techniques. Namely, focus-stacking can overcome the problems with a forced shallow DoF in miniature photography with extension tubes (more about this below in tip#10).
Check out this helpful table for inexpensive non-electrical extension tubes for your camera brand:
| Camera Brand | Compatible Extension Tubes (<$10) |
|---|---|
| Nikon | Check Details |
| Canon | Check Details |
| Sony | Check Details |
| Olympus | Check Details |
| Panasonic | Check Details |
Electrical contacts extension tubes (talks with camera)
If you’re willing to spend a little more money, I’d highly recommend buying extension tubes with electrical contacts. Although these extension tubes cost more, they give you control over the lens through the camera’s normal operation. You can continue to use your autofocus and aperture as you would with your native lens.
More control is better, trust me.
Of course, for those of you dabbling in closeup macro type photography, a low cost option may also let you experiment and help you decide if this is the right photography genre for you.
See the table below for inexpensive, but super useful electrically-coupled extension tubes for your camera (full frame). They will give you an easy way to gain macro capabilities without spending a lot of money!
| Camera Brand | Compatible Electrically-Coupled Extension Tubes |
|---|---|
| Nikon | Check Price |
| Canon | Check Price |
| Sony | Check Price |
| Olympus | Check Price |
| Panasonic | Check Price |
For more options for extension tubes and macro lenses, you can visit KEH Camera. They have a huge array of different close-up/macro options for your particular camera equipment. I’ve traded used equipment to KEH Camera in the past and have only had a good experience.
10 Tips for Better Macro Photography of Miniatures and Models
Let’s get to the exciting part and get out there and actually take some photos. Of course, I’m not going to pretend I’m some awesome macro photography expert. I’m not, but I’ve been doing photography for a long time now and have a pretty good idea regarding the issues you will encounter.
And, like myself, how you learn to take better macro photos of miniatures will come with experience and practice. For more info, see how to take awesome macro at pixa.com.
Tip #1: Clean your surface of hair, dust, and fingerprints
When it comes to macro photography, dust, dirt, hair, and fingerprints are your enemies.
Make sure you clean the surface of your miniature or models well. This includes the surface they are standing on, e.g., table or floor.
This is especially important on dark reflective surfaces. I like to take a MagicFiber Microfiber cleaning cloth to wipe down my subject and surrounding area. You can also use these microfiber cloths to gently wipe your lens without worrying about scratching or damaging the glass.

The other option you have is to use a blower of some sort, like this one. This is useful for getting rid of dust or debris without disrupting your scene. Just be aware you’ll be knocking down things if your subject(s) is light weight. Windex works great to clean up finger prints from glass or other shiny reflective surfaces.
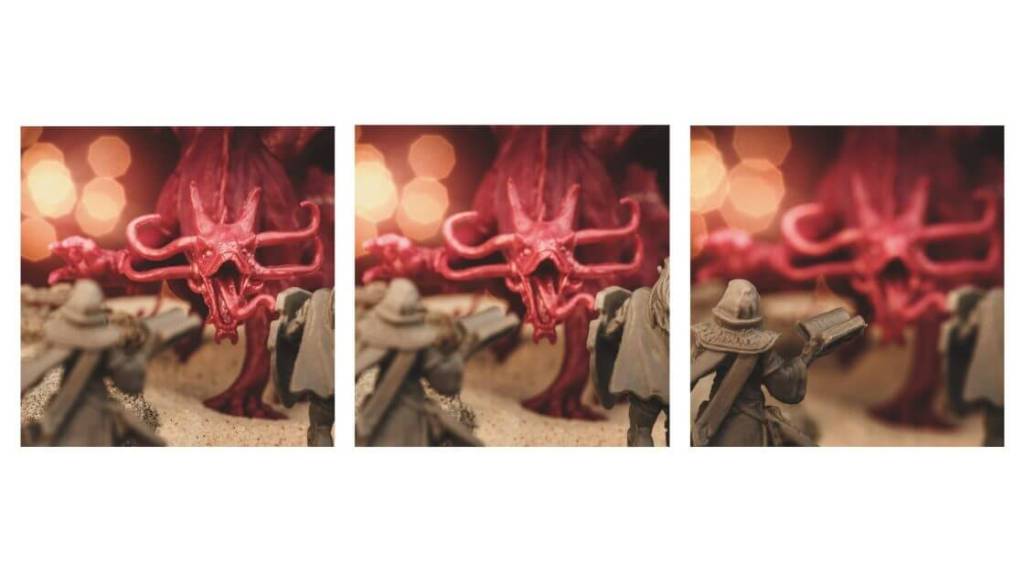
Tip #2: Use a narrow aperture (sometimes)
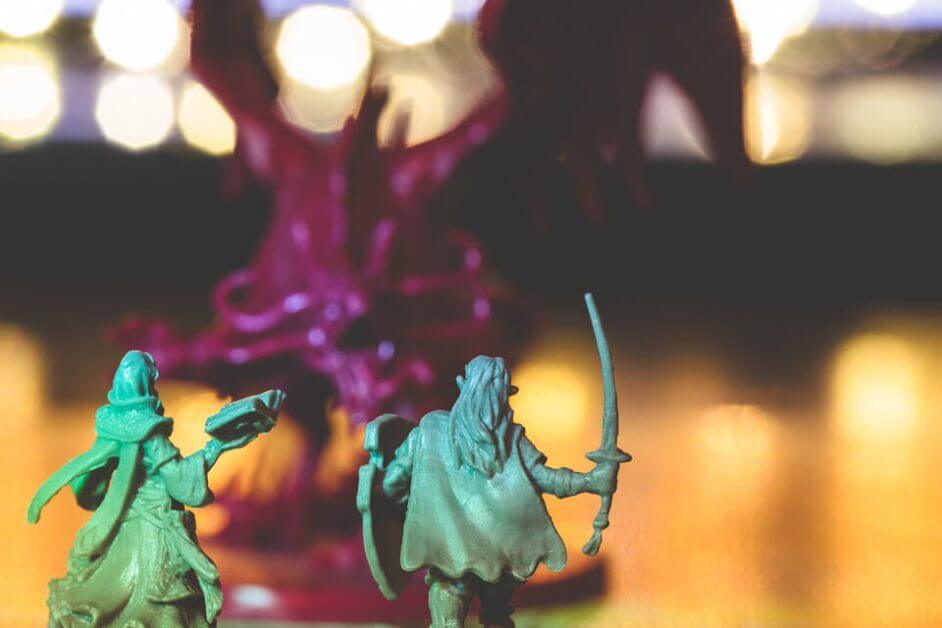
Macro photography is different than regular photography. Issues you may have had with controlling depth-of-field are painfully exaggerated. Focusing principles that use variables such as distance-to-subject and distance-to-background are now thrown into wack.
This makes shooting photos with larger apertures, e.g., f/2.8 or smaller f-stops, may not work well for you. Those cheap extension tubes will be troublesome because you can’t control your aperture. In other words, when you shoot macro photos with a wide-open aperture on your lens, most of your subject will be out-of-focus (aka beyond the plane of focus).
Maybe you desire this shallow, blurry effect.
More often, however, I find myself wanting the subject in its entirety in focus.
To keep things in focus, I shrink my aperture setting. I start around f/8 to f/11 and then experiment until I have the image I want. Typically, I like the depth of field to extend through my subject and then fall off into the background.

Tip #3: Find good light
This is the most important aspect of ALL photography.
You need good light for great photos. It doesn’t matter if you’re shooting macro shots of miniatures, or landscapes. If you’re light sucks, your images will, too.
READ MORE: 5 CREATIVE WAYS TO AVOID BORING PHOTOGRAPHY
In the case of photographing miniatures, if we are going to be using a narrow aperture to extend the depth-of-field, then we are going to need sufficient light.
Running around in your dimly lit house trying to get macro shots isn’t going to produce the results you want. You can either go outside and use natural sunlight, or control your indoor lighting environment.
If you’re going to work indoors, I like using daylight lamps or photo light boxes.
Tip #4: Use a tripod
If you don’t have adequate light I suggest a tripod. There are a ton of tripod options, depending on your camera. I use a pretty affordable one. Nothing fancy.
If you do have adequate light, I still suggest a tripod. When you venture into the world of macro photography, you are going to quickly find yourself at odds with many of the same issues that plague your day-to-day photography.
Like never before, light, depth of field, and camera shake are all going to test your resolve as a photographer. They will feel amplified.
Have you ever used a zoom lens and zoomed really close to a subject from far away? Do you remember how that felt? It’s hard to keep a steady frame. Macro is much the same except now your lens is physically much closer to the subject.
A tripod is your best friend when it comes to macro photography. A tripod is going to help you combat all of the above issues.
 Joby Gorillapod Focus Flexible Tripod Legs 1/4″ Post, 11.4″ – $74.00 Joby Gorillapod Focus Flexible Tripod Legs 1/4″ Post, 11.4″ |
Tip #5: If it’s windy outside move indoors
Now if your subject is stationary and won’t budge in the wind then you don’t have to worry about this tip. However, if you’re trying to do macro photography on a flower outside in the wind…well, good luck.
If possible, move inside, or wait for a less windy day. Even with a little bit of wind, you are going to be challenged. If you decide to pick that flower and bring the show inside the house, don’t forget to bring your tripod.
RELATED: TOP 5 LIGHT BOXES FOR PHOTOGRAPHING MINIATURES AND MODELS
Tip #6: Use a ring flash or twin light flash when shooting macro
Remember what I said about finding good light? Well, sometimes you need to find good light on Amazon. Just buy it!
Alright, seriously, if you’re into macro photography and want the best photos of your miniatures, you’ll need more control over your light. Strong lights will let you shoot photos with smaller apertures (e.g., f8 or f11). Setting your aperture to higher f-stops gives you a deeper focus plane to keep your subject sharp through the image.
But, with smaller apertures you lose light coming into your camera and hitting your sensor.
Along with a tripod, a ring flash or twin light flash are your other advantages against the perils of macro photography. With portable constant lighting or flashes you can use a narrow aperture like f/11 or even f16. Depending on what you’re shooting, the best part about bringing lights with you is that you may not even need your tripod.
You can walk around being confident that you are bringing sufficient light to the party no matter where you are. The flash will also help you freeze movement and eliminate camera shake. If you can afford it or think macro photography is in your future, then good camera lighting is a nice gadget to have.
Tip #7: Focus on your subject
When doing macro photography you always want to focus on the most important part of your subject. You want the sharpest part of your image to start here and then transition throughout. You are likely working with a very narrow depth of field. Shoot accordingly!
For miniatures or models with faces, remember the general guideline is to try and keep the eyes sharp. Focus on the face first. As human beings, we are drawn toward faces and expression. This includes macro photographic subjects.
All the guides that govern good photography practices (which you should learn before breaking them) also apply to macro photography of minis and models.
Tip #8: Use manual focus
I often find that using manual focus is much better than shooting with autofocus. You may think your camera’s automatic settings and software is magical ingenious engineering software, but really, it’s just stupid.
Letting your camera decide what should be in focus is like letting a car drive itself down a freeway…a recipe for disaster.
You are working in a relatively tight space. You cannot afford even the slightest miscalculation. Don’t let your camera drive the ship. That’s your job.
Okay, okay, manual focus is slow… but isn’t that the point? Enjoy the process. You’ll get better results. Trust me!
Tip #9: Use your camera live view to check your focus
This tip goes hand in hand with the previous tip. I’ll admit, I never use live view, but with macro photography, the ability to zoom in while manually focusing is really helpful.
Give it a try and really nail that focus.
For those that don’t know what what live view is, it’s the same function that all smartphone cameras already use. When you’re taking a photo on a smart phone, the screen is your live view.
On a regular camera, live view is merely using the built-in screen to digitally zoom into what you’re focusing on to make sure what you want in-focus is truly tack sharp.
(Regular cameras are oddly behind in this live view technology thing, despite having better optics than any smartphone).
Tip #10: Focus stack in photoshop
My last tip is to try focus stacking to achieve greater depth of field throughout your image. It’s not as hard as it sounds. To accomplish this you simply take the same photo repeatedly with a slightly adjusted focal point. Use a tripod of course.
READ MORE: A COMPLETE STEP-BY-STEP FOCUS STACKING GUIDE FOR MINIATURE PHOTOGRAPHERS
Once you have your images you simply upload the photo stack into Photoshop. You want to run two separate functions, auto-align layers and auto blend layers. Let’s break this down into steps.
Step 1: Upload your Stack of Images into Photoshop from Lightroom.
Select the first image of your stack and then holding down the Shift key select the last image of your sequence.
Right Click >> Edit in >> Open as Layers in Photoshop.
If you don’t use Lightroom just load your images “as layers” into photoshop.
Step 2: Run Auto-Align Layers
The next step is to make sure all your images are in perfect alignment. You used a tripod but still, stuff happens. Select all the layers in the right layer panel
Edit >> Auto-Align Layers >> leave projection as “Auto” >> OK
Step 3: Run Auto-Blend Layers
The last step is to blend our layers into a seamless photo.
Edit >> Auto-Blend Layers >> Blend Method should be “Stack Images” >> Make sure both, “Seamless Tones and Colors” and “Content-Aware Fill Transparent Areas” is selected >> OK
That’s it, now you have a focus-stacked image!
Focus stacking is a great tool you can add to your arsenal of photography tools. Not only is it great for macro photography, but it’s also great for landscape photography.
For a more detailed look into how to use focus-stacking for your miniature photography, check out this simple focus-stacking guide.
Final Word
Photography is a hobby that is easy to get into. Everyone has a camera nowadays. But to really learn how to make amazing images you need to train yourself to see the world through the lens of a camera. That takes practice and perseverance.
Things that may interest you from your normal eyes may look different in two-dimensions. This is especially true for small subjects like miniatures or scale models. If you’re a board gamer, a tabletop wargamer, or simply a miniature artist looking for ways to bring life to your subjects, macro photography is a great medium. Create images that inspire, compel, and simply entertain your audience.
If you’re looking for some more inspiration, check out the photo gallery here or at See Imagery.
Have a great photography journey!

Tangible Day on YouTube (Miniatures and More!)

I have one more for you: if using a camera with live preview, plug it in to a TV screen so that you can see a much larger image preview before you snap the picture. I’ve found that this aids in focusing far more than anything else. I’m stuck using the old-style video input jack (since that’s the only cable I have available), but many DSLR cameras also have USB and even HDMI sockets.
Awesome! Yeah on my camera I can tether using a cable to an iPad.
This was a great article that goes deeper than others I’ve seen! Thanks for the info as I’m sure it is a great help to hobbyists the world over.