
Are you looking for a fast and easy way to paint a stone base? The base of a miniature adds a huge amount of atmosphere to a model. Stone or cracked rocky terrain is a common motif in a lot of fantasy miniatures, e.g., Warhammer Age of Sigmar, and other tabletop hobby games. A base paint job is the final step in any miniature painting. The great thing about painting realistic stone areas doesn’t have to be difficult or slow. In fact, only a little bit of skill and patience is all you need.
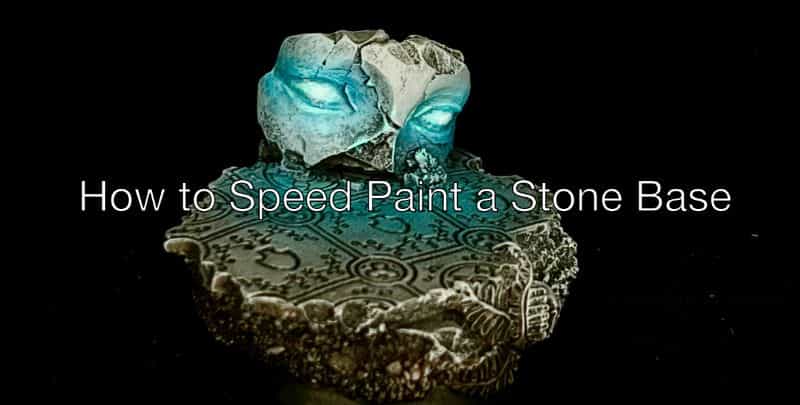
In this article, I show you my basic workflow for painting a stone base that looks great for tabletop paint jobs. It’s also a great foundation for other special effects where you want to make your model stand out from it’s environment. As a bonus, I also show you how I painted the object source lighting (OSL) special effect on this model stone base.
Read on below for some pro tips for how to paint bases for miniatures, or skip to my guide for how to paint a stone base quickly and easily.
Do You Need Special Stone Color Paint?
No, any acrylic paint (or oil paint) with a color you think works well for stone or rock is all you need. The key to painting miniature bases that look good isn’t fancy paint. The only thing you need is the ability to paint with an eye for high contrast.
High contrast is what makes a model appear more “3D”. When you paint a base with good contrast, the shadows are dark and the highlights are bright. When combined, dark darks and bright brights give a miniature sculpt the appearance of “volume” and shape when you view them from a distance–usually more than an arm’s reach distance.
Avoid Over-Painting Your Miniature’s Base
For your base painting, the techniques I show you below are merely an easy starting point. To achieve good contrast when painting bases for any miniature, keep in mind that you’ll have a model attached on top. You’ll likely want to strike a balance in terms of how much your base stands out as compared with the model sculpt on top of that base.
For example, I won’t paint a base extravagantly with vivid, highly saturated colors if I wanted my miniature to stand out when they are attached together. I’m careful to make sure the base of my miniature matches what I want for the “big picture” for the entire project when it is complete.
Ultimately, keep in mind that a big part of your base will be obscured or hidden from view when your painted miniature is finally glued on top.
Do You Paint a Model’s Base Before or After You Attach the Miniature?
Most of the time I glue the entire model together and attach it to the base before I paint. This has the simple advantage that I have something to hold onto when I’m painting the miniature. I can attach the model to a painting holder or handle.
Also, because I’m gluing the model to the base, I’m saving a bit of time when I paint areas that are visible. Whereas if I painted the base before I assembled the model, then I would be gluing ontop of areas that I already added color.
This makes my paint job a bit redundant and in some cases, reduces the glue’s adhesion to the base. A glue-to-paint bond is not as strong as creating a glue-to-plastic (the base material) bond. You can learn more in this article about the best glues for your miniature or scale model project.
Why you should assemble models after painting cast resin bases….
If you’re painting a cast-resin base, a 3D printed base, or other sculpted base that has a lot of detail that you want to show off, then painting the base first is a good idea before assembly. In this case, painting the base before you attach the miniature is the better option.
By painting the base first, you have more room for your brush to maneuver and can paint details much easier. This is important for resin bases, especially, where you want to paint a lot of the details and texture that made you buy the base in the first place.
RELATED: BASING MINIATURES QUICKLY WITH SAND (PHOTO TUTORIAL)
Ultimately, whether you paint the base before or after you assemble the model on top depends on how easy you want to make the paint job. Painting the base first before assembly is easier, but may be extra work that won’t get seen or weaken your assembly because glue may not stick well on paint layers.
How to Paint a Stone Base, e.g., Ruins, Rocky Desert Flooring, and More
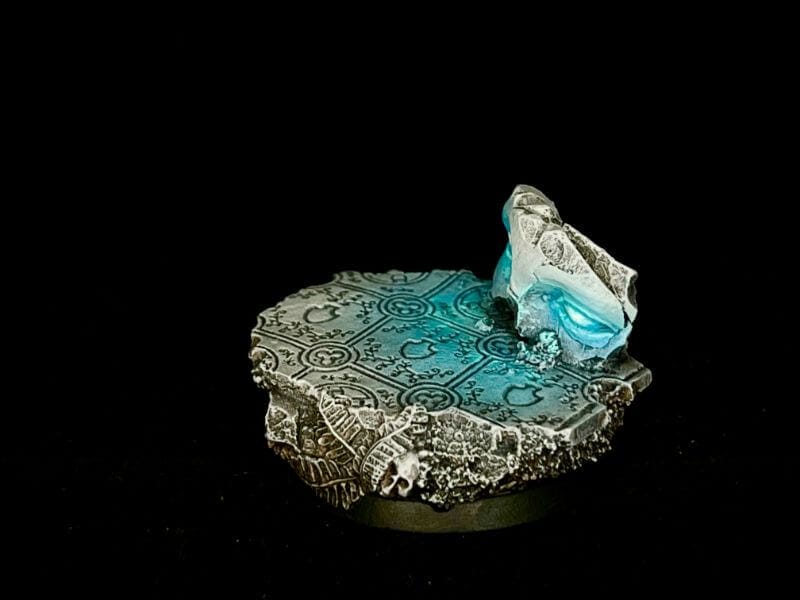
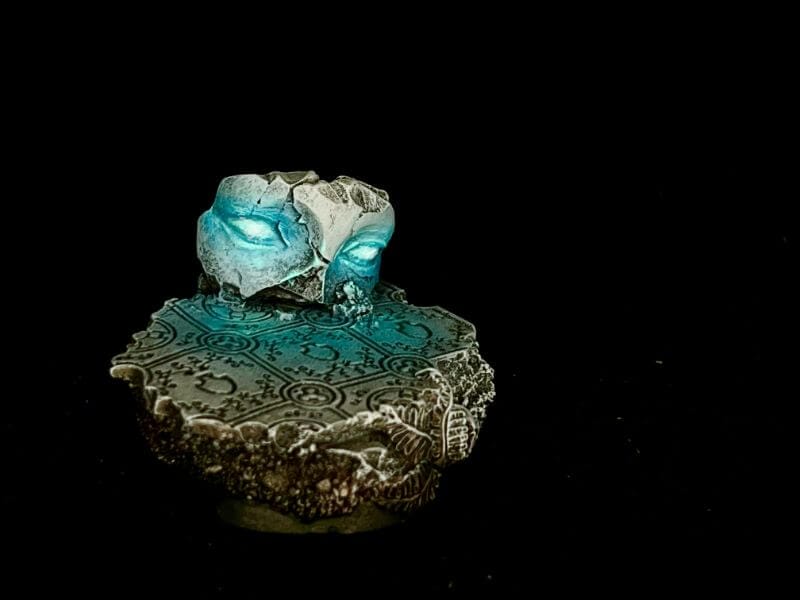
For this stone base painting tutorial, I painted the base before assembling the miniature. This not only gave me the option to paint special effects, i.e., OSL (see below) but also made taking photos a lot easier for this tutorial.
The base I painted is a resin cast base from Scibor Miniatures, and already has stone and rock texture sculpted into it. The workflow I show you below is great for painting any base with a stone, cracked rock, desert textures, etc. Because the method is straightforward without complicated steps, you can paint the bases for an entire army quickly.
Follow these steps to help you paint bases whether it’s a precast resin base, rocky scatter terrain material, diorama scenery, or a DIY sculpt.
Here’s how to paint a stone base with OSL special effects in 10 steps:
- Prepare the Base
- Paint the Main Color
- Apply a Wash to the Entire Base
- Dry Brush with the Main Color (in Step #2)
- Finish the Base, or Continue with More Details and Special FX
- Paint the Area Around the Object Source Light (OSL glow effect)
- Glaze the OSL Color to Blend with the Base
- Reapply the OSL Color (in Step #6)
- Add Final Highlight to the OSL Glow
- Varnish and Photograph!
1. Prepare the Base
The first step in painting in any miniature is to apply a good primer. A primer undercoat will help overlying paint stick and make the base painting more durable. It also evens out any microscopic imperfections in the surface of the base.
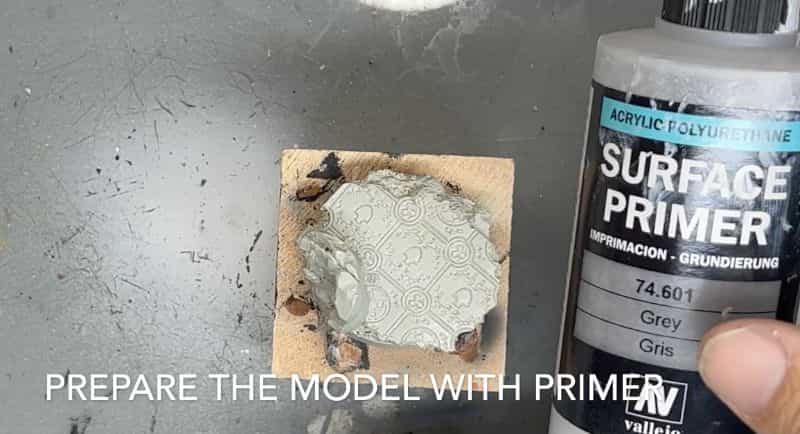
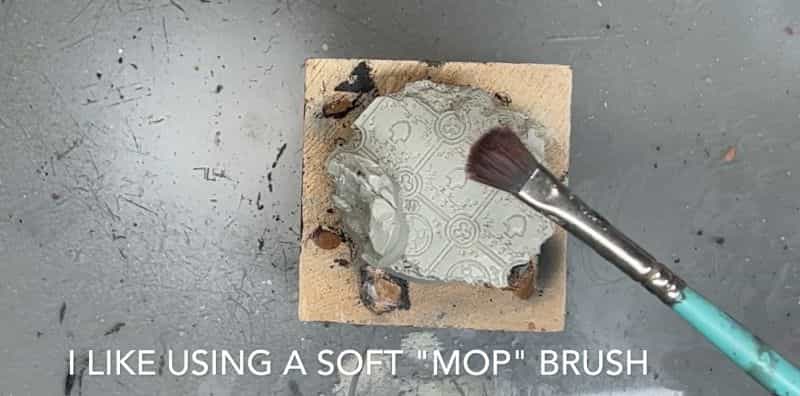
I use Vallejo Surface Primer applied with an old soft brush. I find this is quicker and much more relaxing to do than spraying, which requires extra space and clean up. Of course, if you have a lot of bases to batch paint, then spraying your primer will be faster.
If you need more than a single coat of primer, then make sure to allow each layer to dry before applying the next.
2. Paint the Main Color
To apply the main stone color, I used the same paint brush as above for applying primer. You can choose any color you like that you want your stone to appear.
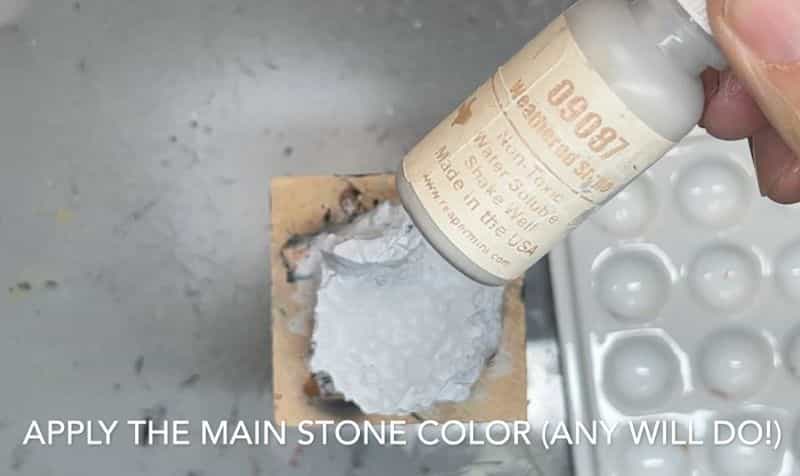
A good fall back for a general darker tone stone look is Citadel Mechanicus Standard Grey. For the base in this tutorial, I preferred a lighter gray color using Reaper Weathered Stone Paint to help the base standout.
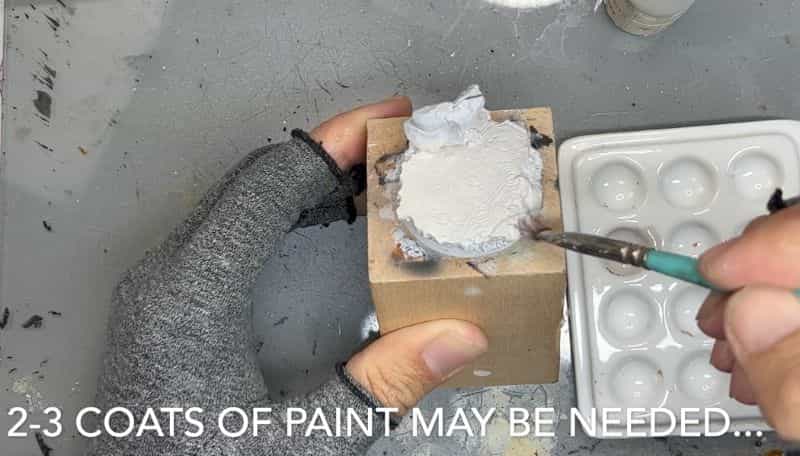
My favorite paints for miniatures are from the Reaper paint line, which dry with a matte finish and helps me blend colors. I apply this main color for the base evenly in 2-3 coats over the entire surface. As always, I make sure to allow each layer to dry before applying more paint or moving to the next step.
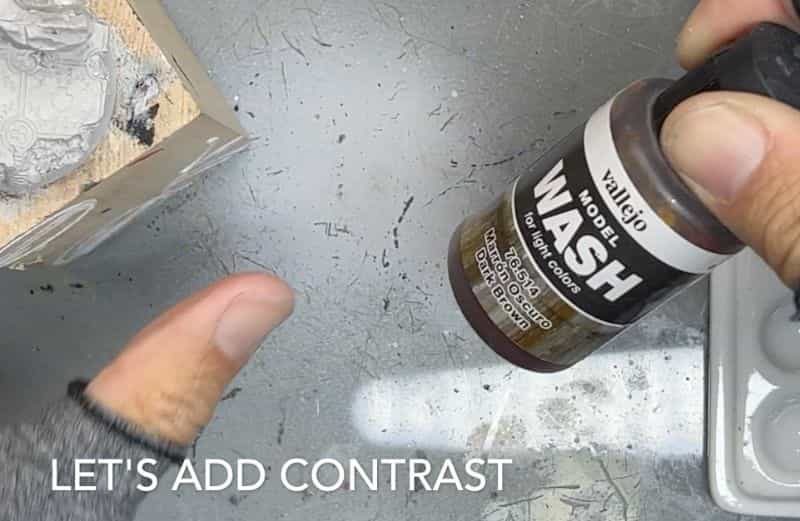
3. Apply a Wash to the Entire Base
The key to any good looking miniature paint job is to make sure there is enough contrast on the model. Contrast is the amount of dark and light colors that appear on the miniature. Good contrast gives a miniature its volume and 3D shape when viewed from a distance.
A good tip here is to know that the smaller the miniature, the more contrast you’ll need to paint for it to look three-dimensional–Larger models do not require as much contrast than a small model.
Washes are great because you don’t need to be precise when applying them.
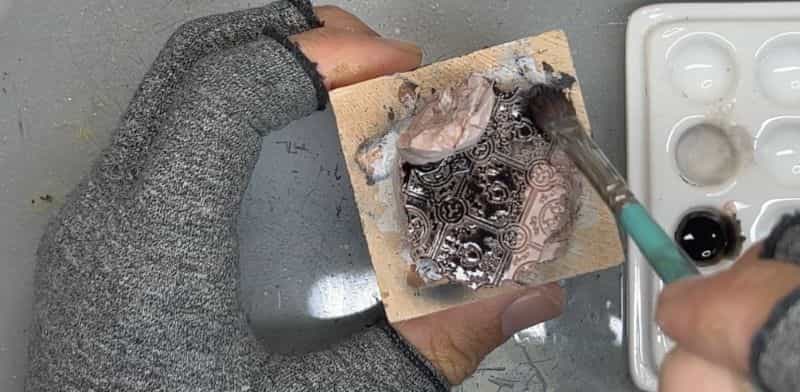
To quickly add contrast to your base, apply a darkening wash like Citadel Nuln Oil (black) or Agrax Earthshade (brown) over the entire model. For the stone base here, I used Vallejo Brown and Black washes because I have a lot of it. You can use any shade or wash you want.
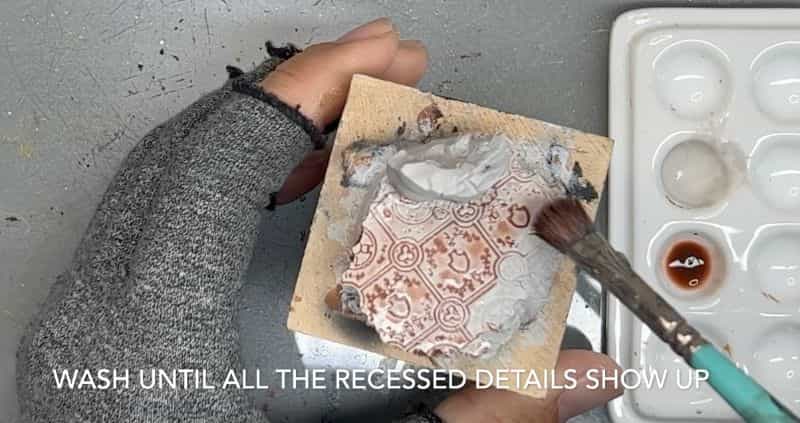
The idea here is to darken all the recessed details to help define shape and texture on the base. You’ll notice that even with the first coat of wash, all the details start to appear over the ground surface. The dark pigment shows you where edges and shapes are on the base. This process is helpful for many types of miniature painting.
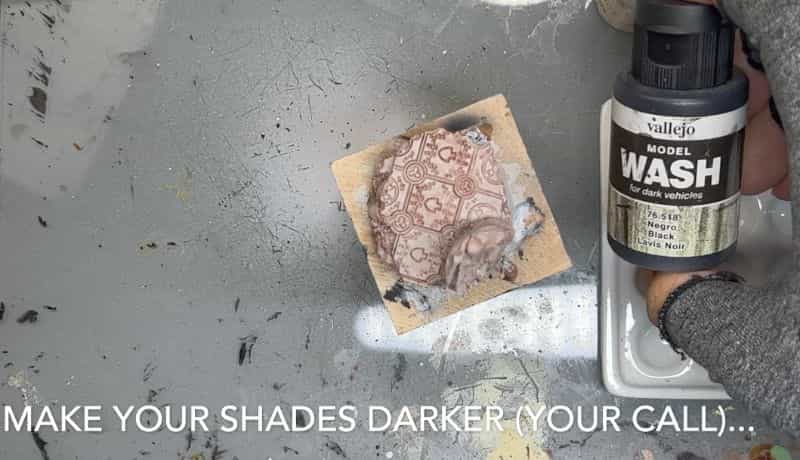
For this base, I apply a layer of brown wash. I allow this to completely dry before I apply with the black wash. In total, I applied two washes to shade the texture of the base.
To learn more about washes, check out this wash and shade guide with my favorite washes. If you need more than a single coat of your wash (most times you may not need it), then simply allow each application to dry completely. A hair dryer can speed up this process.
4. Dry Brush with the Main Color (in Step #2)
Dry brushing is an excellent technique for painting bases to look more like stone. You can learn more in this article about how to dry brush miniatures.
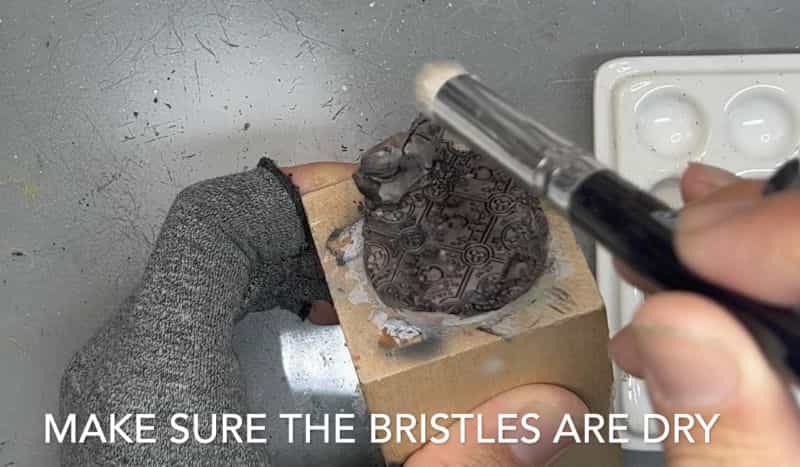
My suggestion is to use an old cheap brush with stiff bristles when you dry brush miniatures. The key to dry brushing stone bases (or any model base) is to make sure your paint brush has “dried” pigment.
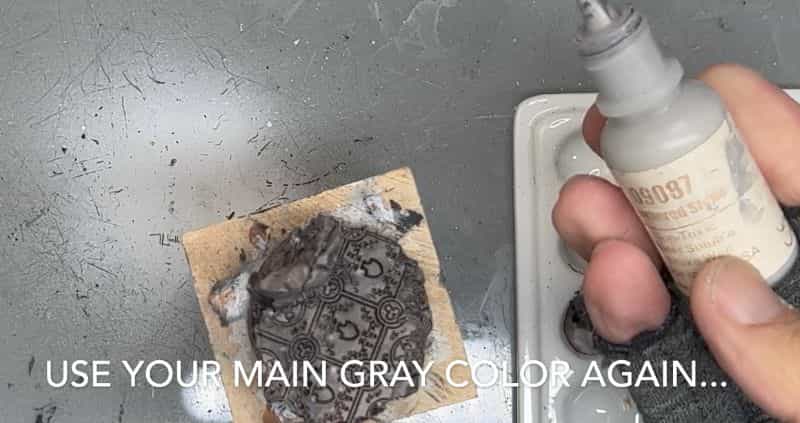
After dipping your brush into the main color paint (same as in Step #2), wipe off the excess moisture on a paper towel. Continue wiping until the colored pigment streaks only appear on the raised texture of the paper towel.
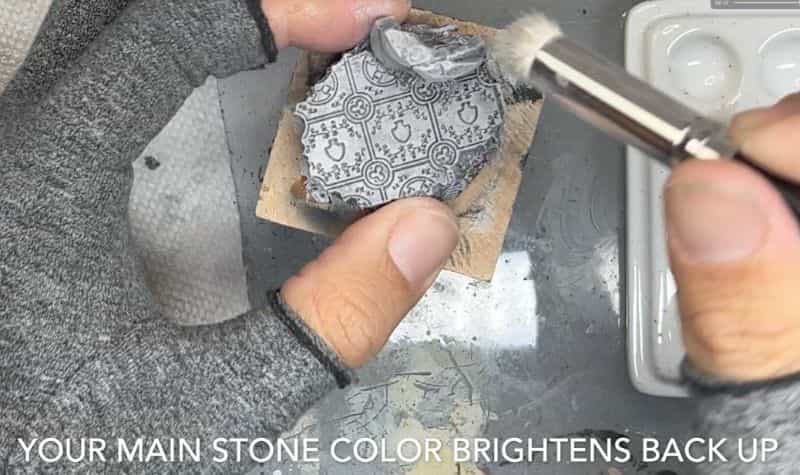
Dry brush your main color on your base. The raised texture of the base will gradually take up the main color. This will define stones and bits of other detail on the base. Explore and have fun while dry brushing. As the color builds up the base will get brighter and brighter.
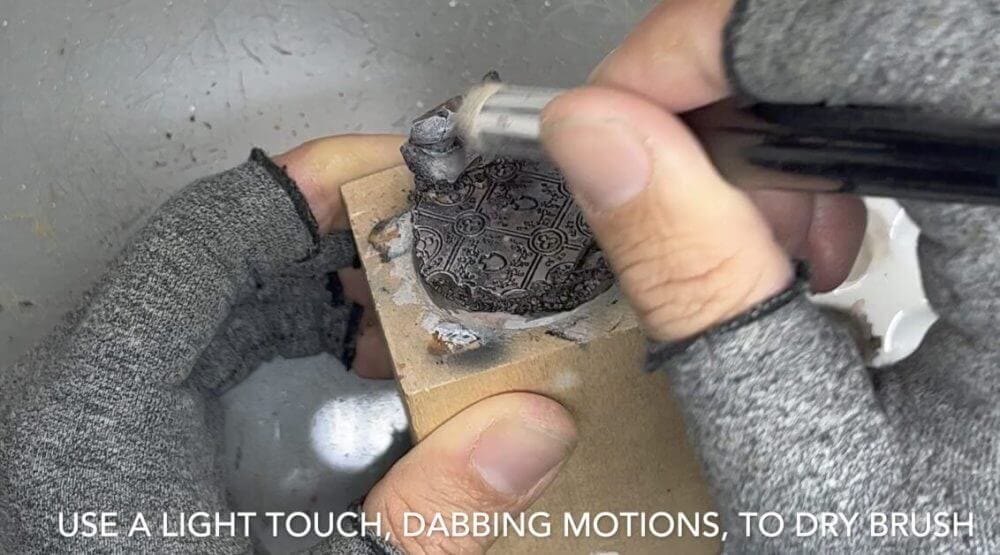
Use a light drybrush or softer touch to get your main color pigment on the edges of the base. The idea is to define the shape of the stones and texture from the darker shades.
In general, to increase the contrast on a model, you’ll want to apply drybrushing methods the same way. Allow the dry brush to slowly build up the color and help define the texture and shapes on the mini.
5. Finish the Base, or Continue with More Details and Special FX
At this step in the stone base painting, you can stop and skip to Step #10. Or, you can add additional details and special effects. On the resin base I’m painting, there are plants, flowers, and vines growing through the stone. I could have decided to paint these with different colors, i.e., green, etc. But, for this tutorial, I wanted to try something different and more ambitious.
Continue on to Step #6 to see how I paint Object Source Lighting (OSL) or a glow effect on this stone themed resin base.
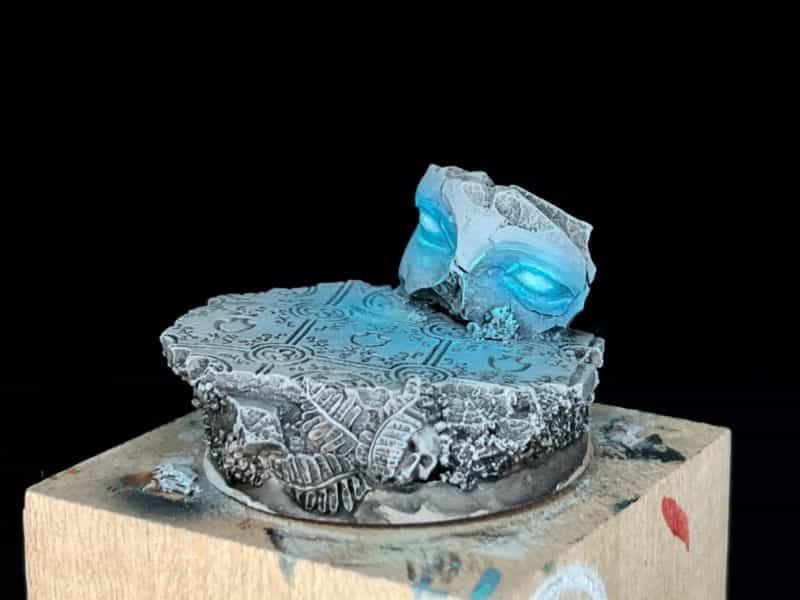
6. Paint the Area Around the Object Source Light (OSL Glow Effect)
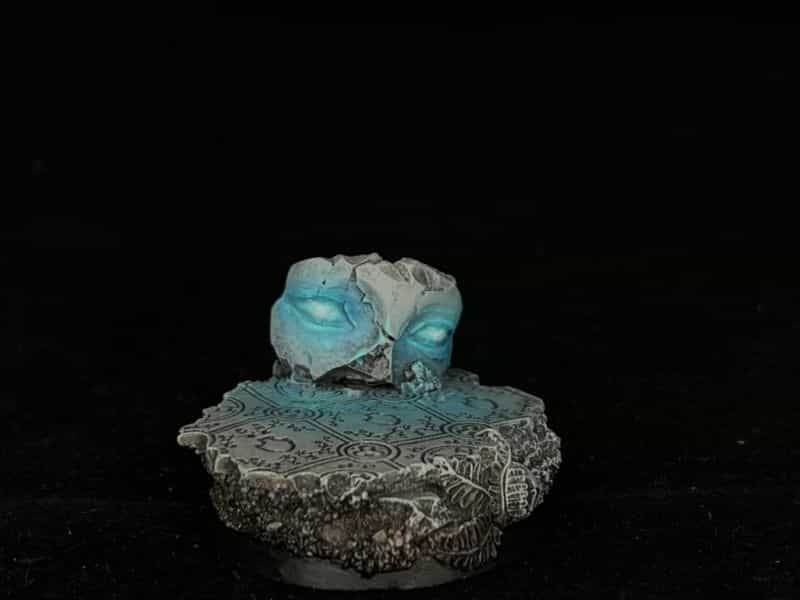
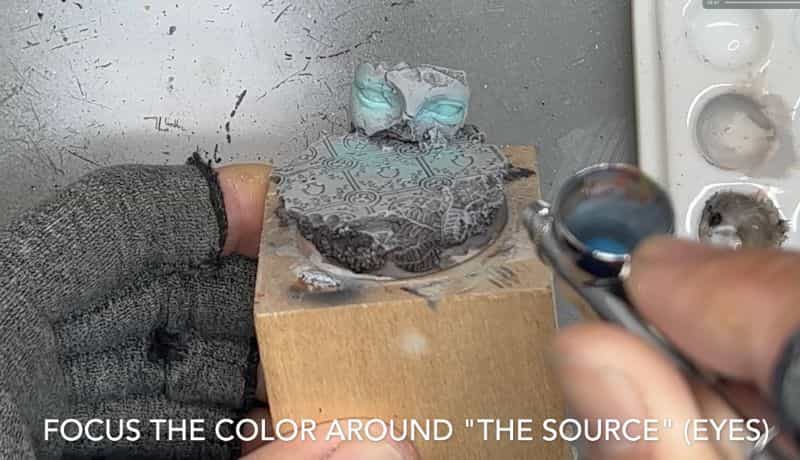
To create the glowing effect on a miniature, also known as object source lighting (OSL), follow steps #6-9. First, start with painting the area on the miniature base that the light source affects. In this case, the source of the lighting is from the “stone ruin eyes”.

In my case, to speed things along, I use an airbrush. I mixed my blue paint in the Iwata airbrush paint cup. Using a low air pressure, I slowly build up the color on the base surrounding the eyes. I’m careful to avoid painting areas that would not be affected by a glow cast from the eyes of the ruins.
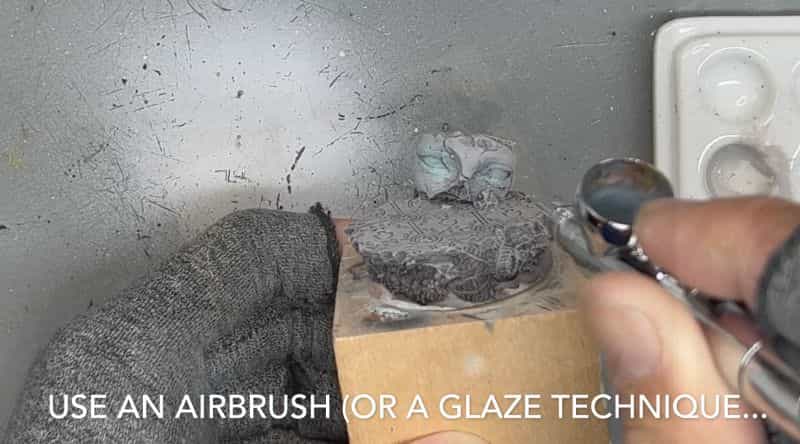
You can paint this step using a regular brush. Just make sure you keep your paint thin so it has some transparency. You want some of the color and contrast of the base to show through. This will give your OSL a more realistic appearance.
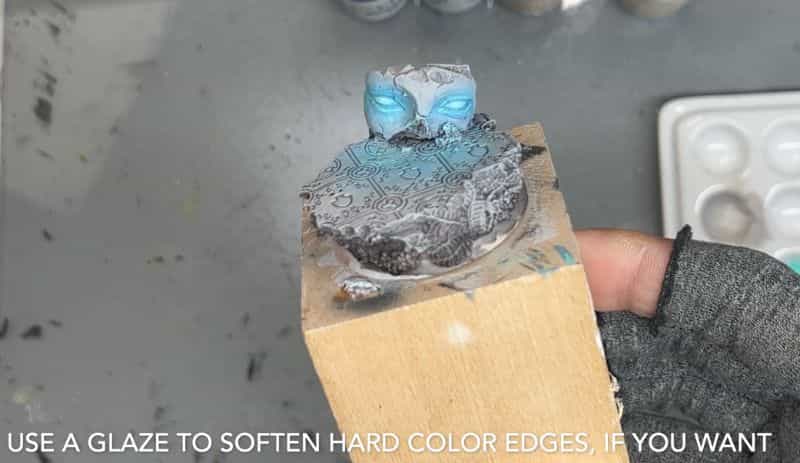
7. Glaze the OSL Color to Blend with the Base
To blend your first blue color into the tones of the stone base, take a darker version of the blue you used in Step #6 and make a glaze (a thin, transparent version of paint). You can use water to make the glaze.
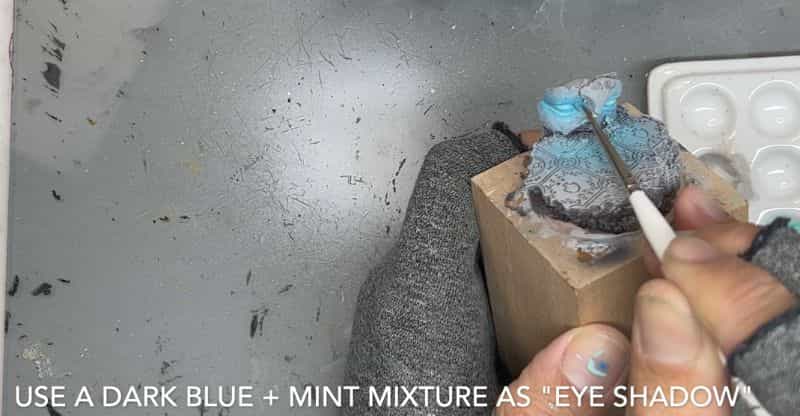
Brush the glaze on the blue you just painted earlier. This “pushes” the brighter blue color down into the stone base. If you’re unsure of what I mean, try pretending that you’re using a wash. But, rather than covering the entire model, only use color on top of the area you already painted in Step #6.
This glaze will blend the blue you painted earlier into the stone base color. This helps sell the effect that you pull off in the next two steps.
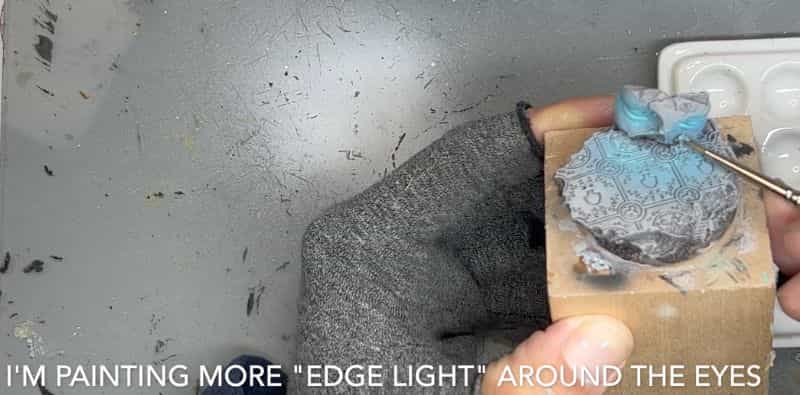
8. Reapply the OSL Color (in Step #6)
Bring the blue color back that you used in Step #6. But, instead of painted over all the same areas again, limit this paint application to areas nearest the eyes.

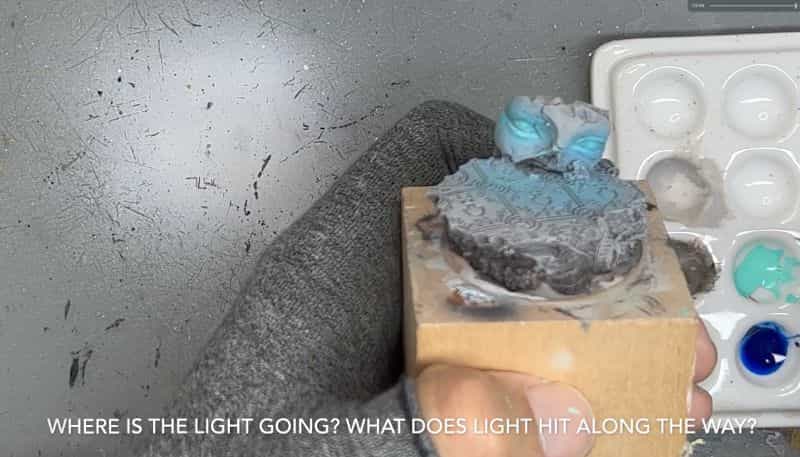
This brighter color will brighten up the areas on the base around the eye. This edge lighting further enhances the “glowing” effect, because light “hits” the source-facing edges as it travels from the eyeball source.

Pretend that the eyes are emitting a blue-ish light and you’re painting the stone base edges where that light hits. Be subtle and only paint edges that are close to the eyes. Don’t overdo it!
Turn your base and look at it from all angles to make sure you are painting the blue color paint in all the right areas. Avoid painting areas of the base that are in “shadow” cast by the eye lighting source.
9. Add Final Highlight to the OSL Glow
To really sell the OSL glow effect, paint bright highlights around the edges of the eyes. This highlight color can be a simple mix of the base blue color in Step #6 and white (i.e., blue + white paint).
Use a finer detail brush if it helps you keep the paint on those edges around the eyes.
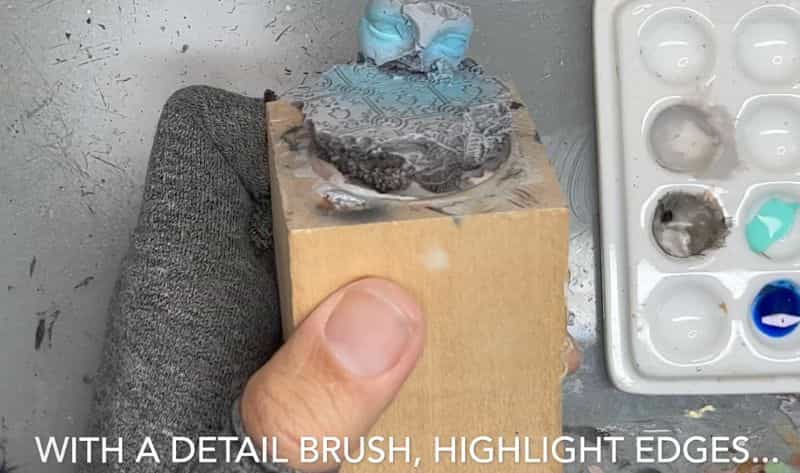
Also see if painting small areas on the stone base will help show off the glow directionality. For example, maybe a highlight dot or two around the edges of stone tiles closest to the OSL source.
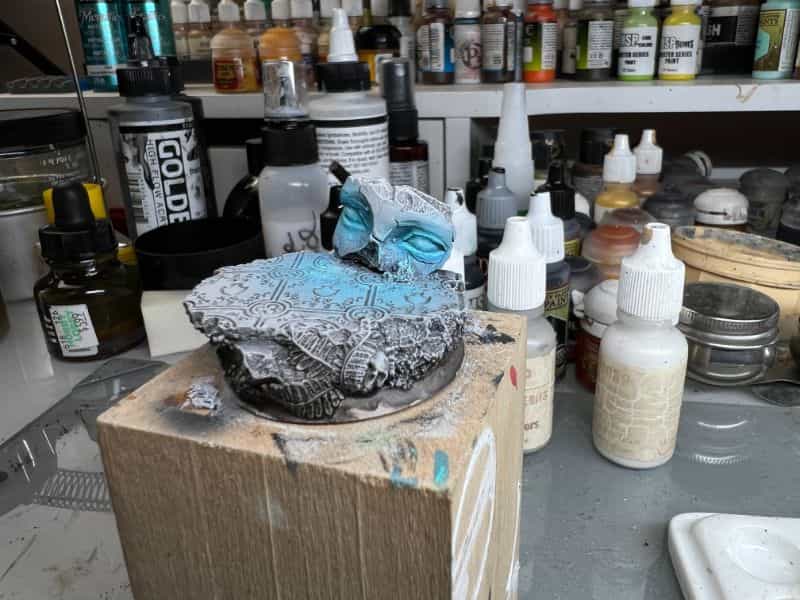
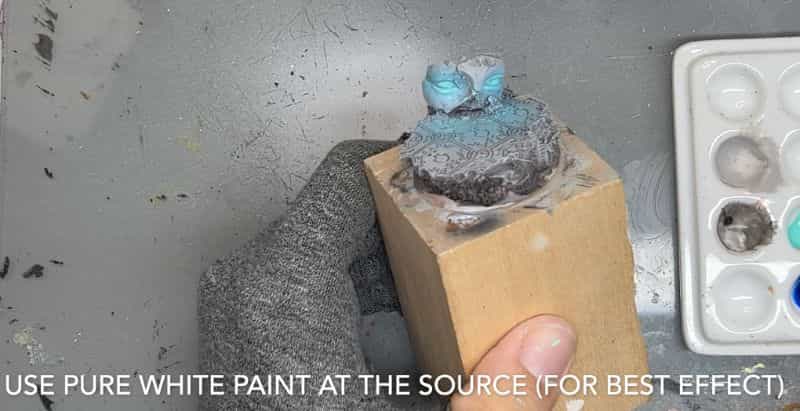
To finalize the glowing effect, paint the source (the “eyes”) with pure white–in this case, paint the center of each eye ball with white paint. If you have to touch up any areas on the model base, do so at the end of this step.
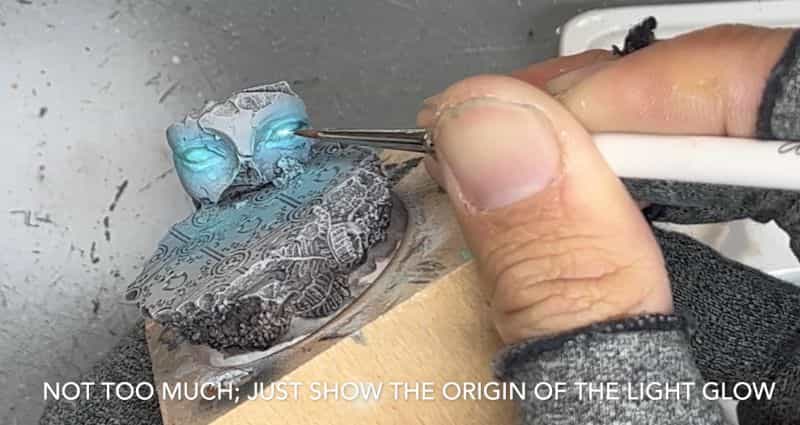
Again, you only need a little paint to sell the effect. Paint too much and you detract from the illusion that light is emanating from a point source. Keep your highlighting efforts focused around the eyes.
Paint the rim of the base to complete the look. I like using black as a default.
10. Varnish and Photograph!
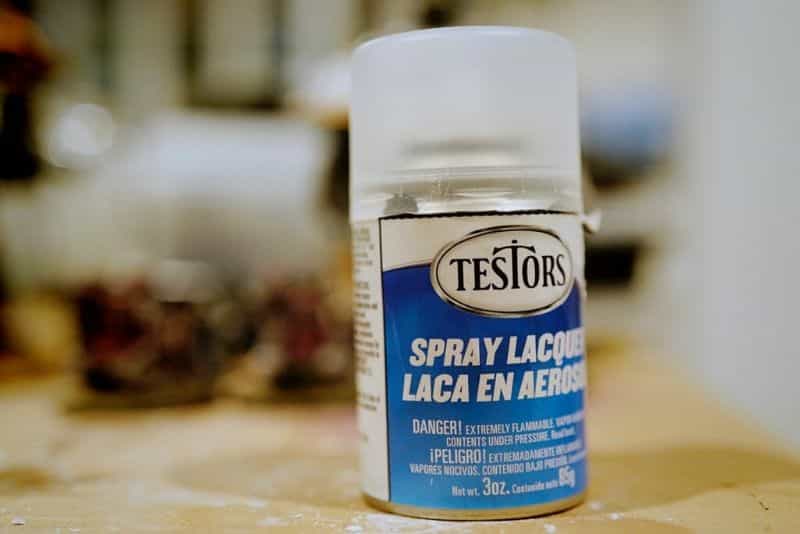
You’re done! Seal your miniature in a matte varnish spray, such as Testors Dullcote. Here’s a review and tips for how to best use a matte varnish on painted miniatures.
2-3 coats of a varnish will help even out any shine and preserve your painted miniature’s color and contrast. This makes photographing your model easier, too. For helpful articles about how to photograph miniatures, check out these hobby photography guides and tips.
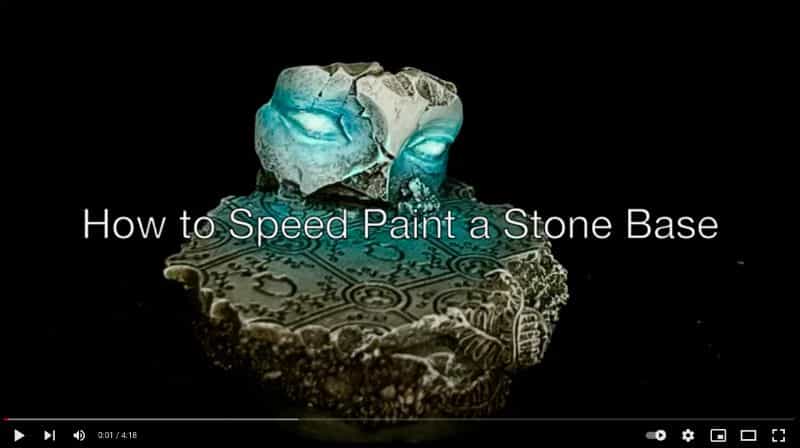
Video Summary for Painting Stone and Object Source Lighting (OSL)
Conclusion
I hope you found this article helpful for how to paint stone bases for miniatures and models. This workflow works great for any base with stone, rock, cracked tile, or other “hard” surface motifs.
There are a lot of cool bases you can buy for your favorite miniatures and scale models. Almost all of them require that you paint them, and if you have a lot of miniatures, this could take you a while. The workflow above has helped me paint these bases quickly with great results.
Do you have a miniature hobby project that requires you to finish painting bases for your models? Do you have a favorite way of painting bases? Let me know!
Until next time, happy miniature painting!


Tangible Day on YouTube (Miniatures and More!)

This tutorial is terrific. It’s super helpful and the best tutorial that I have come across too.
Thank you and I appreciate the note! I’m really glad you found it helpful. There’s a lot more where that came from :).