Looking for a guide about how to prime miniatures? Priming miniatures is the key to getting a professional looking paint job. In this guide, we’ll go over everything you need to know about priming miniatures, from what kind of primer to use, to how to apply it.
There are a few different ways to prime miniatures. You can use an airbrush, or you can regular brush paint the primer on. For this guide, I’ll focus on spraying miniatures with aerosol primers, which are often better for beginner painters.
Skip ahead for the 7 steps for priming miniatures, or read on for more info about priming and spraying miniatures.
MORE PRIMING TIPS FOR MINIATURE PAINTERS
If you’re looking for other guides about priming miniatures with other useful methods, check out these links to helpful tips and tutorials:
- How to Use Brush on Primer for Painting Miniatures
- Using an Airbrush Primer (How-to): The Pros and Cons of Surface Primers
- Zenithal Priming: Is it Worth It?
- Best 10 Primers for Painting Miniatures, Wargaming Models, and 3D Prints
- Top 7 Spray Primers (Affordable, Easy, Fast): Guide and Best Practice for Miniature Painters
- Primers for 3D Printed Models, Miniatures, and Tabletop Gaming Terrain
- My #1 Favorite Primer for Painting Miniatures and Models
WHY PRIME MINIATURES?
The primer coat serves a few purposes. First, it provides a uniform surface for the acrylic paints to adhere to. Second, it helps fill in any tiny imperfections in the miniature. And finally, it provides a barrier between the surface of the miniature and the paint, which can prevent acrylic paint from chipping or flaking off.
For 3D prints, primer serves other possible uses, too. Primer fills in the 3D printing layer lines, which allows you to apply paint more smoothly. Primer helps keep paint layers thin.
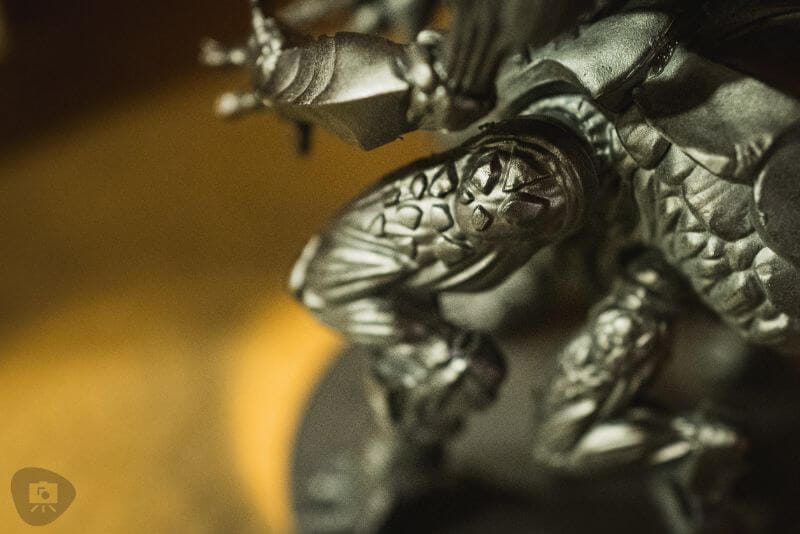
Remember, as with any spray paint job, less primer works better. Fewer coats of primer works best! If you can cover your model evenly in a single coat, even better.
“One and done!”
More layers only creates problems. I’ll note from experience, that applying primer in fewer layers is especially important if you’re painting resin miniatures, e.g., Forgeworld models, which carry very fine detail.
Now that we know why miniature painters need to prime their miniatures, let’s talk about what kind of primer to use.
SMOOTHER, BETTER LOOKING ACRYLIC PAINT JOBS
Hey, here’s a quick word about how to achieve good looking acrylic paint coats on models.
Every layer of art medium you add to your model directly affects the next layers you add on top.
This means that for your final piece to look its best, you’ll want to take care with each and every layer you add. The first step of course is the primer coat.
Take your time with your primer step because applied paint over it will only enhance any flaws with your work. Thin layers are fine with primer and a slightly transparent appearance is OK.
If you see the original surface of your model through the primer, this is normal. For example, if you primed black over a light gray plastic model kit, you may see some of that gray peeking through.
After you’re done priming, when you’re ready for paint, especially painting light colors, layer up your pigments in 2-4 layers at a time. This way, you don’t create brush stroke textures in your paint and allow each coat to stretch thinly over your primed surface.
Patience is the key to any paint job. As you get better with your primer and paint application, understand how paint behaves, you’ll be able to work faster and faster.
Best Spray Primers for Miniatures, Scale Models, and 3D Prints
There are a few different types of primer you can use on miniatures. The most common type is an aerosol primer, which comes in a can. This is the kind of primer I recommend for beginners, because it’s easy to use and relatively inexpensive.
| Image | Product | Features |
|---|---|---|
 | 2-in-1 Filler & Sandable Primers |
|
 | The Army Painter Color Primer (Matt Black) |
|
 | Tamiya Surface Primer (Light Gray) |
|
 | Testors Spray Enamel Paint Primer |
|
Other types of primer include airbrush primer and surface primers that you can apply with a regular brush. If applied properly, these types of primers can provide a better finish than spray primer. However, they can be more difficult to use, so I recommend starting with spray primer if you’re new to the hobby.
What You’ll Need to Prime Miniatures (Supplies)
- Miniature or model you’ll prime and paint
- Spray holder or stand
- Sticky tack (optional)
- Ventilated area
- Good ambient temperature and humidity
- Primer (aerosol spray can)
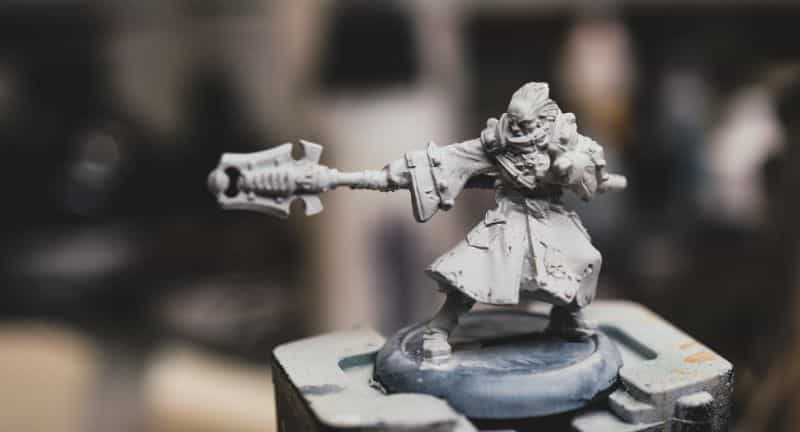
Miniature or model you’ll prime and paint
This is the miniature, scale model, or 3D printed piece you want to eventually paint. It can be made of any material, but most primers work best on plastic, resin, or metal surfaces. Paint sticks best to a surface after priming it.
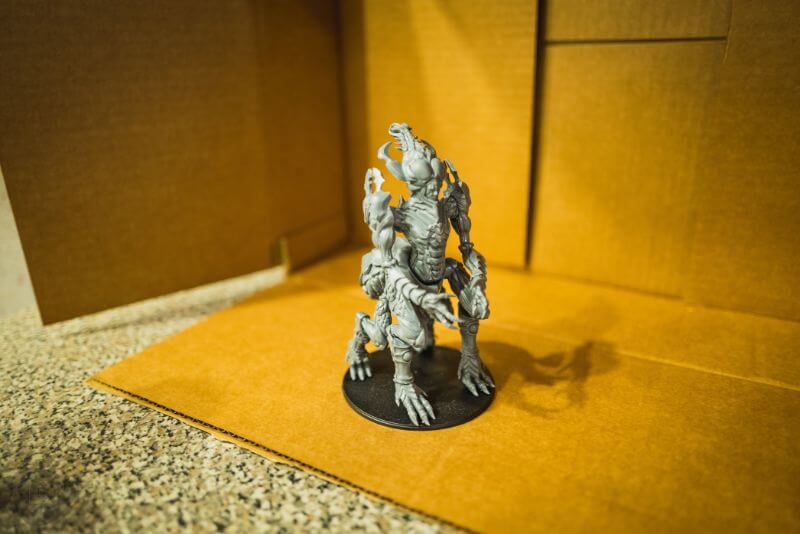
As a note, priming plastic isn’t any different than other types of material. Even if you’re priming wooden models, several coats of a good primer will prepare that surface well before you start painting.
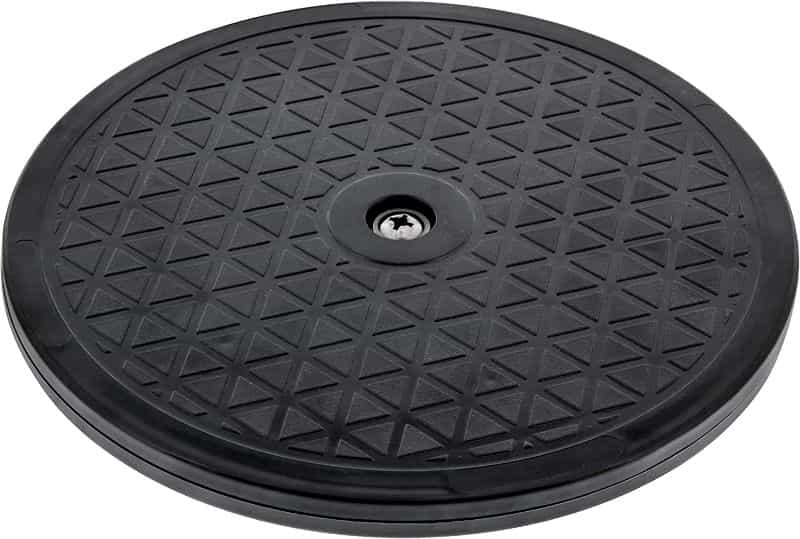
Spray holder or stand
You’ll need something to hold the miniature while you’re spraying it. I recommend using a turntable style stand or a holder stick, which you can buy at most hobby stores. These tools help you apply full coverage to the whole miniature without touching them.
There are also “third hand holders”, which you could find that have flexible clips that hold the parts you want to spray with your primer or spray paint.
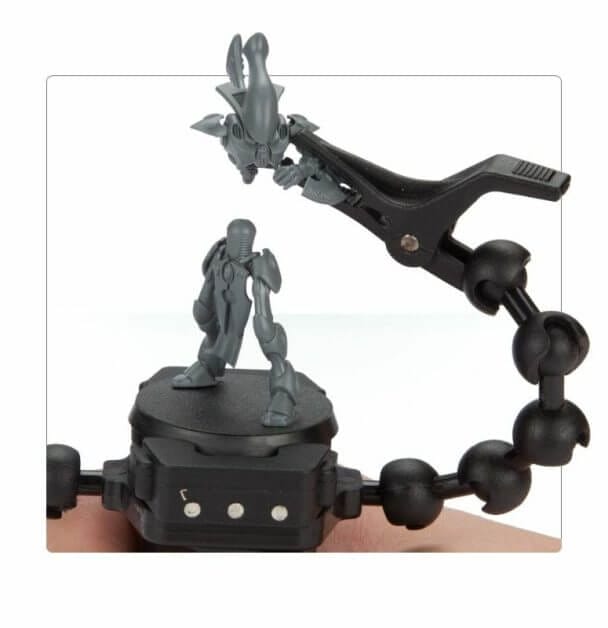
You can also improvise with things like binder clips, clothespins, or even sticky tack. If you use sticky tack, make sure to put it on a separate surface from the one you’re priming the miniature on, so you can easily remove it later.
Ventilated area
It’s important to prime your miniatures in a well ventilated area, because primer (and paint) fumes can be harmful to your health. If possible, prime your miniatures outdoors or in a garage with the door open.
If you can’t do that, make sure the area you’re working in is well ventilated. You could open a window or use a fan to help circulate the air.

Yes, a spray booth could help. But not all of them are designed for extracting aerosol fumes. Make sure to do your research before buying one. Here are a few spray booths and fume extractors that I recommend for airbrushing and other non-toxic spray applications for miniature painters.
Good ambient temperature and humidity
The temperature and humidity of the area you’re working in can also affect how well the primer adheres to the surface of the miniature.
Ideally, you want to prime your miniatures in an area with a temperature between 70-85 degrees Fahrenheit and a relative humidity of less than 60-70% (optimal range for spraying primer).
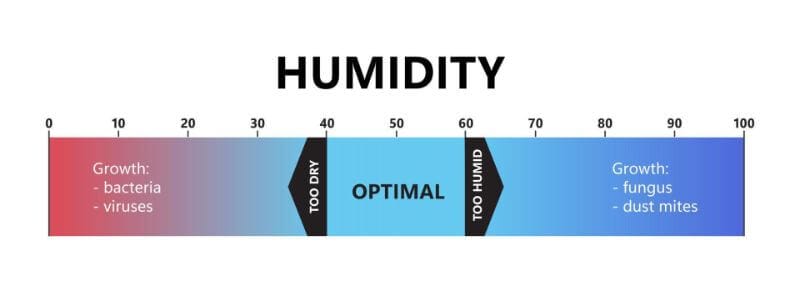
In cold temperatures and low humidity, the primer could start to dry before it’s had a chance to fully adhere to the surface of the miniature. This can cause the primer to clump up (e.g., create the dreaded orange peel appearance), or even crack and flake off when you paint over it.
If the temperature and humidity are too high, the primer may absorb moisture from the air as it travels in the spray. When this happens, it may coat your model improperly. This can cause issues with the paint adhering to the primer later on.
Spray primer (aerosol)
There are many types of spray on primers you can buy.
For starters, I strongly suggest using one that is made for scale models and miniatures.
These have a finer particle size than regular spray primers, so they tend to create a smoother finish. They also do not fill in the tiny details on your models like some general purpose primer might.
Here are 3 brands of spray primers I recommend (any color is okay):
- The Army Painter Color Primer (Acrylic Spray Undercoat)
- Tamiya Spray Surface Primer
- Rust-Oleum Automotive Filler Primer Spray Paint (Use Only for 3D Prints or Large Models)

For reviews and suggestions of other spray primers, check out this article. Now that you know what supplies you’ll need, let’s move on to the next step: prepping your miniature for priming.
Prepping Your Miniature BEFORE Priming (Step-by-Step)
- Clean the surface of your miniature with soap and water.
- Rinse the miniature and let it dry.
- Use a hobby knife or seam scrapper to remove mold lines or flash.
- Assemble your model (if you haven’t done so already). Use a good hobby glue!
To apply your spray primer, follow these steps:
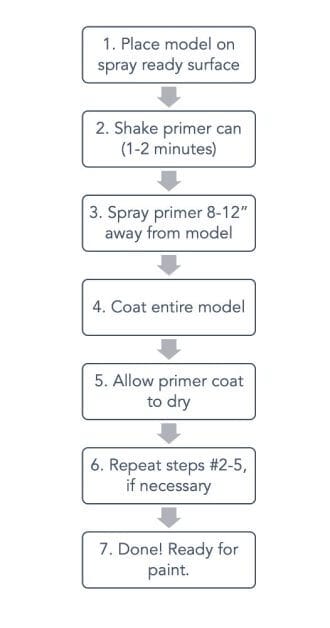
Priming Miniatures in 7 Easy Steps
- Place your miniature on the turntable stand or holder of your choice.
- Shake the primer can for 1-2 minutes to mix the contents.
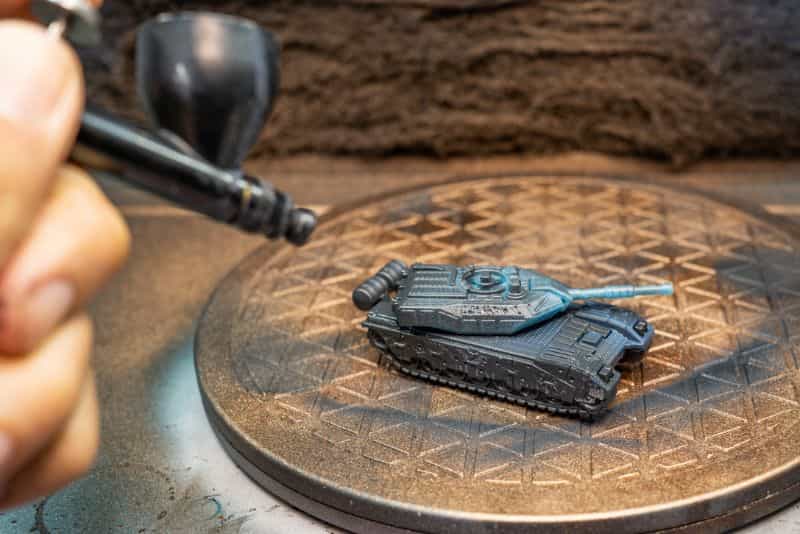
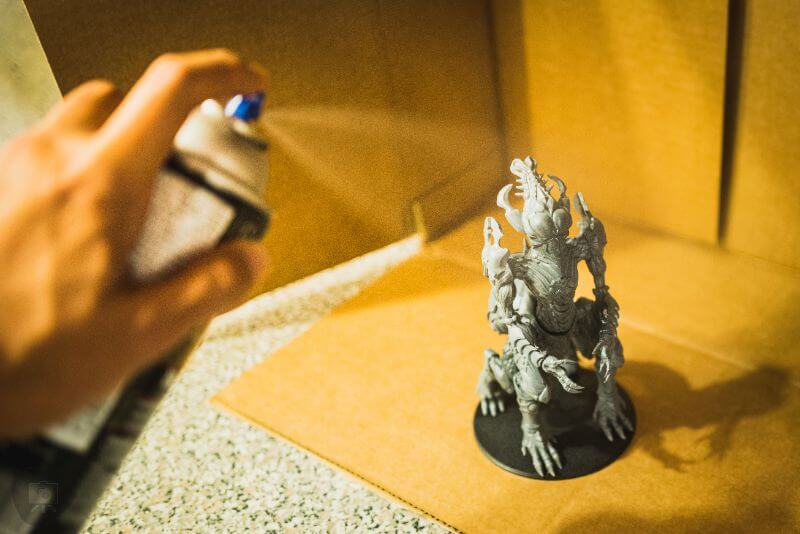
- Hold the primer can 8-12 inches away from the miniature, and start spraying in a steady back-and-forth motion.
- Continue until the entire surface is evenly covered.
- Let the primer dry, which usually takes 30minutes to a few hours.
- Repeat steps #2-5, if necessary
- Done. Ready for paint!
And that’s it! You’ve now officially primed your miniature and it’s ready for painting.
Other Helpful Tips for Priming Miniatures for Best Results
I’ve primed and painted a lot of models in my day. And along the way, I’ve picked up a few helpful tips and tricks.
Here are some of the most important things to keep in mind when priming your miniatures:
1. Use a light coat of primer. Avoid putting on too much, as this can cause the primer to pool in the recesses and crevices of your model. This can lead to an uneven surface and make it difficult to paint over later on.
2. Let the primer dry completely before painting over it. Otherwise, you run the risk of the paint not adhering properly, or even worse, pulling the primer off when you go to apply the paint.
3. If you want to paint up your models fast, use a dark colored primer, e.g., black primer. It’s much easier to add hobby paint color over a dark surface smoothly.
However, if you want to achieve a high level of detail or realism, use a white primer. It can be more difficult to paint over, but the results are worth it since you’ll be able to see the contrast better, i.e., light vs dark. It also helps you paint bright colors with less effort.
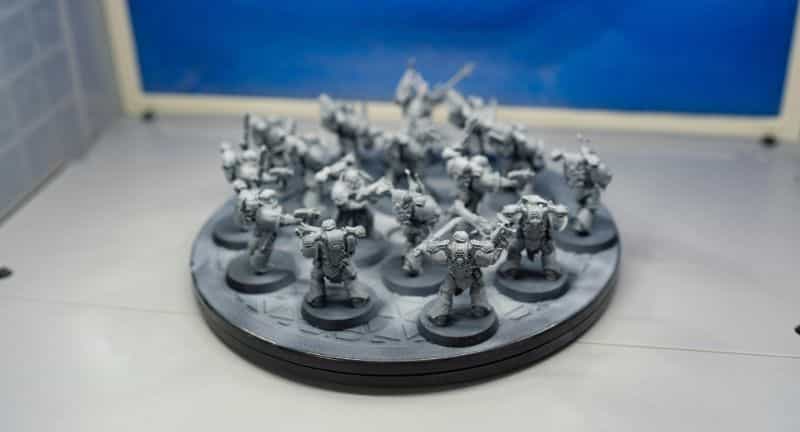
4. If you’re priming multiple miniatures at once, be sure you are able to turn them around and hit every angle of the model. This will help ensure an even coat and avoid any areas being missed.
5. When in doubt, always err on the side of caution and do a second coat of primer. It’s much easier to add another layer of thin primer than it is to go back and fix an uneven or incomplete surface.
Frequently Asked Questions (FAQ)
Q: What’s the best way to clean my miniature before priming?
A: I always recommend cleaning your miniature with soap and water first. This will remove any oils, dirt, or debris that might be on the surface of the model. You can use an ultrasonic cleaner to help you along.
Q: Do I need to use a primer? Can’t I just paint directly onto the surface of the miniature?
A: You can paint directly onto the surface of the miniature, but I would recommend using a primer first. This will help create an even surface to paint on and also ensure that the paint adheres properly. Bare plastic, in particular, is notorious for repelling hobby acrylic paints.
Q: Can I use any kind of primer?
A: For best results, I recommend using a primer specifically designed for miniatures. These can be found at most hobby stores or online. Thin layers of a good quality primer will avoid obscuring fine details on your models.
Q: Can I prime models in cold weather?
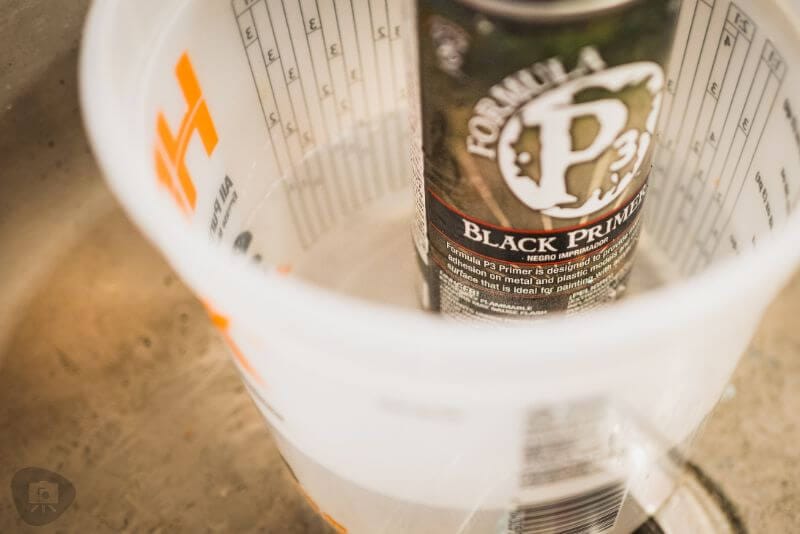
To avoid issues with spraying primer, avoid cold weather and always apply primer in short bursts from aerosol rattle cans. When the ambient air temperature is cold, the aerosol/paint mixture in rattle cans don’t mix well. This can leads to problems with enough primer spraying out or adhering to your model parts.
A trick some painters use to spray aerosol cans outdoors during the cold season is to submerge bottom of the spray can in warm water. This changes the internal air pressure of the spray can, helps the primer mix well, and will let you gently spray your model without worrying about splutter or clumping.
Q: Why should I avoid spraying primer too close to my model?
Using light passes from a distance (6-12″ away) allows you to control how much primer goes onto your model’s surface. The best primers come with nozzles that allow you to control how you apply multiple coats.
Q: How long should I wait for the primer to dry before painting?
A: It’s important to let the primer dry completely before painting over it. Otherwise, you run the risk of the paint not adhering properly, or even worse, pulling the primer off when you go to apply the paint.
Q: Why do I need to use thin layers of primer?
Very thin coats of primer is necessary to avoid covering up fine details and textures on your model. Applying too much primer is a common problem for those new to painting miniatures.
Q: Does primer color matter?
Not really. But for general tabletop quality paint jobs, I suggest starting with a black primer. A thin coat of dark colored miniature primer will make it easier (faster) to finish a paint job.
Conclusion
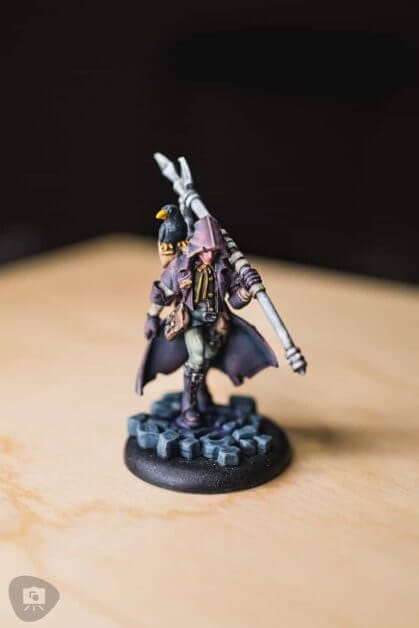
Priming your miniature is an important step in the painting process. It will help create an even surface to paint on and also ensure that the paint adheres properly.
I hope this guide was helpful. The few tips I share should get you on your way to achieving the reliable, consistent look any miniature painter aspires to achieve.
If you have any questions or comments, please feel free to leave them below.
Happy miniature priming!


Tangible Day on YouTube (Miniatures and More!)

Your article says you like Tamiya Surface Primer, but the image on the link is for Tamiya FINE Surface Primer…which one do you actually use? Or does it really matter?
Ah I took a look again. They are the same thing. The product images change sometimes but it’s the same product that I’m recommending! Thanks for the comment tho as it made me take that second look lol !!! 🙂
“Fine” is the one I use at the moment. I’ll update that. But from my experience it hasn’t mattered.