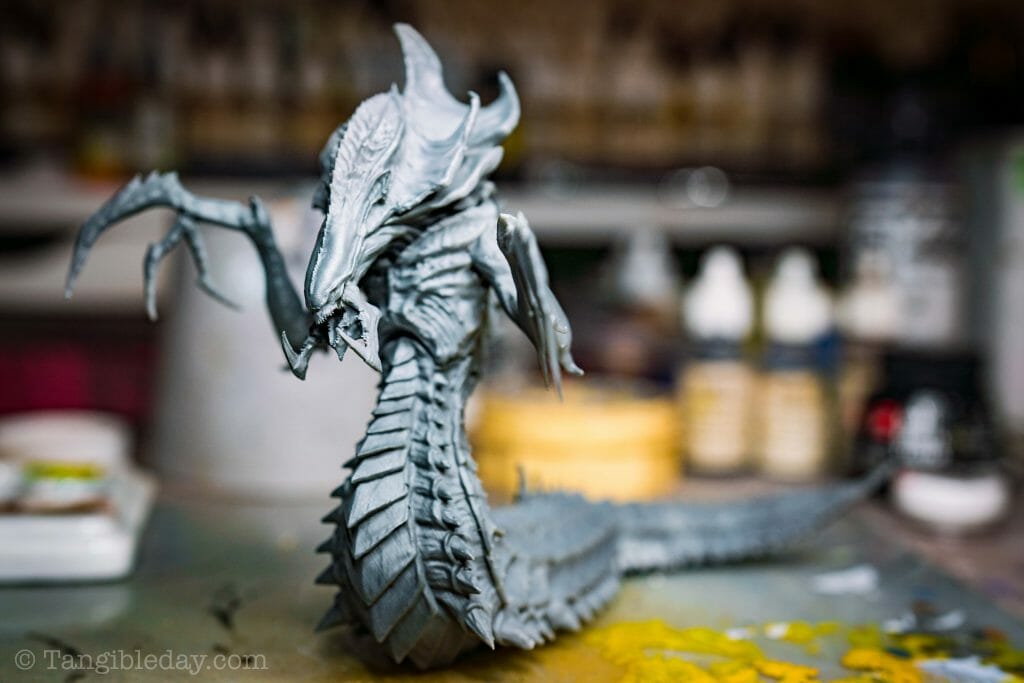
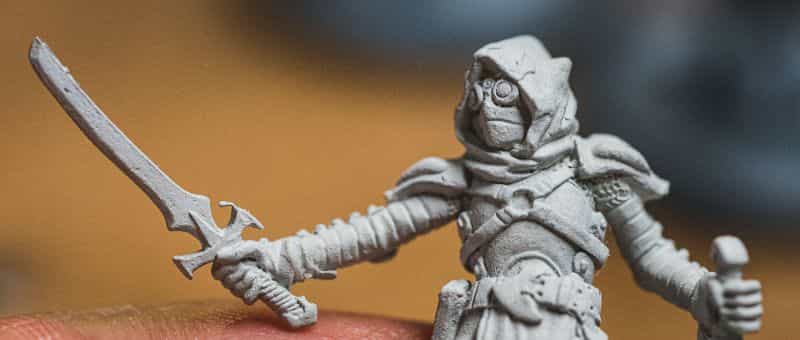
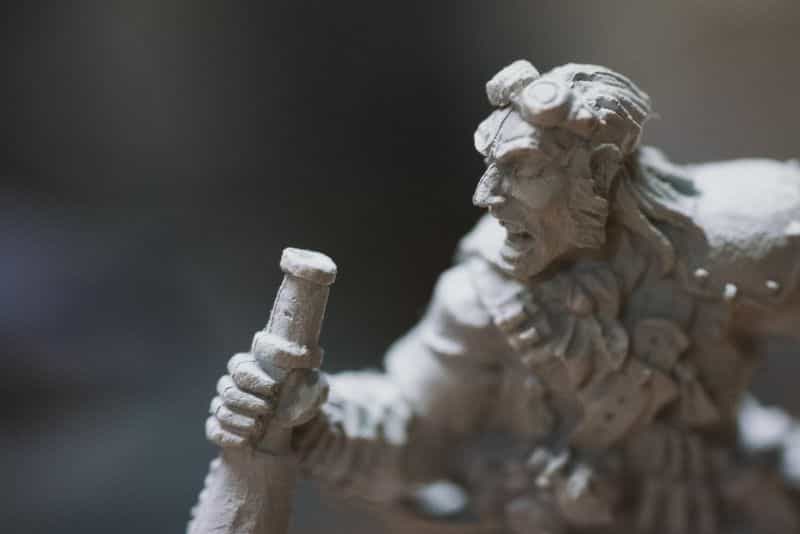
Priming is one of the most important steps in miniature painting. A primer smooths out microscopic imperfections in the surface of your model and provides a solid foundation for overlying model paint color. When applied correctly, a primer is essential for a durable paint job, preventing paint peeling and chipping.
In this article, I share 3 common mistakes beginner painters make during the priming process. I also show you ways to ensure these pitfalls don’t ruin a good start on your miniature paint job.
RELATED: BEST PRIMERS FOR MINIATURE AND SCALE MODEL PAINTING
What is the Job of a Primer?
A primer is an undercoat you apply to a model’s surface that performs 3 important tasks for painting miniatures.
First, a primer fills in microscopic cracks, fissures, and holes in the surface of a miniature. Every model you work with has imperfections that appear a result of the normal manufacturing process. A good primer will smooth out the intended working surface and help you apply paint and blend color.
Second, a primer adds a texture or tooth that helps paint “stick” to the surface of a model or miniature. This texture acts like velcro, binding the polymerized acrylic or oil paint the model. As a result, an effective primer will prevent the overlying paint from peeling, chipping, or warping over time. For gaming miniatures, in particular, primer is important because of the constant handling of the painted pieces.
Finally, a primer is a visual aid during painting. When you paint a miniature, it is much easier to see your paint color and contrast when the entire surface of model is a single tone. A primer coats the model in an visually clear surface tone and help you see shadows, light, details, and color. Without a primer, harsh reflections or odd shadows can make the painting process more difficult.
The three main purposes of a model primer:
- Fills-in imperfections on a model’s surface
- Adds texture or tooth to bind overlying paint color
- Lend visual aid for the painting process
To summarize, applying a primer to a miniature is essential because it is a bridge between the model’s raw surface and overlying paint media, e.g., acrylic paint color. An effective primer application is particularly important for advanced paint blending techniques and helping to smooth out the surface of 3D printed models.
Best Way to Prime Miniatures?
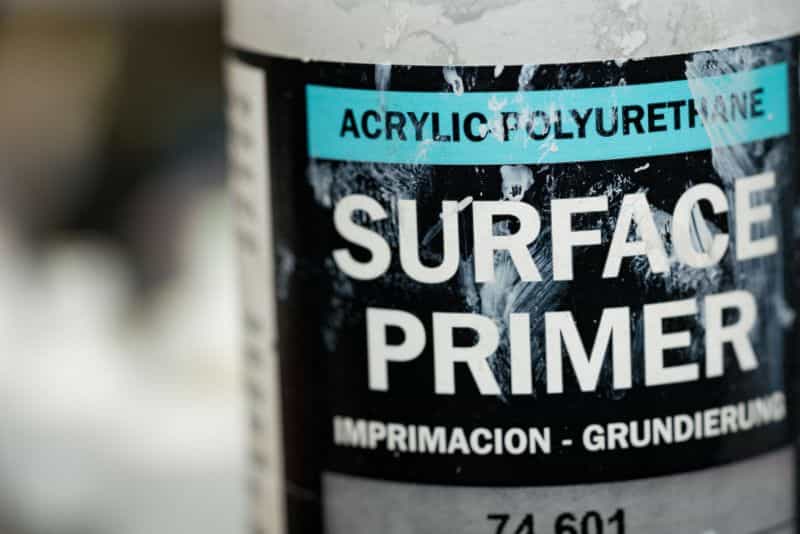
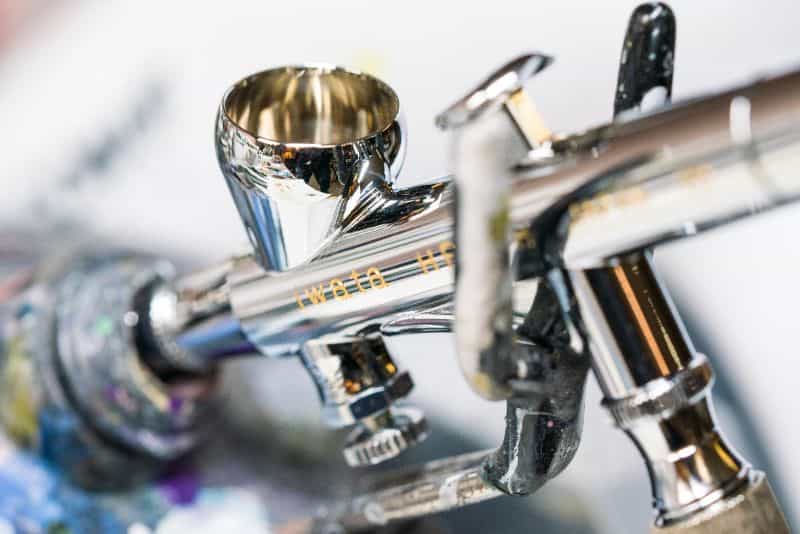
A spray application of primer is the best way to coat a model with a primer. You can spray primer either through a aerosol rattle can type primer, like Tamiya Primer, or using an airbrush with a surface primer, such as Vallejo Surface Primer or Badger Stynylrez.
RELATED: 6 GREAT HACKS FOR PRIMING MINIATURES YOU WANT TO KNOW (TIPS)
Spraying a primer allows you to apply very thin coats on the surface of a model, evenly. This prevents the primer from pooling on a model, avoids the formation of bubbles, and helps to retain miniature detail and texture.
You’ll also want to apply a primer with an ambient room temperatures (75°F or 24°C) and relatively low humidity (<70%). Water moisture in the air can wreak havoc on a good primer application, especially aerosol primers, which are sensitive to poor temperature and humidity conditions. If you live in a climate with sub-optimal conditions, you can use a hair dryer to help you create the ideal primer spraying environment.
For more details about how to best use primers, including the ideal colors and types of primer for plastic, resin, or metal miniatures, check out this full guide for priming for miniatures.
Top 3 Mistakes to Avoid When Priming Miniatures
Any miniature painter needs to start with a good primer. As mentioned above, a primer serves an important purpose and is required for painting a model with the best results possible. Even though these issues plague new painters, they can creep up on even the most experienced miniature painter if caught unaware.
Here are the top 3 most common issues to avoid when priming miniatures:
- Applying a thick layer of primer
- Overworking the primer with a brush
- Spraying primer in poor ambient conditions
There are other problems that may arise with primers, but these tend to be easiest pitfalls to fall into when priming models. They also happen to lead to issues that are hard to fix later once the first layers of paint are applied.
Mistake #1 – Applying a Thick Layer of Primer
A lot of miniature painting guides suggest applying several coats of primer. This is unnecessary, and in most cases counterproductive! Don’t automatically apply multiple coats of primer.
As long as the primer does its three main jobs (i.e., smooth out imperfections, add “tooth” for overlying paint, lend visual clarity), you don’t need more primer. A single layer of a high quality primer may be all you need if it satisfies these tasks.
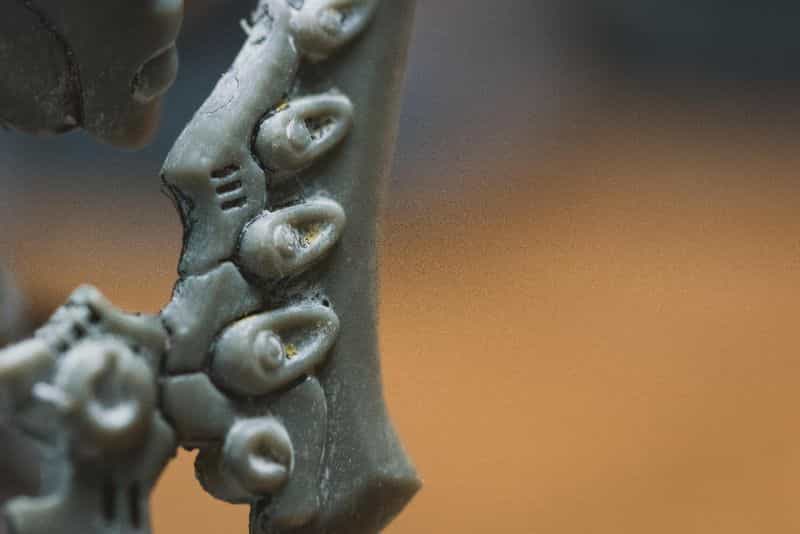
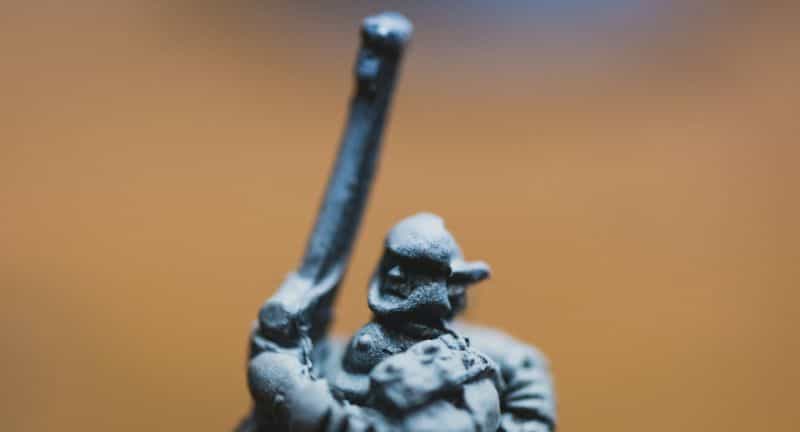
What bad things happen if you apply a thick layer of primer? Well, the most obvious issue you’ll encounter if you apply a thick layer of primer is a loss of detail. Losing definition in a miniature sucks. The details on a model are what make the final painted model look so good. With a thick layer of primer, you are setting yourself up for a mediocre paint job.
Whether you’re applying primer in multiple layers or slapping on large amount of the primer too quickly in one area, you’re also slowing yourself down. Before you can proceed with any paint job, you must allow the entire primer coat to dry completely. The thicker you apply primer, the longer it will take for the primer to dry or cure to the surface of the miniature. Thick primer coats are ineffective because they slow you down unnecessarily.
Finally, you’re wasting money. Once you apply a good coat of primer, adding more doesn’t help you. So, any layer or amount of primer you don’t need is a waste of hobby resources.
Solution #1 – Spray or brush on fewer layers of thinned primer
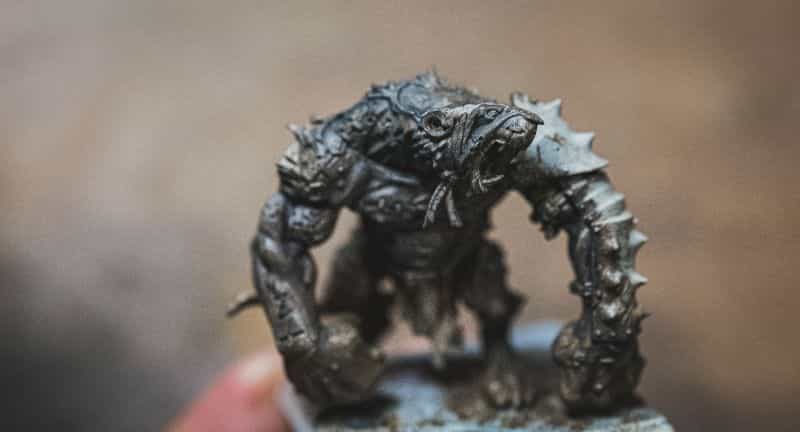
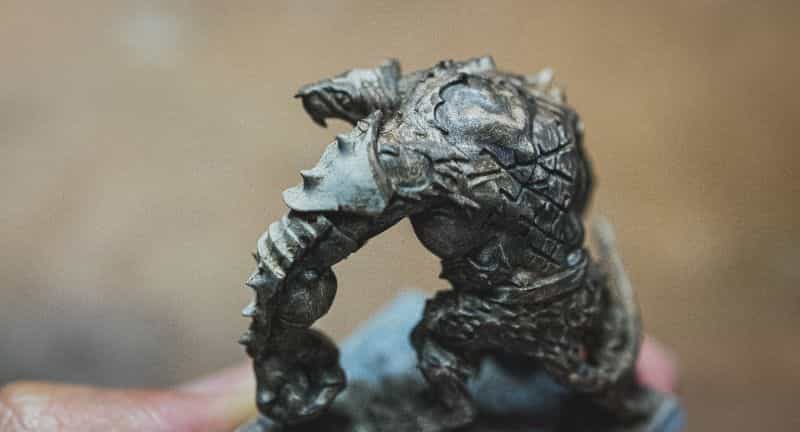
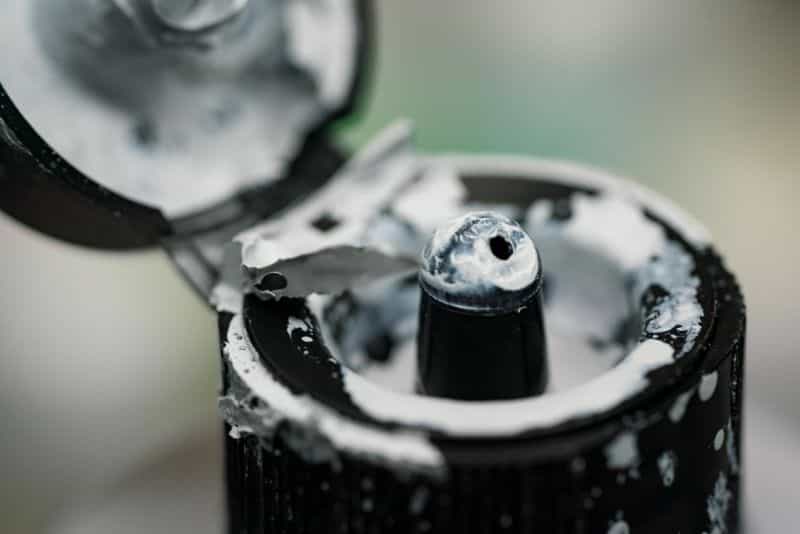
Spraying a primer is the best way to apply a primer because it gives you subtle control over the application. To apply a thin layer of primer from an aerosol can, simply hold the nozzle 6-12″ away from the model’s surface as you spray. While spraying in short bursts, sweep the nozzle side to side to avoid building up too much primer on a single spot on the model. You should see a “mist” or “cloud” of primer enveloping the miniature as a light coat of primer sticks to the model.
Rotate the model in all direction to coat every visible surface with the primer. Stop applying primer intermittently to inspect the priming process. You’ll know when you’re done priming when every surface is coated. The ideal thin coat of primer will allow you to see some of the original underlying surface below. In fact, if you apply so much primer that you can’t see the surface below, you have probably applied much more than you need. You don’t need an opaque layer of primer.

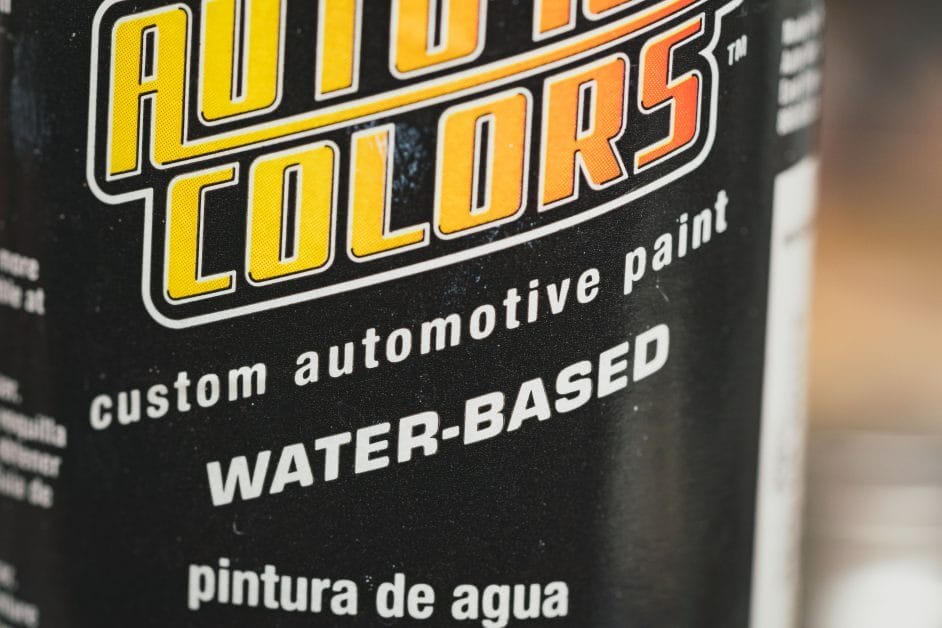
If you’re using a brush to apply primer, particularly water-soluble surface primers formulated for scale models, then make sure you work in thin layers. Use the same thin layering technique as you would with acrylic paint. Load your brush with the primer, not sopping wet, and work the primer over your model in sections. You can dilute water-soluble surface primers with a little water to help it flow off your brush onto the miniature surface. Just don’t use too much.
Allow each thin layer of primer to dry before applying another. As above, you know you’re done when every surface is coated in primer and you can still see a bit of the underlying material through the primer coat. You can see this article for a good example of using an airbrush or regular brush to apply a surface primer.
Mistake #2 – Overworking the Primer
Before you can do anything with a primed model, you need to allow your primer to dry, completely. A common mistake with applying primer, especially with a regular brush-on primer application, is continually working on the wet primer while it is drying. This is because as a primer dries, the surface exposed to air develops a thin “film”. This film is the first phase of the entire coat of primer drying.
Disrupting the primer film as it dries will leads to an uneven, textured primed surface. Worse yet, the primer may develop brush streaks, bubbles, or warped edges as it dries. This ultimately leads to a more difficult paint job on the model, as well conceals the other fine details on a model’s surface.
The main cause of overworking a primer as it is applied to a model is a lack of patience. Many painters slap on primer and expect it to dry quickly and evenly within a few seconds. However, most primers for miniatures actually dry slower than regular acrylic paint.
A lot of surface primers use a polyurethane based formula, which gives the primer its flexibility, strength, and durability. These primers also “stretch” over a miniature surface as it dries, pulling itself taught like plastic cling wrap you use to store leftover dinner. If you touch the stretching and drying primer, the surface wrinkles.
Solution #2 – Be patient
Be patient. Although a primer is very resilient to touching after it is dry, a partially dry primer is sensitive. Don’t touch a primer that is partly dry. I always try to allow my primer coat to dry for at least 30-60 minutes before I start painting over it. For some primers, and depending on your climate, you may want to allow the primer to dry overnight or longer (up to 24 hours).
If you’ve ever wax detailed a car, then you know that for best results, you should apply the wax over small sections at time. This is because there is an ideal time from when you apply the wax to when you work it off. Leave a wax on too long and it becomes very difficult to remove. Remove the wax layer on too short, and it doesn’t coat the car effectively.
You should consider the time it takes your primer to dry when deciding whether to break up the application to sub-sections of the model. My recommendation is that when you’re applying a primer with a spray can, airbrush, or regular brush, coat the entire model as quickly as you can. But, if it is a large model, then you should break up the priming coat into smaller sections. The idea between these decisions with priming is to avoid touching primer that is partially dry and disrupting the drying process.
Mistake #3 – Spraying Primer in Poor Ambient Conditions
Anytime you spray a primer, you’re mixing the primer with air. The problem you’ll often encounter if you’re not careful with your environment, is that both the temperature and the moisture of the air will affect how the primer behaves as you apply it to your model.
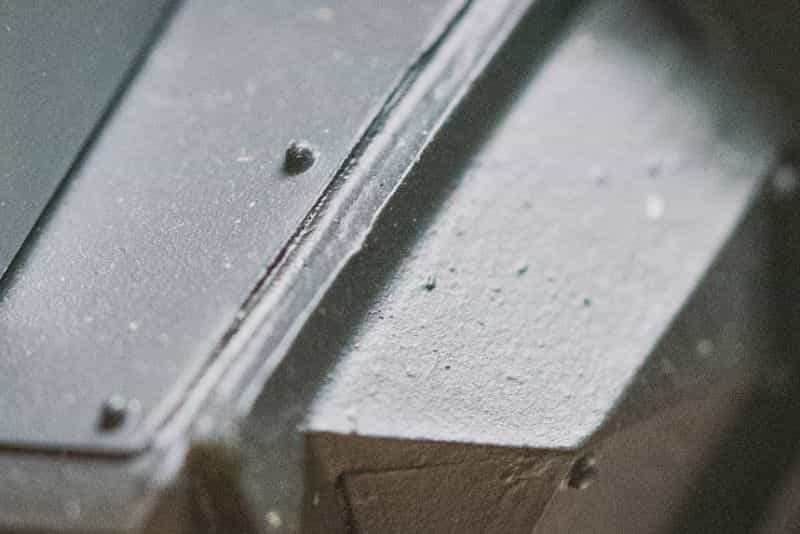
A few issues will occur in poor ambient conditions when priming your models. In high humidity (e.g., a lot of water moisture in the air), is primer clumping aka orange peel. The water in the air mixes or dissolves in the small spray droplets and causes them to coagulate together. As the primer travels to your model, those large clumps of primer/water dry as a bumpy texture–which appears like the skin surface of an orange.
This undesirable textured finish with a bumpy primer is unattractive. It also makes it difficult to paint. Unfortunately, there isn’t much you can do to fix orange peel looking primer, except to chemically strip the model or sand down the primer (which is difficult on smaller models).
For aerosol primers, cold temperatures are also a recipe for disaster. The air pressure inside the aerosol is directly related to the temperature of the can. In cold temperatures, everything contracts inside the aerosol can. This leads to a poor mixture of the solvent and primer medium. The lower pressure from the aerosol also reduces the ability of the spray can to atomize the primer. A bad atomization leads to an uneven, sputtering spray, that either leads to poor coat of primer, or worse, a coat of primer that dries poorly.
For best results, the ideal aerosol or spraying conditions for any miniature primer is between 50°F and 90°F (or 10°C and 32°C), and relative humidity of under 70%. In general, this also means the actual spray can should be around this temperature range, too. So, avoid applying exposing the spray can to direct sunlight, and spray in a shaded, cool area.
Solution #3 – Work in a controlled environment
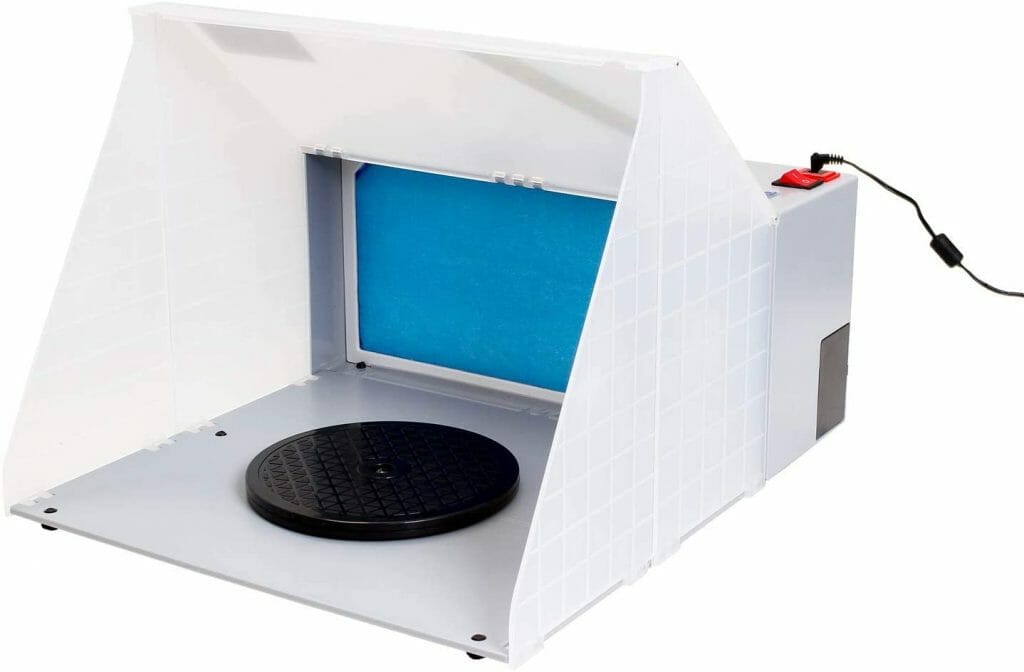
An airbrush spray booth is useful for priming surface primers with an airbrush indoors. However, if you’re using an aerosol, or rattle can primer, be aware that some spray booths are not designed to capture and prevent overspray of volatile solvents. Aerosolized solvents in rattle can primers, e.g., Citadel or The Army Painter Primers, are flammable and harmful if inhaled.
No matter what you decide, you should consider spraying primer with proper ventilation. This means having a window open with an exhaust fan to pull fumes and aerosolized primer away from you. Use a respiratory mask, if appropriate, to further protect your lungs.
Remember, the idea conditions for priming miniatures relates primarily to spray applications. If you’re using a regular brush-on primer, the environment does not contribute as much toward the final outcome as a spray on primer.
When the ambient conditions for priming are poor, consider using a brush-on primer, or using an airbrush with a surface primer indoors with a spray booth. Vallejo Surface Primer or Badger Stynylrez both do well with an airbrush or regular brush when priming miniatures.
During the Summer or hot months of the year, if you must use an aerosol primer, then consider applying your primer earlier in the day or in the evenings when the ambient outside temperature is cooler. In the Winter or cold, you can spray outside, but find a way to keep the aerosol can warm.
Some painters have suggested keeping the bottom half of the spray can submerged in lukewarm water right before using it. This should work to keep the internal temperature of an aerosol primer warm enough for a good spray application. Return the can the warm water, if you plan to continue priming outdoors in cold weather.
To deal with high humidity or to prime miniatures on a cloudy day with notable moisture, I suggest priming indoors in a climate controlled environment, e.g. air conditioning. If you have a hair dryer available for your hobby, then use the dry heat it produces to keep the ambient area around your miniature ideal for spraying a primer.
Do not operate the hair dryer at the same time as you spray an aerosol primer. You will risk igniting the aerosolized solvent. Instead, first heat and dry up the air around the miniature using the hair dryer. Then, quickly turn off the hair dryer and immediately apply your aerosol spray primer.
Other Common Problems with Priming Miniatures
Here are a few other issues that may arise with primers when painting miniatures (and solutions):
Primer Separation
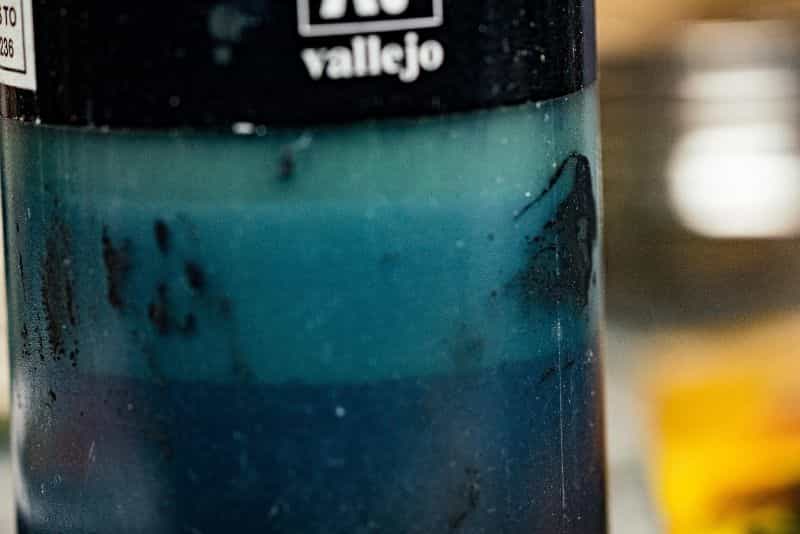
With surface primers, not aerosols, it is possible that the primer separates from its solvent in the bottle. This is often the case if you haven’t used the primer in a long time and it sits on a shelf. Make sure to shake the bottle well before use to mix the primer thoroughly.
Note that thicker, more viscous filler primers (i.e., automotive primer and fillers) do not have this problem, but aren’t recommended for scale miniatures and models. Automotive filler primers are great for large terrain pieces, or for paint jobs on large open surfaces, such as battleboards or 3D printed parts.
Bubbles in Primer
Some primers tend to form bubbles easily. This often happens when mixing or shaking your surface primers–i.e., those that come in bottles, not aerosol cans. Don’t let bubbles in your primer dry on your model. Those bubbles will create an undesired texture on your miniatures and are hard to fix or remove after they are dry. Bubbles frequently appear on a model’s surface when you apply primer that is too thick with a regular brush.
Airbrushing your surface primer removes the risk of bubbly primer on your model. Spraying a primer is always a more consistent way to create a good primer coat. However, not everyone has access to an airbrush, and aerosol primers carry their risks and technical complications, too. To avoid bubbles from a foamy surface primer applied with a regular brush, don’t coat your model in thick layers. Instead, apply thin coats of primer, allowing each layer to dry before applying more.
“Beading” or Peeling Primer
Have you ever tried to apply primer to a model that just won’t stick? Maybe your primer beads up on the model’s surface like water on a waxed surface. This unwanted behavior can occur with any water-soluble primer applied to plastic, resin, or metal miniatures, and is generally the result of residual oils or lubricants on the model.
When a manufacturer removes a model from a cast or mold, a residual lubricant is leftover on the surface of the model part. This lubricant or mold release helps the technician remove the part from the mold. However, when you receive this part, this oily substance will repel any water-based media you try to apply over it, including primer, leading to beading or peeling.
You can overcome primer beading or peeling by washing your model parts in soap and water. Using soap in this case is important, because soap will act as a surfactant that solubilizes the residual oils so you can wash it off. The beneficial side effect of washing your model kits is that it also makes gluing and assembly easier, too. Some glues won’t stick well to the residual mold release on models. After you’ve allowed your part to dry, you should be able to apply any primer without any further problems.
Conclusion
I hope you found this article helpful. If you’re troubleshooting your model primer application, the top 3 issues relate to primer that is too thick, overworking a partly dry primer, and spraying primer under poor ambient conditions.
I’m sure there are other “problems” or issues I missed when priming miniatures. Have you encountered any that I didn’t cover? Let me know!
For more details about my recommended primers for painting miniatures and models, check out this article.
Until next time, happy miniature painting!


Tangible Day on YouTube (Miniatures and More!)

Pingback: Top 3 Mistakes To Avoid When Priming Miniatures (and Solutions!) — Tangible Day | Ups Downs Family History