
Step #1: Choose the Color Scheme
Choosing a color paint scheme for a model is hard. You will invest a lot of time into a piece. Why waste your time if you don’t think it’s going to look good?
There are 5 simple ways to choose a color scheme. I write about these methods here.
In this case, I went with the two main colors that the client asked me to use: purple and gold. It’s a classic combination.
I pulled out a few reference photos of purple and gold models and went to work finding the right paint colors to work with.
Purple is a great color, by the way; it is easy to match with many other colors, sitting nicely between the blue and red (the extreme temperatures on the color wheel, warm versus cool).
On an Imperial Knight, you generally have to make sure you have enough pre-mixed paint volume to complete the entire job. You don’t want to get halfway through and realize that you need to re-mix a particular color.
So, for this project, I went with a Vallejo Alien Purple as the base color. And, for the gold, I went with my favorite metallic gold: Retributor Armour (Citadel).
With these two main colors, purple and gold, I went forward with the project. No real plan except that I knew that the armor plates would be the easiest to paint.
Here on out, there isn’t much you can do except grind forward.

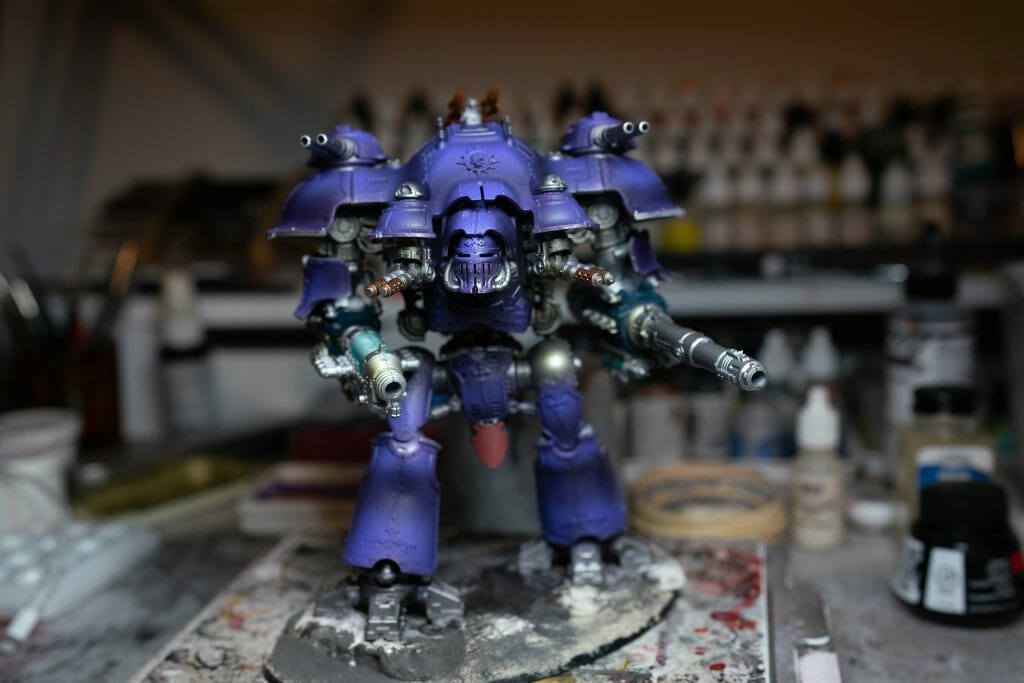
Step #2: Airbrush the Base Coat
Purple armor plates with gold accents, and the metal parts for the machine joints and skeleton, etc., were all standard steel metallic paints.
The application was simple.
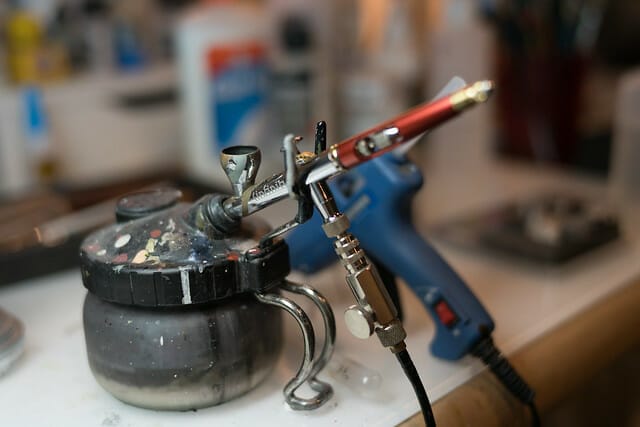
Base coat with an airbrush, followed by normal manual brush labor for the metallic gold details.
Highlights were applied with controlled airbrush technique. I covered parts of the model with a mask to prevent the airbrush from over-spraying into unwanted areas.
I love using this sticky-tack stuff for airbrush masking.
Step #3: Paint Metallics and Apply Glazes
The next step was to apply the steel metallic paint. I used Vallejo Model Air Steel.
This is the best metallic steel paint that I’ve worked with. Vallejo Model Air Steel is an airbrush-ready paint. But, it works awesome either in an airbrush, or directly with a regular brush.
For metals to look more interesting (just using steel by itself is boring), I find that adding some a glaze helps a lot!
I use a bit of green and orange glazing on the steel on this knight. For the glazes, I thinned down some green and orange paint with an acrylic medium.

I make glazes with different formulas, but for this project this is the process:
- 2 drop of paint
- 1 drop of matte medium
- 2-3 drops of clean water
As you can see from this formula, this mixture creates a somewhat 1:1-2 ratio mix of paint to thinner. What you’re looking for when making a glaze is a semi-transparent paint. Whatever you apply your glaze over should still show through.
Tip: Never over-do effects designed to modify “the look” of a material. If you do, that material will become something else entirely. The rule of thumb here is to ensure that more than 50% of the surface area of the underlying material is unmodified.
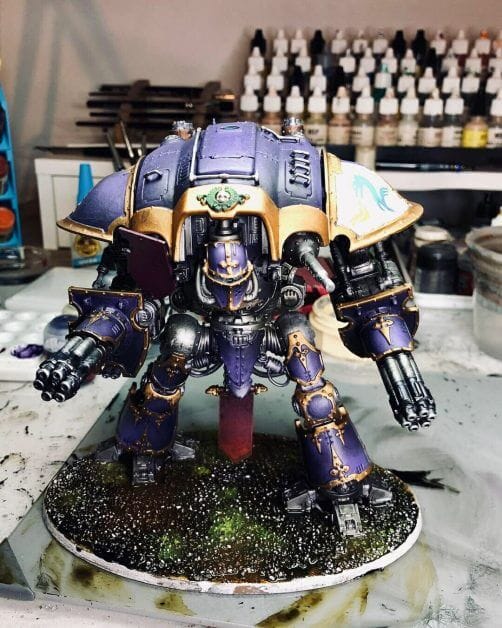
Step #4: Highlighting
Once these larger surfaces are fully painted, e.g., base coated, metallics are colored with glazes, I will move on to highlights.
Highlights are part of the process of adding contrast. Contrast is critical for any model, whether you’re painting for a display level piece, or when you’re speed painting.
Adding smooth blended highlighting to big surfaces that get a lot of viewing time, such as the shoulder pads, can be difficult without an airbrush. If I didn’t have an airbrush, I would probably have to resort to a much slower layering/glazing approach (see the video).
The carapace over the middle half of the torso (over the head/faceplate) also required airbrushing to highlight the purple.
To make the purple I used for highlighting, I mixed the Vallejo Alien purple with Reaper Creamy Ivory paint. The ratio was about 2:1 purple to ivory.
In this case, a brighter purple airbrushed on in a controlled fashion takes the contrast to the next level.
Nice!
Step #5: Oil Paint-Wash to Deepen Shadows
I used black and brown oil paint (Winsor & Newton) to create an oil wash.

The essential mixture to make an oil wash for miniatures is easy:
- Add a bit of oil paint to a palette
- Drop in a bit of clear mineral spirits until the oil paint dissolves and runs
- The ratio is about 1:20 oil paint to mineral spirits
There are lot of links to using oil paints for miniatures as a wash, including mine here and here. A few more tips from nice website here and this one, too will show you how it’s done for different military vehicles and models.

Suffice it to say, I first start by glossing the model with a varnish to protect the hard work I did with the acrylic paints. This also helps the oil wash flow into the recesses in a more consistent fashion.
RELATED: BEST WASHES AND SHADES FOR MINIATURES AND MODELS
The oil paint, in this case lamp black, is mixed into a thin solution about the consistency of runny milk.
I use a fairly large and soft-bristled brush (my wife’s old blush makeup brush), I apply the oil wash evenly over the entire model. You can check out my article on cheap brushes for this type of work here.
I use a paper plate under the model as I do this, so I don’t have oil paint spilling and pooling all over my painting desk.
What a mess that would make!
Step #6: Remove Excess Oil Wash
The next step is to remove any excess oil wash over areas of the model that don’t need it.
Oil washes have the advantage that the pigments can be wiped off cleanly after application from the highlight areas of the model, only leaving dark pigment within the recesses.
This saves time, and it looks great!
After wiping off the excess pigment with clear mineral spirits (the medium used to dilute the oil paint), the highlights you worked hard on reveal themselves again.
This is a stark difference with oil paints in comparison with acrylic paints and washes. With oil paints, just wipe off the excess!
Step #7: Clean Up, Details, and Finishing Touches
After washing off the excess oil paint, I went back in and painted in a few more details, e.g., the logo, the festoons that GW models all have, the scroll work.
At this point, you can varnish again to protect the work you’ve done (like a bookmark).
Then, I like to wait a day (or simply a few hours if I’m in a rush) to let all the work I’ve done settle in. I’ll come back and take a look again to see if my eyes catch anything new that I need to fix or improve.
A bit of rest for a model will make you see things more clearly. It’s kind of like the editing phase of writing a paper or blog post.
Step #8: Varnish and Seal the Model
The final step is to apply that final armor, the coat of enamel lacquer that will protect the model from the harsh environment of wherever it will live next; in a home, in a store display, or a dining table mantle piece!
RELATED: VARNISHING MINIATURES: PRO TIPS AND USE
Pro Tip: Use Dullcote Matte Varnish
As stated above, I coat all the models I paint, large or small, with several layers of Testor’s Dullcote. The side benefit on top of protection is that this stuff will produce an even surface for light reflection.
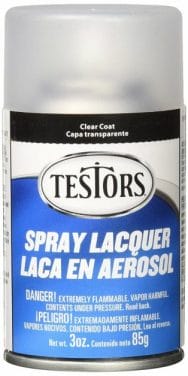
This nice even matte finish won’t easily reflect light in harsh spotlights when you photograph the model.
A key trick to making a larger model “pop” is making sure before the model is complete is to remove all the uneven shine or gloss.
Thus, a nice matte coat with Dullcote varnish is perfect for photography.
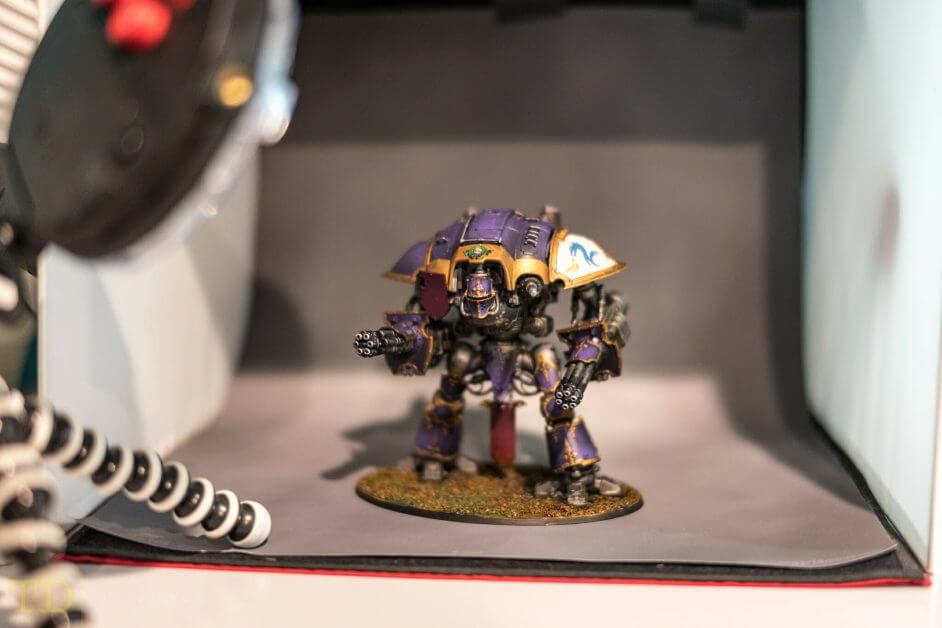
The Finished Product!
Okay, so here is the model after photographing a few shots, taking the best, compiling them in photoshop, and then processing them even further in Adobe Lightroom. Another article in the future will describe how I photograph my miniatures. In the meanwhile….


I hope you enjoyed this article! Happy painting!

Tangible Day on YouTube (Miniatures and More!)

do you build the entire model then paint it, or will you ever paint sections then do a final assembly?
Yeah I paint the entire model. This let’s me see how light hits all the parts and shows me where the shadows should go. Also, if you assemble the entire model, you only need to paint the surfaces that aren’t glued or hidden. It saves time 🙂