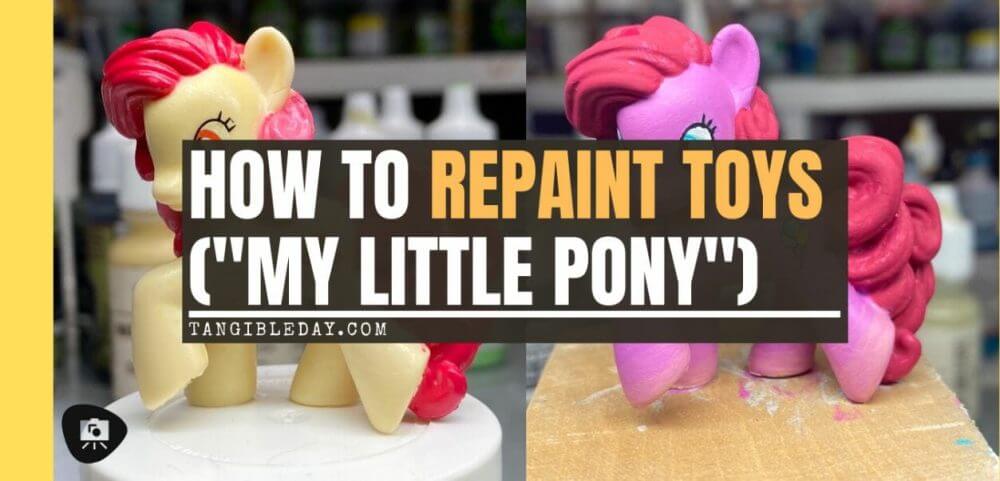
Over the years as a commissioned miniature painter, I’ve been asked to repaint and restore old miniatures and models. In some cases, these restoration projects included toys and dolls. At first glance, repainting toys, miniatures, and models may seem daunting. If you’re a beginner looking to repaint toys or other miniatures, then this post is for you.
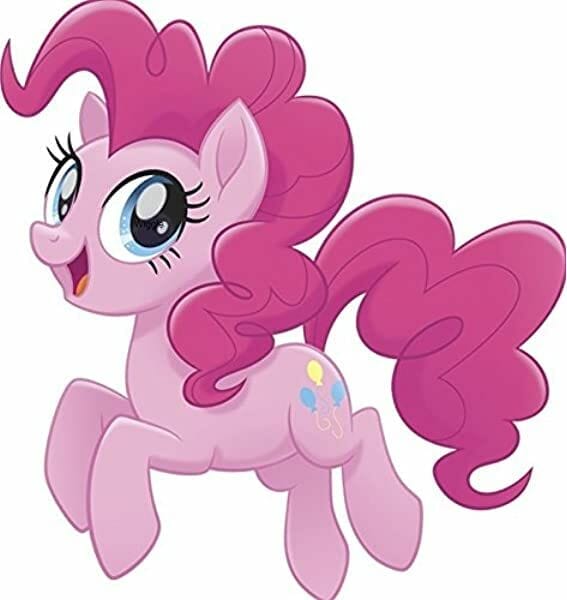
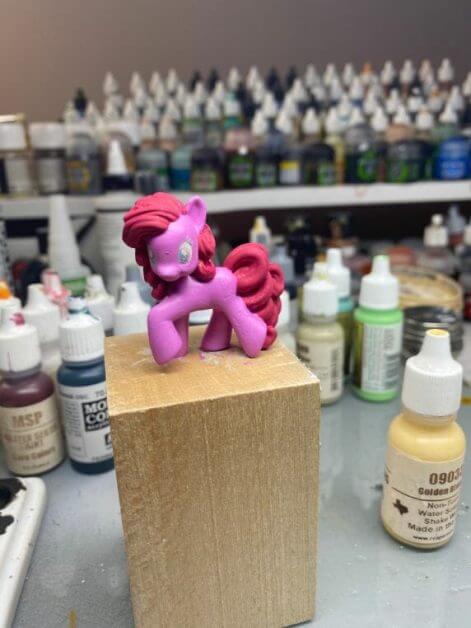
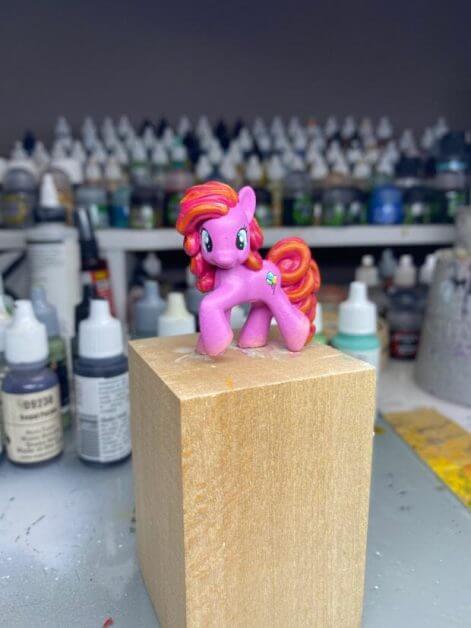
In this article, I show you in 6 simple steps how I repaint toys. Here I use my daughter’s old My Little Pony doll as an example. I’m tasked with custom repainting this doll into “Pinkie Pie”, who is one of the six main deuteragonists of My Little Pony. The total time it took me to finish this doll repainting project was about 2 hours.
Things you will learn in this article:
- Simple painting tips for toy dolls
- Workflow for repainting toys
- How to get a smooth paint job
- Method for restoring old figures and dolls
- Recommendation for best acrylic paints and supplies
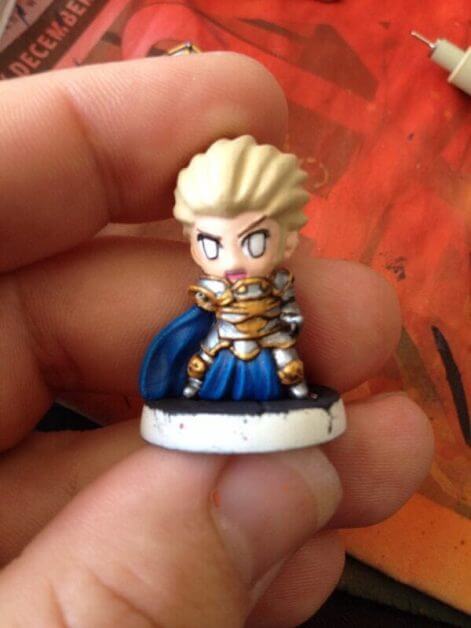
Continue reading to see my simple workflow for repainting toys and other models. The workflow and principle for repainting models is similar. If you’re interested, you can also check out this other quick repainting project on a Warmachine Cygnar Colossal Stormwall model.
Step #1: Clean the Toy
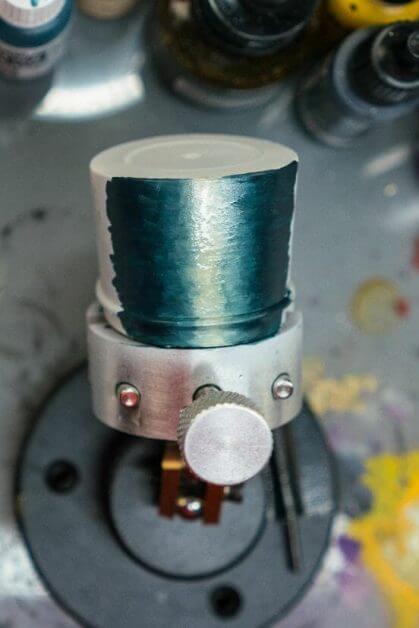
To repaint any toy or doll, you first have to clean the surfaces as best as you can. I used an ultrasonic cleaner on this doll. Here are a few ultrasonic cleaners I recommend for general miniature painting and hobby work.
I set the timer on my ultrasonic cleaner for 5 minutes. After the cleaning cycle finished, I dried the model with a soft, clean cloth. This process removed any oils or debris that could disrupt the overlying paint job.
RELATED: CUSTOM PAINTED MY LITTLE PONY DOLLS
For a smooth paint job when you repaint dolls like this My Little Pony, you should always clean the toy before you do anything.
Step #2: Prime the Toy Doll
There are two ways you can start a toy repaint job. First, you can try and strip off the old paint. This requires a solvent of some sort that effectively removes the color from the model down to the base material. Or, second, you can apply a primer over the entire old paint surface.
I prefer to avoid stripping old paint off dolls and toys because this can take a long time, is often ineffective for removing all the old paint, and can risk damaging the original surface of doll. Some harsh solvents can dissolve and create unwanted pitted texture in the base plastic.
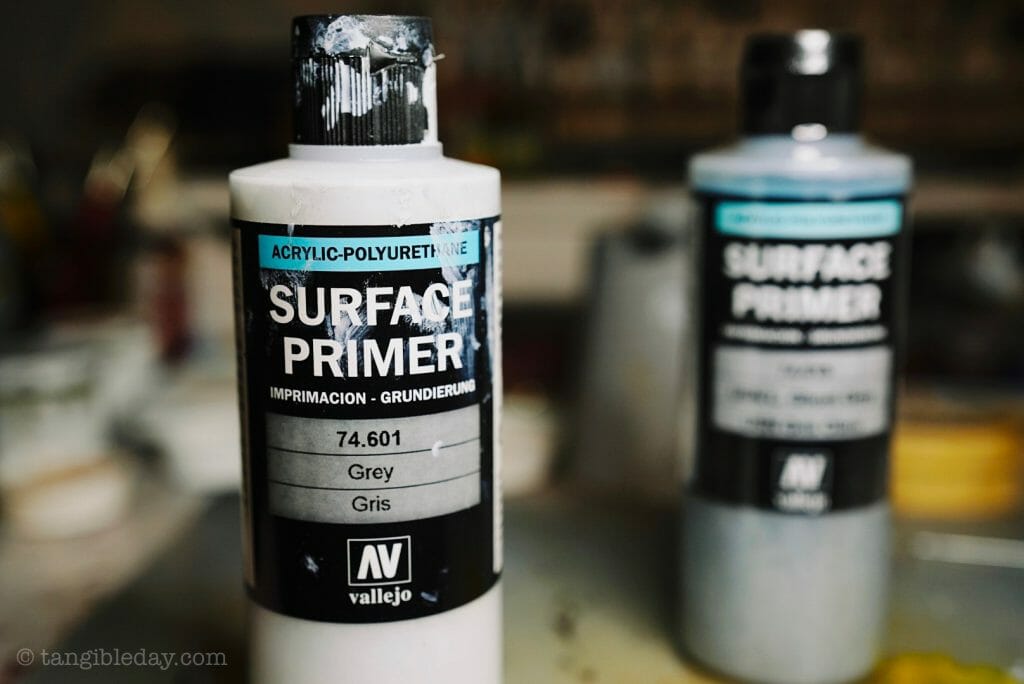
For any toy or doll I’ve repainted, I prefer and recommend a good cleaning followed by a 1-2 coats of a acrylic polyurethane surface primer. For most projects, I’ll use Vallejo Surface Primer, as it is versatile. You can apply it with a paint brush or airbrush. Any color primer will do.
READ MORE: BEST PRIMERS FOR PAINTING MINIATURES (AND HOW TO USE THEM)
To prime this My Little Pony doll, I used a paint brush. This allowed me better control over where I applied the primer. Additionally, the benefit of using a brush versus an airbrush is that there is less cleanup later. Vallejo Surface Primer works well with either application method, demonstrated here.
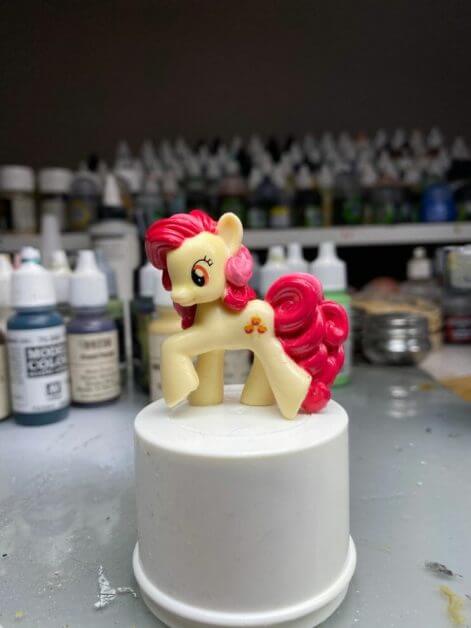
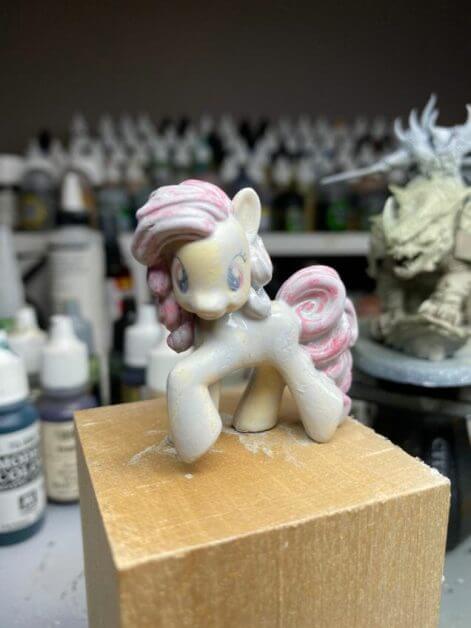
Note that I wanted to keep the original painted eyes visible through the primer.
So, I made sure my primer was applied thinly over these areas. Later on, when I repaint the eye details, I’ll simply trace over the old eyes, rather than draw/paint the anime-style eyes from scratch.

I also painted the nooks and crannies of the hair texture, making sure the primer settled evenly over the entire surface. If you need to thin your primer with a bit of water first, and apply 2-3 thin coats to achieve a smooth finish, do so. Just remember to allow each layer to dry before applying the next. The smoother your primer coat, e.g., no brush streaks, the smoother you can get your overlying paint job.
Step #3: Paint in All the Main Colors
The key to a smooth paint job when you’re repainting dolls or toys is to apply thin and even coats for every layer. Avoid brush streaks. With acrylic paints, this means that you should thin your paints with a bit of water. How much thinning you do depends on the paint and your ability to control its application. Here are more tips and ways you can thin your hobby acrylic paints.
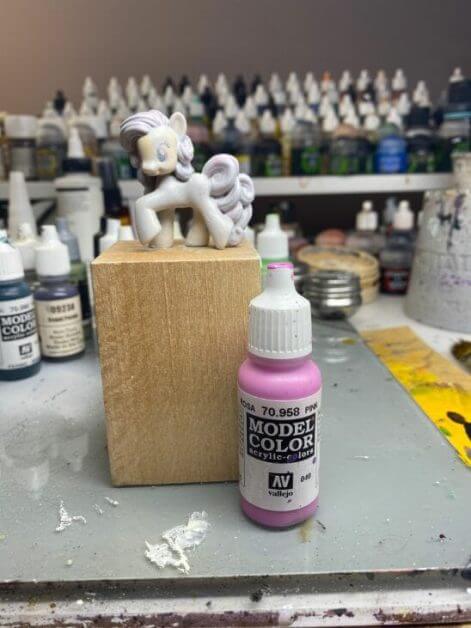
The main color for this My Little Pony doll is pink. We’re repainting her into “Pinkie Pie” afterall! For pink, I used one of my favorite brands of model paints. In this case, Vallejo Model Color “Pink” was perfect. I dispense a few drops into my glazed watercoloring palette, and add a drop or two of water to thin the color.
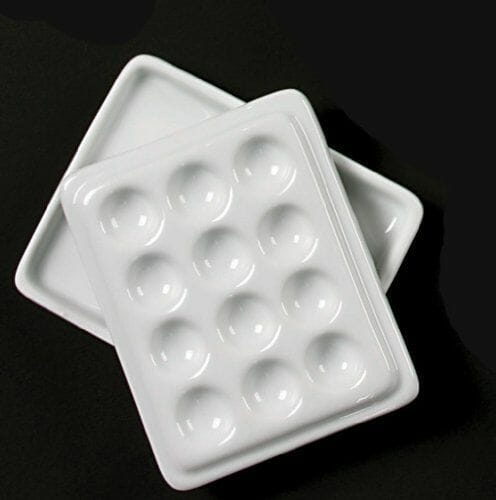
For painting miniatures, I recommend using a dry palette over a wet palette for several reasons. In this case, I am able to keep my paint to the proper consistency throughout the paint job. The glaze palette is also very easy to clean. The dried acrylic paint peels right off under running tap water.

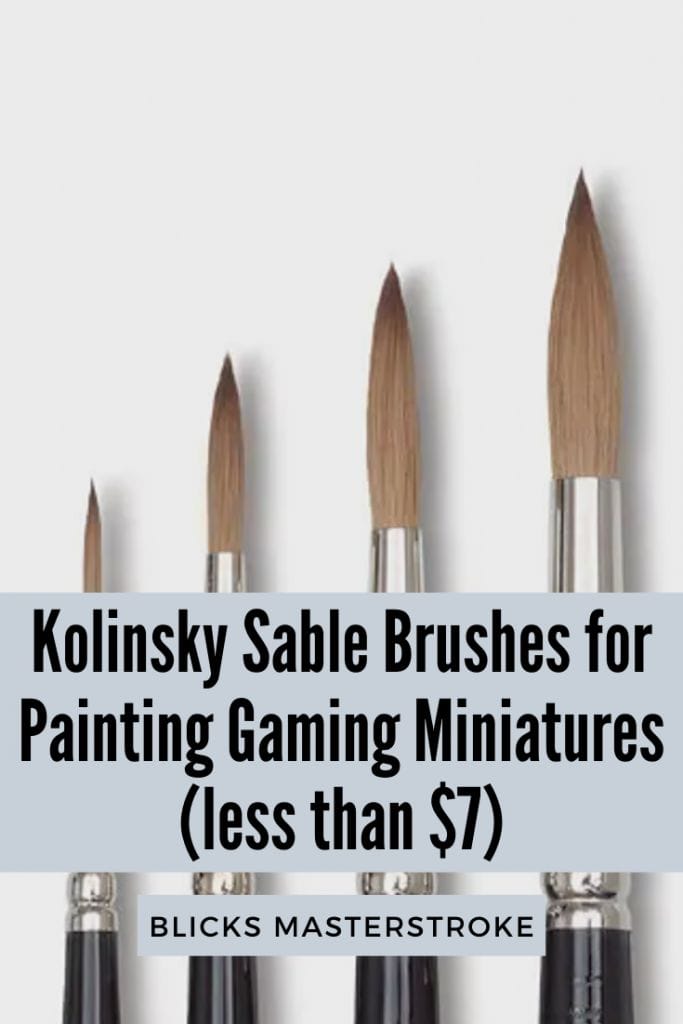
Using my Army Painter “Regiment” paint brush, I apply 2-3 coats of pink over the entire area that I know should be that color. I use the reference image of Pinkie Pie to make sure I’m painting the right areas. Other paint brushes that are great for repainting dolls and small toys include pointed round size #1-4 sable brushes (as long as they keep a good point).
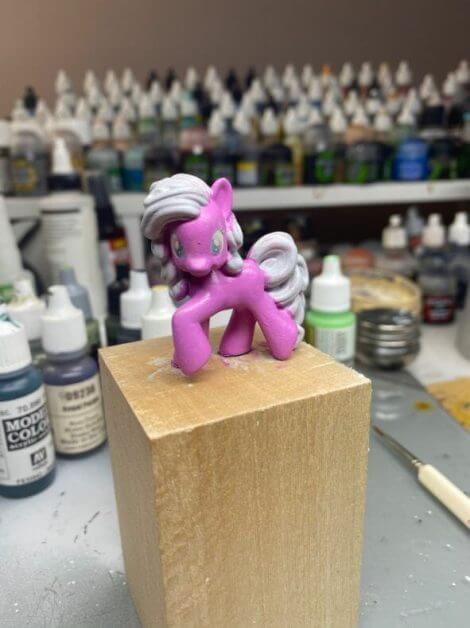
Again, notice that I plan to repaint the eyes but don’t want to start from scratch. So, I base coated all the pink areas, but left the old eyes visible through the primer and paint job.
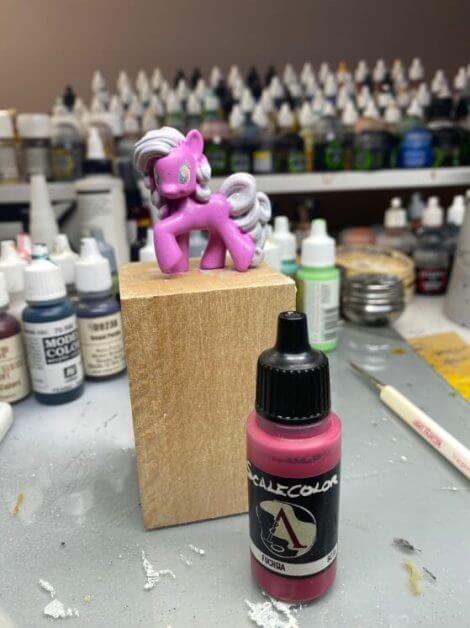
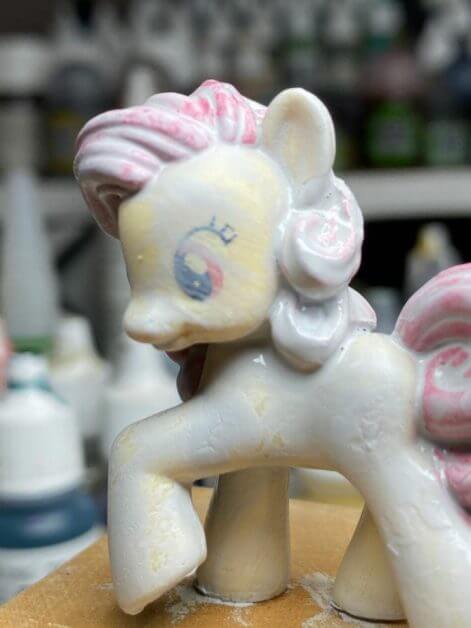
Next, I painted the hair using a Fuchsia red color with Scalecolor acrylic paint.
Using the same brush and approach, I thin the paint in the palette and apply 2-3 coats over the hair surfaces.
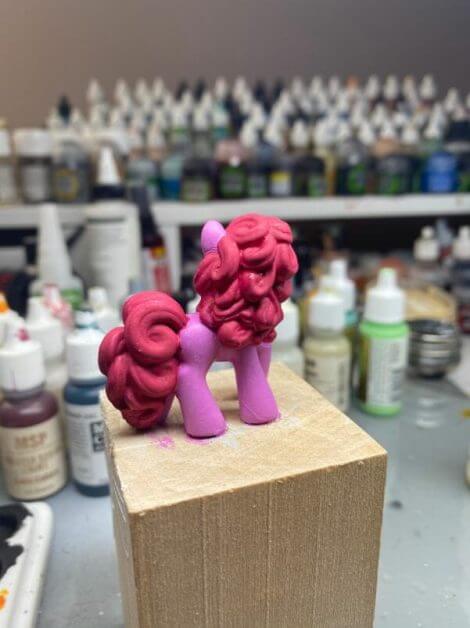
For best results, I make sure that the Fuchsia paint dries between each applied layer. This ensures that the surface remains smooth.
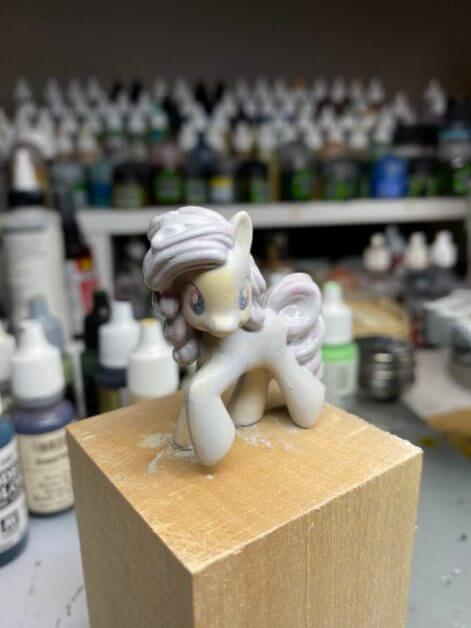
Step #4: Color Blending
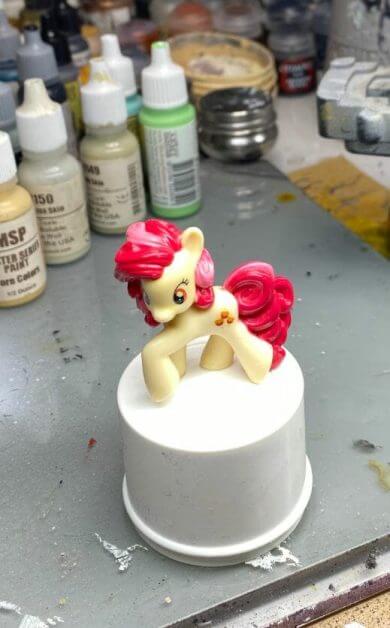
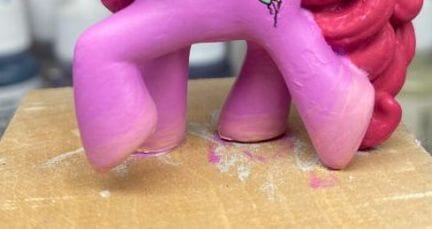
This is an optional step. For most doll repainting projects, I tend to stick to solid color applications. However, for this My Little Pony, I wanted to push myself a bit further and blend some brighter color into the paws.
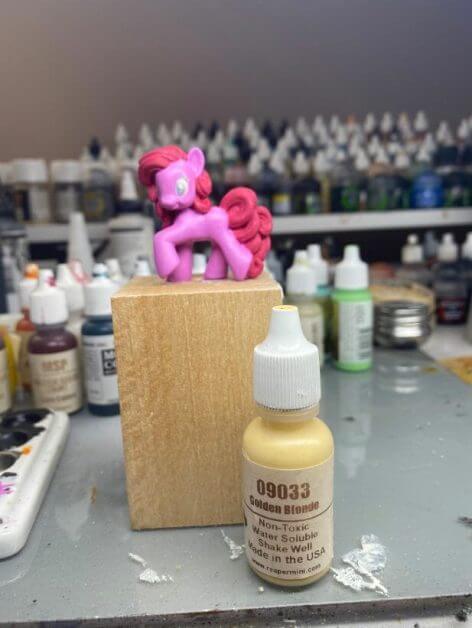
To create the gradient, I chose to use Golden Blonde (Reaper Paints) as the brighter color to mix with the base pink paint. Here, the reference image of Pinkie Pie came in useful. There are many ways to blend acrylic paint colors. For this project, I decided to use a simple “layer and glaze” approach.
I don’t go into detail in this article about how I did it because the surfaces were too small for good photograph. Instead, check out this full article on how to use layering and glazing to blend acrylic paint. I used the same methods for this My Little Pony doll repaint project.
READ MORE: HOW TO GLAZE MINIATURES
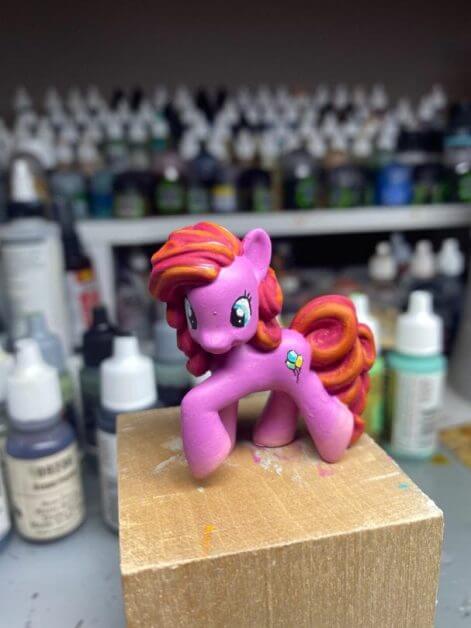
The final result on the My Little Pony are paws with a subtle yellow hue that gradually fades up into the main pink color
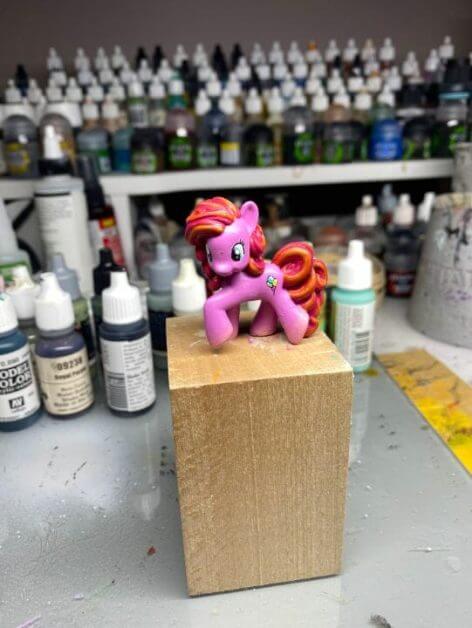
Step #5: Paint Details (Eyes and Freehand Designs)
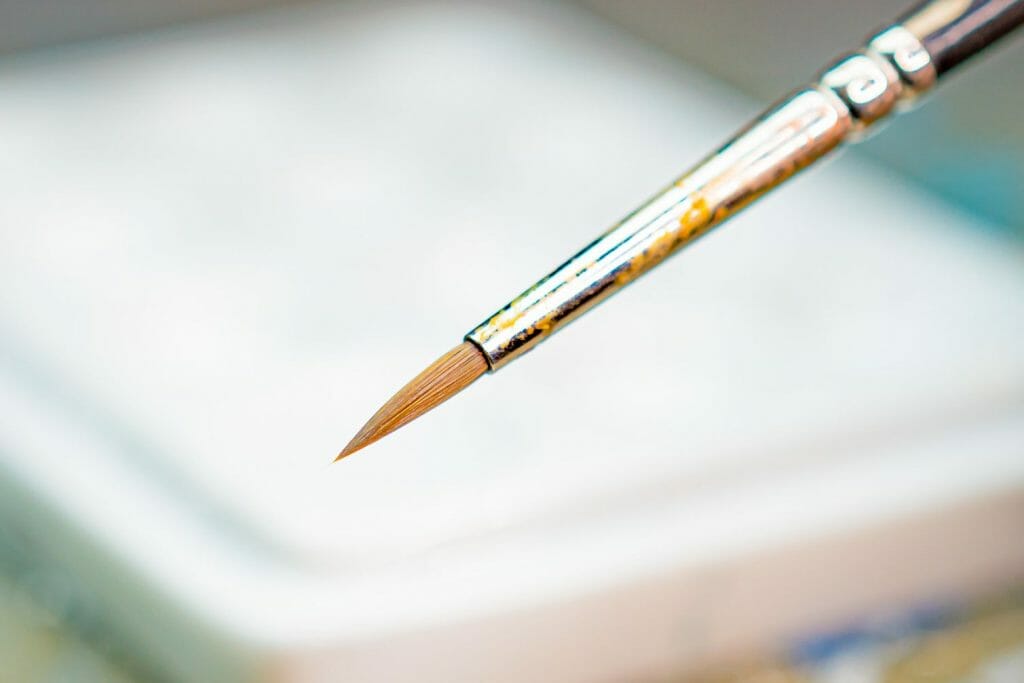
Painting details on small toys and miniatures is a challenge, even for experienced painters. There are few tips you can follow to improve your ability to paint details. For simplicity, the best piece of advice is to make sure you have a paint brush you can trust that keeps a good, sharp point when loaded with paint.
For more information about how to paint anime-style eyes like those on this My Little Pony (and as seen on the Pinkie Pie character), check out this anime eye painting tutorial. Work in steps and make sure your paint is thinned enough to flow from your brush. But, the paint shouldn’t be too thin, otherwise you risk having the paint drip and run where you don’t want it to go.
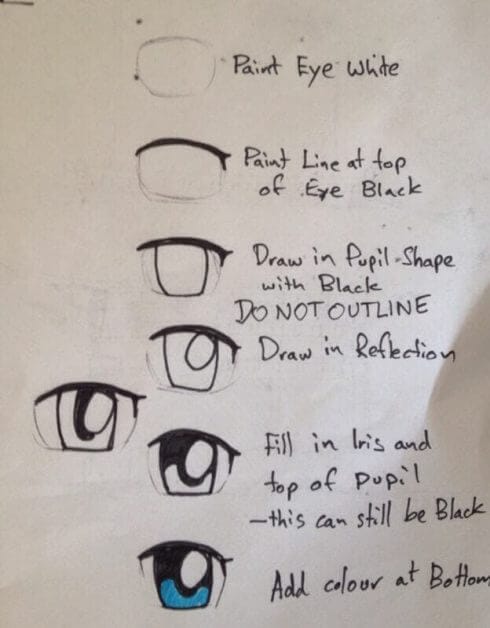
Of course, I had a trick up my sleeve for repainting the eyes on this My Little Pony doll. I left the original eyes visible underneath the primer and overlying paint job. This allowed me to simply trace over the design below with new paint!
I used black and white acrylic paint thinned with a little water. Using my sharp, pointy brush, I traced the outline of the eyes with black and filled in the larger areas of the eyes with the white. Then, using a baby blue acrylic paint, I traced the irises. Using all the colors mentioned, I cleaned up any messy areas.
For freehanding the colored balloons on the hip, I just did my best to “draw” them in with my sharp pointed, paint brush. I outlined the balloons with a fine line of black paint.
Step #6: Varnish the Doll
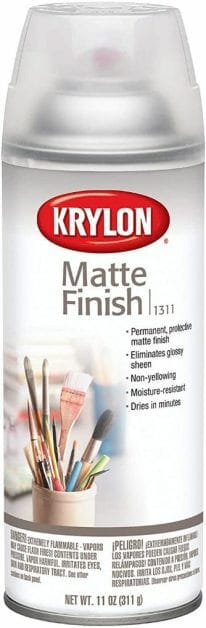
To protect your hard work, use a good varnish. There are many varnishing products you can choose from. I recommend using a matte varnish formulated for scale models and miniatures. They tend to be highly durable and impervious to most handling. This is especially important for toys or dolls that may get picked up on a frequent basis.
In general, I use a matte varnish for sealing painted toys, dolls, and miniatures. The matte coat removes any gloss from the surface and helps maintain underlying color contrast and vibrancy.
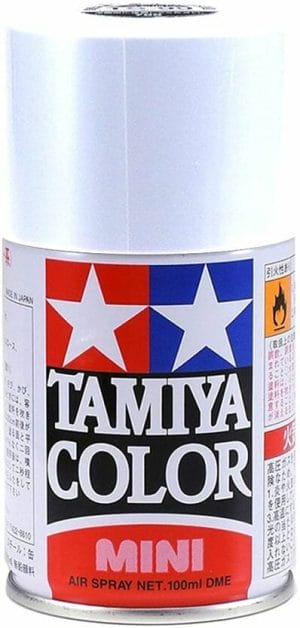
One of my preferred varnishes is Tamiya Flat Clear Spray. It is easy to use, creates an even and smooth finish that looks great. The clear coat is also durable!
Of course, don’t apply a matte varnish too thickly or under humid conditions. If you do, you risk creating a cloudy surface which is at best counter-productive, or at worst, really ugly, and will require some work to fix (check out this article for more tips for proper use of matte varnishes).
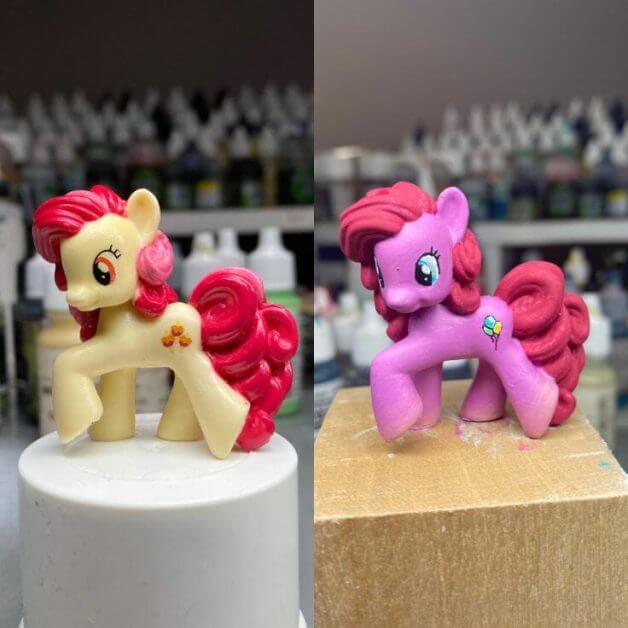
In a side-by-side comparison, you can see the result of the repainted My Little Pony.
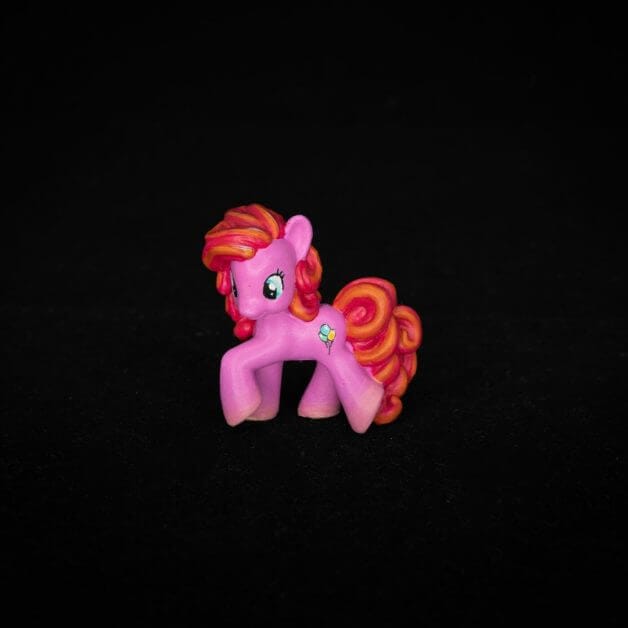
Bonus: Toy Photography
For simple studio photos, I use a lightbox and an LED ring light. For more information about how to take better pictures of miniatures, including toys and scale models, check out these photography articles.
Final Word
Repainting dolls and toys is a change of pace and style from working with tabletop wargaming miniatures, e.g., Warhammer 40k. I enjoy painting and working with anything that has solid form beyond the flat page or canvas media of traditional art. There’s something engaging about working in 3D space.
I hope this article in how to (re)paint this My Little Pony doll gave you some ideas and inspiration in your hobby or art. I always have several ongoing projects to work on. Pinkie Pie happened to be a wonderful palette cleanser, and I’m now ready to start my next project!
Until next time, happy painting!

Tangible Day on YouTube (Miniatures and More!)
