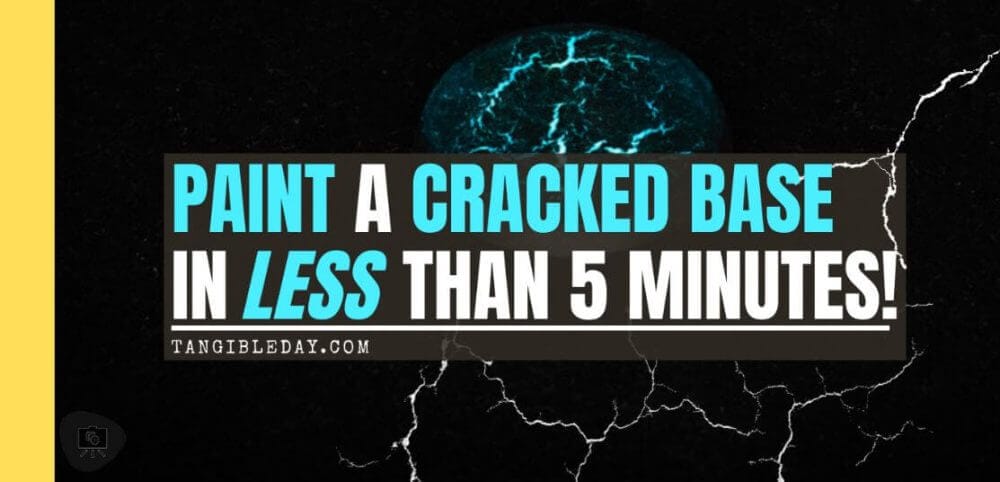
The cracked earth effect is a great way to add some depth to your miniatures. It can be used for all sorts of ideas, from lava effects, ice and dried desert scenes. The base of a model adds key scenery and context for your painted models, which completes the overall look of a great paint job. For those looking to paint the bases of a large number of models, but want a unique flair without the hassle and tedium of painting cracked textures, this method will get the job done easily.
In this article, I show you how I paint bases with the cracked earth effect quickly with a realistic fractured, shattered look. It’s a versatile, reliable, and fast method that has many uses. I’m sure you’ll have tons of ideas after you figure out how to apply this effect to your models.
Let’s get started with the tutorial!
Do you want to paint the cracked effect on bases, quickly?
The way I show you how to paint cracked bases is much faster than the conventional way of achieving the crackle effect on your miniature bases. To speed paint the cracked effect on miniature bases, read on further below.
Of course, there are other special techniques can be used to do the same thing, such as using a crackle paint, Games Workshop texture technical paints, e.g., Agrellan Earth, Badland, or Astrogranite and more.
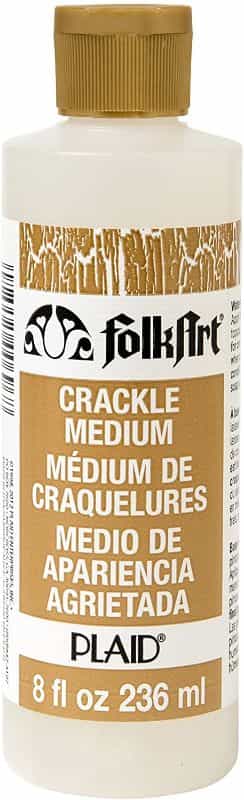
However, most of these other media and methods are slow and require multiple “extra” steps to achieve the completed look on your bases. They also tend to cost more, adding up over time, and are fairly expensive as compared with some alternatives.
RELATED: BEST ALTERNATIVES TO GW CITADEL TEXTURE AND TECHNICAL PAINTS FOR BASES
For example, with GW texture paints, you need to apply a thick layer of the paste to create the cracked effect on your base. It also takes a long time to dry properly. Moreover, there are limited colors with these premade texture, crackling hobby media. If you’re looking for a specific color scheme, you’ll be limited here.
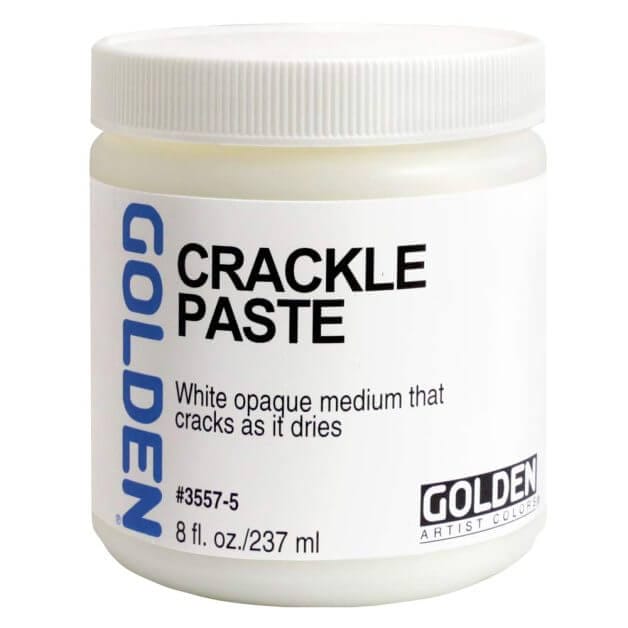
For those looking to use crackle medium, you’ll have to find a way to paint or add color to your textured surface. This can be tedious to do properly. You’ll have to paint your cracked texture surface methodically; and do so without damaging the dried cracked surface–which can be fragile until you varnish or glue it all down.
Instead, using the method I suggest below will be very fast. You can paint a lot of miniature bases with the cracked effect without fancy techniques, detailed painting skill, or knowledge of what cracks are supposed to look like.
You can achieve realistic looking cracks in less than 5 minutes. Check out how I did it!
Here’s how you paint bases with the cracked effect in 7 steps:
- Prime your base
- Base coat the base7
- Apply a layer of white glue
- Airbrush or spray a layer of acrylic model paint
- Allow glue to dry
- Paint the rim of your base
- Varnish your base
The great thing about this method for painting the base of your model is that it is fast, easy, and doesn’t require a lot of complex skill to achieve a realistic cracked earth look.

This method is also flexible for different color schemes and special effects. In my experience, you can use the same cracked basing workflow to make lava effects, ice, and dried desert scenes for your bases. Merely, change the paint colors you use! Follow these 7 steps to create the cracked basing effect for your models.
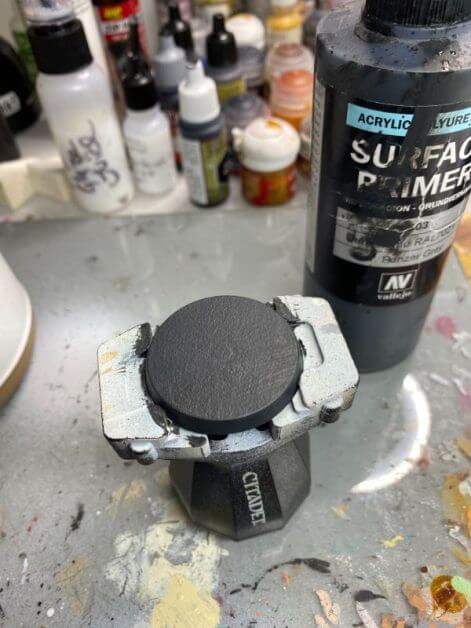
1. Prime your base
Prime your base with whatever primer you like. A primer will help your overlying model paint stick better and form a better foundation for the overlying cracked effect.
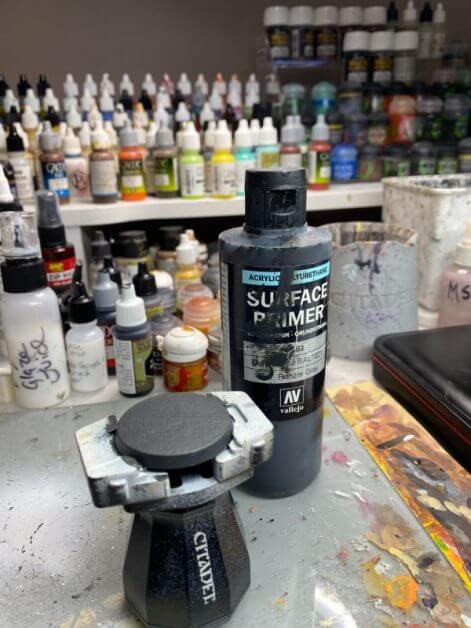
I recommend Vallejo Surface Primer for almost all my miniatures. It works great with a regular brush or sprayed on with an airbrush. For those interested, I reviewed a whole bunch of other model primers in another article.
READ MORE: HOW TO USE A BRUSH-ON PRIMER FOR MINIATURES AND MODELS
Allow your primer to dry completely before moving on to the next step.
2. Base coat the base with any color
This is the fun part! Paint your base in whatever color using regular paint as you like. This color determines the color of the “cracks” in your base. For example, to paint lava effects, you can use a fiery red, orange, and yellow combo. For a desert or urban scene, you can use a combination of browns and dark grays.
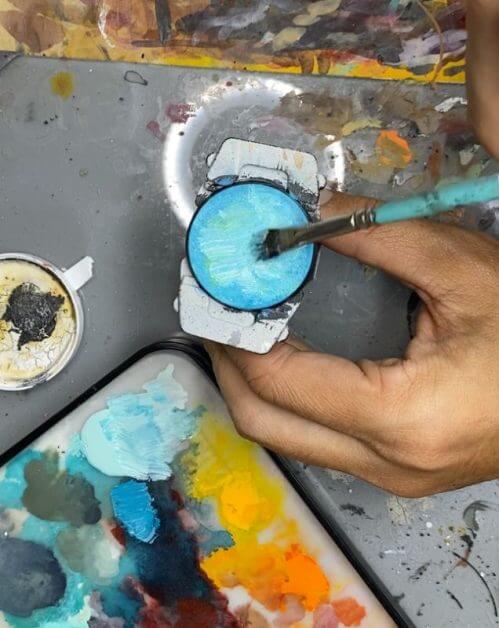
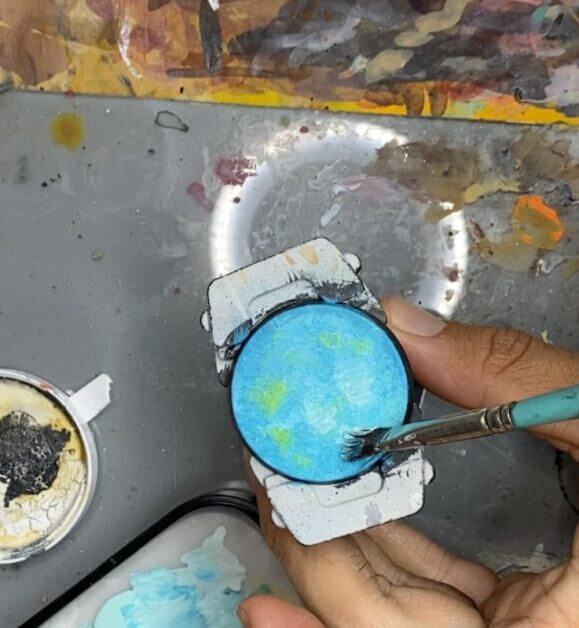
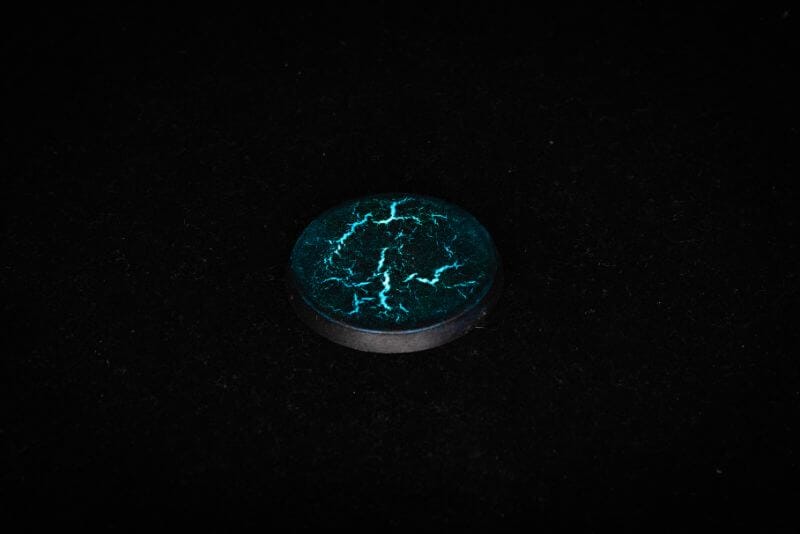
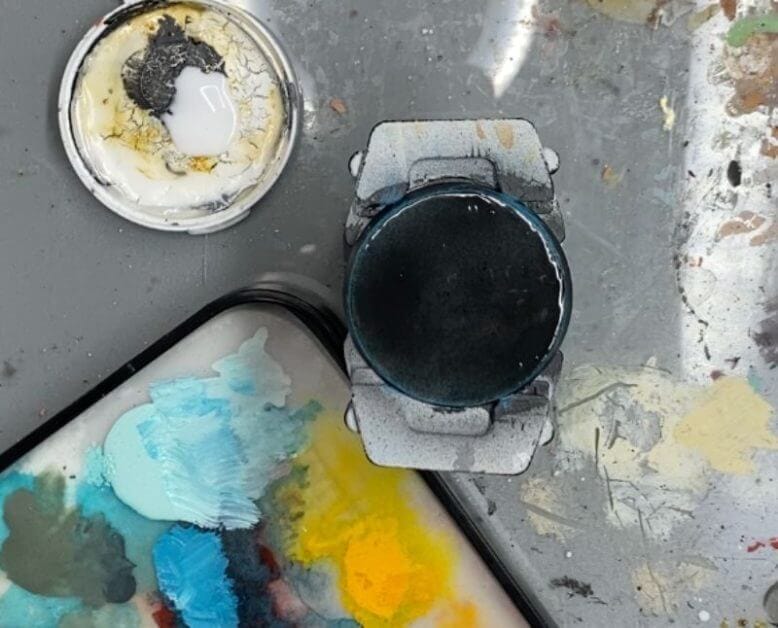
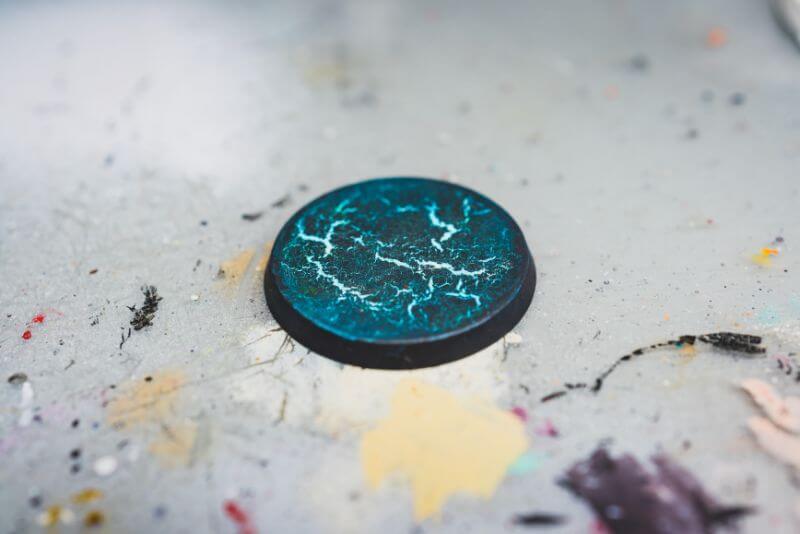
For this tutorial, I wanted something that would “glow” or stand out with high contrast against a dark background. So, I chose blue and aqua colors.
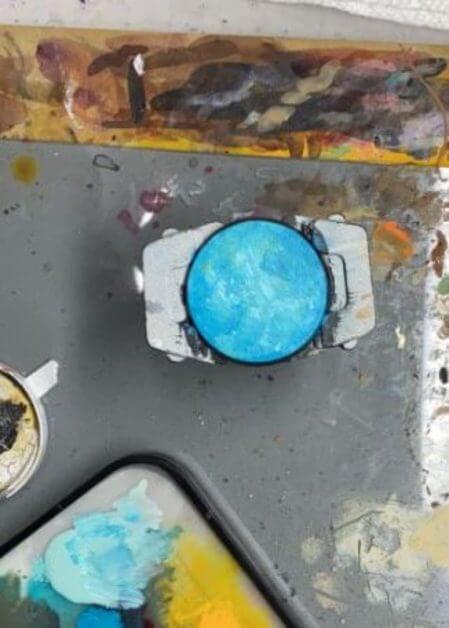
I painted the base with a splotchy random pattern. You don’t need to be neat. Messy works! It’ll get covered up by the next steps below. What you’re trying to achieve here is a good solid coat of paint.
Note that I find this crackle effect looks best when you choose a paint color that contrasts with your overlying color (e.g., the color that cracks). Read on below to see what I mean.
3. Apply a layer of white glue
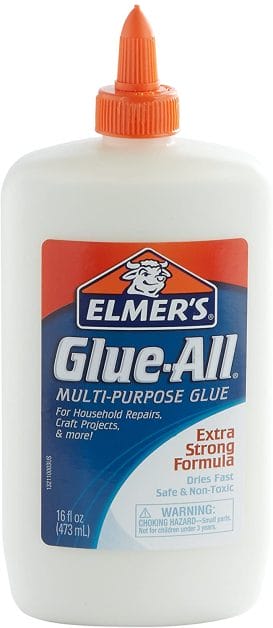
This is the secret sauce. I use a white PVA glue straight from the bottle to start the crackle effect. You can apply the glue to your base directly from the bottle without thinning. For this example, I use an old brush and paint the glue on to the base. Make sure you use a white glue that dries clear. Almost all PVA glues work for this, as you’ll see below.
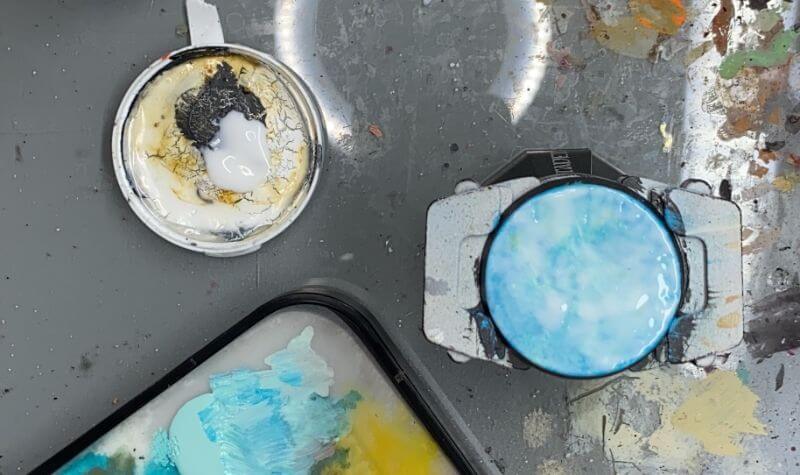
The important tip here is that the thinner your layer of white glue, the smaller and thinner the cracks you create will be. The thicker the layer of white glue, the larger and more wider the cracks. I find a layer of white glue that is about 1-3mm thick works great for creating realistic looking cracks on 28-35mm scale model bases.
- Thin glue layer = smaller, thinner cracks
- Thick glue layer = larger, wider cracks
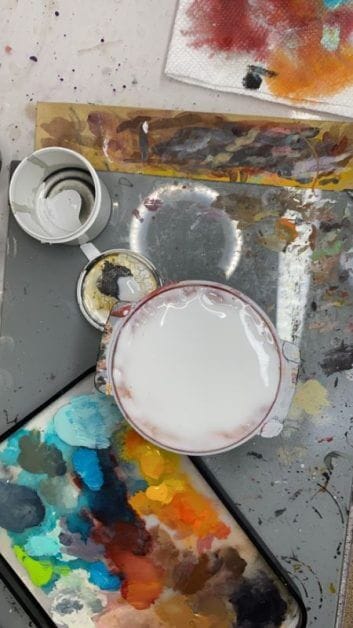
Remember that white glue is opaque until is it dry. You’ll know the glue is still wet, because you won’t be able to see through it. You shouldn’t see any of the color you painted in step #2.
4. Airbrush or spray a layer of acrylic model paint
Perform this step before the white glue dries (see step #3 above).
You’ll want an airbrush for best results. You don’t need an expensive, fancy airbrush. Any airbrush that can spray model acrylic paint will do. For more details about how to use an airbrush for miniatures, check out my complete airbrushing guide.
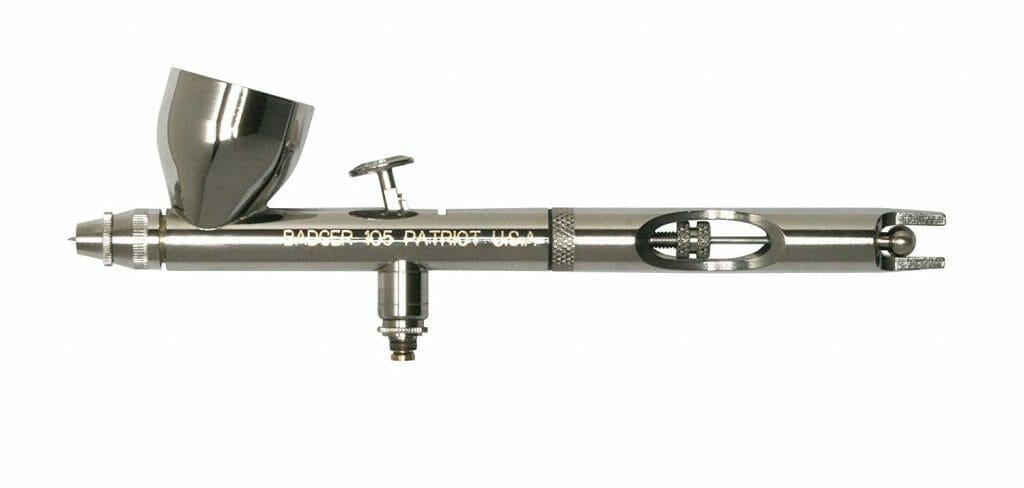
Here’s a list of my favorite airbrushes that I recommend for miniature painting that will fit any hobbyist budget. For those looking the best value airbrush, check out my review of the Badger Patriot 105 (hint: simply amazing for the cost).
For the proper air pressure for spraying your paint, you’ll want to use an spraying air pressure that isn’t so strong that it blows away the wet glue or disrupts the surface too much.
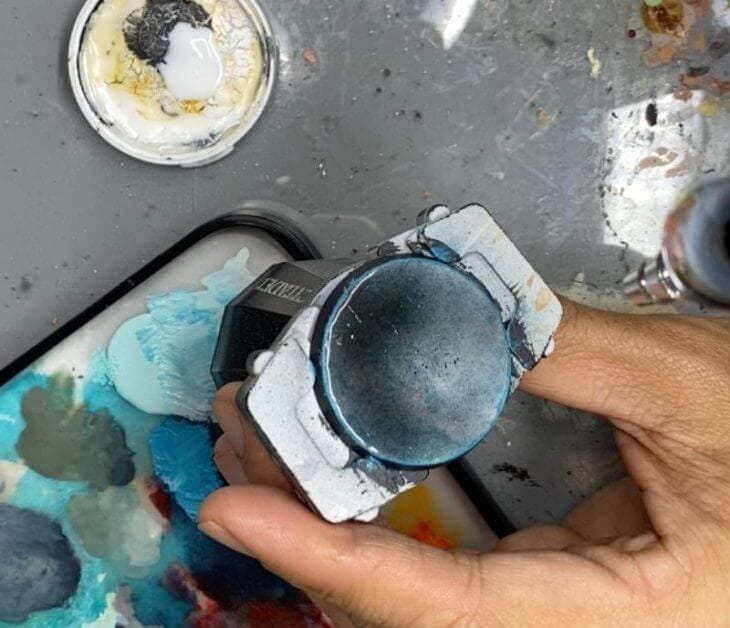
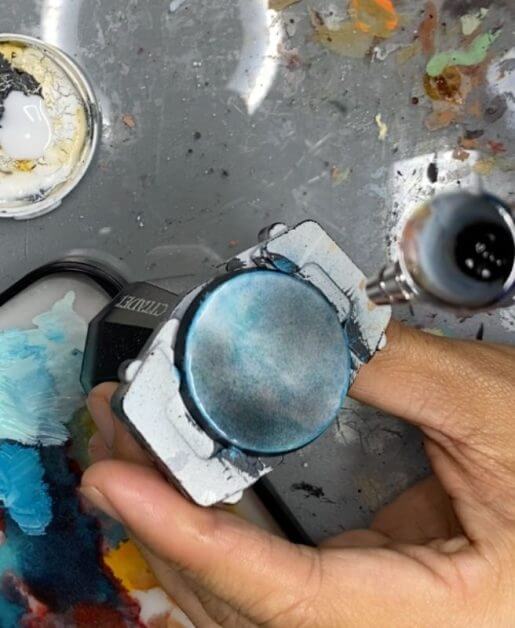
Spray your overlying paint color right over the wet, white glue. Fully cover the surface until the white glue isn’t visible. You’ll want to spray and cover all of the wet glue before it dries. In this case, I airbrush a dark gray paint (almost black).
Once, you’ve sprayed the white glue and it looks even and completely coated with your model paint, allow it all to dry. Do not disturb the surface of your base until the glue and paint has dried flat.
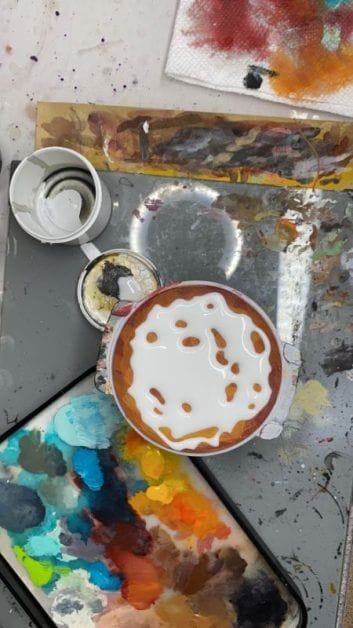
5. Allow glue to dry, completely
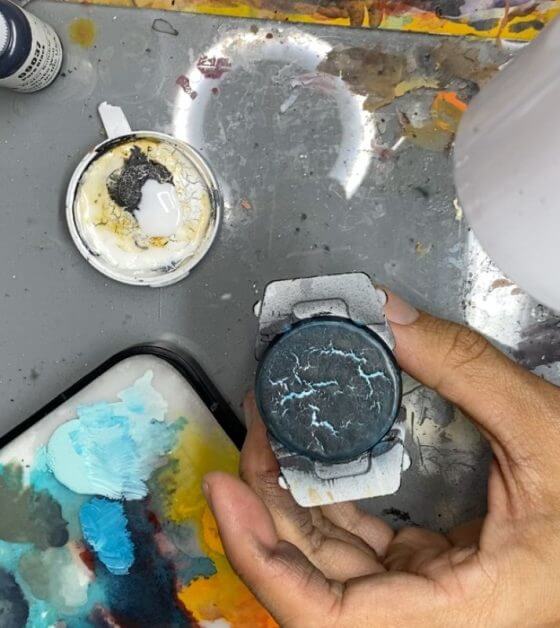
The magic happens here. As the glue dries, it’ll contract faster than the overlying acrylic paint that you applied. This forms natural looking cracks, which widen and expand, revealing the glue and (hopefully) your basecoat color underneath.
You can speed up the drying process with a cheap hairdryer. I’ve written about the hair blow dryer as an essential hobby tool, which you may find interesting. Use the lowest heat setting and keep your distance so the blowing air doesn’t disturb the crack formation.
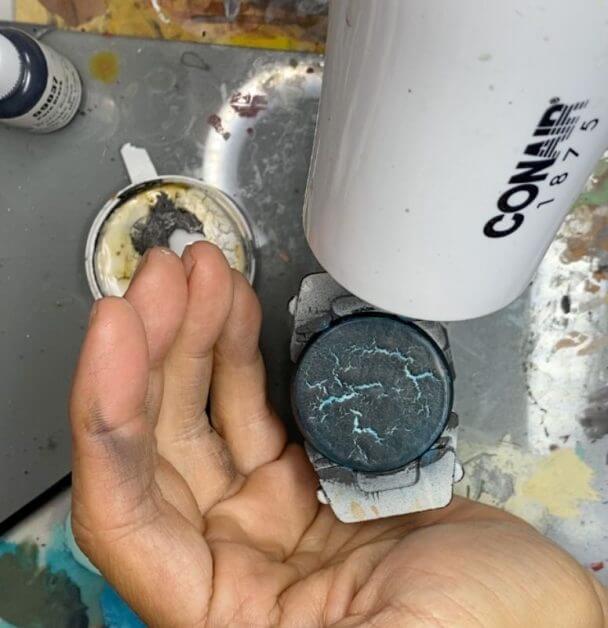
When the white glue is completely dry, it’ll turn clear. This does two awesome things: First, it reveals the color of your basecoat paint, and second, it locks-in your cracked paint–The white glue helps make for a durable base for your model.
Of course, the cracks that form through this method are completely random. You won’t have much control over where the cracks form, unless you’ve discovered something I didn’t–and if you did, let me know!!!
It is useful to remember that a thick layer of glue forms larger, longer cracks. A thin layer of glue forms thinner, shorter cracks.
6. Paint the rim of your base
To complete the cracked basing effect, paint the rim of your base. It often looks best if the rim is the same color as your cracked surface. For example, if your cracked surface is brown, then use the same brown paint for the rim of your base.
But then again, color choice is all up to you! These are only my suggestions based on what I’ve tried and seen work well. I’ve got a whole lot of ideas for combining different colors for this cracked basing effect.
7. Varnish your base
To protect your base, make sure you apply a good varnish. A good varnished seal over your base will protect it from water moisture, and prevent the cracked effect from rubbing or peeling off.
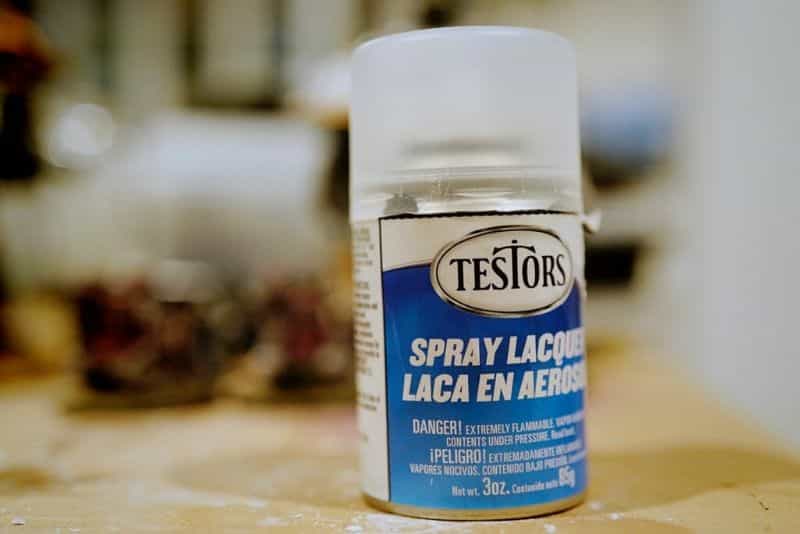

Since PVA glues, aka white glue, is water soluble, the best varnish for making sure your bases stay protected is to use a polyurethane, enamel based sealant, like Testors Dullcote or Tamiya clear coat. You can see my review of these and other varnishes here. These are not water-based varnishes, so they won’t disrupt your dried white glue and painted base.
RELATED: MATTE OR GLOSS SEALER FOR MINIATURES?
For best results, I suggest using 2-3 coats of your sealer on the base before attaching your miniature on top.
Conclusion
From start to finish (step 1-7, priming to varnish), I was able to complete the cracked earth base effect in less than 5 minutes. You could probably do other things to this method to enhance the effect. Maybe use a dry brush method to highlight the cracked edges. Or, use a detailed paint brush and bring up the highlights inside the cracks.
As mentioned, crackle pastes work too. So does texture paints from GW and Vallejo crackle medium. But, using these hobby materials often requires you to mix color, or paint afterwards which is a more difficult and slower process.
The method I showed you above works well alone or as the starting foundation for so many other great miniature painting approaches. One cool idea is to use this method to create a cracked armor or skin on actual sculpts (not just the base).
For the more ambitious, you could use sand or other flocking material to enhance or adjust the overall look of your cracked bases. It’s all up to you. Because this cracked painting effect is fast, you can paint the bases of an entire army quickly and consistently.
Feel free to play around with this approach and make something you like!
What do you think? Easy? If you found this helpful, have questions, or want more of these kinds of tutorials, I’d love to hear from you! Leave a comment below.


Tangible Day on YouTube (Miniatures and More!)

I really like this look over some of the crackle paints that are very 3D. But I don’t want to get an airbrush. Do you think a black acrylic primer would work fine instead of airbrushing?
Hmm, great question!! I am not sure. If you give it a shot and it works out I’d love to know and showcase your finding here :))) let me know. You can email me at [email protected]:)))