Are you looking to base your model with realistic looking dirt, desert, or earth? The easiest way to base your models is to use sand and glue. With a bit of ink, an eye for color and contrast, you can finish a lot of models with great looking bases. Basing your miniatures with sand is a fast and simple way to complete your model army.
In this article, I show you how to base miniatures with sand quickly and easily using paver sand and white glue. Using PVA glue and sand is inexpensive and looks great on almost any model you’re painting.
RELATED: BEST ALTERNATIVES TO CITADEL TEXTURE PAINTS FOR MINIATURE BASES
Key Points
- For realistic looking sand, dirt, or desert bases use sand containing a wide variety of grain sizes
- PVA glue, white glue, or Mod Podge are the best kind of water-based glues for basing models with sand
- Base miniatures with sand after your paint your models for best results
- Apply inks mixed with flow improver for some quick color and a realistic final look
How to Base Models with Sand
You only need two things to base a model realistically: glue and sand. Oh, and of course, you’ll need paint and other mediums to make your glued-on sand match your environmental theme, e.g., dirt, desert, mud. No matter what you do when you base models with sand, I recommend keeping your material choices simple.
The best glue in my experience for basing models with sand is a water-based white glue, like PVA Elmer’s glue or Mod Podge. The advantage of these glues is that they are easily thinned using water, quick to apply on any surface with a paint brush, and dry with a strong and flexible bond.

Importantly, the flexibility of the dried PVA glue is what makes them ideal for basing miniatures. Whenever you handle a model, the plastic base will vibrate. The flexibility of PVA white glues allows your base to absorb the shock. So, instead of your sand or other flocking material breaking off, the glue bond holds fast.
READ MORE: FULL GLUE GUIDE FOR MINIATURE HOBBYISTS
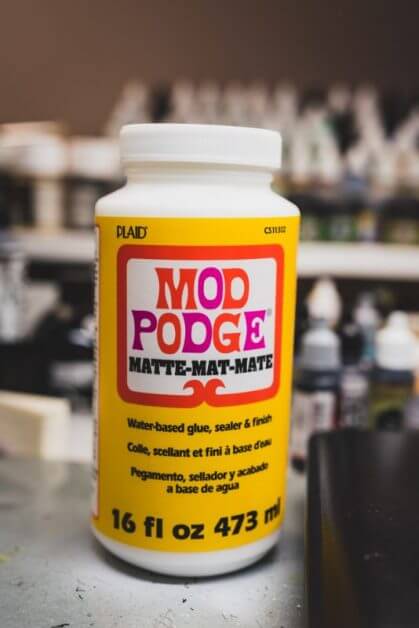
A noted advantage of using Mod Podge over other white glues, e.g., PVA glue, is that it is thinner, less viscous. It is easier to apply Mod Podge glue straight from the bottle using a regular brush. Additionally, Mod Podge dries with a matte finish, so it is useful for maintaining a more realistic looking base appearance.
Continue reading to see how I base models with sand for a realistic appearance.
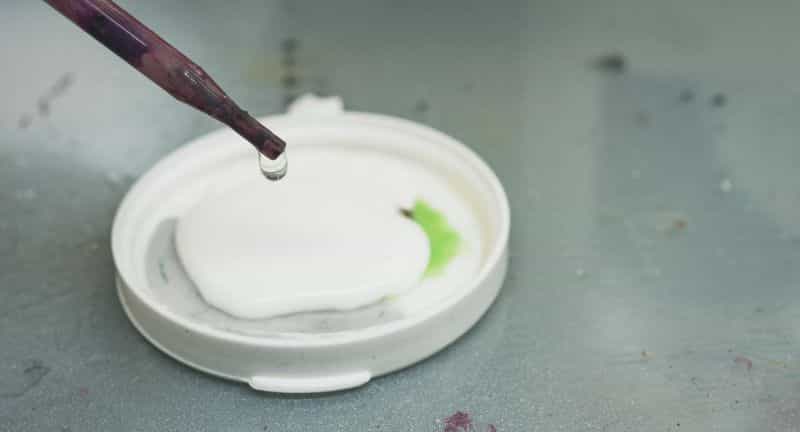
Step #1 – Thin the white glue with water
To make it easier to apply to your model’s base, thin your PVA or white glue with water. I put a small amount of white glue in a dish and add water using an eyedropper. I recommend starting with a ratio of 10:1 glue to water, to keep your mixture fairly thick. You only want enough water to help the glue flow off your paint brush in the following steps.
RELATED: BEST GLUES FOR BASING MINIATURES
Step #2 – Prepare your sand
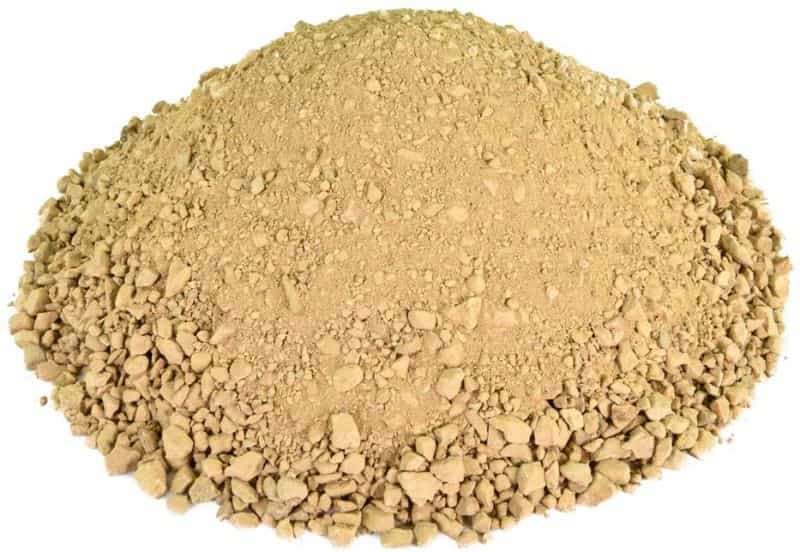
The best sand for basing miniatures will have varied grain sizes. For a more realistic appearance, use sand with different sized grains, and with a low ratio of tiny rocks or pebbles. You can either buy pavers gravel, crushed rock, or mix a few different sand/gravel types together. No matter what you do, try not to base your models with sand that only has a narrow range of grain sizes. It’ll look fake or unfinished.
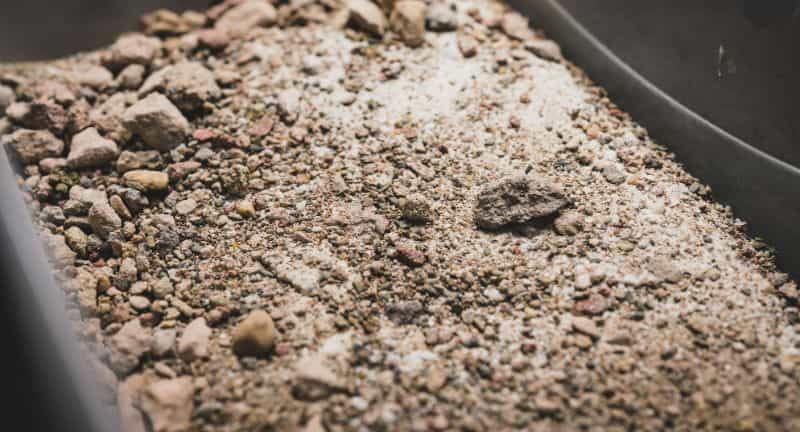
The two types of sand/crushed rock that I used for my making my basing sand are silica sand for fire pits, which is similar to the sand you may find in a child’s sandbox, and crushed rock. You can buy these online or at a local hardware or gardening store. You can get enough of this stuff to last you a lifetime for an affordable price!
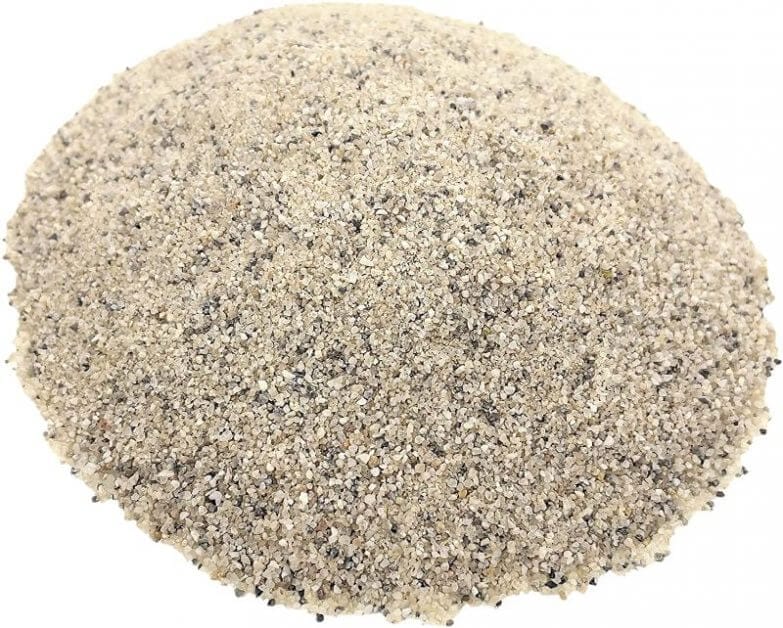
The color of the sand doesn’t really matter, as you can paint or ink the texture later (depending on what appearance you’re aiming for). The idea is to create a durable sand, earth-like texture on your model’s base. The varied grain sizes help sell the realistic effect.
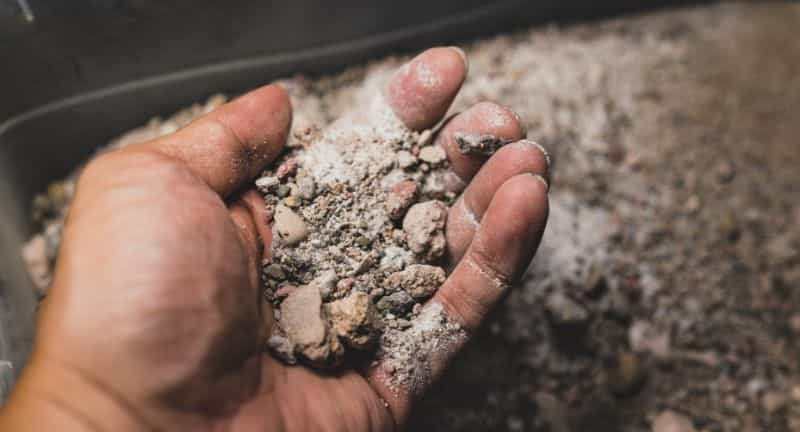
When you get your sand, mix the different types together so you have a pile of basing material with different sized grains, pebbles and rocks. The idea is to have a texture what isn’t all the same. “Randomness” is what creates the realistic effect for your based models.
The good news by making your own sandy mixture is that your bases will have a unique look that will differ from anyone else. Make sure you make a lot of your basing sand mixture. I keep mine in a plastic shoebox sized container. I’ve been using the same composition of sand for basing my models for years.
Can you use real sand or dirt for basing models?
Yes. Many model train and railroad hobbyists use real dirt, sand, and gravel that they collect from outside. To clean and sterilize real sand/dirt for basing models or making realistic terrain, they bake piles of the substrate in an oven. Simply, take your dirt or sand you collect from outside and spread it out on a deep baking pan.
Place the pan with your dirt/sand in the oven and bake it at 350 degrees (F) for 30 minutes. The high heat from the oven burns up any organic material and ensures you can use the dirt/sand without worrying about contaminating your workspace or models.
Once you have your baked and sterilized soil, dirt or sand, follow the steps below to finish basing your models or miniatures. The great thing about using “real” dirt or sand on your bases is that most of the texturing is already ideal in appearance for a realistic finish. It’s also free!
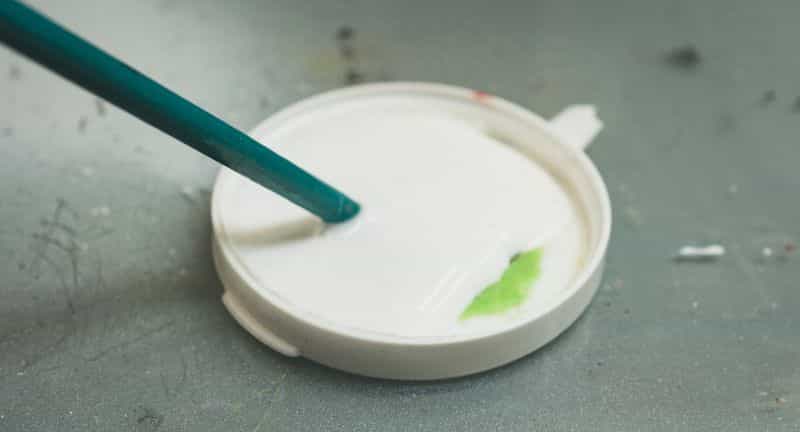
Step #3 – Apply thin glue to the model’s base
The best brush for applying glue is a cheap, synthetic paint brush. I got a huge pack of these brushes for applying basing glue to miniatures. Alternatively, you can use cotton tipped applicators or eyeshadow sponges.
I like using brushes because you have a lot more fine control over where the glue goes. The limitation, of course, with a paint brush is that you have to clean them, and they require thin viscosity glue to work well.
Your glue should be thinner than maple syrup, but not too thin; otherwise it risks running and dripping everywhere. Think melted ice cream for a good viscosity for your basing glue.
Make sure you apply the glue to every surface, including the edges along a model’s feet or other concave areas. You want sand to cover every exposed surface of your model’s base that is supposed to be the ground or earth.
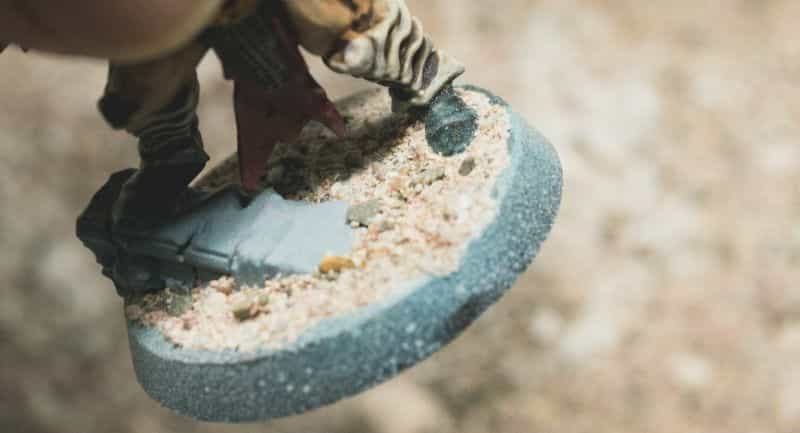
Step #4 – Apply fresh sand
Once you have a film of white glue on your base, it’s ready for sand. For best results, I recommend painting your models first before applying a base of sand. This allows you to cover up any messy paint that got on the base with overlying sand, dirt or other terrain flocking material.
To apply the sand, hold your model at an angle and shuffle the base into the dry sand. The film of glue will adhere to a layer of sand. Gently turn and rotate the base under the sand until the entire surface of the base no longer appears with wet glue. The idea is to let the sand stick and absorb the glue that you applied to the base.
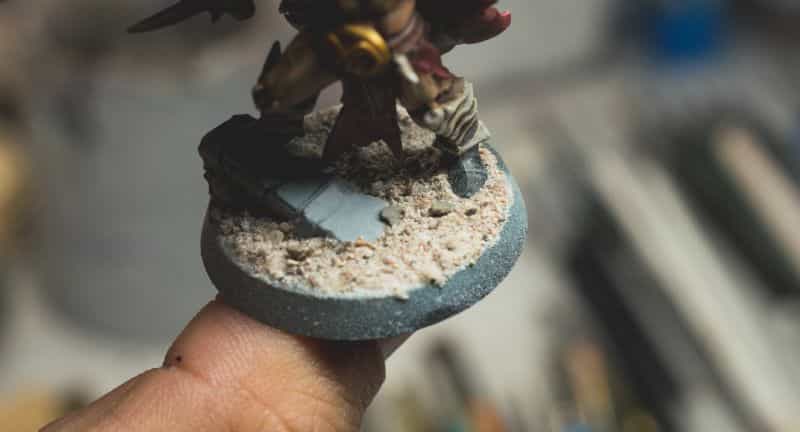
You may have to apply small dabs of glue onto areas of the base that didn’t get enough sand to stick. Use your brush to apply more PVA or white glue to areas of the base where you want more sand to cover. Be gentle to avoid disturbing sand that already adhered where you want it.
Step #5 – Clean up excess sand
Once you are happy that you’ve covered your base with sand and it’s sticking to the wet glue, gently tap or shake the miniature and let excess sand fall back to the container. You can use a quick puff of air from your mouth, or even an airbrush, to help you remove more of the finer particles from the model.
Note that really fine dust will tend to stick to your miniature. For a more careful cleanup, take a soft bristled brush like this cosmetic brush, and gently wipe off any dust from parts of the model that didn’t get any glue. This is an important step because you don’t want that dust to stick to any overlying varnish you apply. It will also dull out your paint colors.
Step #6 – Paint or ink the base
After the glue has dried with the sand on your model’s base you can add paint and color. Of course, this isn’t a necessary step for some models. If you like the natural color of the sand you applied to your miniature, then leave it as-is. Remember, to varnish your model to protect and seal your hard work. Here are great tips for using a durable varnish on painted miniatures and models.
On the other hand, I find that using thinned ink over a base after gluing sand helps bring the color of a model together. The overall package of your painted miniature looks better when you add some color to the base.
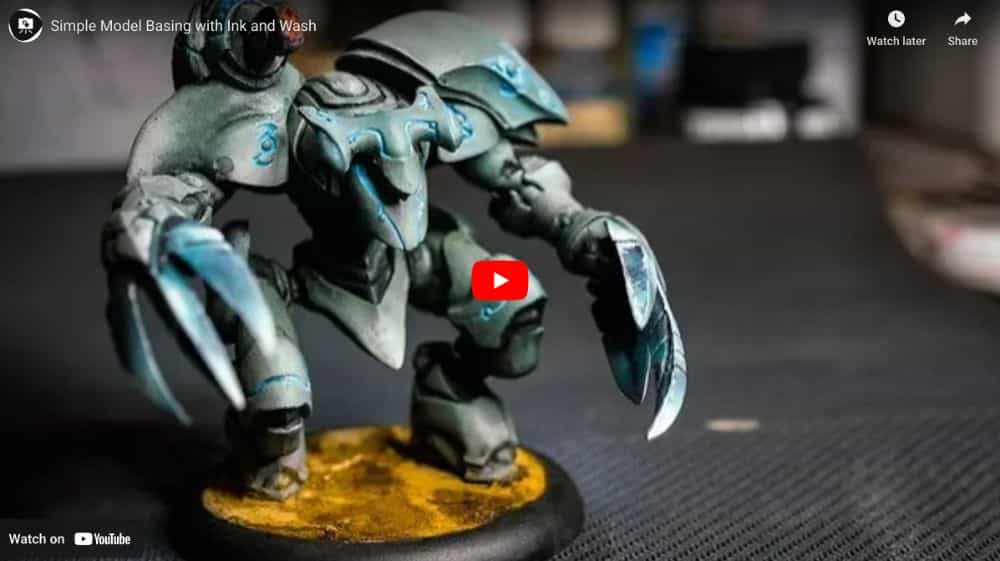
There are many ways to ink or paint the base of a model after you apply sand or other texture material. Here’s a quick video showing you how to paint or ink your model’s base following sand application.
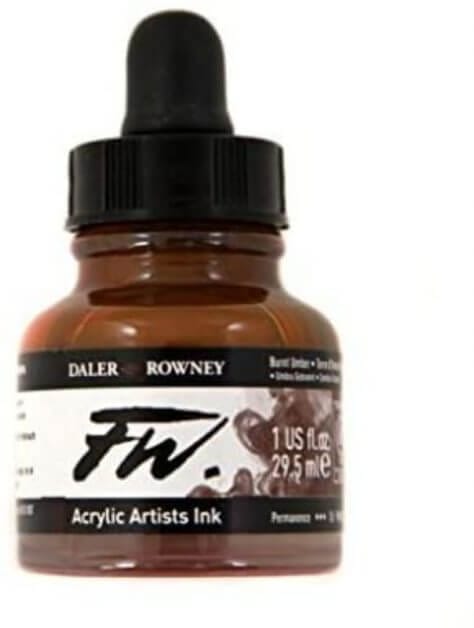
There are many kinds of paints and inks you can use to add color to your model’s base with sand. Check out a review of some of the best inks I recommend for painting miniatures and models.
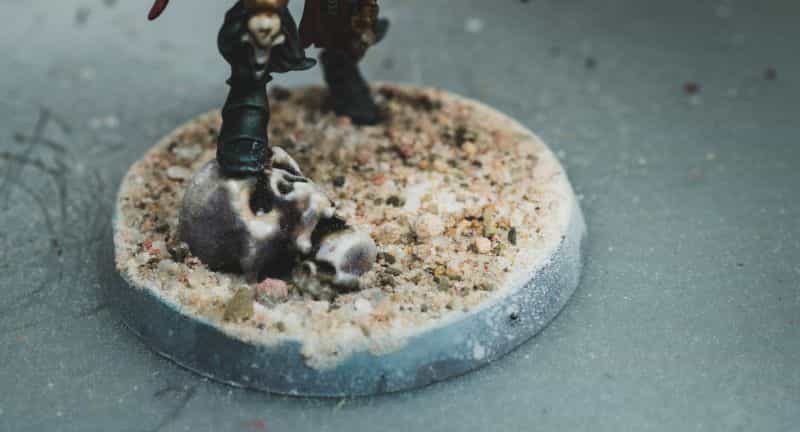
How to use ink to add contrast to the base of a miniature or model
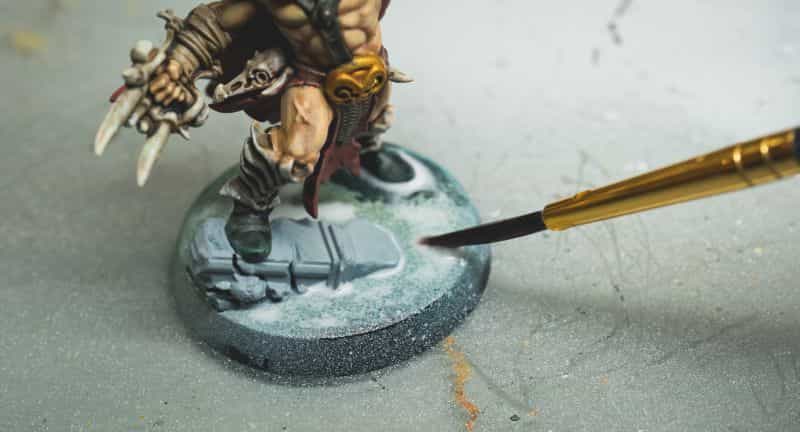
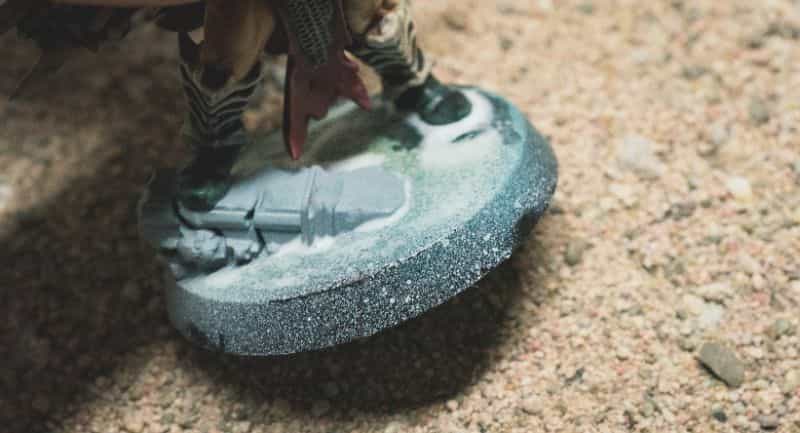
To apply ink color to your model’s base, add 2-3 drops around your model using your preferred ink color. Then, to help the ink spread to the rest of your base, use an eyedropper to deposit a few drops of flow-aid right on top of the ink.
Flow-improver or flow-aid will break the surface tension of the ink and capillary action will take the colored pigment right through the sandy texture on your base. If done properly (and you will easily get it), the ink pigment will darken deeper areas of the base texture, and keep raised surfaces brighter.
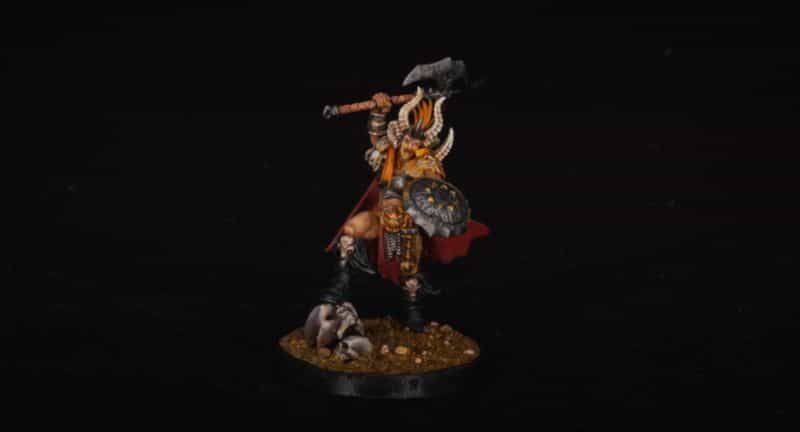
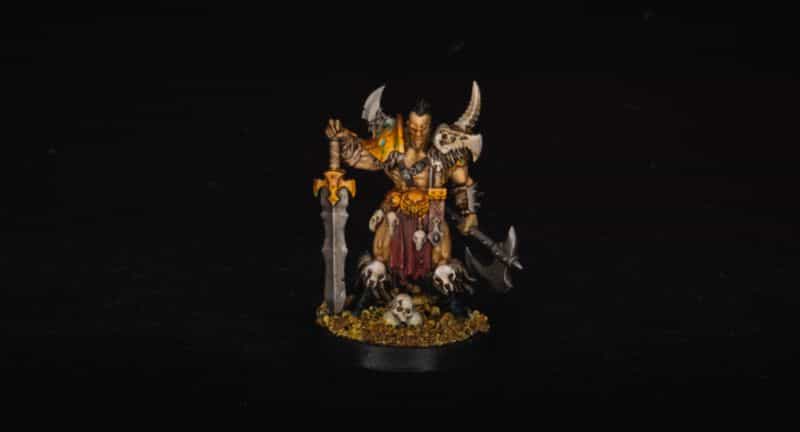
The ink and flow-aid combination will work kind of like an acrylic wash, and increase the contrast and color saturation on your model’s base. This effect is quite magical and one of my favorite parts about basing a model with sand. It’s not only quick and easy, but looks amazing. Check out the photos below.

Conclusion
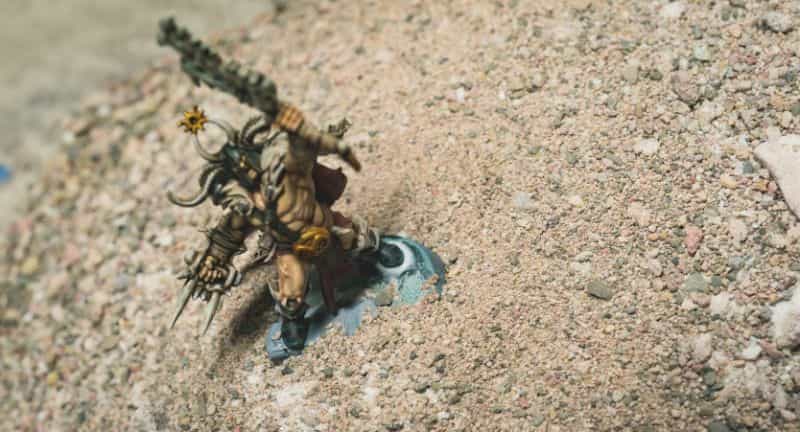
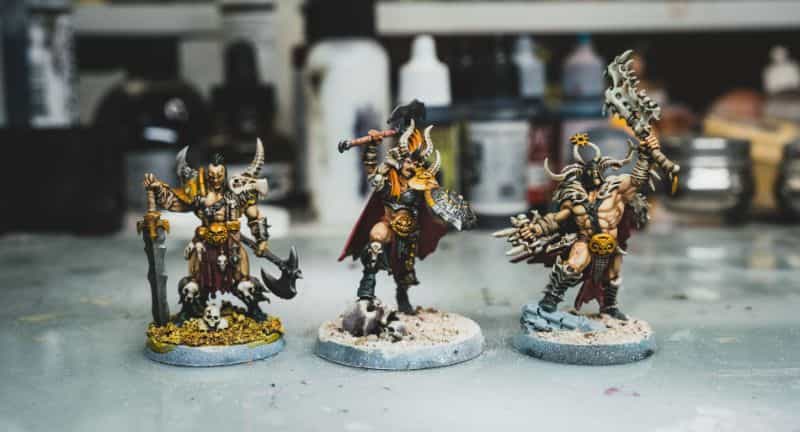
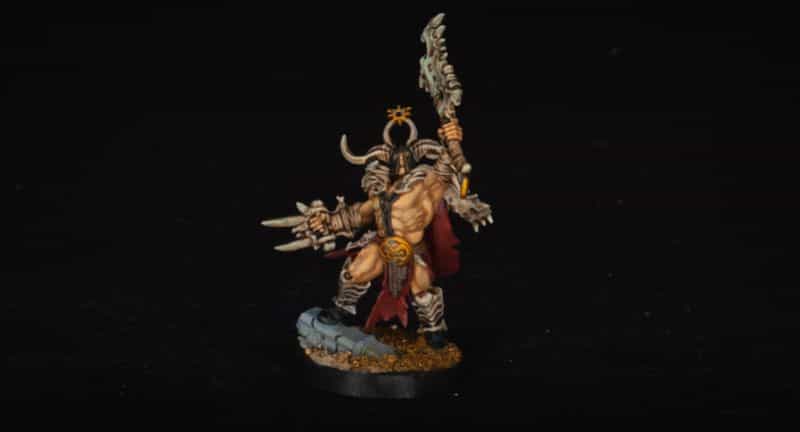
If you’re looking for a fast, effective, and great looking way to base your models, the use of sand and white glue is the perfect method. A side benefit of using sand is also its visual simplicity. The minimalist basing appearance allows the rest of your painted miniature to stand out.
You can, of course, add other elements to vary the base appearance. Terrain flocking material like grass, larger rocks and debris, or different colored inks can add other points of interest to your model. This is particularly effective on larger models where there’s a lot of open space. For more examples from my work, you can check out my miniature gallery.
I hope you found this article helpful. How do you base your models? Do you use sand with any other terrain basing materials? Let me know–I’d love to see your work!


Tangible Day on YouTube (Miniatures and More!)

Great walk through, thank you for making this available.
Sure! I’m glad you found this helpful 🙂