What are the best gap fillers for miniatures and models? Miniature and model assembly is fun. Scratch builders love making things from…well, scratch. Filling gaps is an important step in preparing your models for primer and paint. Gap fillers are useful for whether you are assembling plastic model kits for Warhammer 40k or Age of Sigmar, or merely constructing scale models. But, what kind of gap fillers should you use?
In this article, I show you a few tricks for filling gaps in miniatures, and review the best gap fillers for modeling.
Here are the 12 recommended best gap-fillers for miniatures and models:
What is a Gap Filler?
A gap filler substance is any material that can securely bridge two separate parts. It does not need to be an adhesive, although a gap-filler with bonding properties is very useful in most applications.
MORE: RECOMMENDED LIGHTING FOR PAINTING MINIATURES
Another way to think of gap fillers is that of a malleable bridge material. Gap fillers operate in two phases: a liquid phase, wherein you apply the material between a gap or uneven surface, and a solidification finishing phase, where the product has cured, hardened, or bonded into a workable surface.
After a gap filler has solidified, you can apply different techniques to ensure the surface between the two bridged parts is as seamless as possible. The goal is to have a bridge forms the two parts into a single surface. When primed or painted over, the former gap is invisible.
6 Must-Know Features of Gap Fillers for Miniatures and Models
There are several criteria to look for when you want to find the best gap filler for miniatures and models. Whether the kit is made of plastic, resin, or metal, the principles for gap filling are the same. Look for the following in the appropriate gap filling product:
- Cure time – you need a gap filler that stays in a fluid or liquid form with enough time for you to use it effectively. A gap filler that hardens too quickly will make it difficult to apply. If curing takes too long or there is shrinkage, the gap won’t fill properly—the gap filler forms its own gaps and cracks.
- Adhesive properties – Most popular gap-fillers have a glue or bonding substance as part of their formula. This makes these kinds of gap-fillers act like adhesives, actively holding the gap together. However, unlike glues, good gap fillers bond specifically between the assembled parts and contains other substances that add to its durability (see below) and strength. Gap fillers also tend to be easier to work with as compared to glues that stick to your fingers or your applicators (e.g., rubber tipped shapers).
- Durability – Most gap fillers contain additional compounds that enhance its strength and durability, such as resin or acrylic suspensions. Polyurethane- or acrylic-containing fillers are a strong and often flexible polymer gap fillers that can withstand the thermal stresses of power sanding. Other gap fillers trade such durability for malleability, and require a more gentle finishing approach (e.g., wet sanding). Modeling gap fillers have a variety of properties; but, because gaps and crevices are generally on the visible surface of a model, a gap filler must be strong enough to withstand external mechanical insults.
- Bridging capacity – The viscosity or thickness of the gap-filler is a primary attribute to its bridging capacity. not all gaps and surface imperfections are created equal. Filling a small bubble on the surface of a poorly molded resin part, is different than bridging the 1-2mm gap between two the plastic fuselage and wing part of a scale model airplane. As mentioned above, some modelers take a hybrid approach and mix super-glue with a binding substance, such as talcum powder or white baking soda. This allows them to adjust the thickness of the gap-filling “paste”. The inventive method of mixing an organic fine powder with cyanoacrylate glue (or styrene plastic and modeling plastic cement) to form a gap-filling paste underscores the creativity and innovative nature of the veteran modeler.
- Finishing ease – after a gap filler has cured and hardened, most likely it will need to be sanded or smoothed, or even sculpted, to match the desired surface. Many factors play into how easily a hardened gap-filler can be finished for a satisfying aesthetic. A gap filler might shrink as it hardens, or crumble under vigorous sanding. As with bridging capacity, choosing the best gap filler for your needs depends on what your expectations are for the final finished surface.
- Ease of use – Obviously, some gap fillers are easier to use than others. For example, two-part epoxies are more technical to use, than a simple acrylic-based gap filler from a tube. Highly-viscous gap-fillers are incredibly versatile for their strength and bridging capacity, but may require more effort to finish properly. Some may even require subtractive sculpting.
RELATED: BEST GLUES AND ADHESIVES FOR MINIATURES AND MODELS
Why Do You Need a Gap Filler?
The name implies that you use a gap filler to fill gaps or seams. But, you could use anything to fill gaps, right? Why not use glue mixed with something else to bridge a gap?
See this video showing a genius hacker using super glue and ramen noodles to fill a giant crack in a sink.

Well, not everyone wants to spend the time and effort figuring out DIY (do-it-yourself) solutions to a problem. Hence, the commercially available gap-filling products on the market.
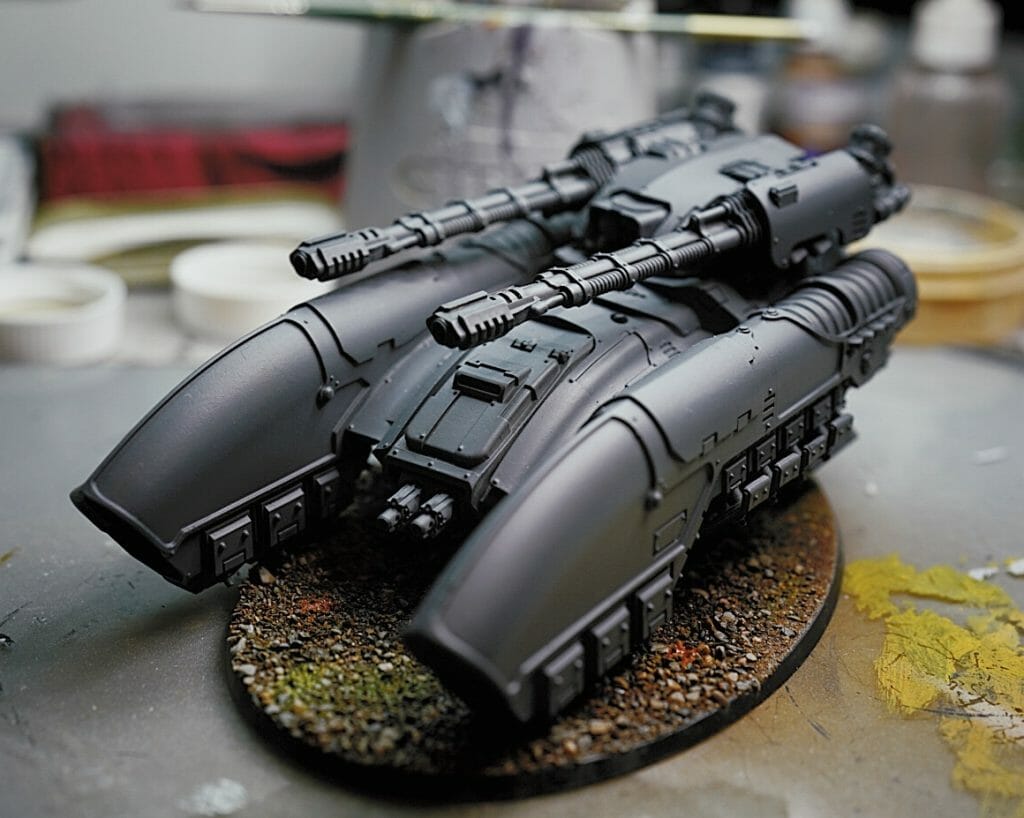
Many Games Workshop plastic kits go together pretty easily. However, sometimes, you need a little help filling in those joints. Unlike glue, gap fillers bridge these gaps and in some cases adhere to the material to reform the intended surface.
Filling gaps in bases is easier with formulated products. Putty two-part epoxies (i.e., Apoxie Sculpt) and thicker putties, like Milliput, are great for filling in the gaps in your model’s bases (before you add flocking materials, e.g., sand, grass).
What are the Best Gap and Seam Fillers for Plastic and Resin Models?
In general, most gap fillers are versatile in that they work across a variety of materials. For plastic and resin miniatures, the most common gap fillers (those listed here, see below) bind well across typical gaps (<1mm) and seams that form between misaligned or molded parts. These same gap-fillers also work best to fill-in the imperfections on poorly formed resin surfaces, e.g., bubbles or cracks, or abraded plastic surfaces that require smoothing.
MORE: WASH YOUR MODELS FIRST WITH AN ULTRASONIC CLEANER
For larger gaps (>1mm), a thicker gap filler may be needed. Epoxy or all-purpose repair putty might be more useful in this case. These fillers are similar to hobby fillers in that they can bond to most materials. Additionally, some of these putties have formulations that cure into extremely durable surfaces. Some of the more common and popular putty-type fillers are listed in this article.
In some cases, you can use super glue as a gap filler as long as you are filling a small gap. For larger joints, you may want to mix super glue or cyanoacrylate with talcum or baking powder as a binding agent. This super-glue ‘paste’ then becomes a highly useful gap filler (see more about this below).
MORE: HOW TO SMOOTH PLA 3D PRINTS WITHOUT SANDING
How to Fill Gaps and Seams
Each gap filler has specific instructions for their proper use to achieve best results. Ultimately, you want the seam, hole, or gap between parts to disappear into the model’s surface. You goal is to make the miniature “whole” again and appear as a single piece.
Here are the 6 steps for filling gaps and seams in miniatures and models:
- Prepare the surface you’re filling
- Apply your gap filler into the gap or hole
- Use a sculpting tool to carefully remove excess gap filler material
- Allow the gap filler to dry or cure
- Use a file or sandpaper to smooth the hardened, filled-in surface
- Apply a suitable primer to the surface to fill in microscopic imperfections, and prepare the model for paint
Read on for specific details on how to use gap fillers on miniatures and models during assembly and preparation for painting.
1. Prepare the Model Surfaces
The best way to reduce any gaps or uneven seams on an assembled model is to ensure each part fits together. This means sanding or filing down surfaces so that parts sit flush with each other before gluing (e.g., dry fitting). Once you are sure the parts fit as closely together as possible, use glue. Be aware that some glues expand when they dry, whereas other glues contract. If there are any remaining gaps, then prepare the joined surfaces for a gap filler.
All gap filler instructions recommend that you first prepare the surface you’re filling. This means washing the plastic, metal, or resin pieces to remove oils, dirt and debris that may interfere with the gap filling product sticking to the surface. If you shouldn’t need to sand or score the surfaces you’re applying the gap filler. Most fillers will adhere well as long as the surface is clean.
2. Apply Gap Filler
Apply your gap filler into the gap or hole. You may need more filler than you think, and that is okay. Dispense enough gap filler so that some of the gap filling material is above the original miniature’s surface. This helps account for the possibility that the gap filler contracts as it dries or cures, or the parts move apart slightly during this process.
3. Remove Excess Gap Filler
Before the gap filler dries, use a sculpting tool or your finger to carefully remove excess gap filler material. Remember to leave some filler material behind for the next steps. Note that some gap fillers are water-soluble, such as the Vallejo Plastic Putty or Citadel Green Stuff, which allows you to use water to clean up excess material when it is still wet.
4. Allow the Gap Filler to Dry or Cure
Allow the gap filler to dry or cure. For thicker filler applications, allow a bit of extra time because the inside of the filler material may still be wet. At first glance, filler material may appear dry, when in fact that is only the surface “skin”. Underneath, the material is still wet and could be disturbed if you move too quickly. Depending on what gap filler you’re using, leave an hour or a day to let the material solidify harden. This will allow you to work on the surface of your model with other tools.
5. Smooth Down the Filler Material
Use a file or sandpaper to smooth the filled-in surface of your model. Here, you’re removing any jagged edges or places where the gap filler dried out of place. If you’ve left enough gap filler material, you should have enough material to bring the filled gap back down into a smooth continuous plane with the original miniature’s surface.
6. Prime the Surface
Finally, use a good primer to finish the surface and prepare it for painting. The final step is to apply a primer over the entire model, including the filled in gap to smooth out any microscopic imperfections and completely hide the seam, hole, or gap.
12 Best Gap Fillers for Miniatures and Models

Citadel Liquid Green Stuff comes in a 12ml sized pot, which is similar to the volume you get in GW’s regular paint pots. Not to be confused with Games Workshop’s GreenStuff (which is a two-part putty epoxy), Citadel Liquid Green Stuff is a thick pasty substance that you apply like clay to fill gaps, crevices, or smooth out uneven surfaces. Filling gaps in miniatures with liquid green stuff is easy.
Liquid Green Stuff has a clay-like viscosity and therefore has fairly good bridging capacity. However, note that although Liquid Green Stuff isn’t a “liquid”, but leans closer to being a crumbly-paste that binds and forms together when there is water moisture present. Before it has hardened, you can shape Liquid Green Stuff to follow a surface contour. Adding a bit of water thins out the green filler and aids in smoothing.
I’ve personally used Liquid Green Stuff to fill in the small gaps between parts on GW model kits, especially vehicles where two flat pieces don’t meet up exactly. Other uses that I have found work well with Liquid Green Stuff is for smoothing out poorly casted Forge World resin models. I apply Liquid Green Stuff with a rubber or metal sculpting tool, and use a bit of water on my finger to press it into the gaps or crevices. If there are bubbles in a surface I put a little of the putty on top, more than would be needed to fill the hole, and use my fingers to remove the excess. As above, a little water helps to keep things smooth and easy to work with.
I should note that hobbyist’s are somewhat divided on the overall utility of Liquid Green Stuff. Some swear by it, while others avoid it, claiming that it doesn’t work well for them. A major complaint is that Liquid Green Stuff shrinks as it dries and fails to adhere to the two parts. A possible reason for this is that if the gap is too big, or if the putty dries unevenly (the exposed outside of the Green Stuff dries faster than the inside), then it’ll flex and pull itself apart.
Liquid Green Stuff is designed for miniatures and models. That’s its intended purpose and it can be purchased from most specialized hobby and local game stores. It works well on plastic and resin materials, which compromise most of the Games Workshop model line. I’ve tried using Liquid Green Stuff on pewter and metal models, but find that it’s adhesive properties aren’t as strong.
Key Features and Recommended Use:
- Thick epoxy based filler
- Water soluble
- Easy application
- Limited bridging capacity
- Prone to shrinkage

Tamiya Putty is renown as a repair filler for modifying plastic models (e.g., gunpla). It comes in a metal tube, like toothpaste, and has a fairly large nozzle. Most hobbyists don’t apply directly from the tube to miniature, but use a small tool like a toothpick or other applicator. The putty is versatile and will bind to almost any material that models are made of. Tamiya also claims that the putty will work on wood (good news for scale modelers!).
Are you looking for a cheap alternative for liquid green stuff? Tamiya Putty might be a good option.
The putty is fairly thick and sticky. It will adhere to the surfaces around a gap or hole and stay put after curing. It’ll take sanding with power tools, such as with a Dremel sander, or manual sand paper smoothing. Tamiya putty has a strength and durability that is unmatched with many of its competitors, which allows the final hardened material to be sculpted with conventional techniques (dental tools anyone?).

This makes Tamiya Putty highly-prized among scratch builders and modelers looking to convert or kit-bash models. Because Tamiya Putty has a thin viscosity, it is one of the easiest fillers to work with and apply to small gaps and holes. However, it should be cautioned that Tamiya Putty can’t fill extremely large gaps without adding additional bridging materials to it. I’ve personally mixed in a bit of cotton fiber (or even Liquid Green Stuff) to help Tamiya Putty to stick across larger holes. The hardness of the final cured material is advantageous in this respect as any excess or unevenness to the filler can be finished without worry about cracking or brittleness.
Key Features and Recommended Use:
- Premium gap filling product
- Best for plastic kits
- Easy application
- Thin with lacquer
- Smooth finish

Vallejo is a company well known for its hobby paint products, mixing mediums, masking fluids, and airbrush supplies. The Plastic Putty is a thin, white paste in a 20ml metal tube or plastic bottle, depending on how much you get). I highly-recommend the tube-form, as it comes with a super thin nozzle that allows you to carefully apply small amounts of putty directly from the tube (very convenient).
This version is the best Vallejo gap filler. If you’re looking for how to fill gaps in plastics, Vallejo Plastic Putty is one of the most effective products out there.
In general, the Vallejo Plastic Putty is similar to the Tamiya Putty in that it works to fill gaps across surfaces made from the most common modeling/miniature materials, plastic and resin. It also has similar curing properties. I’ll add that in contrast to Tamiya Putty, Vallejo’s Plastic Putty is water-based, meaning that you can simply use water to smooth it out. The ability to mix with water also means that the excessive putty is easy to clean-up off the working surface.
If you’re looking for an alternative to Citadel’s Green Stuff, I would suggest you take a close look at Vallejo’s plastic putty. It behaves similarly to liquid green stuff, and on a volume-to-cost basis, Vallejo’s product is cheaper.
The putty is thin so it might not have large gap filling abilities. It should work really well for small crevices and holes. Because it is acrylic/water-based, even if the putty has hardened, exposing the dried putty to water will dissolve it and erase your hard work. Bottom line: don’t wet sand this putty.
Key Features and Recommended Use:
- Similar to Tamiya putty, but water-based
- Easy applicator tip on tube version
- Cures into a hard acrylic material
- Sand to smooth
- Clean-up with water

This gray colored putty comes in a fairly large tube (70ml). It is highly-recommended by numerous modeler’s and scratch builders, according to forum surveys and conversations I’ve had. The putty is fairly thick, but soft enough to apply with little effort. It smooths over easily and contains a fine grain binder that helps to fill holes and hide seams between misaligned parts.
Squadron Products claims that the putty dries with minimal shrinking, which does support the utility of this putty to cover larger gaps. With sanding, the surface can be polished to a very smooth surface. It will work and adhere to almost any material, including wood, plastic, metal, and resin. Essentially, this is the putty that you would use to completely eliminate any appearance of any sized gap you might encounter on a model.
Key Features and Recommended Use:
- Highly-regarded by scale modelers
- Does not shrink
- Versatile across material types
- Easy to polish into a very smooth surface

I’m always wary of products that claim perfection. Is the Perfect Plastic Putty actually “perfect”?
Why, yes! But, it depends on what you need it for. The putty is highly rated across multiple gap-filling criteria. It’s not too thick or thin, which allows it to bridge gaps of various sizes.
The Perfect Plastic Putty is formulated primarily for plastic materials, and seamlessly covers over any breaks in a surface. This makes it ideal for scale modelers, who generally work with plastic kits and larger vehicular type models. Because the putty is easily worked into a surface with water soluble properties, it can be wiped up with a cotton swab, your fingers (it’s non-toxic), other applicator tool. It hardens nicely and can be easily sanded.
A knock against this putty is that the putty comes in a fairly large plastic tube with a huge nozzle. It comes with an screw-on applicator tip, but it clogs up easily and I’ve tossed it out. So, getting just small amounts of this putty from the tube is a challenge. Additionally, because the putty dries very quickly when exposed to air, there is a lot of waste.
Ultimately, this is the no-hassle putty you would use for general purpose gap filling on larger models. Just be prepared to figure out a way to use it without expelling too much from the tube.
Key Features and Recommended Use:
- “Perfect” for most plastic gap filling
- Easy application with medium viscosity
- Useful on larger kits and models
- Expels a lot of putty from large nozzle
- Cures quickly

I bought this a while ago when I was trying to find a way to smooth out a fought pewter miniature. This is a two-part epoxy is a substance, when mixed, creates a hardened material with favorable mechanical, thermal, and chemical resistance. In this case, Milliput putty hardens into a durable surface material that can be finished well into a very smooth surface using a variety of tools and more aggressive methods. Additionally, as an epoxy, Milliput has adhesive properties that bind well along small contact points.
Milliput is one of the thicker gap fillers, and although not marketed as a “filler”, it is perfect for recreating the lost surfaces or materials in different modeling applications. The putty has the consistency of sculptor’s clay, and can therefore be used in additive and subtractive sculpting approaches. For hobby scratch builders and mold-makers, this is product is probably for you. You can make molds for a casting, or sculpt new pieces and shapes directly on the surface of a model or miniature. Every modeler should have a box of Milliput.
Note that there are generally two types of Milliput, a superfine and standard-type (yellow/grey). The standard Milliput is the one I use and suggest on this list as it holds larger details better and a bit more durable.
Key Features and Recommended Use:
- Two-part epoxy
- Clay-like consistency
- A “sculptor’s” putty
- Adheres well to any surface
- Strong, hardened material after curing
- Versatile

I love this stuff! I use it for everything! Okay, seriously, Apoxie is more than a gap filler, it’s a sculpting compound that has the working consistency and cure-time of traditional air-dry clay. This is incredible considering how versatile artist’s clay can be for various applications.
More importantly, Apoxie is an epoxy. That means when it hardens into a resilient solid material. Apoxie resists powerful mechanical, chemical, and thermal insults. Your model or miniature would melt, break, or dissolve before Apoxie breaks apart. A gap-shaped piece of Apoxie, anyone?
Apoxie is a two-part epoxy that you mix in a 1:1 ratio. It’s easy-to-use. Merely, scoop up a little of Part A and Part B, knead the two together, using water to keep it malleable, and apply. For gaps, using water to thin the Apoxie helps it to fill out the vacuum. It will stick to any surface. For uneven surfaces that you want to smooth out, thinning with water will allow the epoxy to evenly fill tiny holes and imperfections.
To be honest, the only problem I have with Apoxie is the cost. It’s fairly expensive for how much you get. But, given it’s usefulness, I think it’s a great value. You can sculpt custom bases for models, or make molds to cast other parts in. Using traditional sculptor’s tools, you can carve it. Take a power Dremel tool and make anything you want. It’ll take up primer and paint very well. Apoxie will hold extremely fine details—I know because my finger prints are permanently embedded in several of my models now because of this stuff.
If you’re only using Apoxie as a gap-filler (though it’s amazing for this purpose), then you’re doing it wrong.
Key Features and Recommended Use:
- My personal favorite do-it-all
- Works like traditional clay
- Good working time
- Excellent bridging capacity
- Super durable, sculpt-carve ready

This is probably the most unique product on this list. Bondic is a UV-curable “liquid plastic” that I have used to fill gaps. Namely, I’ve used this to great effect filling in the gap slots in model bases. Sometimes models don’t fit neatly into their bases and super glue isn’t enough to fill the small holes between parts. Bondic to the rescue.
Of all the gap fillers, Bondic doesn’t cure by itself. It requires UV light, which conveniently comes with it (I’m not even sure what to call it). Bondic is a clear fluid that you squeeze from a black tube like a glue. The fluid itself isn’t thick, but has sufficient surface tension to bridge across 1-2mm gaps. Once the UV LED light is shone on the clear fluid, it will instantly cure producing heat (i.e., don’t use it on your skin, I’ve tried and it burns, literally!).
Because it won’t harden unless the UV light is used, you can actually do a bit of additive sculpting with it. Building up layer upon layer until you’ve filled in or created a lump of Bondic where you might want it. The final substance is hard-ish, but you can press your fingernail into it, so it does have some flex.
Bondic doesn’t claim itself to be an adhesive, so it doesn’t actually “glue” anything. It does work across a variety of materials, but I have found that Bondic does have limited bonding power. With a bit of finger nail scratching I have been able to scrape off Bondic from plastic, resin, and wood. To really make it stay in place, I’ve had to use another glue or epoxy to hold it in place.
So, in the end, Bondic is super easy to apply (a veritable unlimited cure time, until you shine UV light on it). But, it’s best used in a place that won’t experience a lot of force. It also isn’t something you can easily finish or smooth after it has cured with the UV light, so I suggest to use Bondic to fill in gaps that won’t be on a highly visible areas of your model or mini.
Key Features and Recommended Use:
- Unique product
- Uses UV light to cure
- Clear colored
- Mediocre adherence
- Easy to use

This is essentially a two-part epoxy, like Apoxie Sculpt. The exception is that it already has the two parts rolled into a cylinder. All you have to do is cut off the end, like a stick of butter, and knead it together with your hands. Because of it’s sticky-film like consistency you should wear gloves. It is a thick clay like substance that takes some force to apply.
Additionally, in contrast to the other products on this list, Loctite Putty cures fast (about 5 minutes). So you don’t have a lot of time to work this into your gaps, seams, etc. The final product cures into a strong durable surface that you can sand, drill into, and paint.
Loctite Putty is a household product, more than a hobby tool, as the company marketing implies. It can be purchased at a local hardware store and most department stores that carry household repair products.
For modelers, this is the stuff you might use to repair a terrain piece, or larger surfaces that require additional material to form your desired object. As the name suggests, the Loctite Putty is an all-purpose tool for many of your needs, including scale models, miniatures, and home repair jobs.
Key Features and Recommended Use:
- Household product, versatile
- Convenient package
- Epoxy resilience
- Thick, sticky, clay viscosity
- Finishes well

Let’s get this out of the way. You get an entire whole quart of this putty for nearly the same cost of a much smaller amount of a putty marketed specifically for hobbyists.
Bondo has been around for ages. I won’t say too much because most has already been said elsewhere about this stuff. It works like other all purpose putties.
You can fill any-sized holes (big ones) in wood, metal, or other common objects. You can rebuild rotting wooden furniture, essentially replacing the missing material by filling it all in with Bondo. That’s what is does; Bondo replaces whatever “stuff” is missing. The quintessential ultimate gap-filler. In some cases, I’ve seen Bondo used in car body shops for resurfacing dented metal/plastic fenders. It’s durable and takes up different solvent-based paints nicely. For the modeler and hobbyist this is the apex of gap-filling products.
Although the feature list says Bondo cures quickly, you can adjust the cure time by adjust the hardener ratio. As the product cures, you can shape it to your desired surface and within 24 hours it’ll be rock-solid. Finishing is a simple process with a power or manual sanding process. Note that Bondo does give off a noticeable odor, but it dissipates quickly with proper ventilation.
Key Features and Recommended Use:
- Do-it-all putty
- Gap fills anything
- ”Adjustable” cure time
- Easy smooth finish with sanding
- Hard, very resilient material
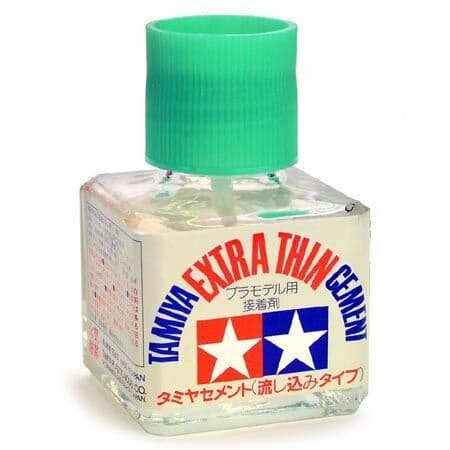
I’ve written in-depth about different types of miniature and modeling glues (see this article). Tamiya Cement glue is a plastic modeling cement, which means that it works through a unique chemical process whereby the glue melts styrene plastic (commonly used in model and miniature kits). When the glue dries, the melted plastic solidifies into a single plastic bonded surface. Essentially, plastic modeling cement “fuses” plastics together.
Games Workshop models are an example of a company that produces miniatures with injection molded plastic. Plastic cement works perfectly on these models.
Of course, what does this all mean for gap-filling? The “sprues” or leftover scaffolding that you clip parts from a plastic clip can become the bridging/bonding agent with this Plastic Cement glue-solvent.
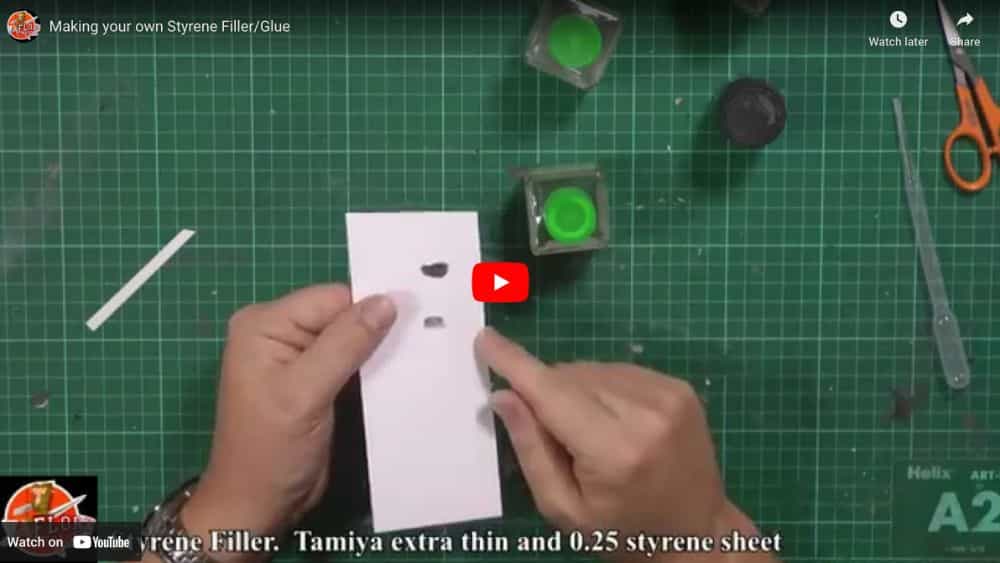
As some ingenious modelers have discovered, you can create a useful plastic “paste” by mixing Tamiya glue cement and scrap styrene plastic. This paste is then applied to gaps and seams on a model. The brilliance of this method is that the cured paste is essentially the same plastic as the rest of your model or miniature. So, it can be treated similarly when you finish the surface of the model, either by sanding or using a mold-remover tool (I recommend this triangular scraper by the way).
Because the plastic cement is thin, it’ll run quickly into gaps and seams through capillary action, if applied straight form the bottle. Finally, note that Tamiya plastic cement does have a strong odor that could be harmful, so you should use this in a well ventilated area.
See this video for how to make a plastic modeling cement “paste” with left over model kit sprues.
Key Features and Recommended Use:
- Thin viscosity plastic cement
- Use with scrap plastic to make a “paste”
- Only works on styrene-based plastic
- Final cured “paste” will be plastic
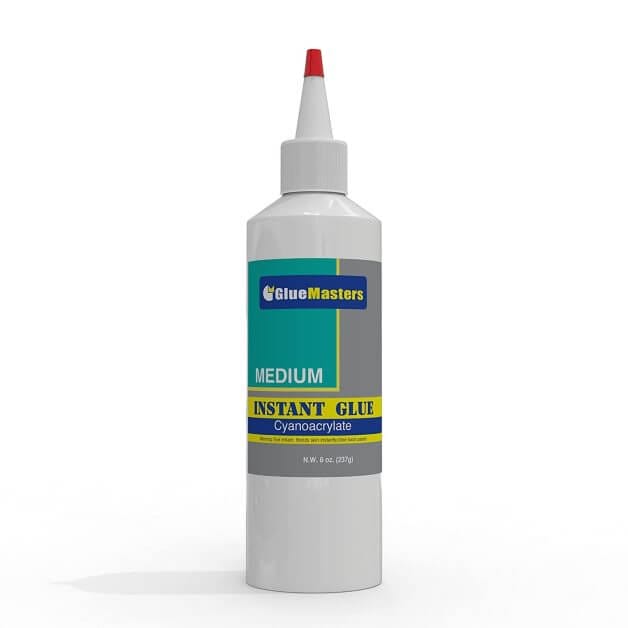
As mentioned in another article on glues, cyanoacrylate based adhesives or “super glues” are a versatile glue that is familiar to every hobbyist and scale modeler. It is the best glue for new miniature hobbyists as it bonds really well to almost any surface (including your skin!). In contrast to water-based glues, super glues transform almost instantly when it contacts a surface. It does require some ambient water moisture to cure, properly, and therefore doesn’t “dry” like other glues.
How about gap-filling?
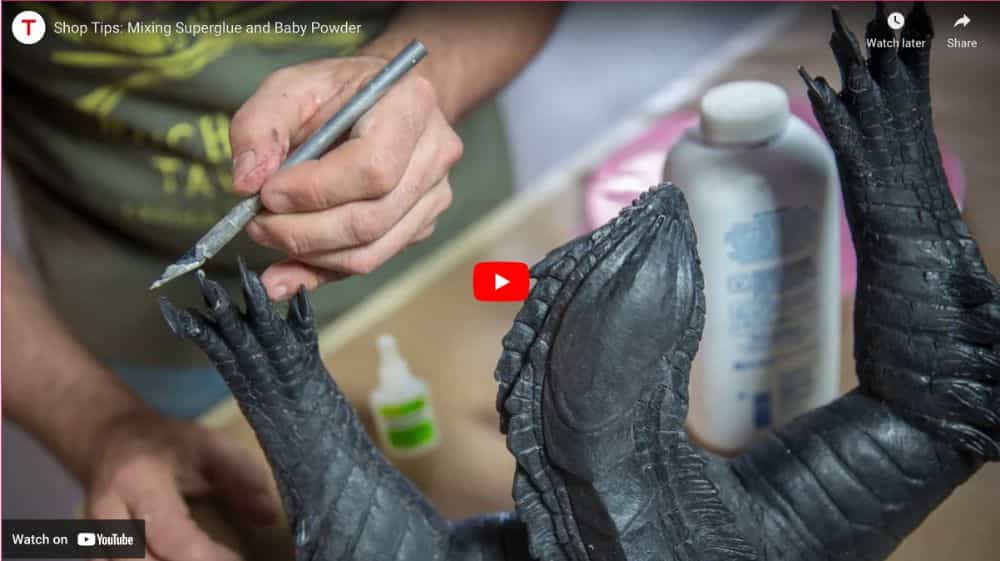
Well, similar to the ingenious hack with plastic cement (see above), you can add other substances to super glue to make a gap-filling “paste”. In this case, modelers have generally used baking power or talcum powder.
Apply this “glue-powder paste” into a gap or other area of a model and shape to your desired surface. Alternatively, you can fill a gap with the powder first, then carefully drop CA glue into the powder and allow it to absorb in. Curing happens fast. The final surface will be hard and can take vigorous sanding and smoothing approaches (i.e., it’s strong).
See this video for how you can make this CA and talcum powder “paste”.
Key Features and Recommended Use:
- Low viscosity CA glue
- Use with fine powder (talcum/baking) to make a “paste”
- Will bond with almost any surface
- Final cured “paste” will be hard enough to sand/smooth
Summary
| Image | Product | Useful Info |
|---|---|---|
 |
|
|
 |
|
|
 |
|
|
 |
|
|
 |
|
|
 |
|
|
 |
|
|
 |
|
|
 |
|
|
 |
|
|
 |
|
|
 |
|
Thank you for reading!
Any gap filling tricks and products I could add here? Leave me a comment below.

Tangible Day on YouTube (Miniatures and More!)

Pingback: The History of Super Glue: Crazy or Genius? - Tangible Day